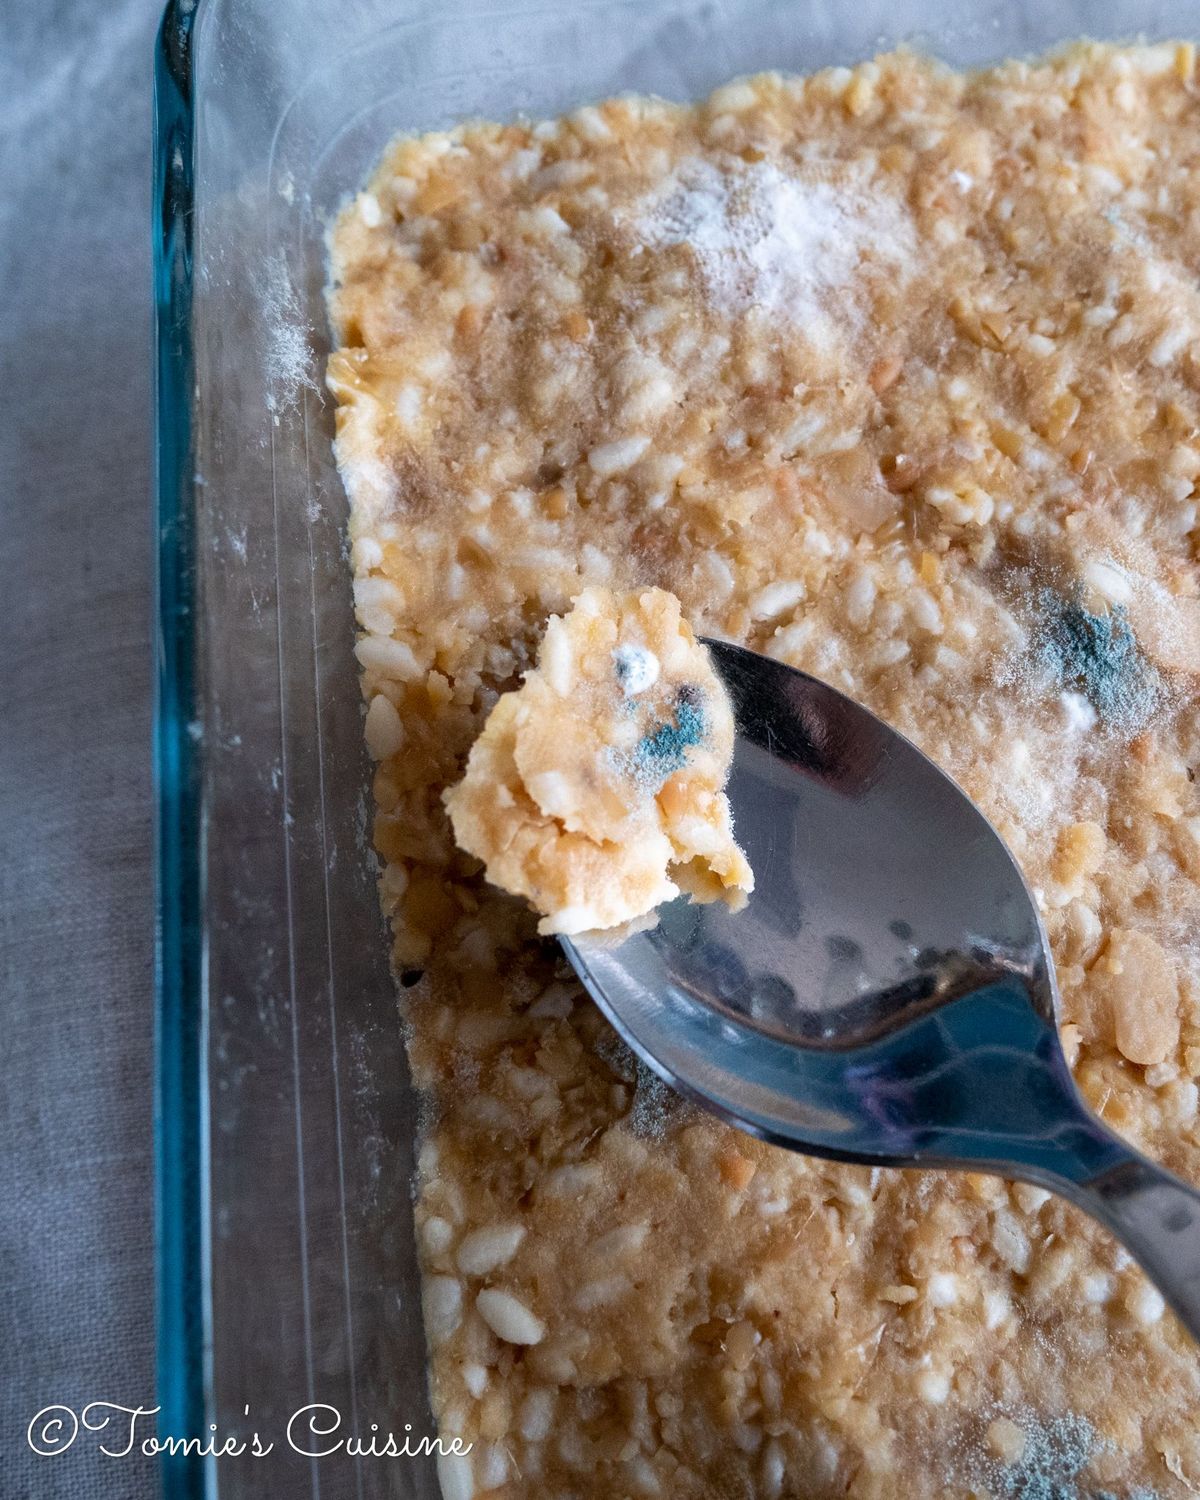
Omg, there is mould on my miso!
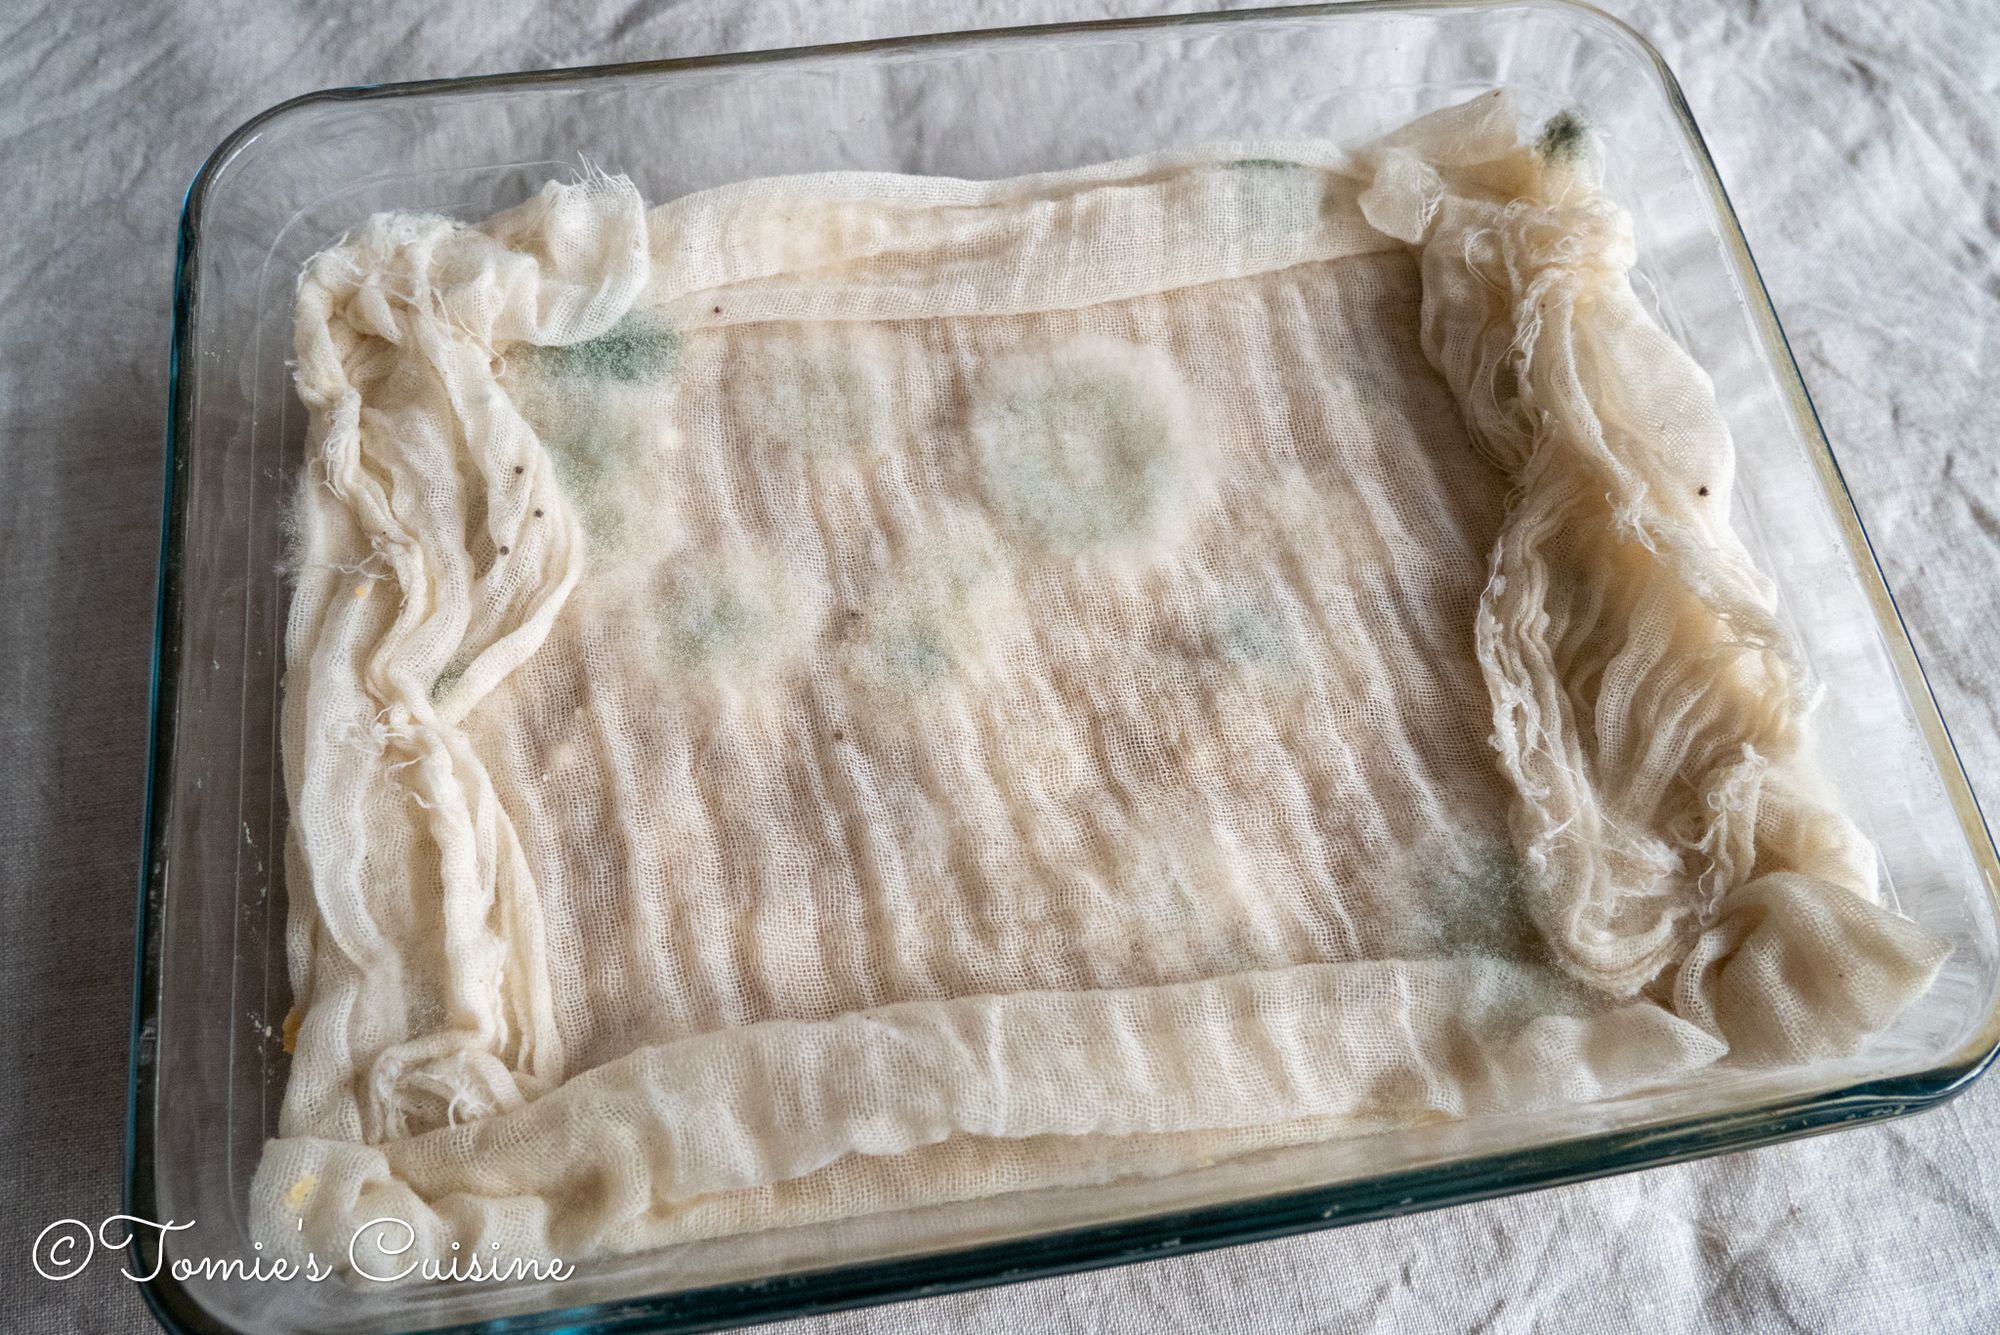

Twenty-seven days after my miso making, I saw some mould from the side of the container.
Once I opened the container, the muslin had some fluffy light blue mould. There were a few white ones and a few black ones as well.
I will show you how I removed the mould.
1. Removing the mould
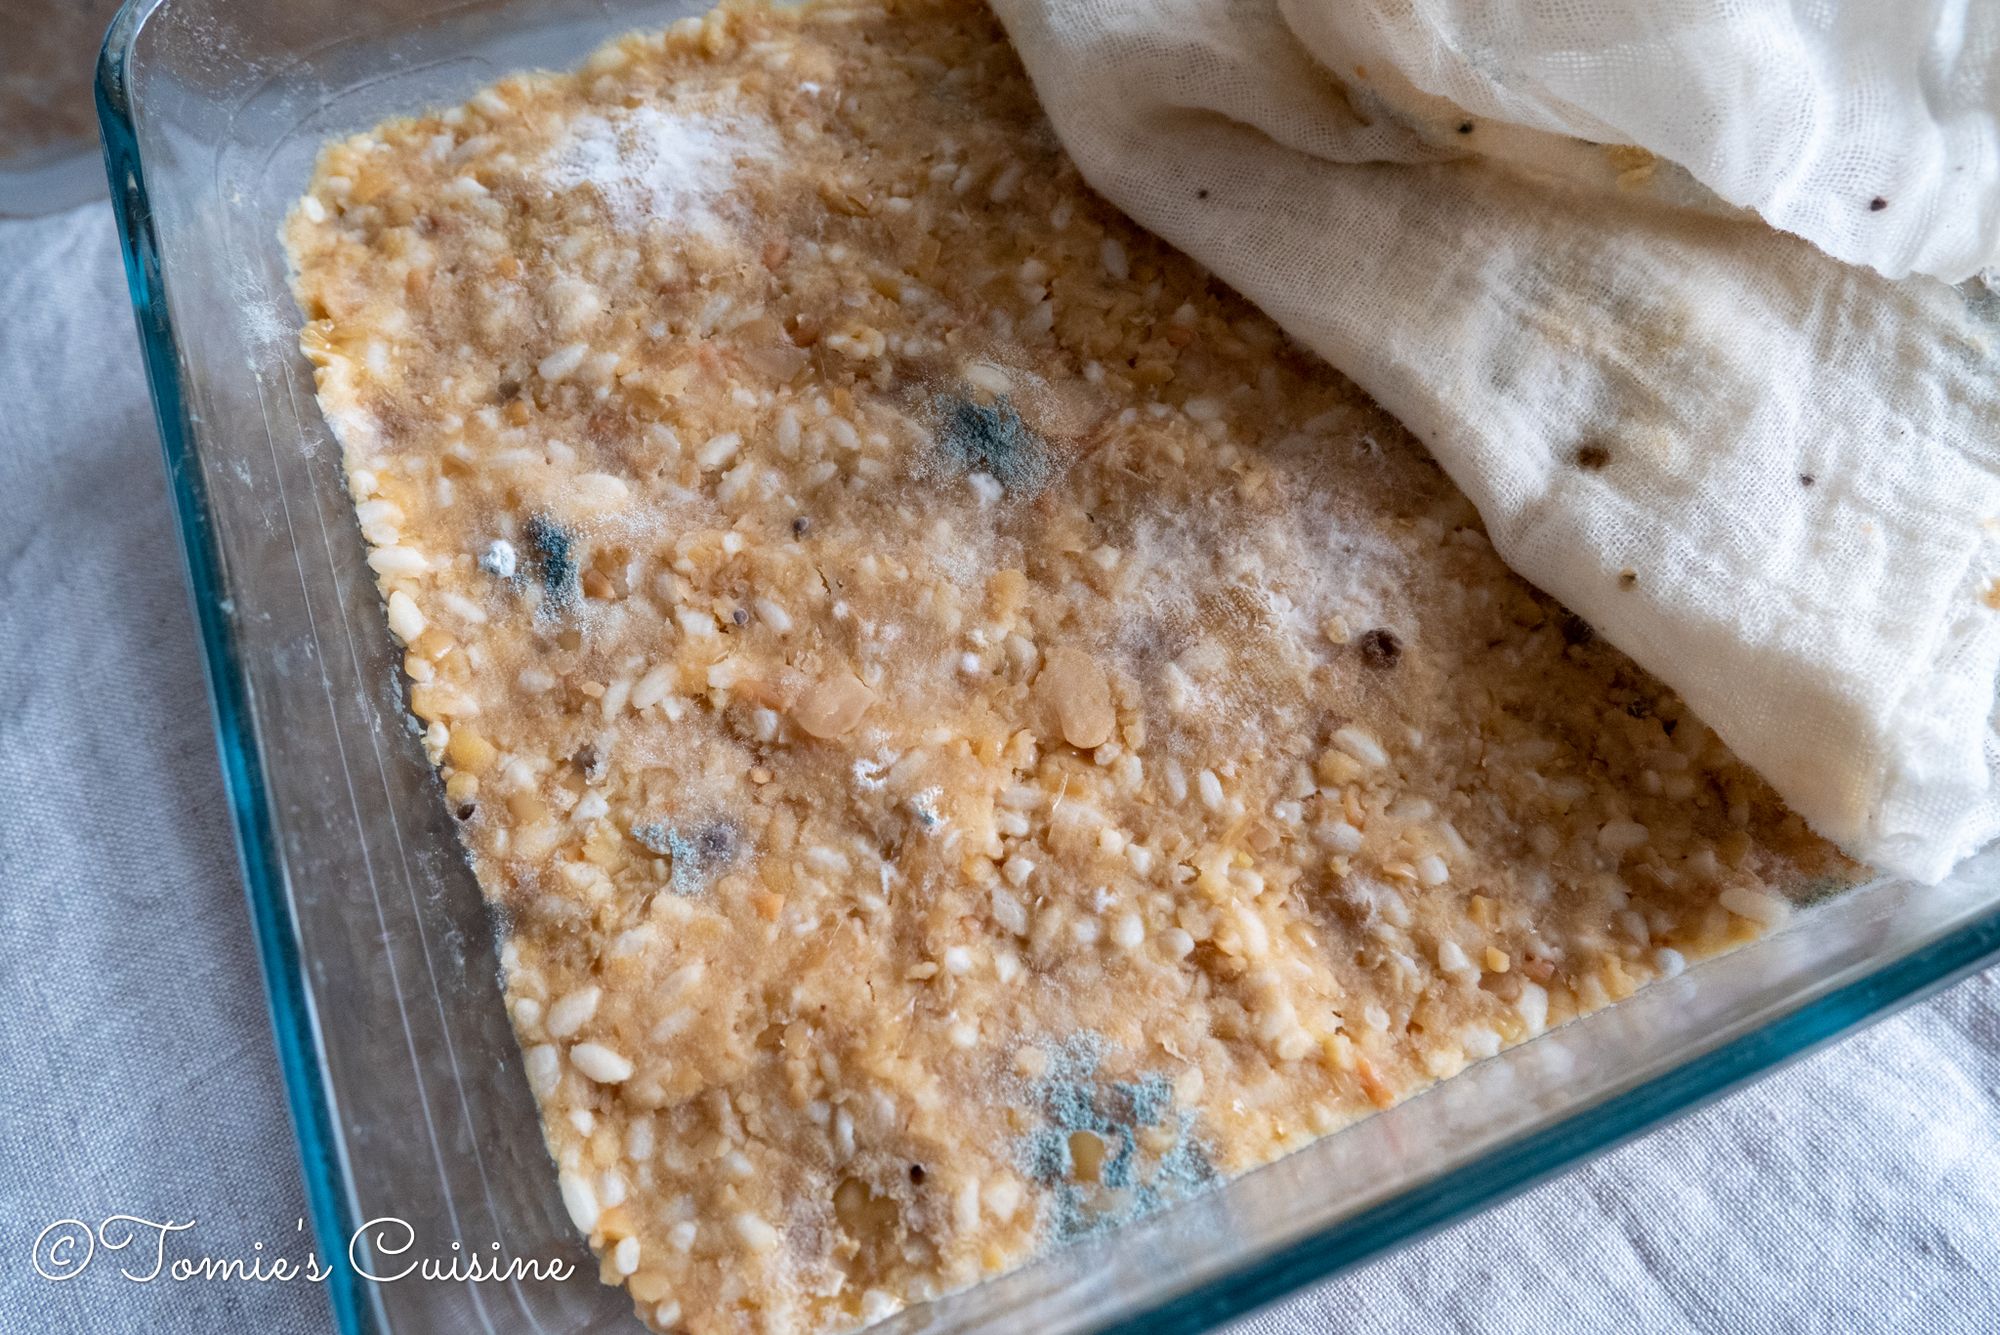
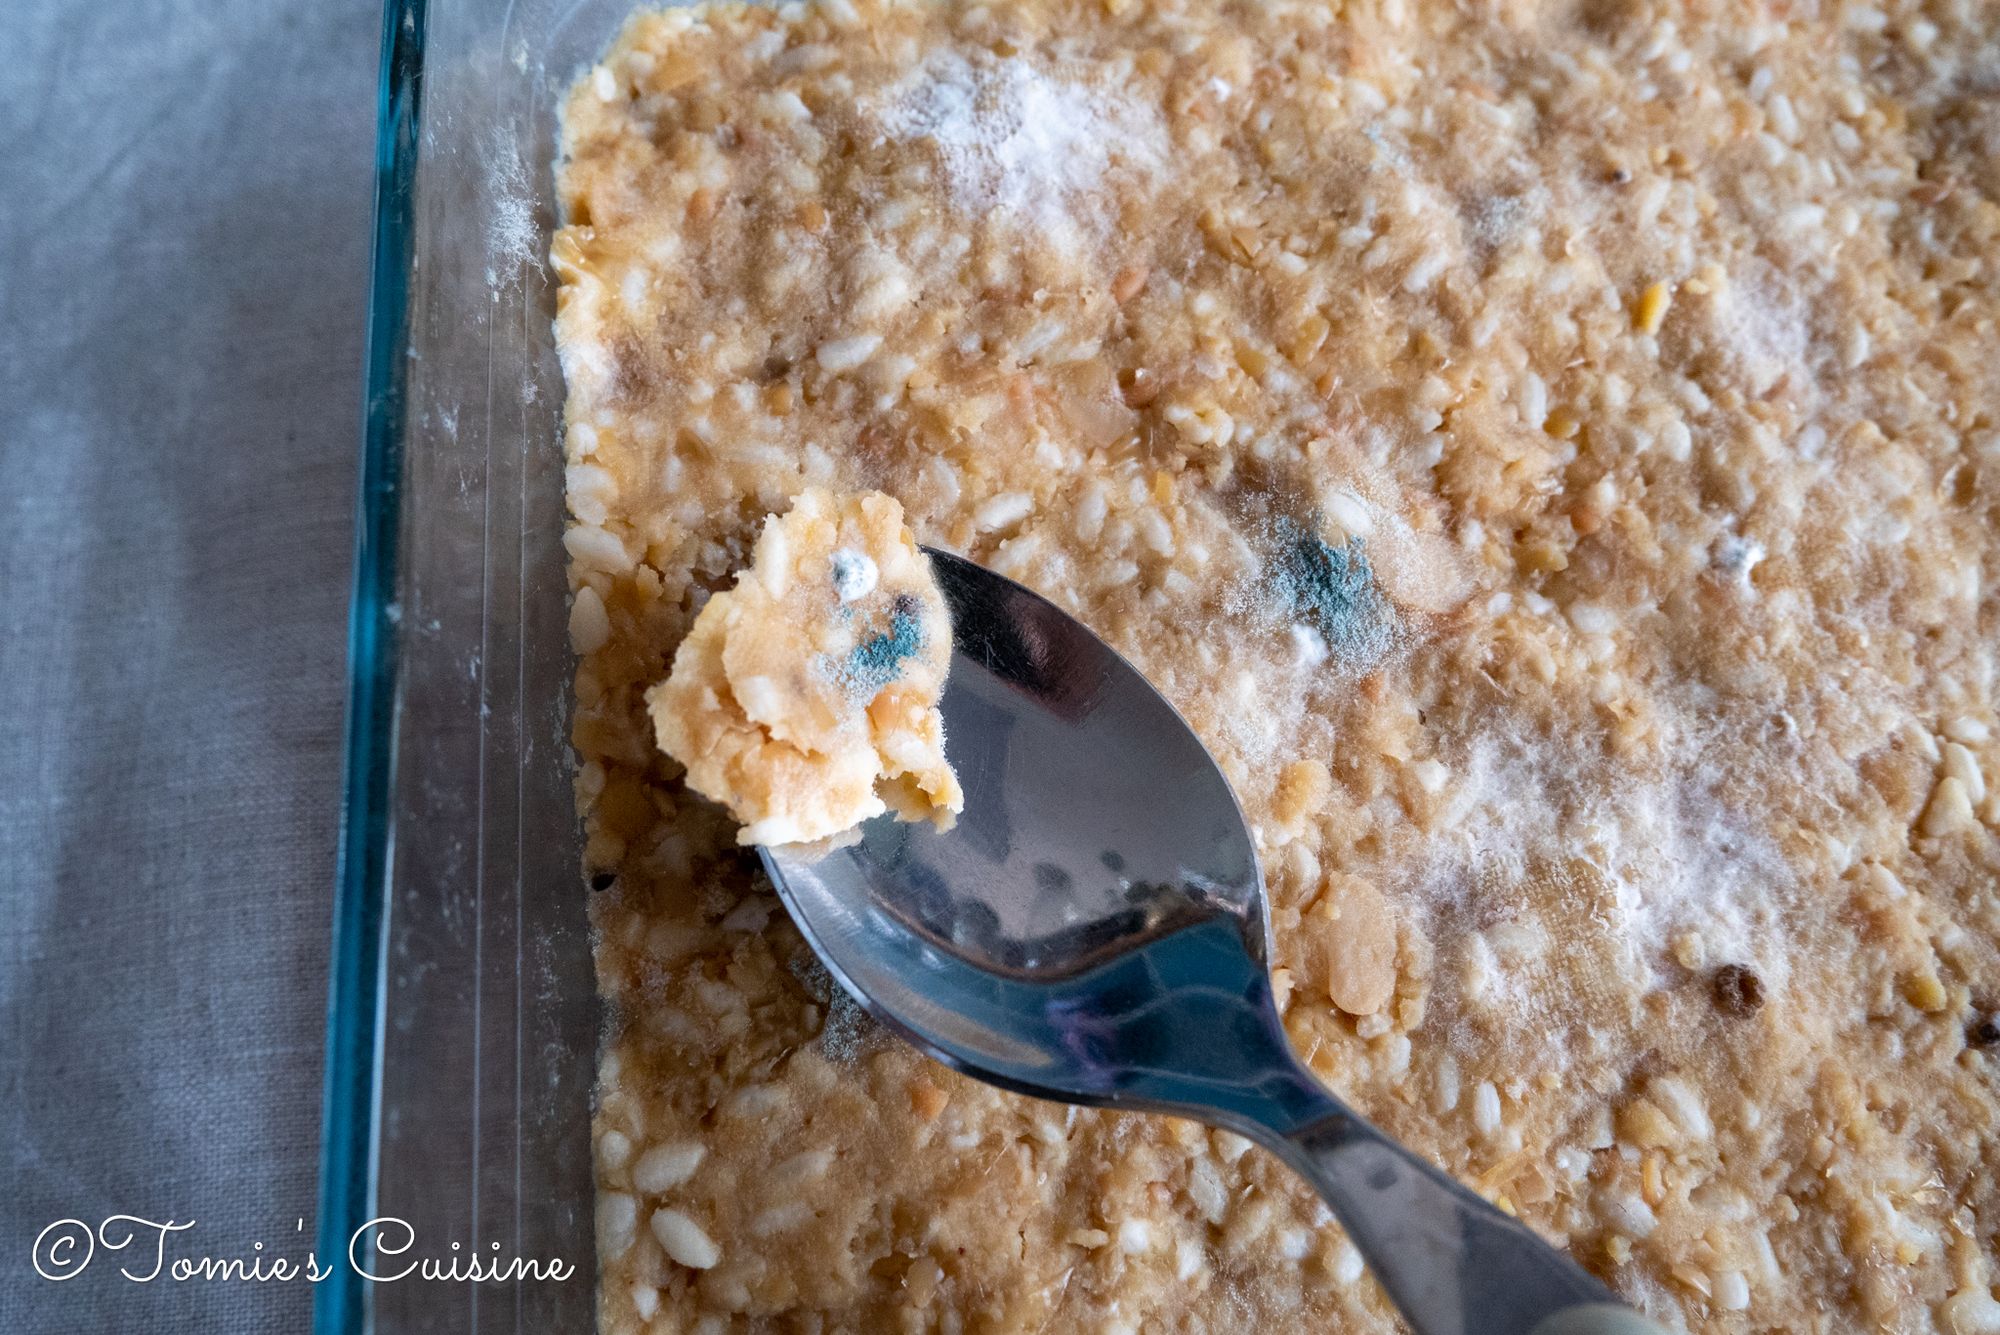
Remove the muslin and start removing the mould. If you see a mouldy area, remove it as well as a little bit around the spot.
2. Changing containers (optional, I was just testing various ones)
The containers I used weren’t the best choice to make miso. If I chose one with more surface area, there would also be more space for mould to grow.
That being said, I made miso with this rectangular container last year, and it turned out great, but I wanted to see if a different container would be better.
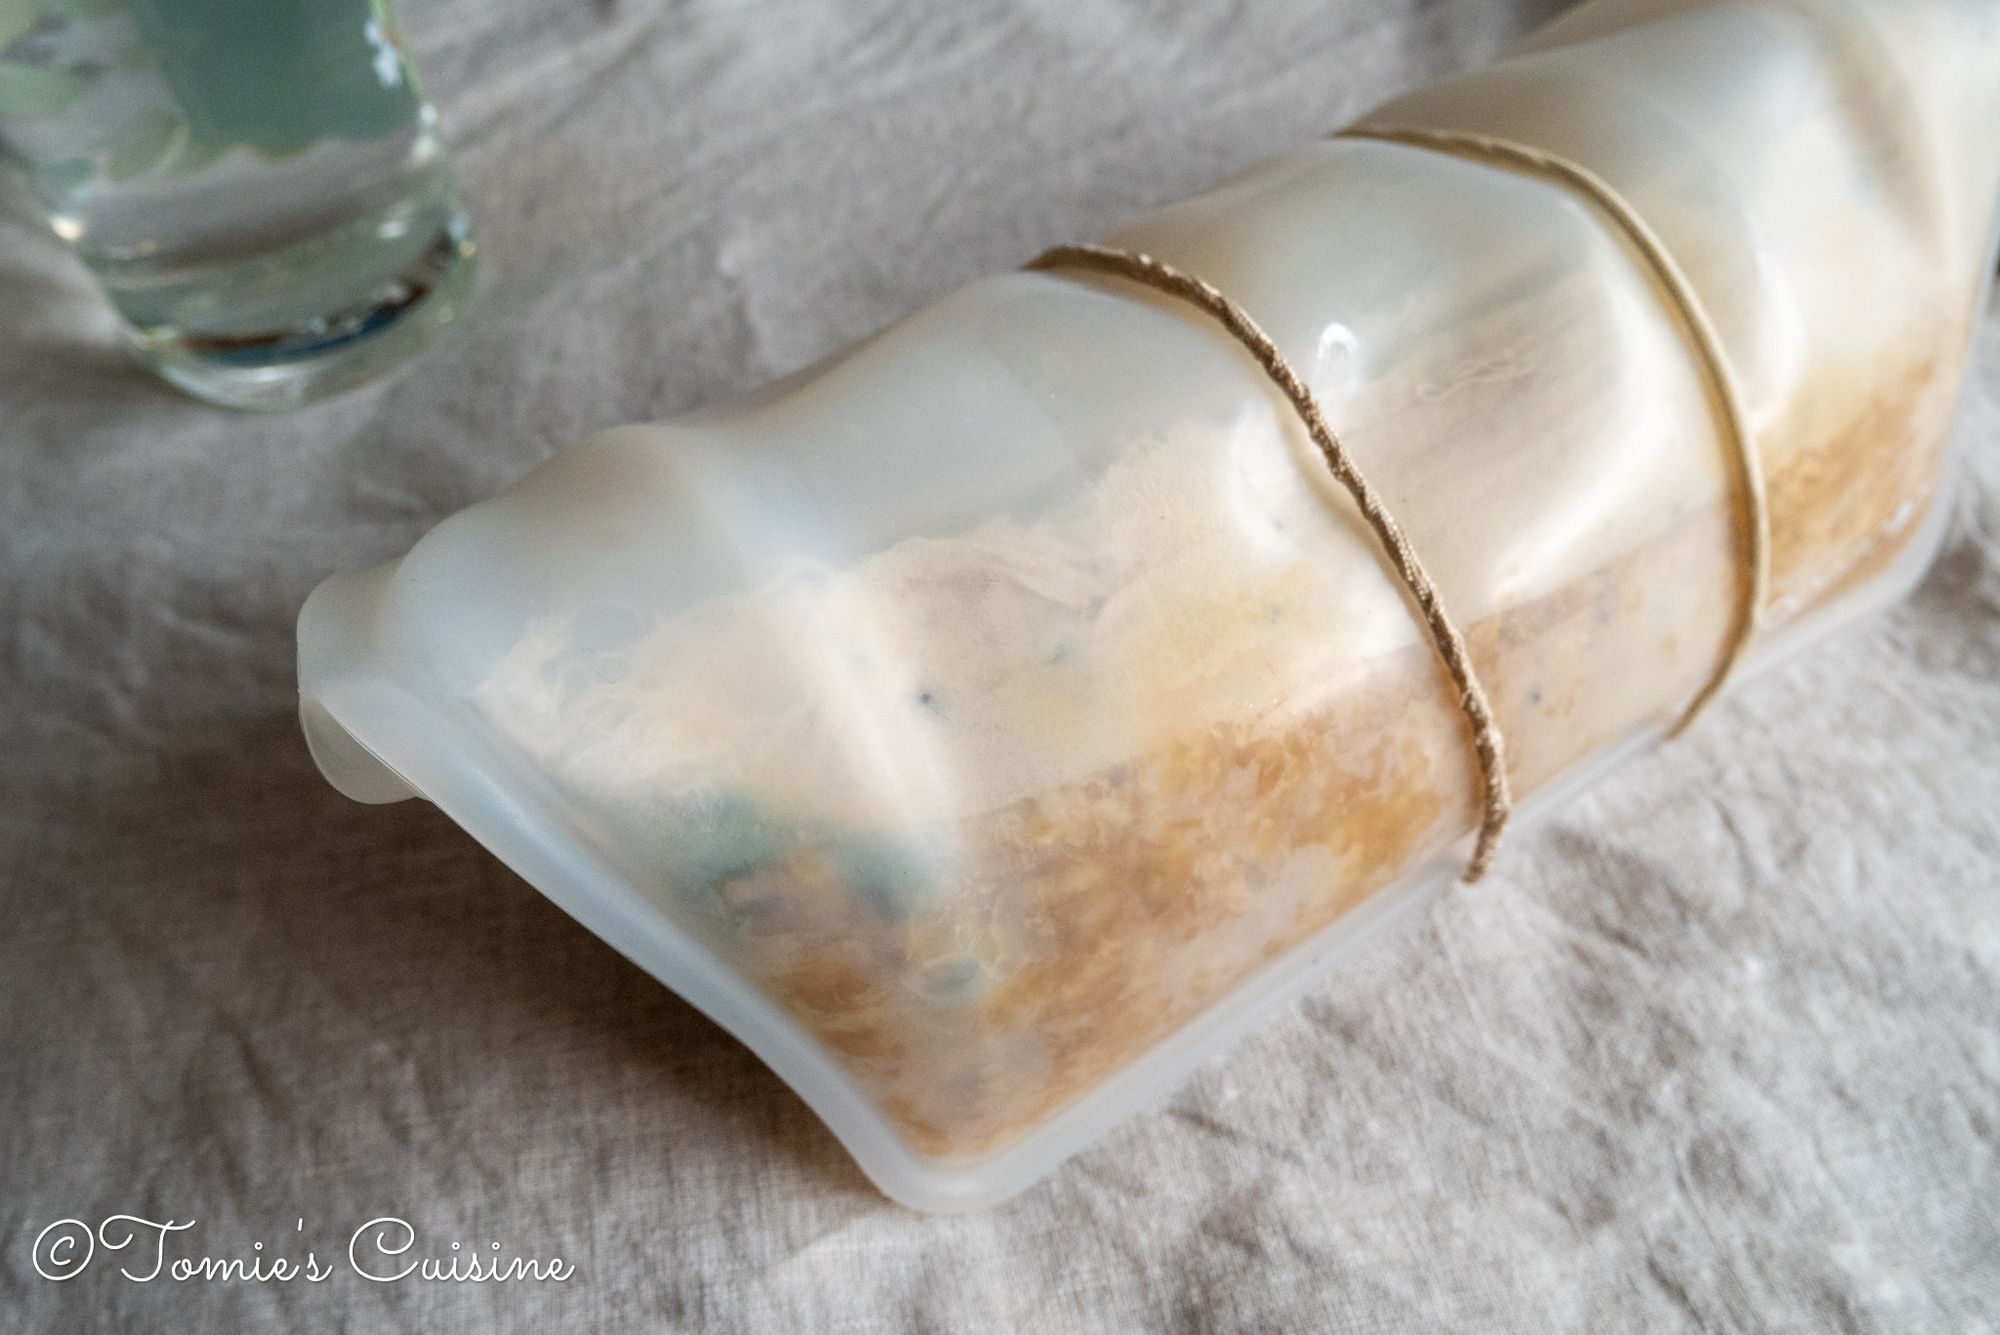
For example, this silicone food bag was not airtight, and removing the black spot from the mould was difficult.
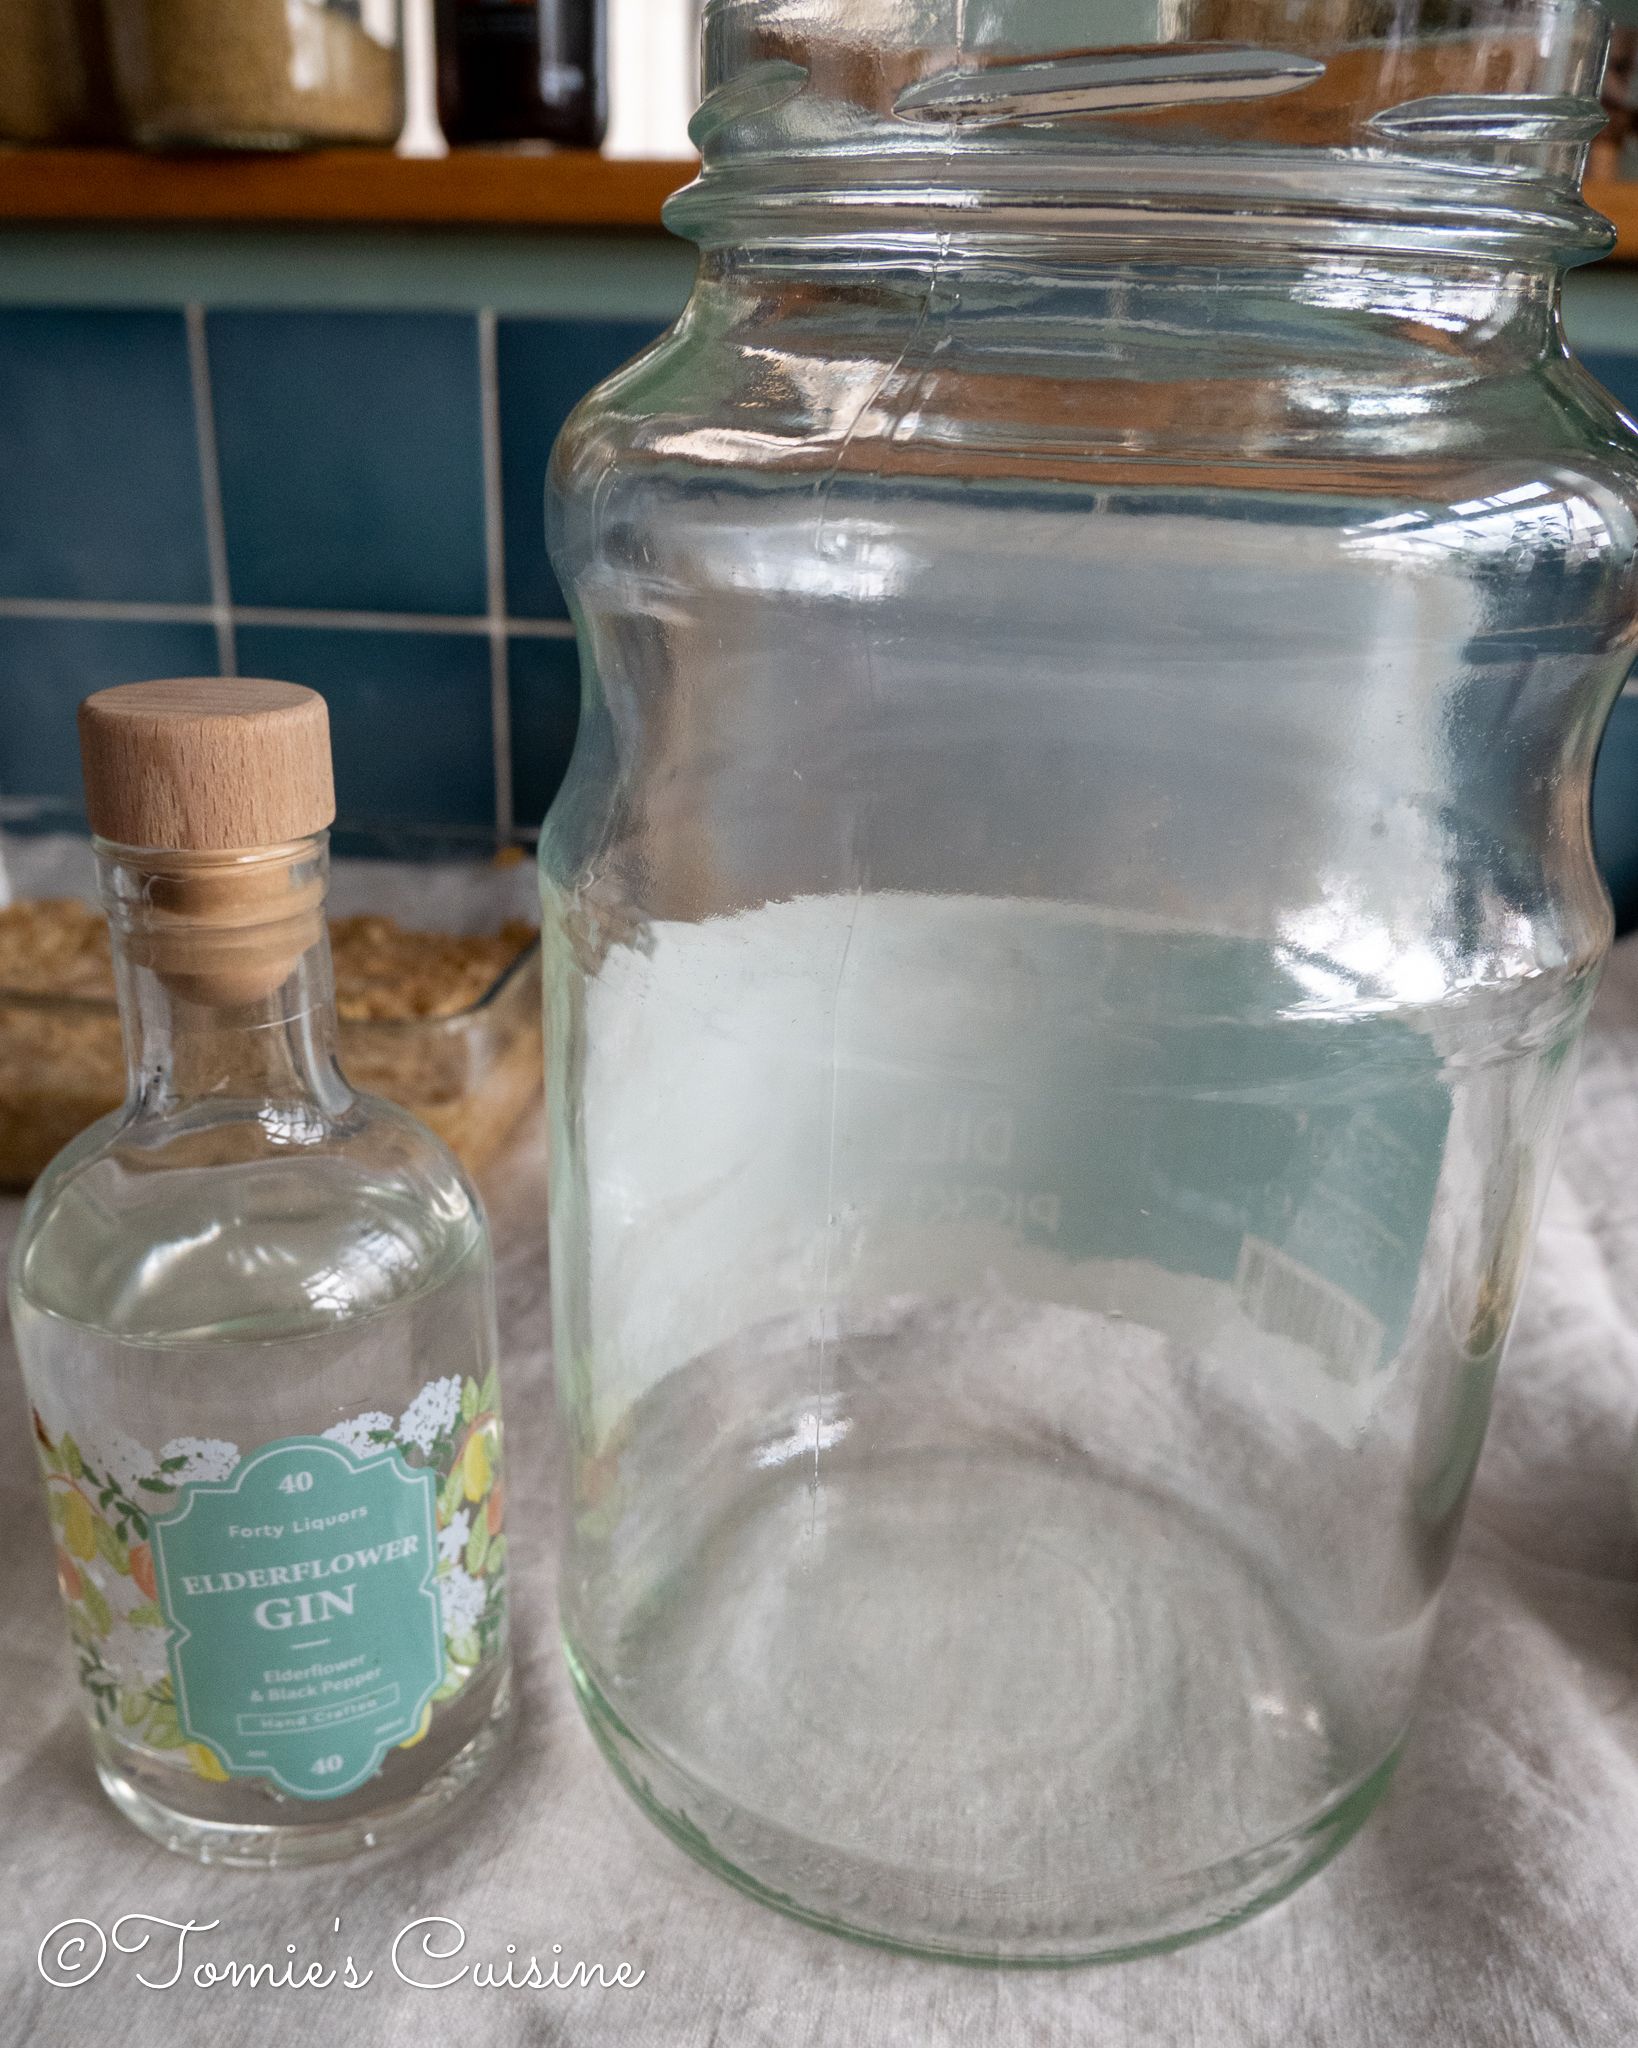
Therefore after removing the mould, I put both into a large sterilised glass jar.
3. Changing the muslin
Unfortunately, I had no more muslin at home, so I used a kitchen roll instead. I thought I could use the same muslin after washing and sterilising, but the stain from the black mould stayed on it, so I had to use a new one not to confuse the stain with a new mould. I washed the old one, and I’m using it for cleaning now.
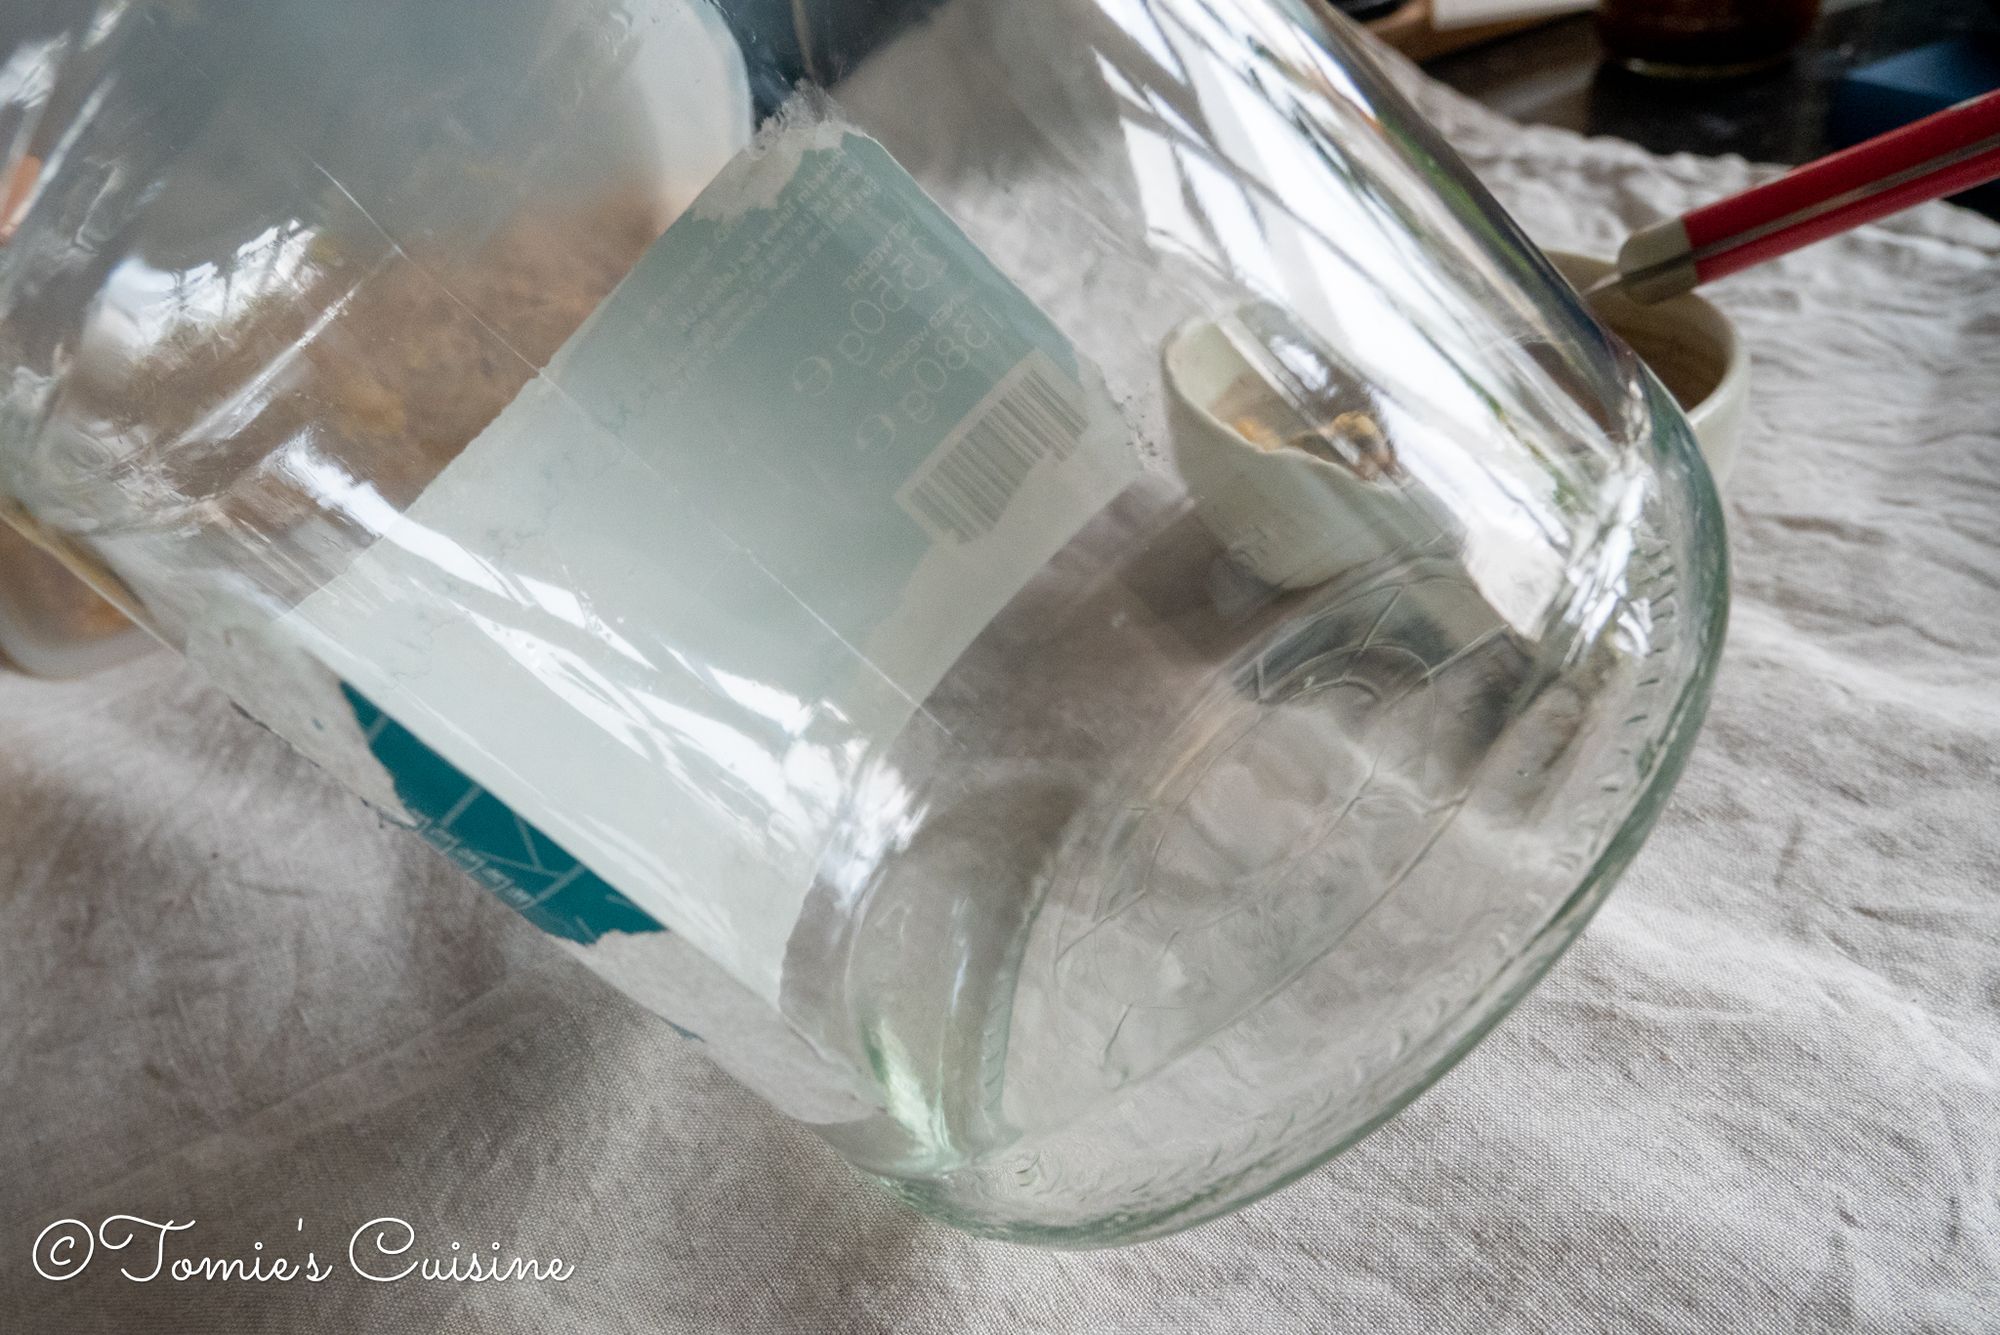
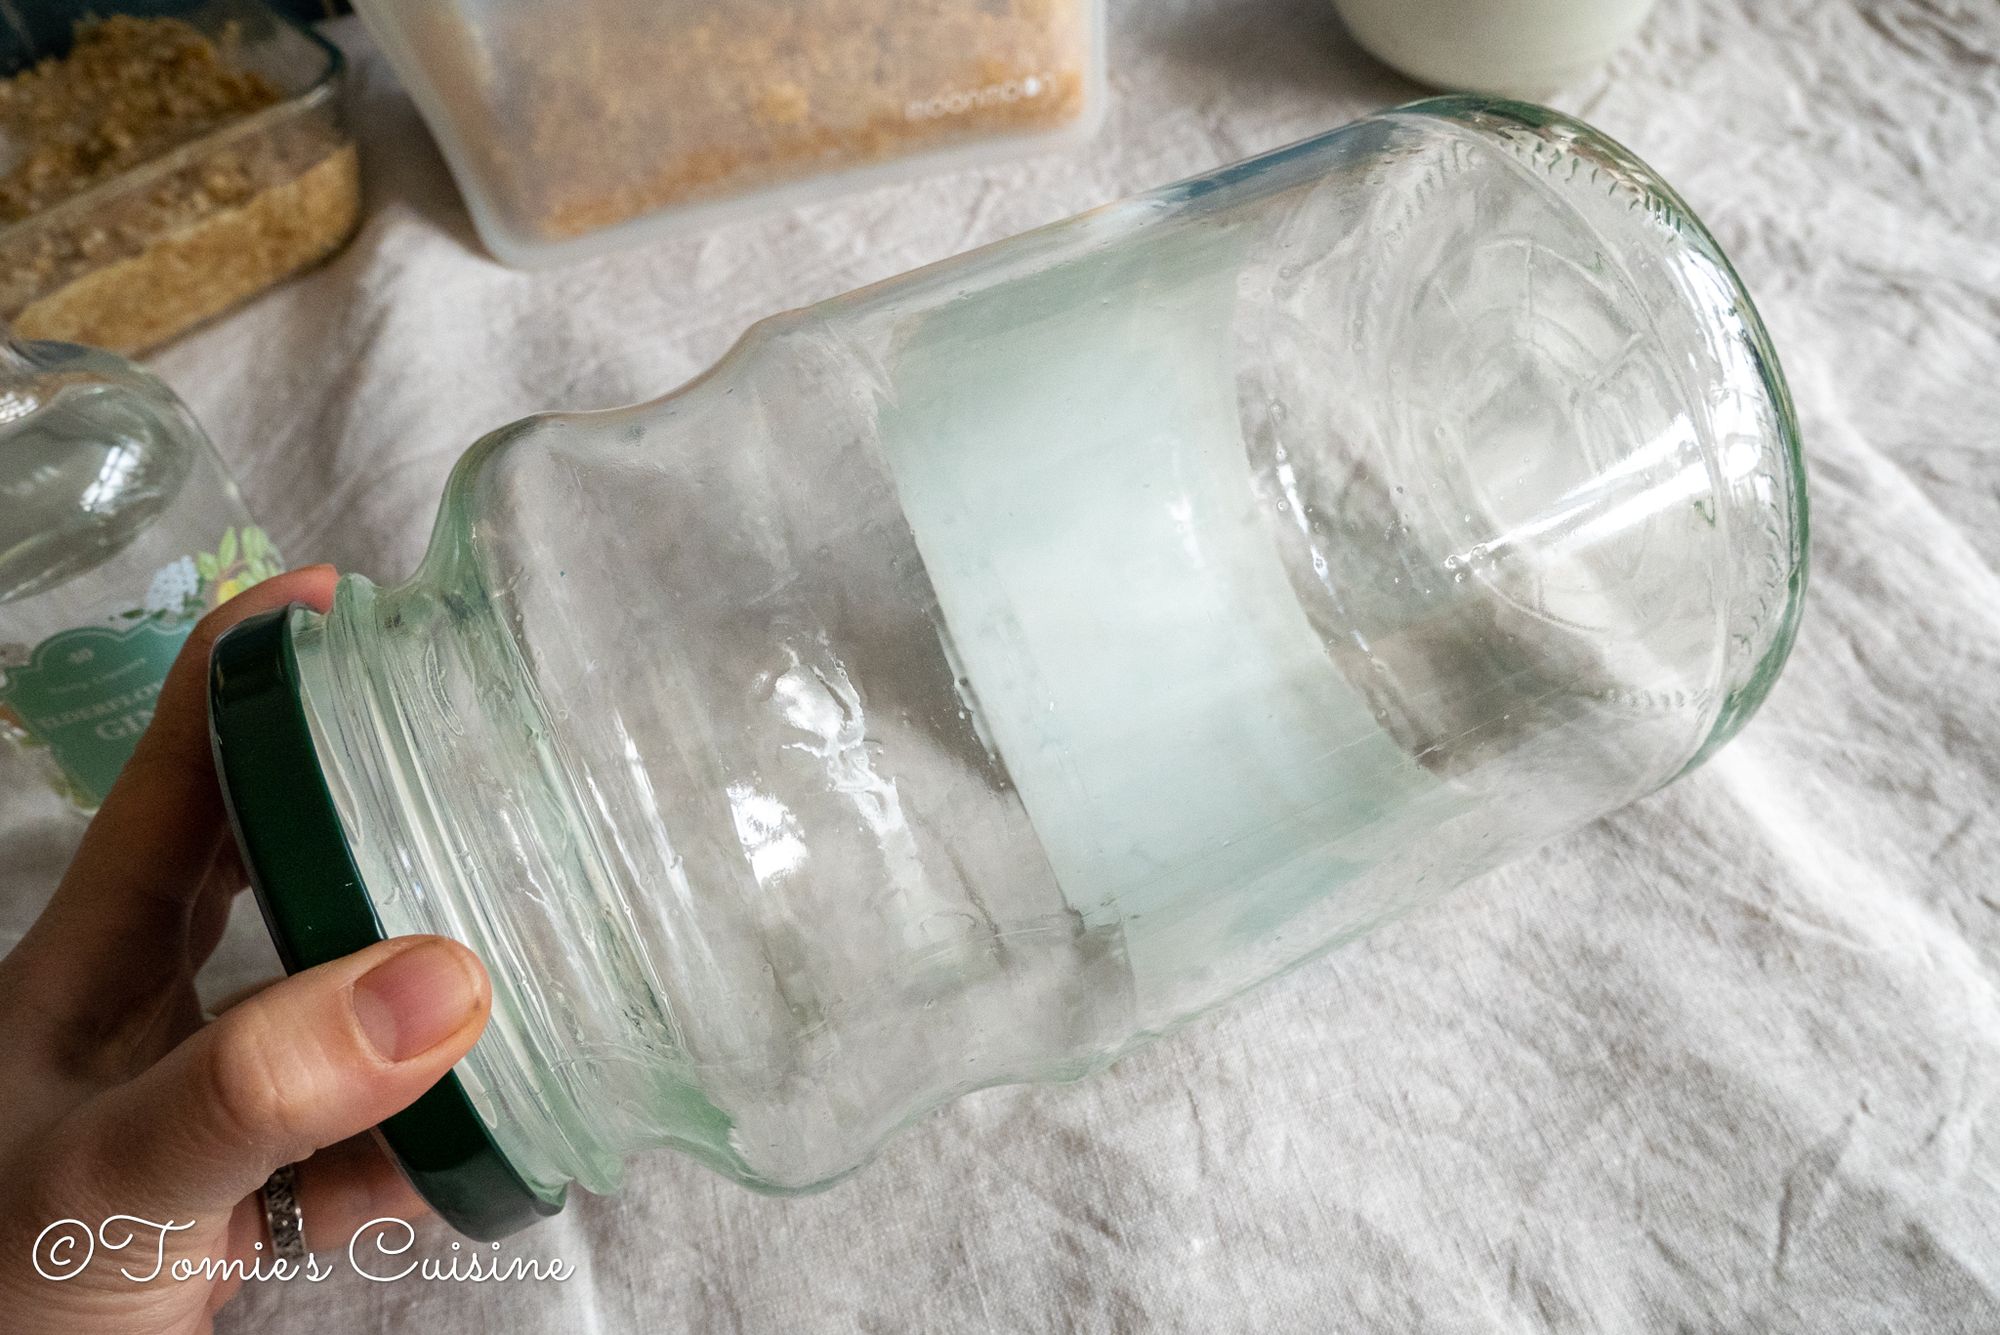
My mother told me to use alcohol with more than 40% to sterilise the jar and paper or muslin, so I used gin.
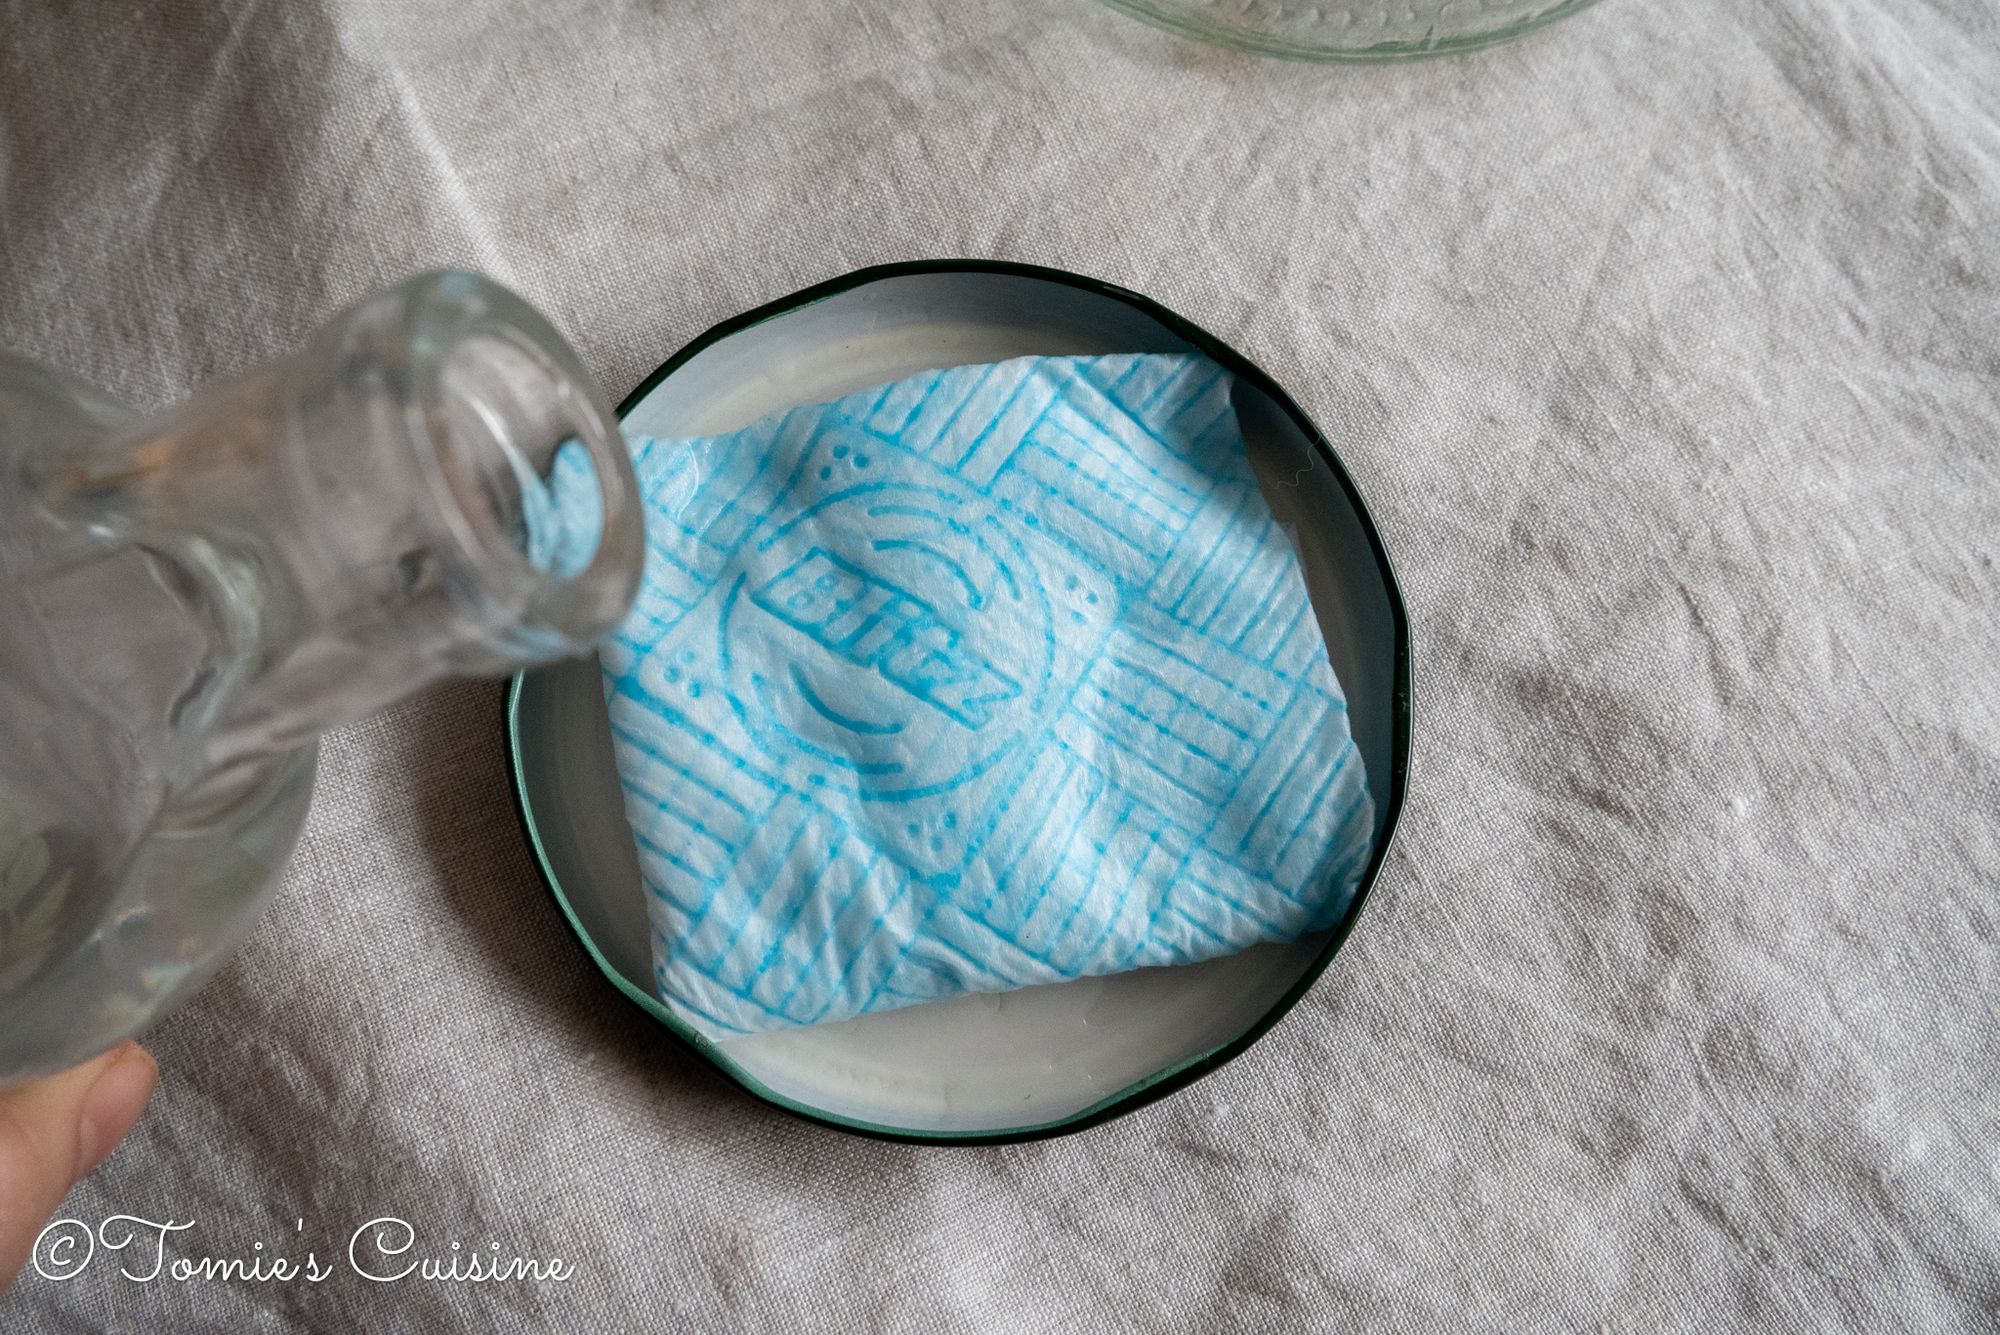
- First, add gin to the clean jar, close the lid and spread it around.
- Hold the closed jar upside down and put the alcohol into the lid.
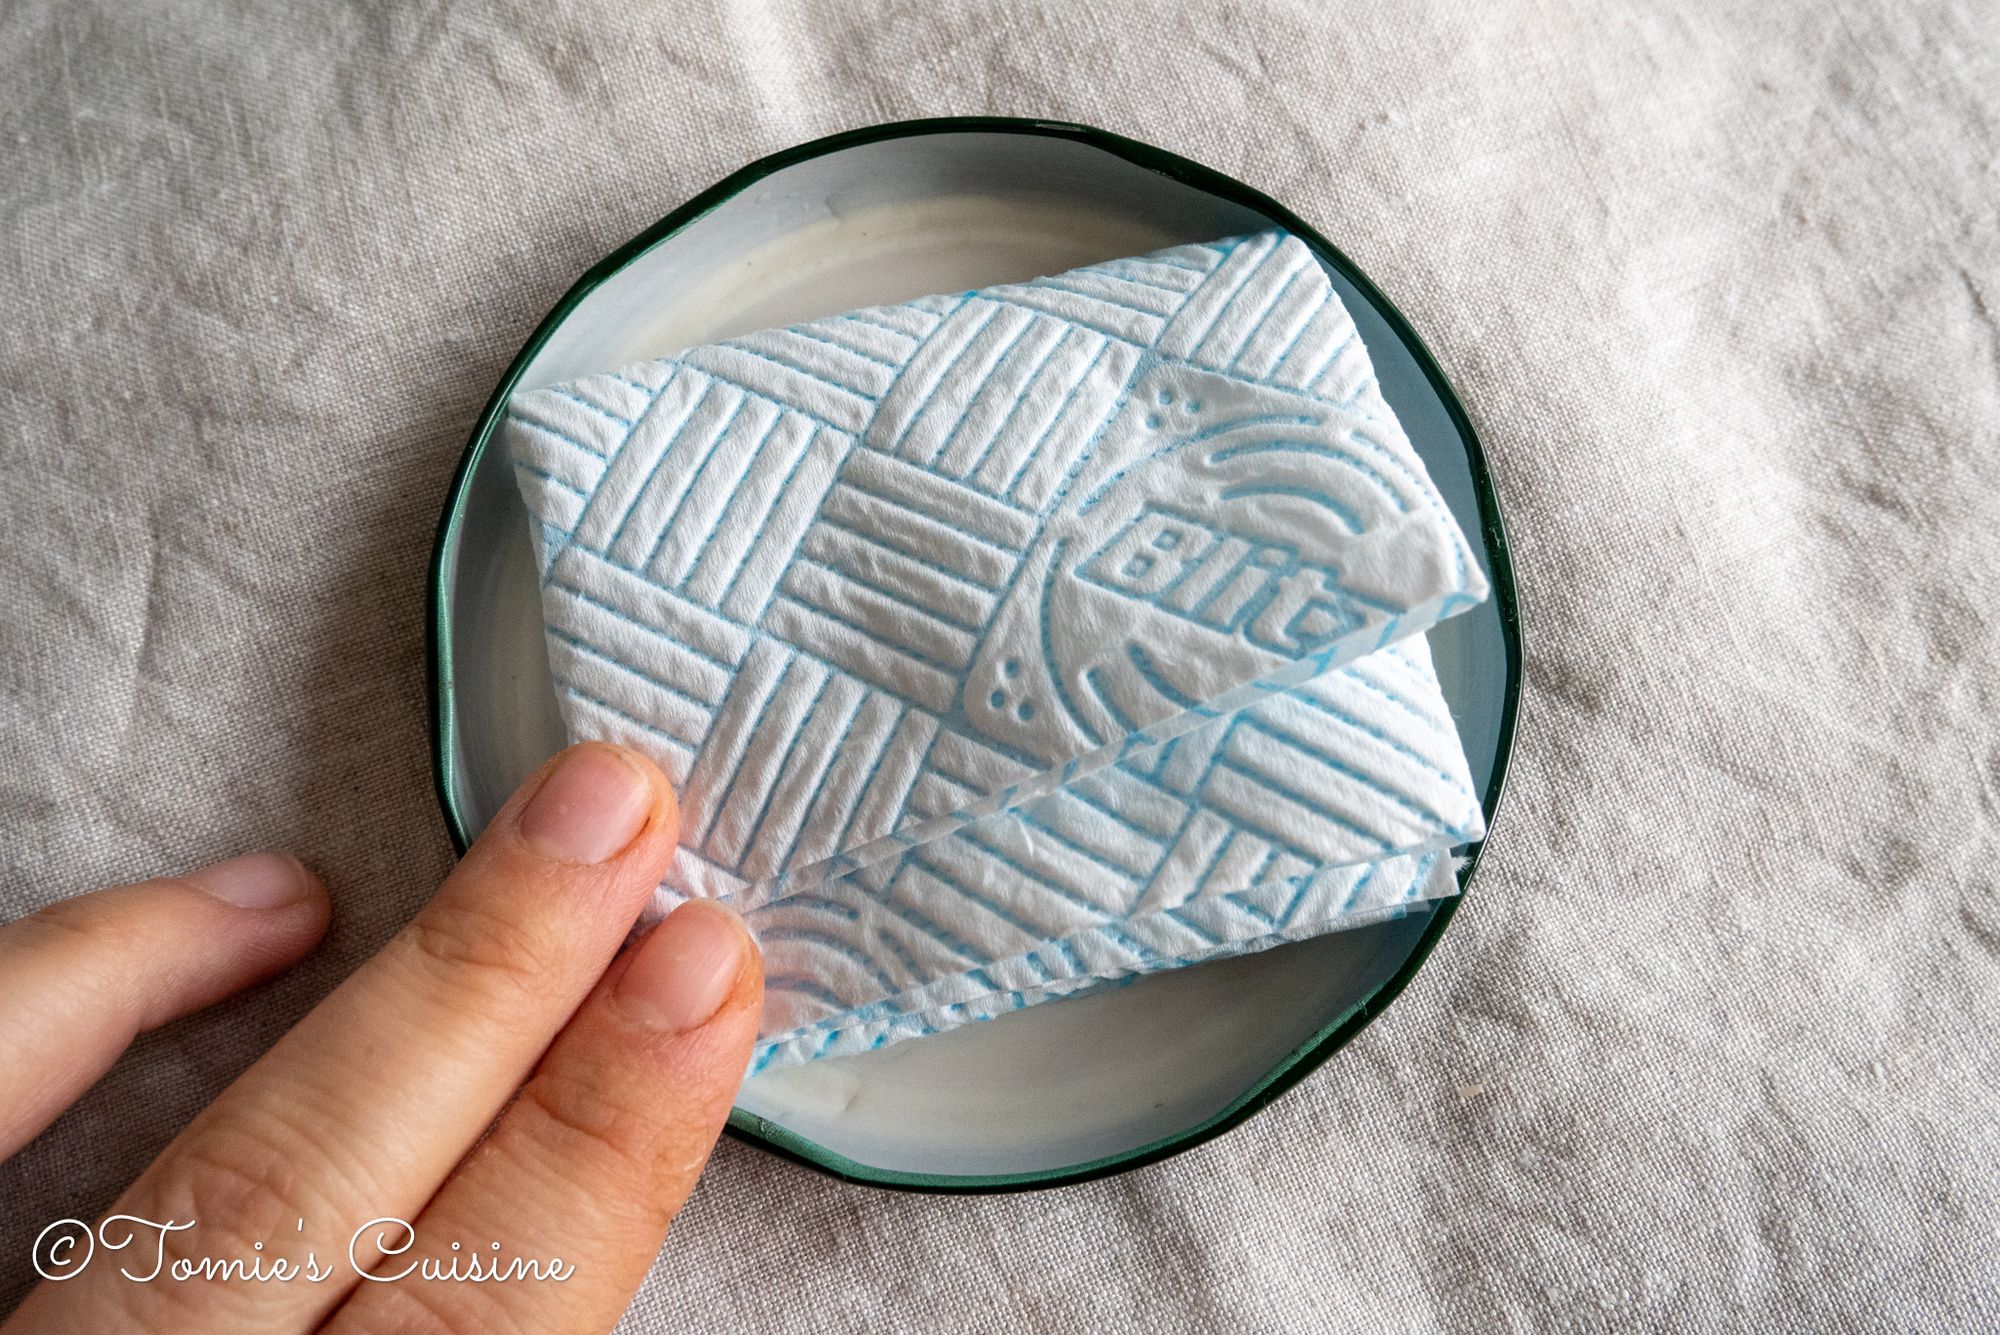
- Soak the kitchen roll paper and add some more alcohol to make it wet.
4. Adding miso into the jar
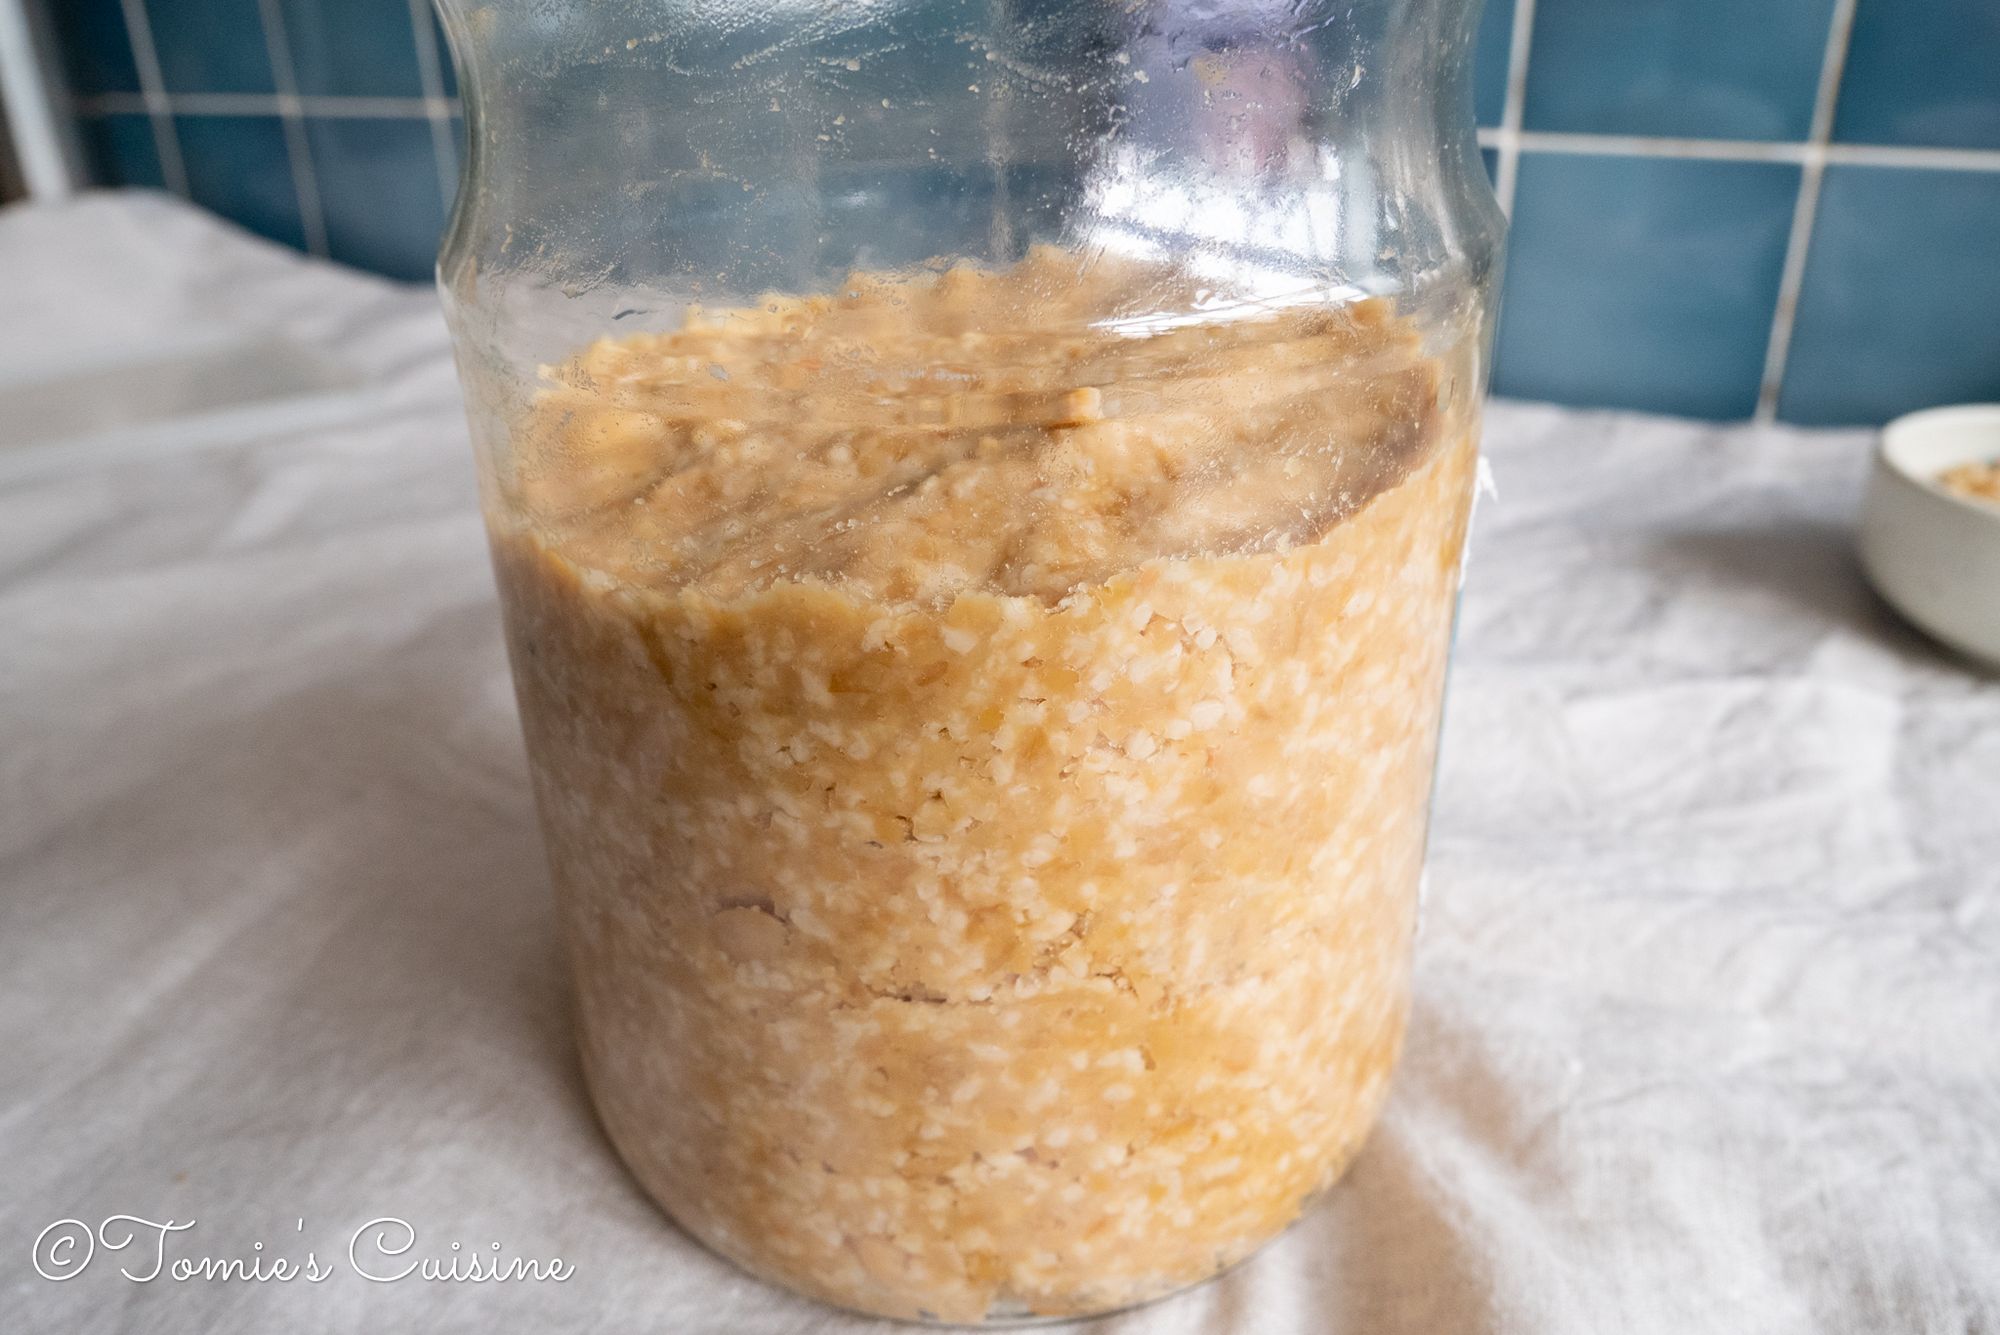
We are now putting the miso into the jar. You can read our previous post to see how to do it.
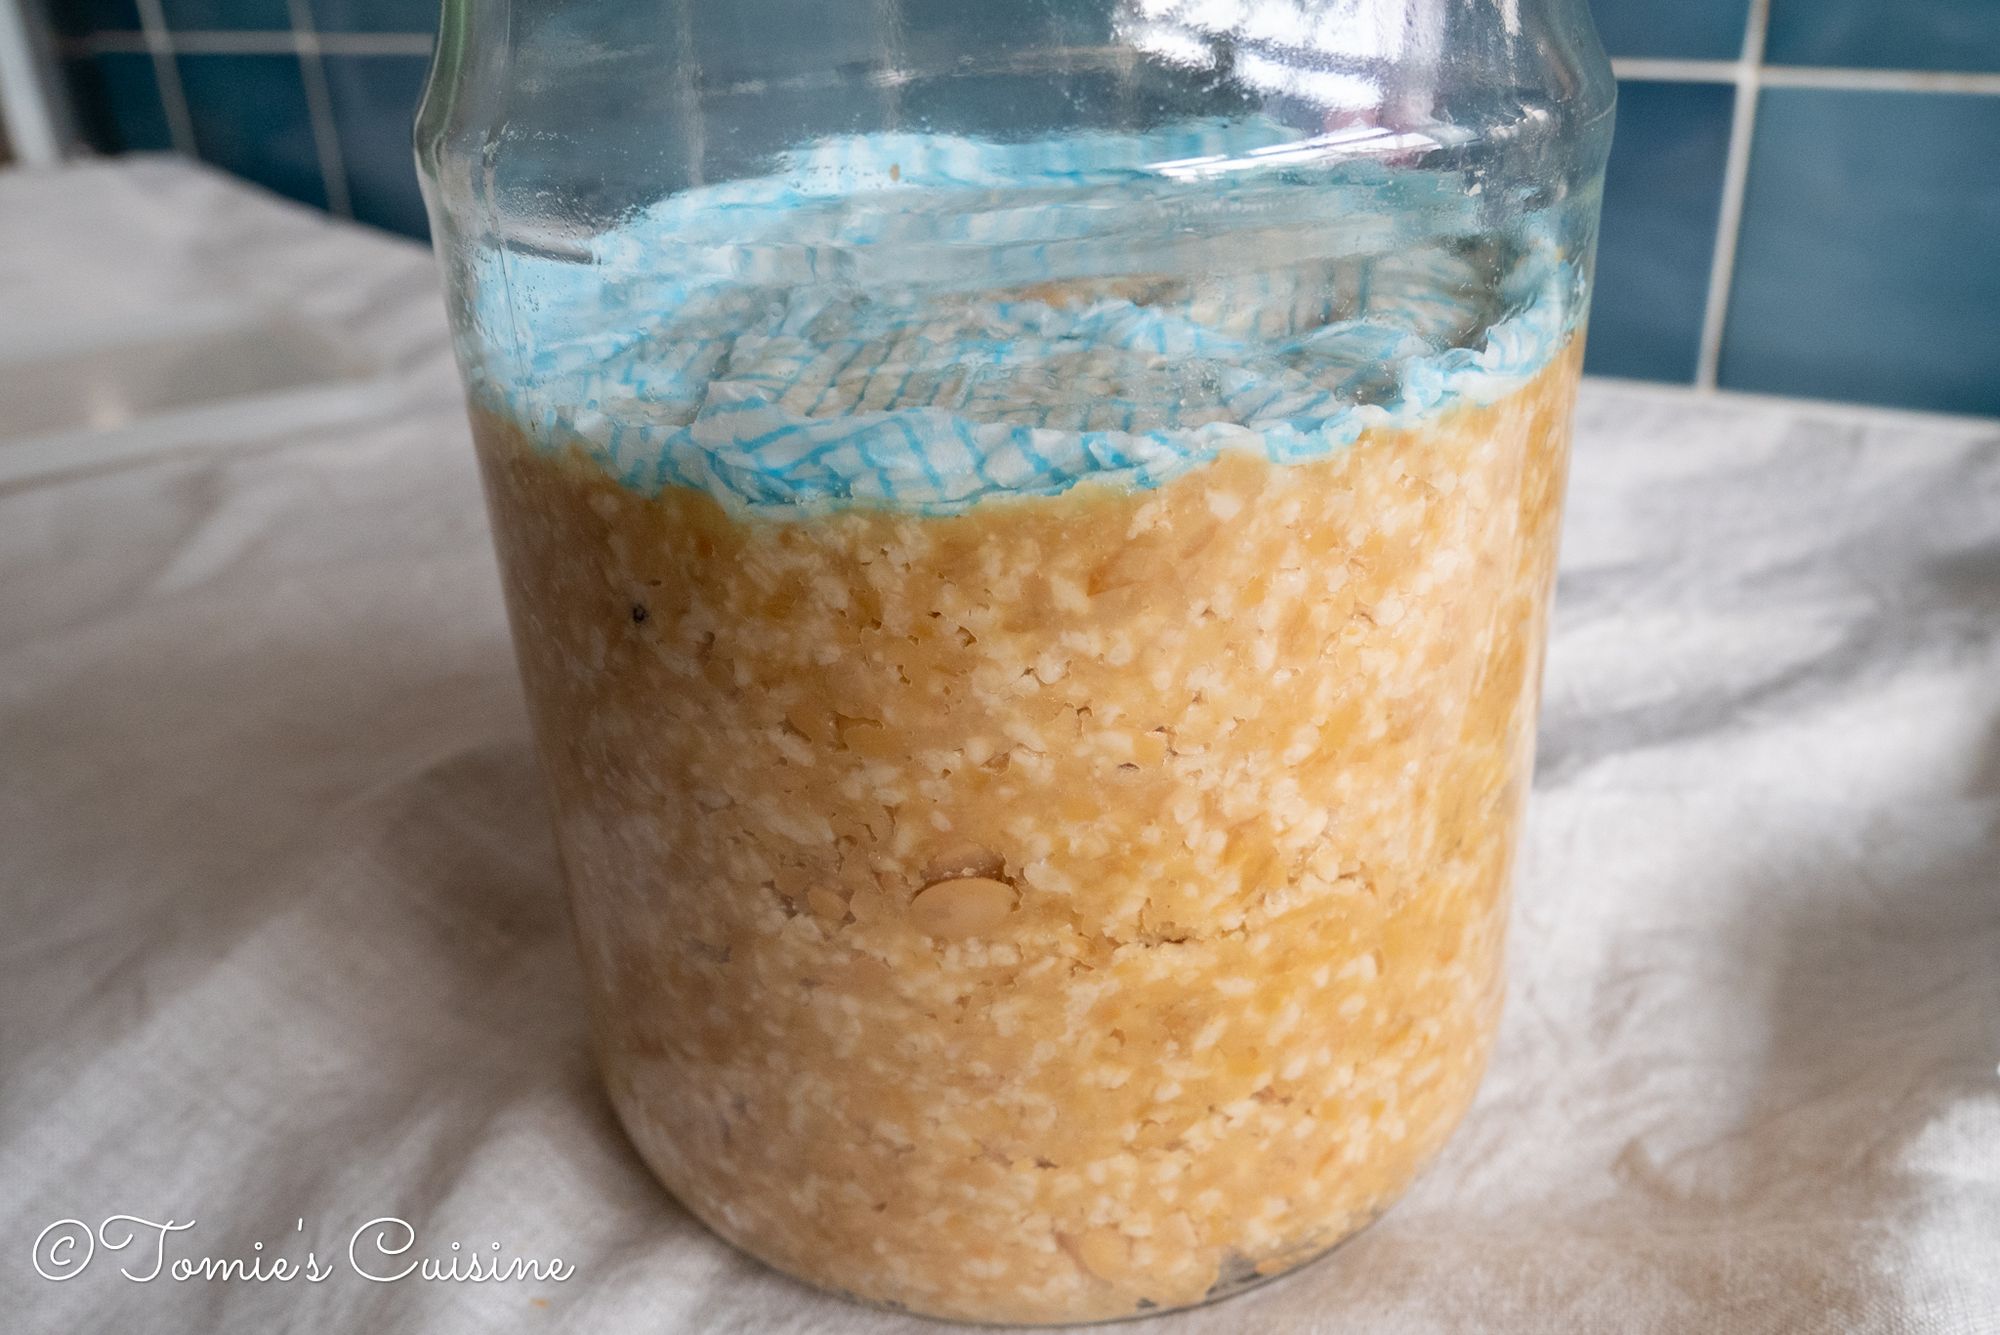
Once the jar is filled with miso, place a lightly squeezed kitchen roll on the top and press. Make sure to remove any air in between the miso and the paper.
5. Close the lid and keep it in a warm and dark place
All set. Now you leave it again and check it from time to time.
Closing words
And that is a wrap on our first report on homemade miso! I hope this will help you to continue the miso-making process. We will keep you updated, so please follow us on our Instagram, Pinterest, and Facebook and subscribe to our free newsletter to avoid missing our new articles!