This recipe is my original way of making kimchi. It’s different from the traditional Korean way of making kimchi at home, but I found it very handy. Generally, kimchi contains fish sauce and salted shrimp to bring more flavour. I like non-vegan kimchi but wanted to make delicious kimchi without any animal content. I am glad I could make this with my secret ingredient, the onion koji I introduced in the previous recipe article.
Hooray! Onion koji gives a great umami, and the kimchi will also cleanse your stomach thanks to its lactic acid bacteria that occurs during the fermentation process.
We are delighted with the kimchi results and haven’t bought kimchi from shops since then. Well, also because it’s more challenging to get it than when we used to live in London. Making it ourselves also reduces the amount of packaging waste, which is a great benefit of making kimchi at home.
Recipe
Ingredients
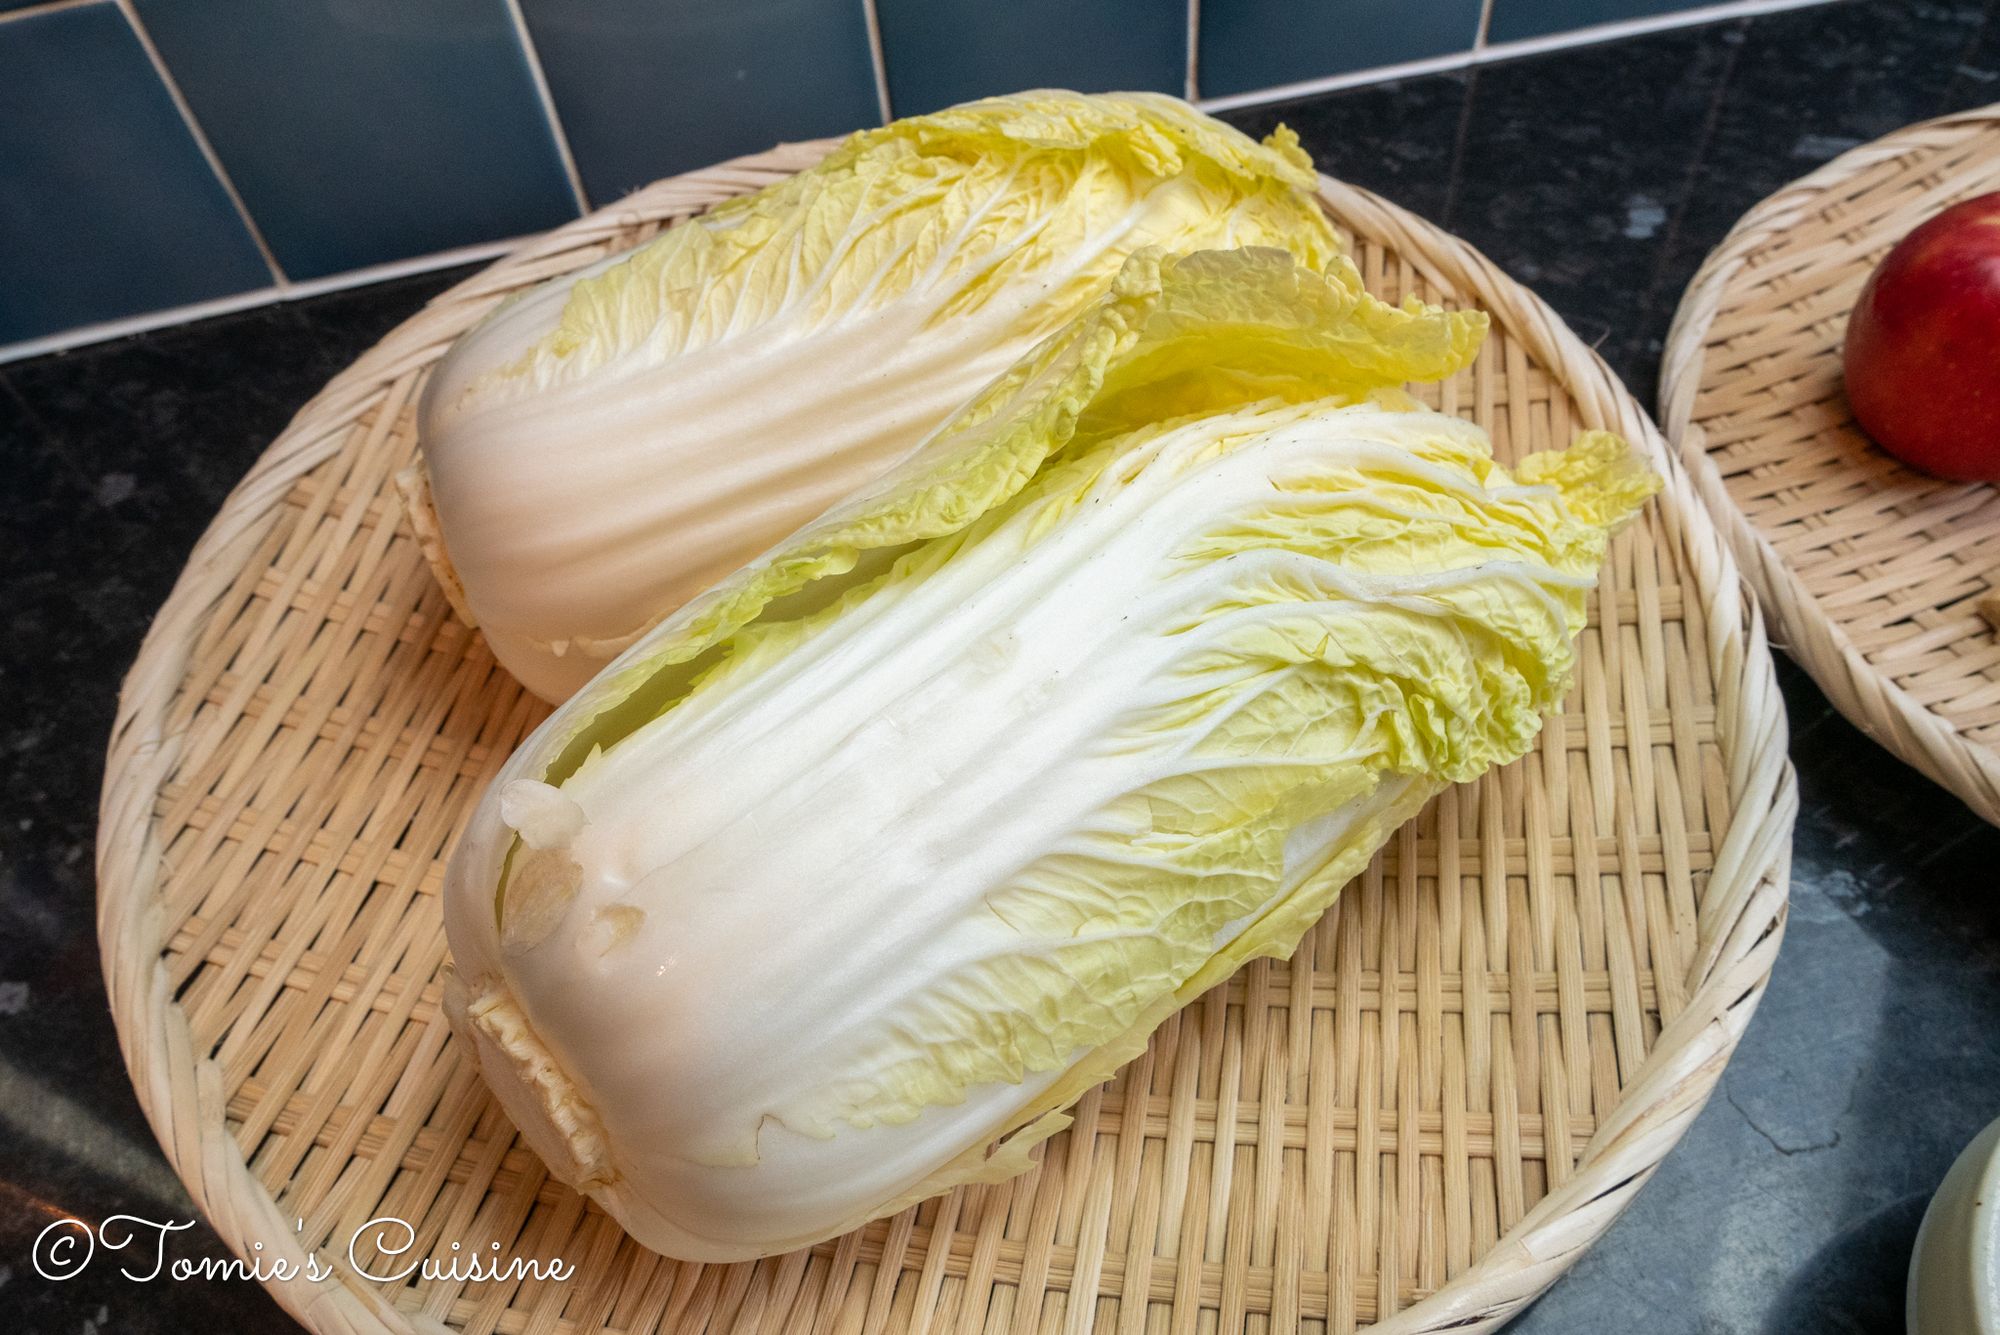
- 2 Chinese leaf (about 800g each)
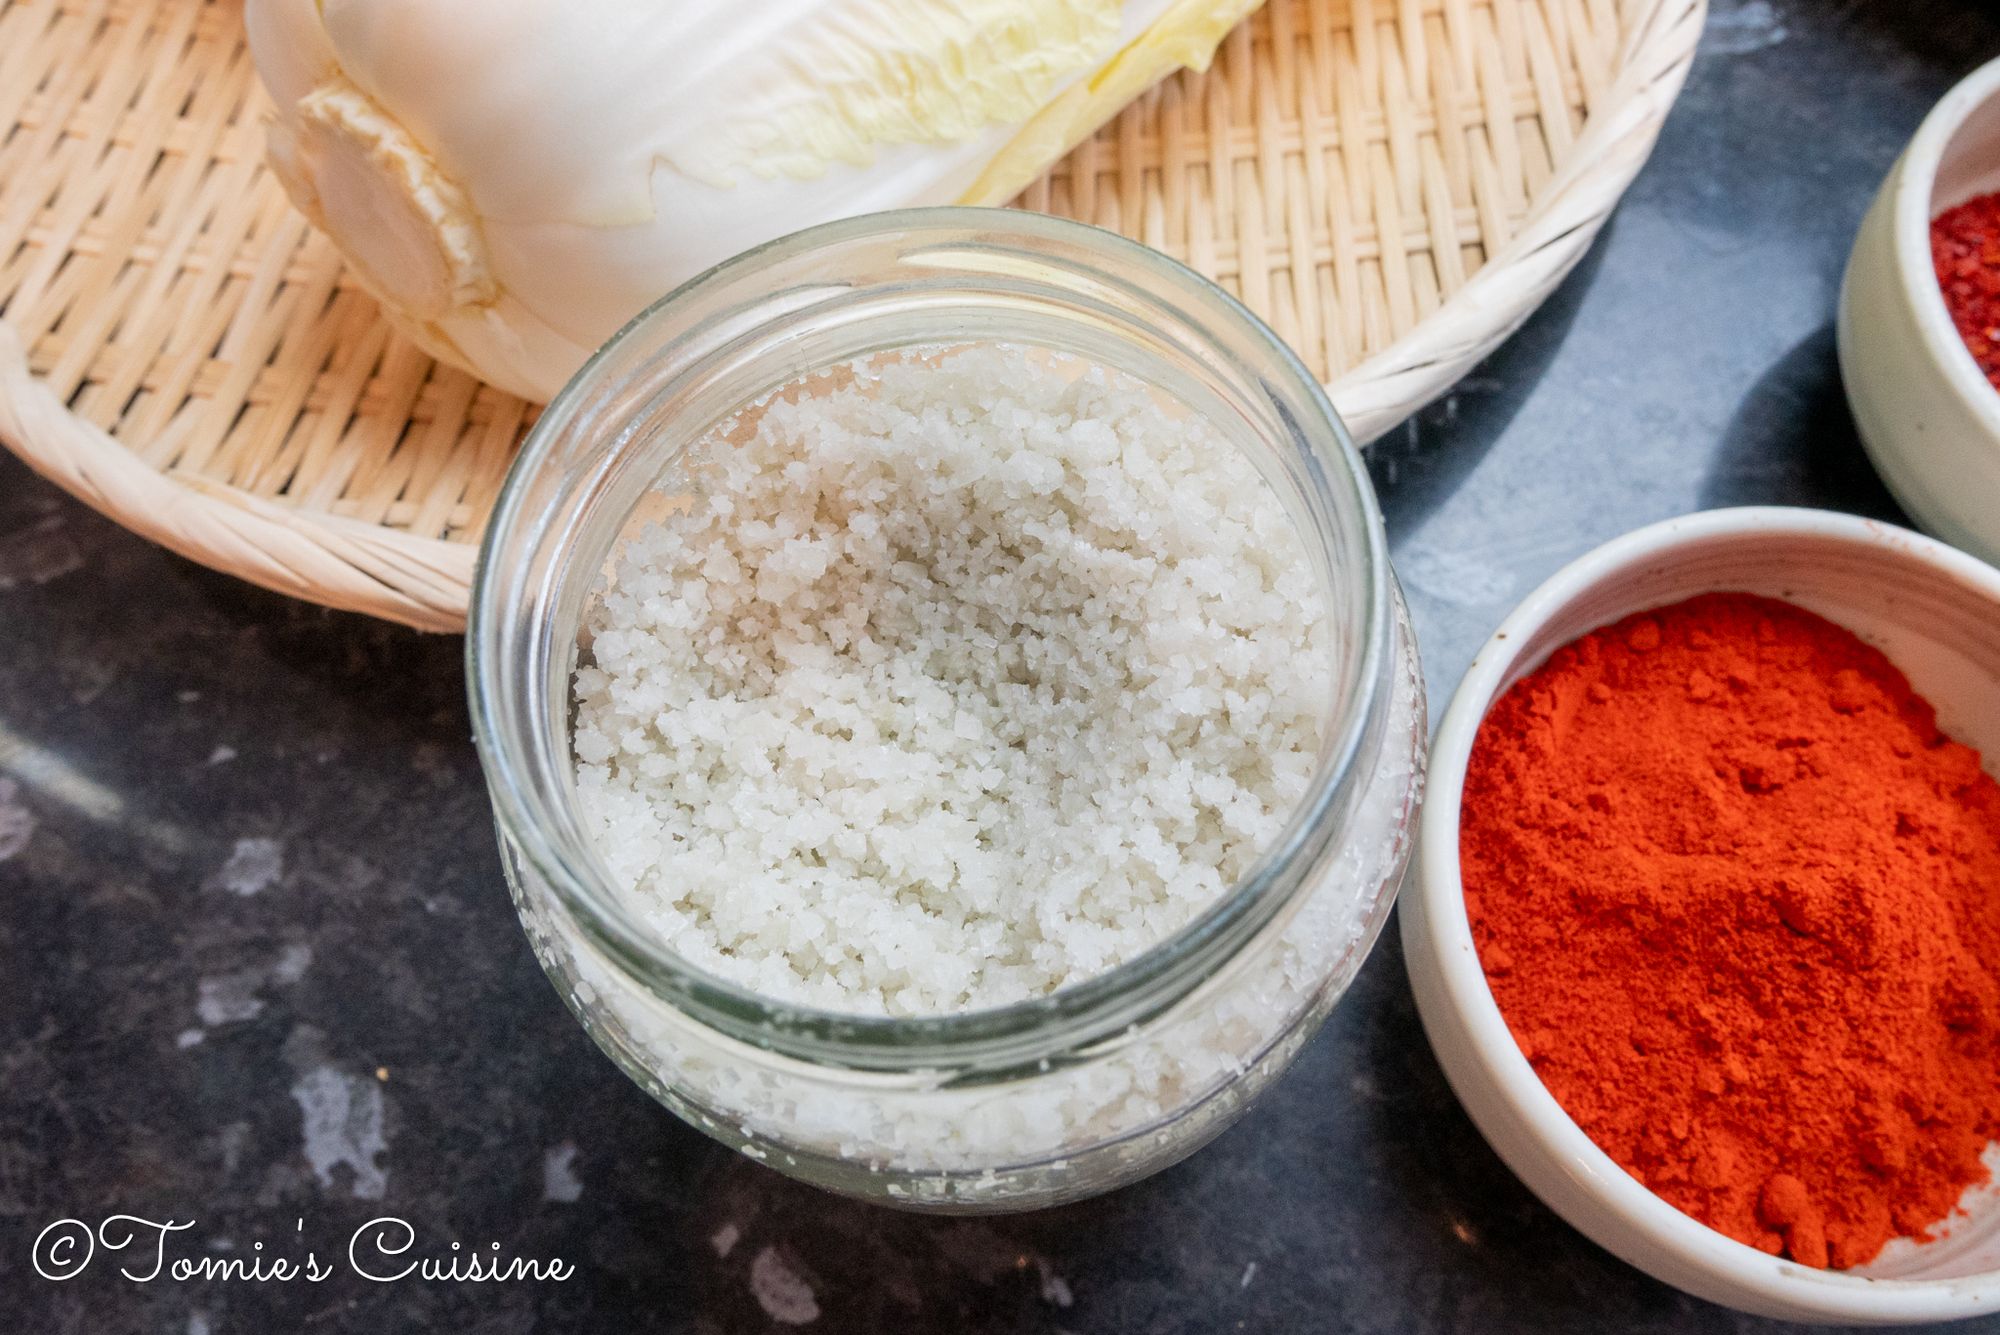
- 70g coarse sea salt
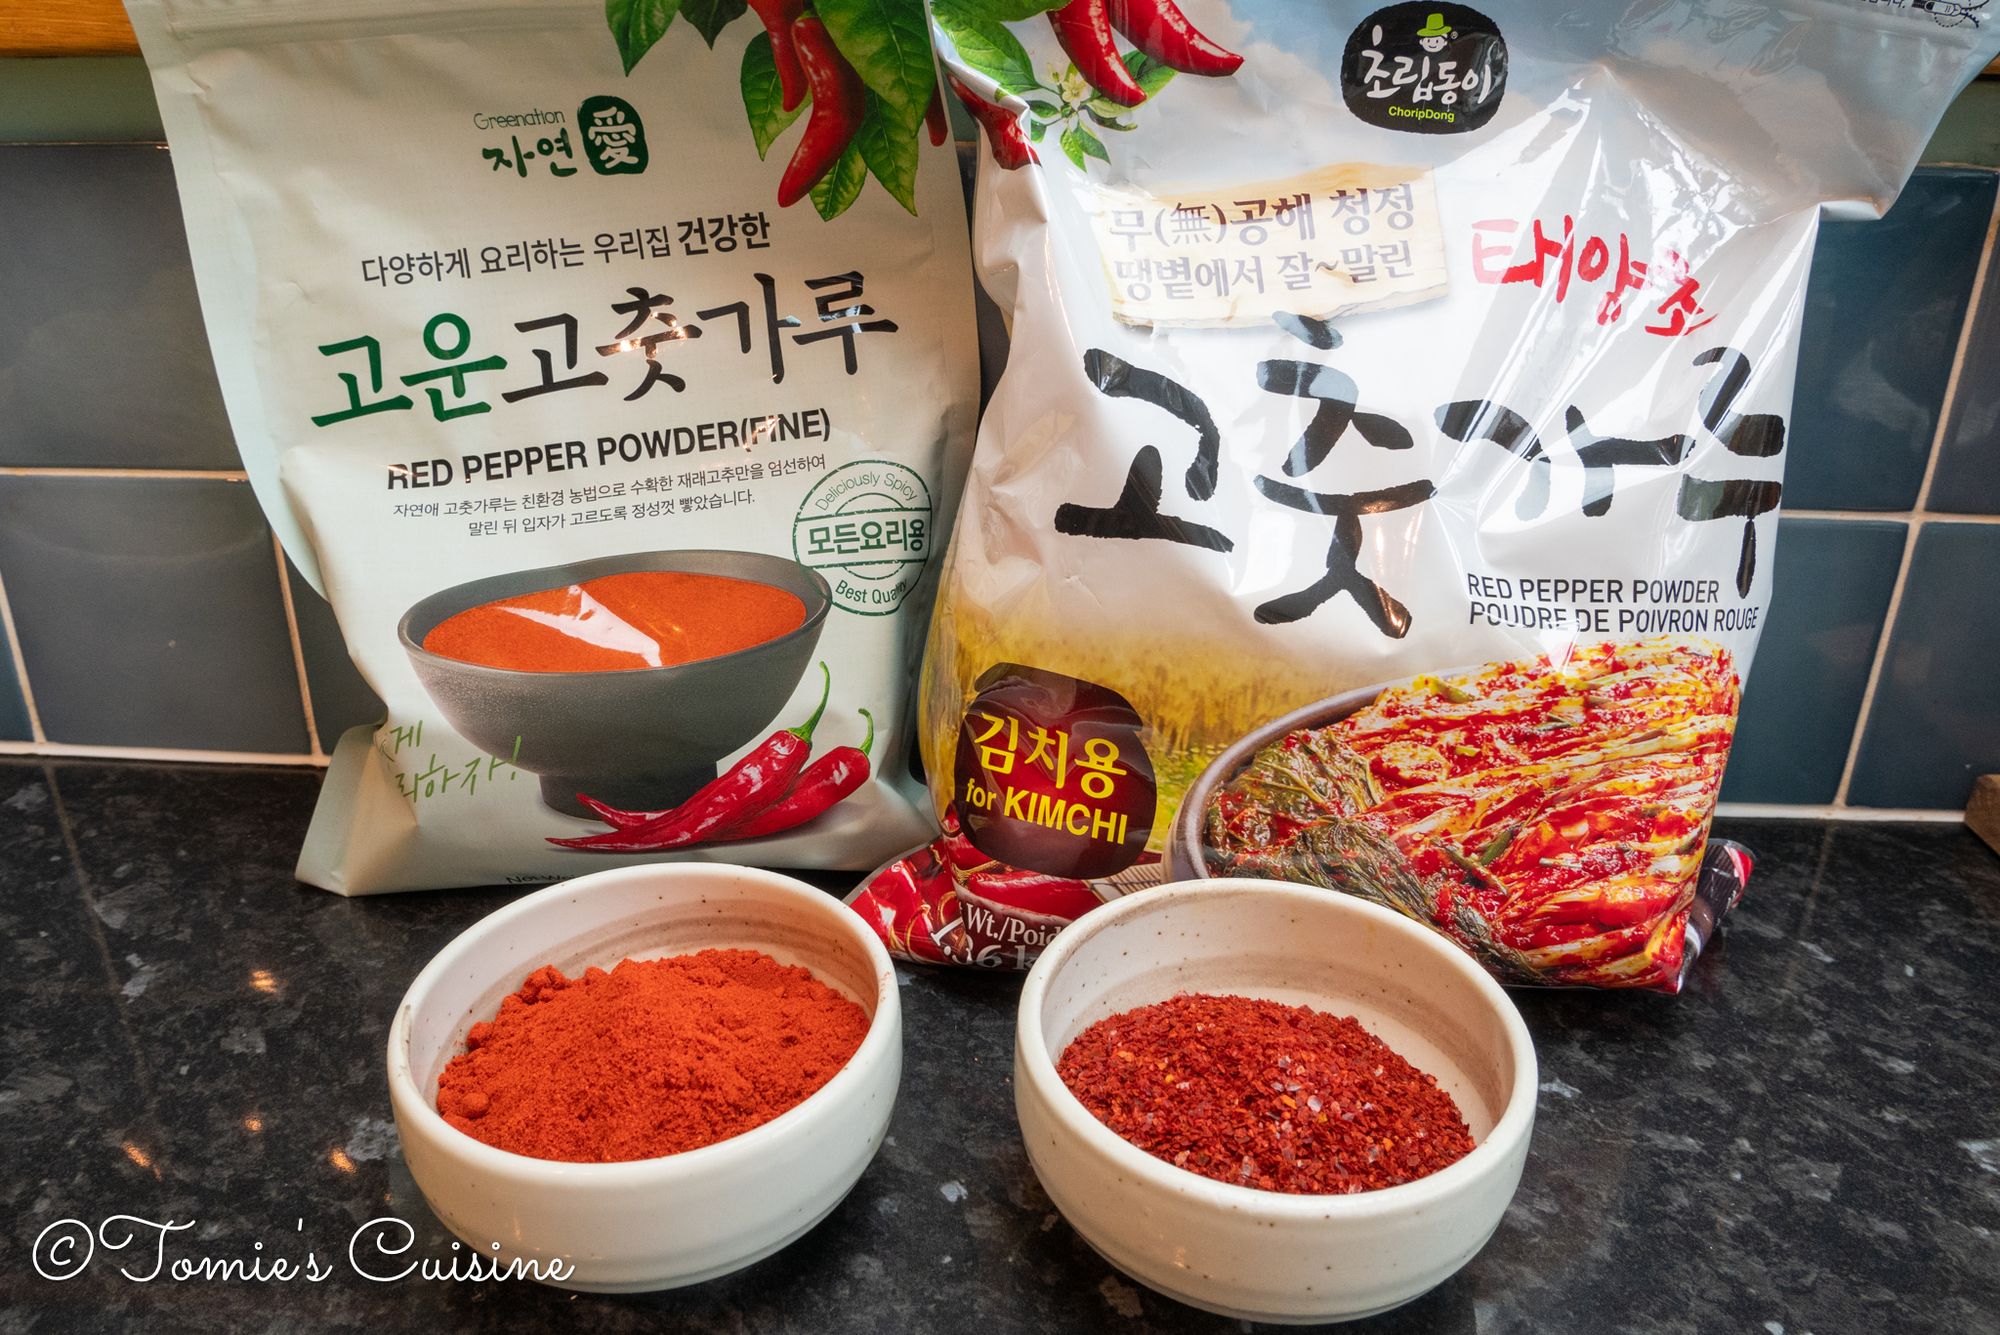
- 6 tbsp Korean coarse chilli powder
- 6 tbsp Korean fine chili powder
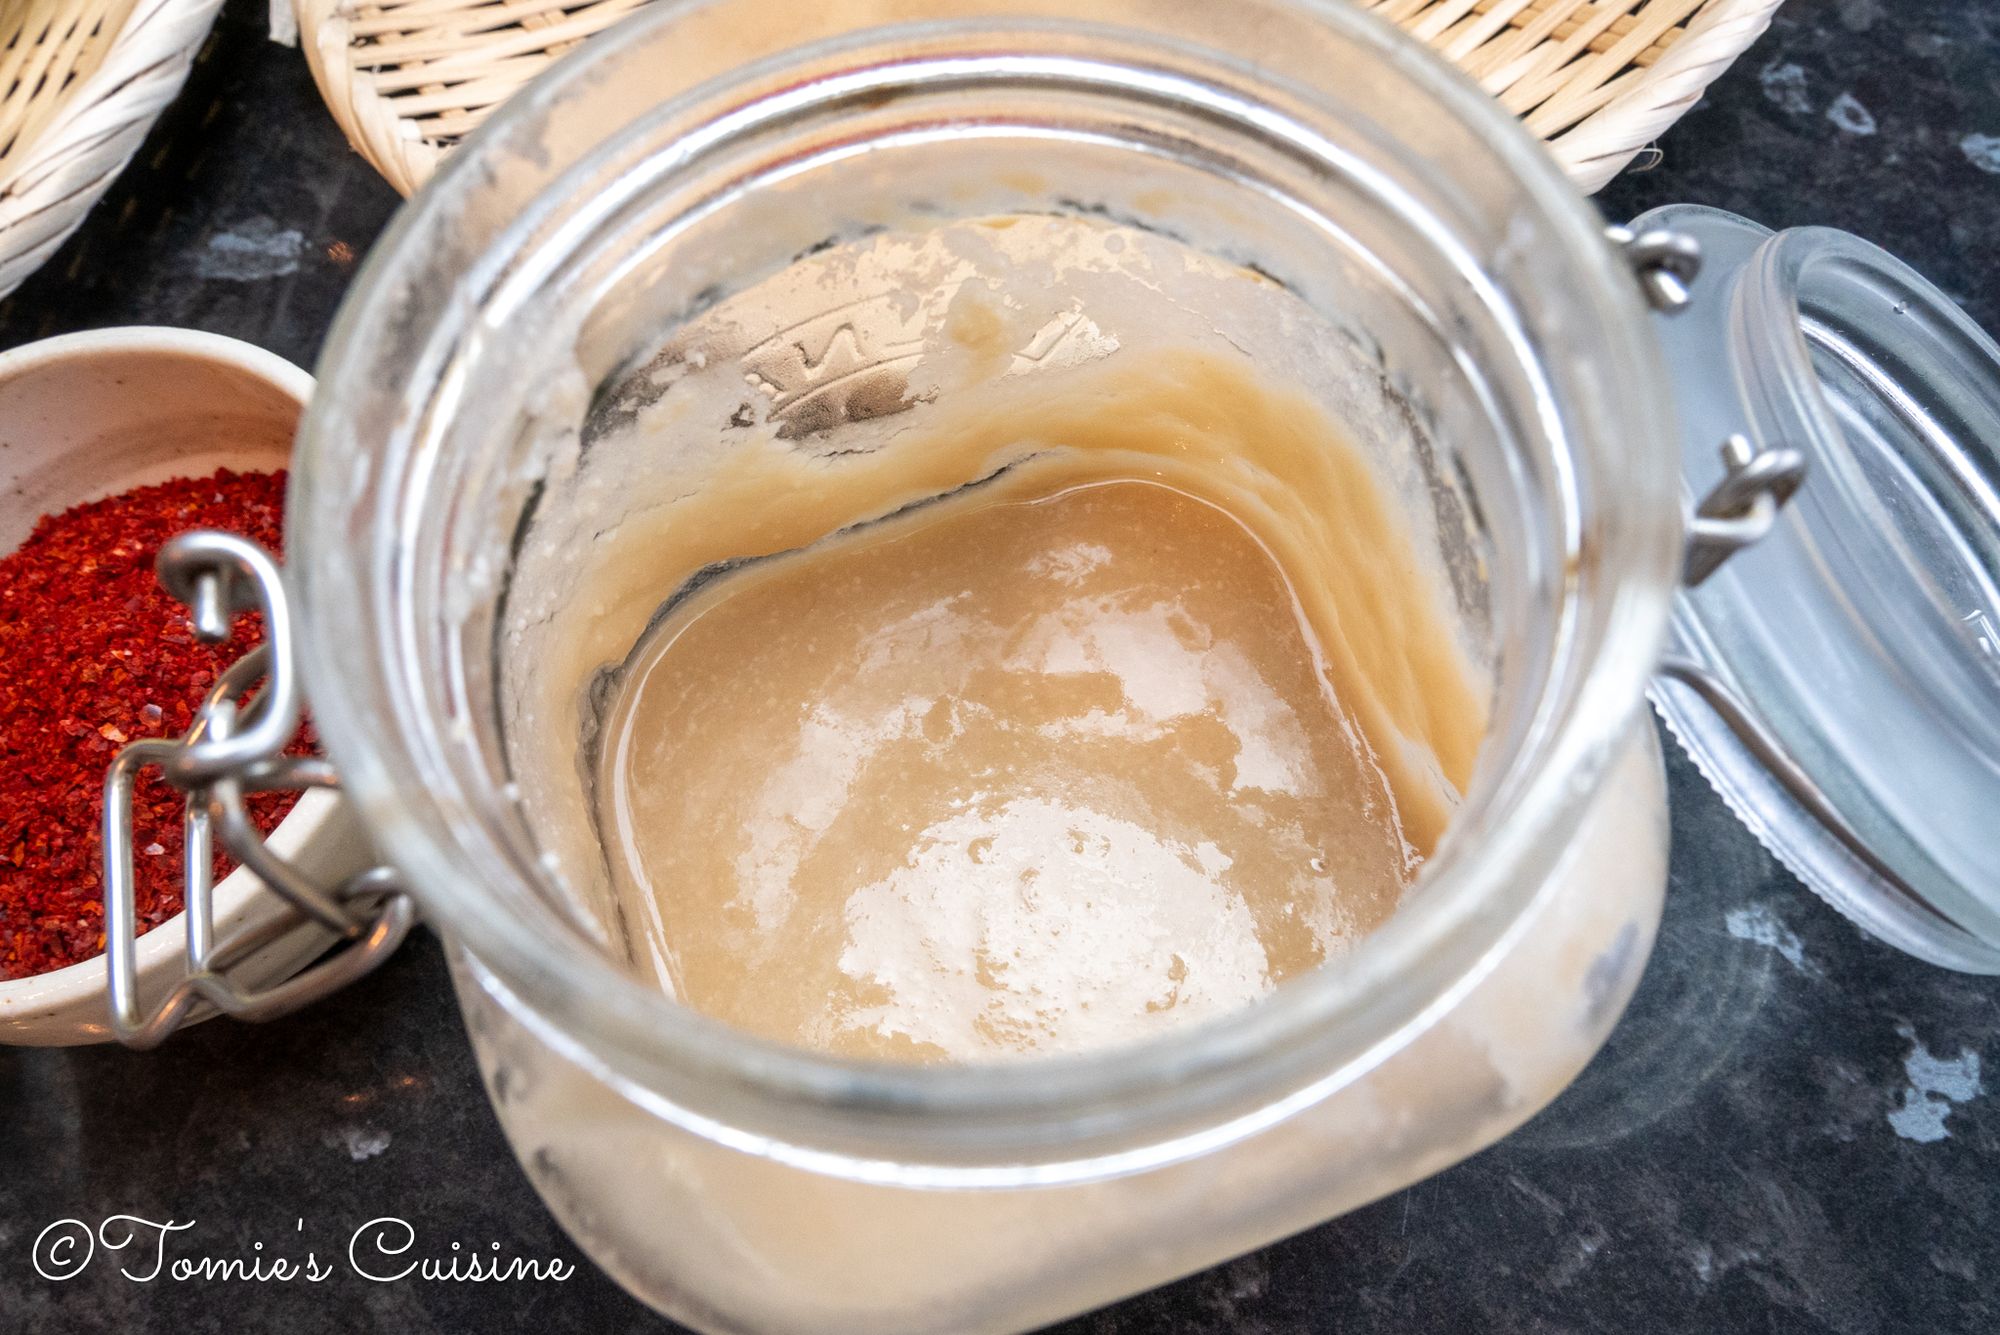
- 4 tbsp Onion koji
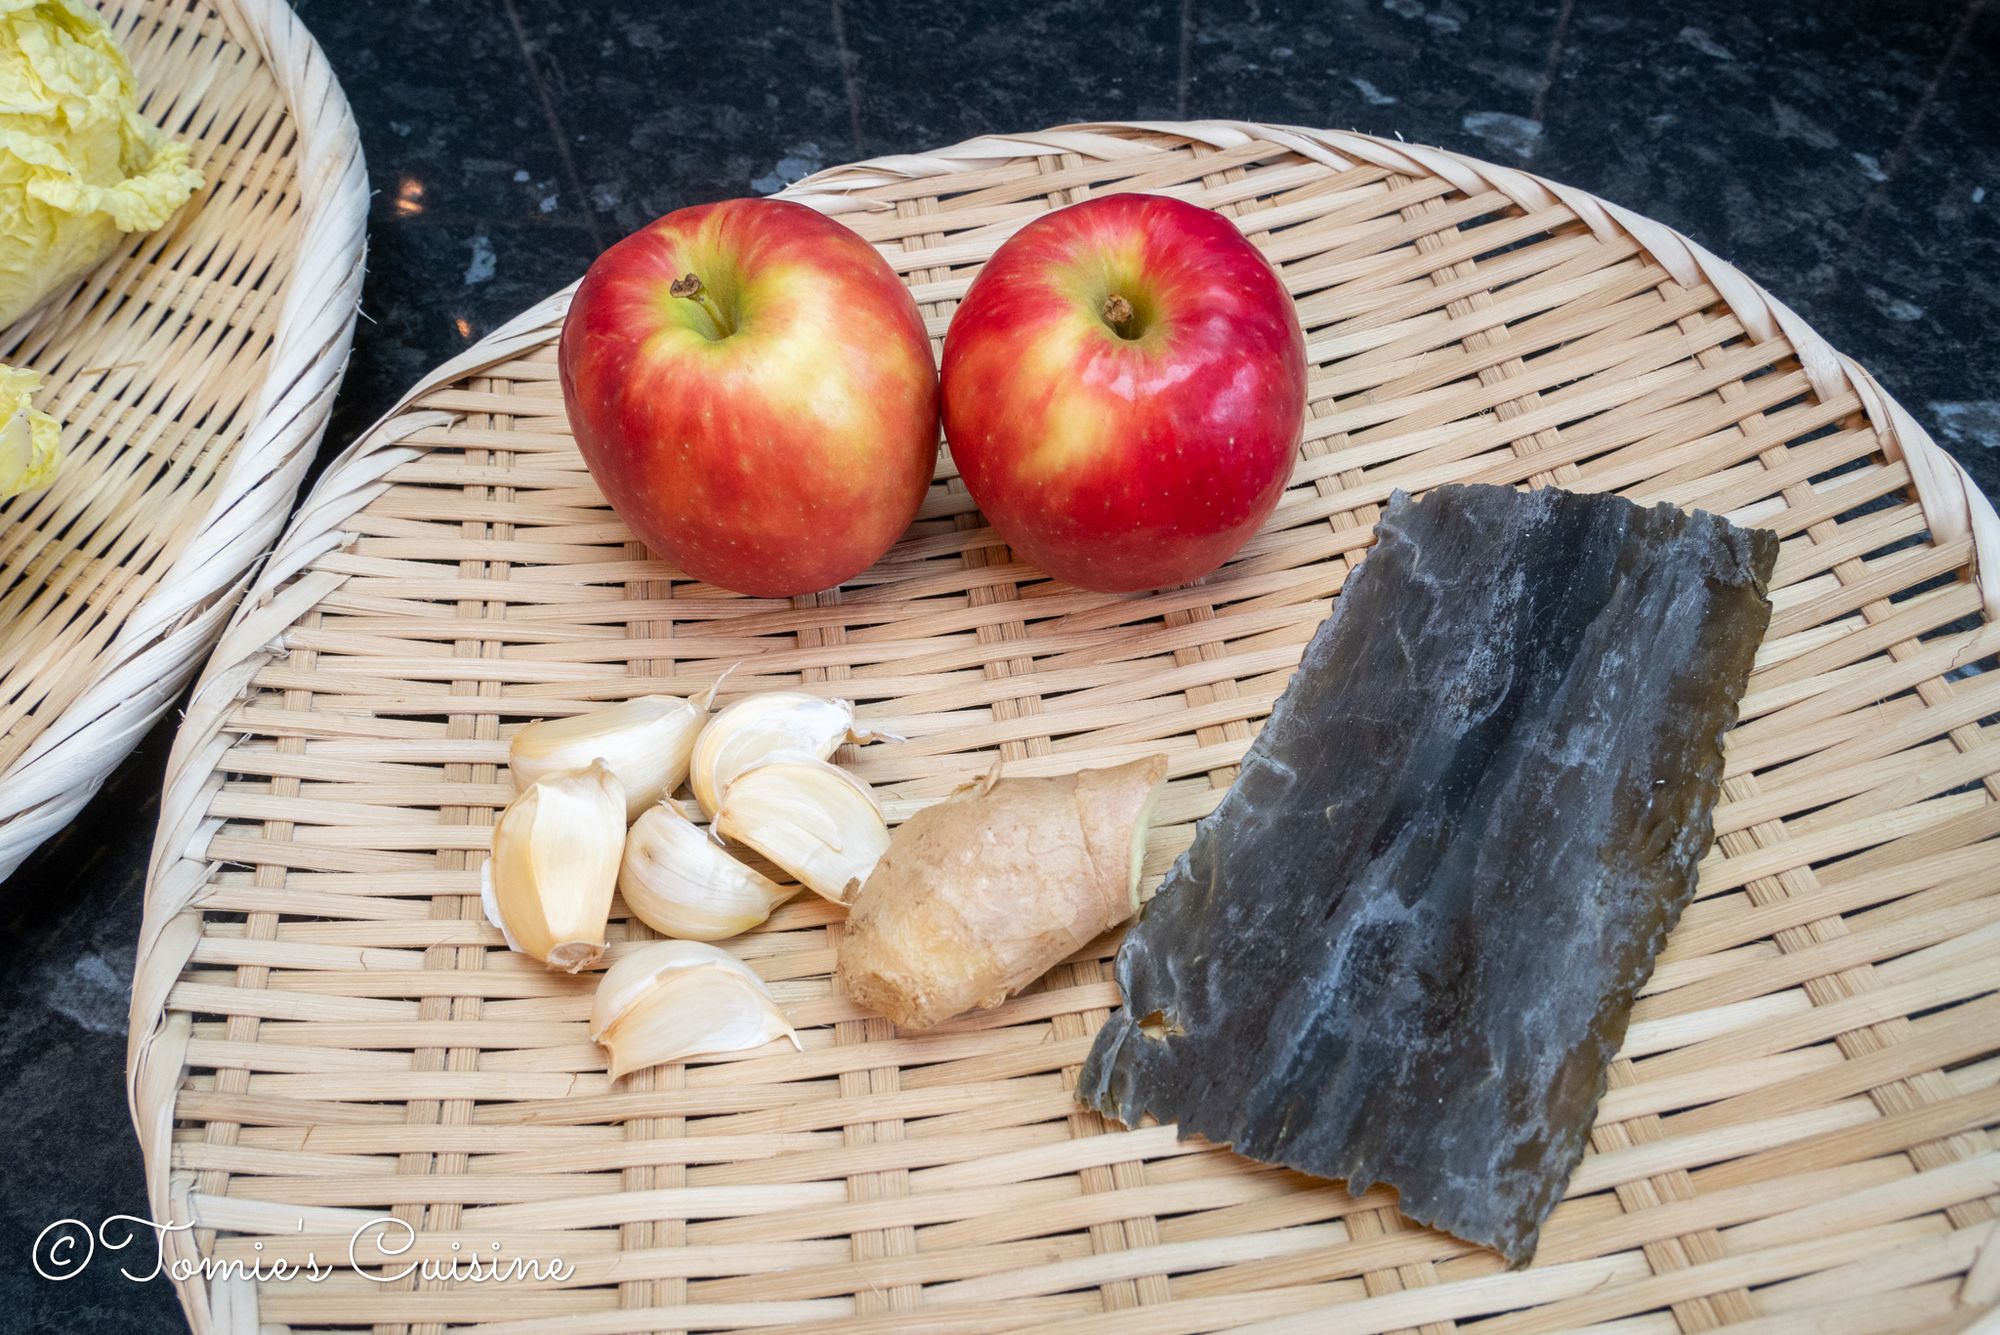
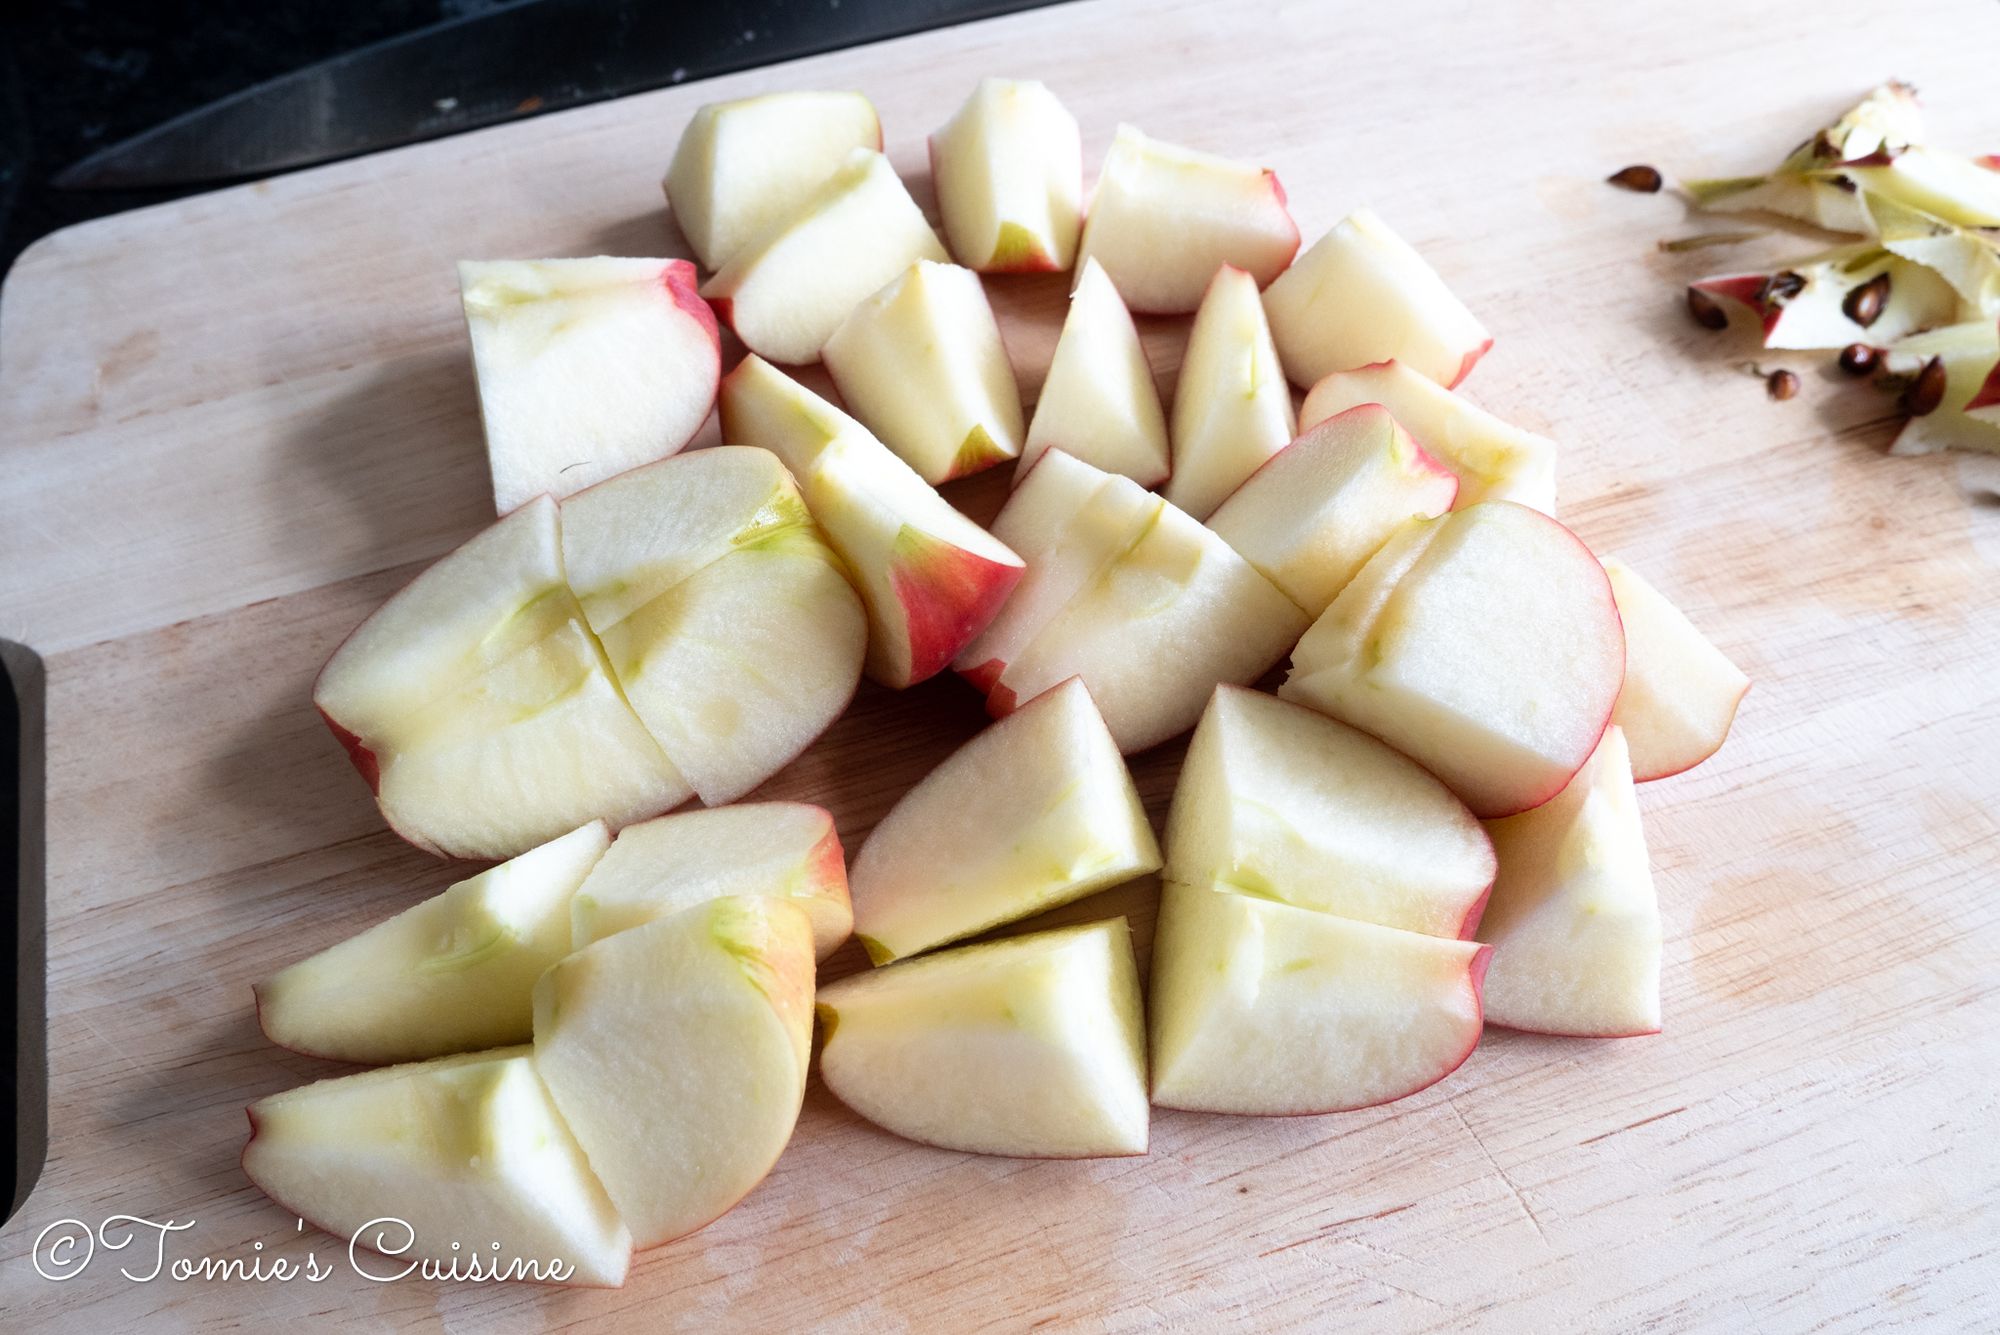
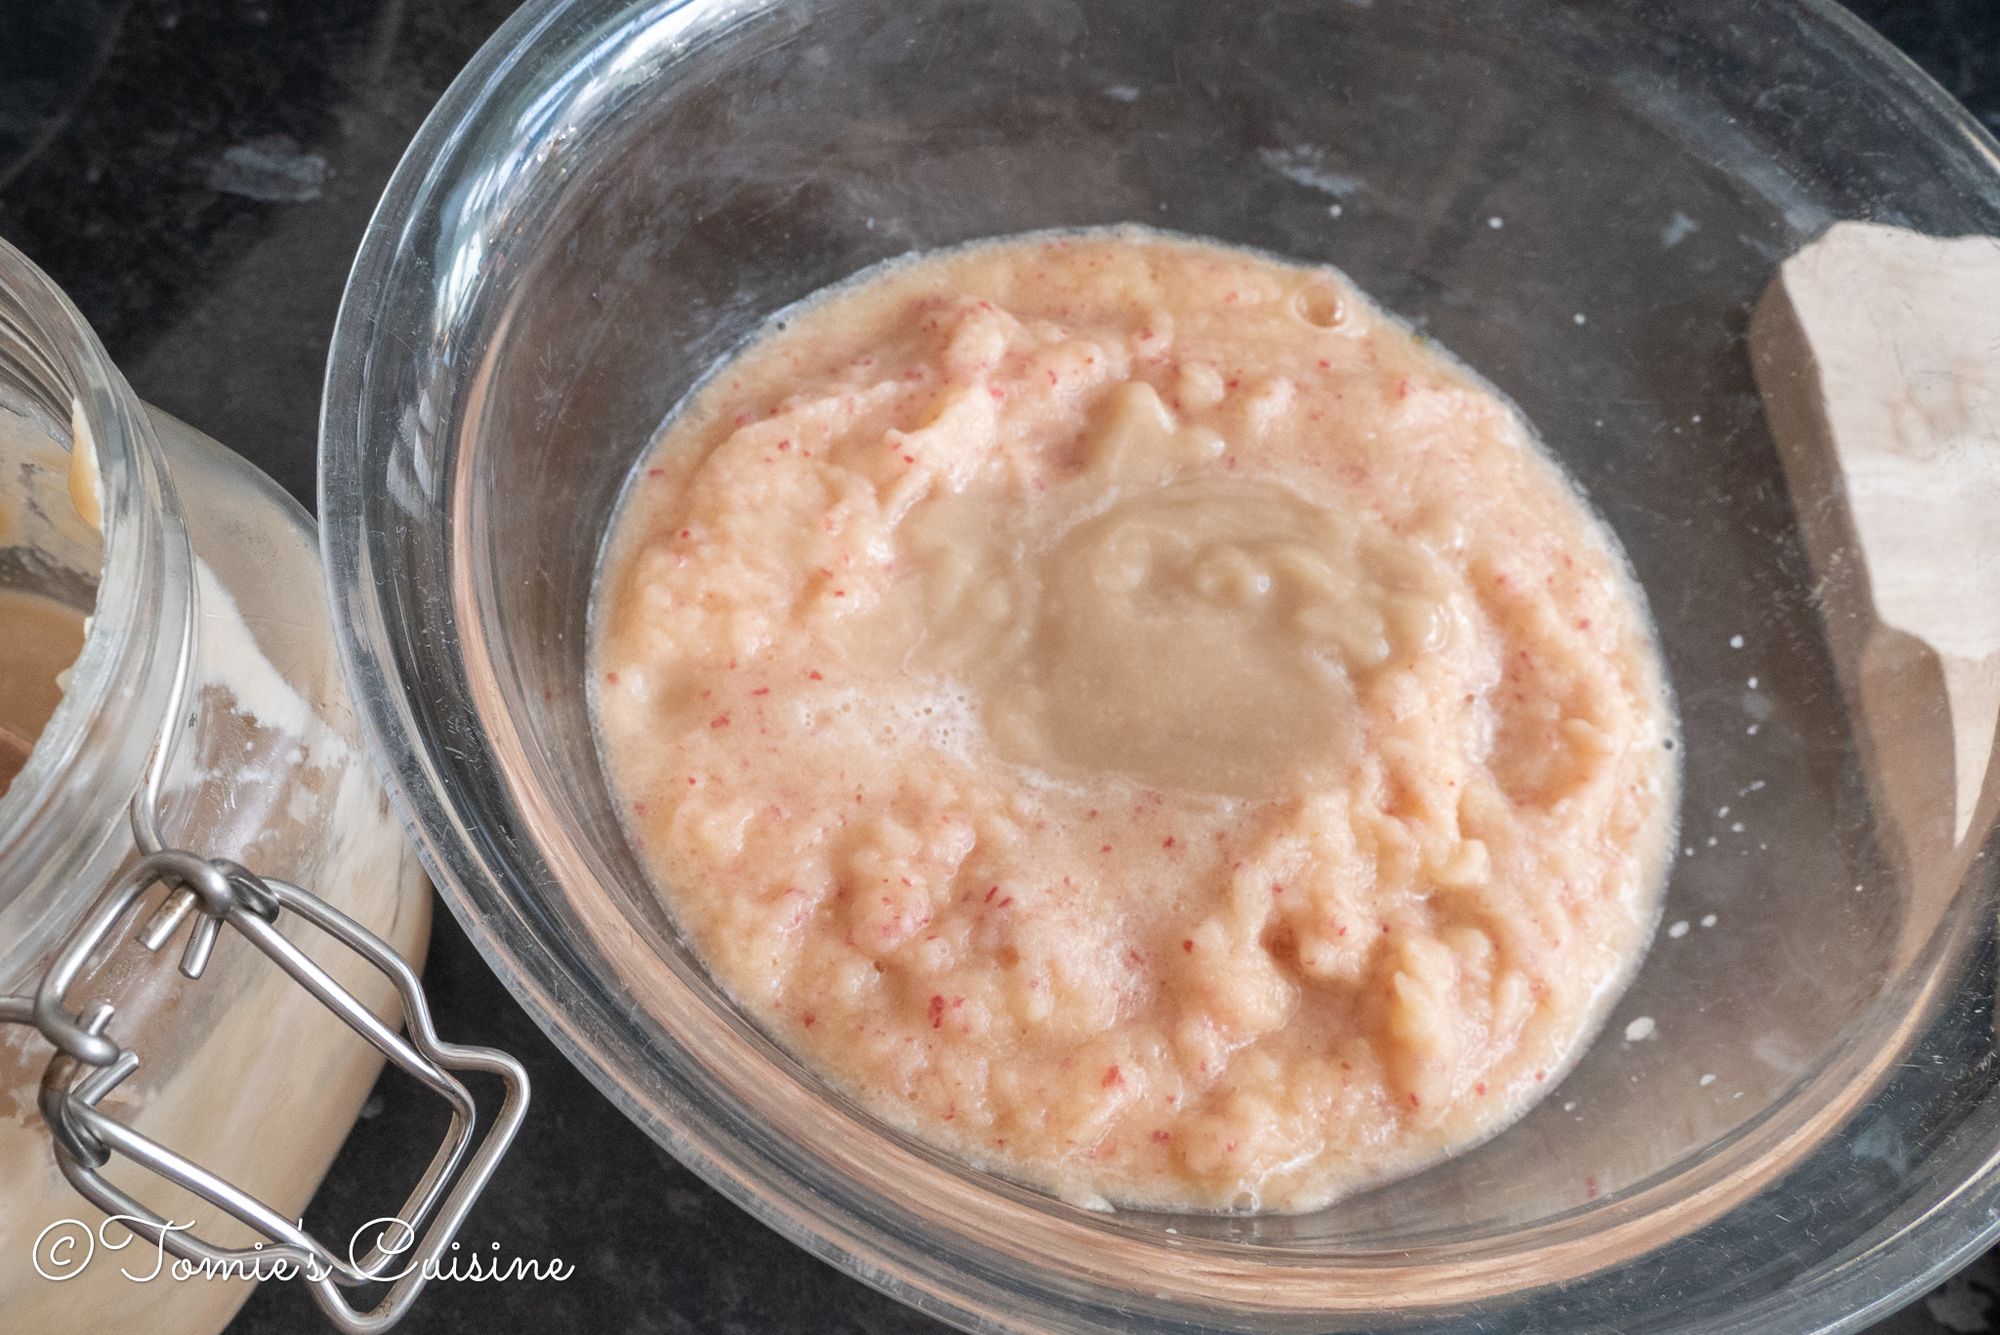
- 2 organic apples
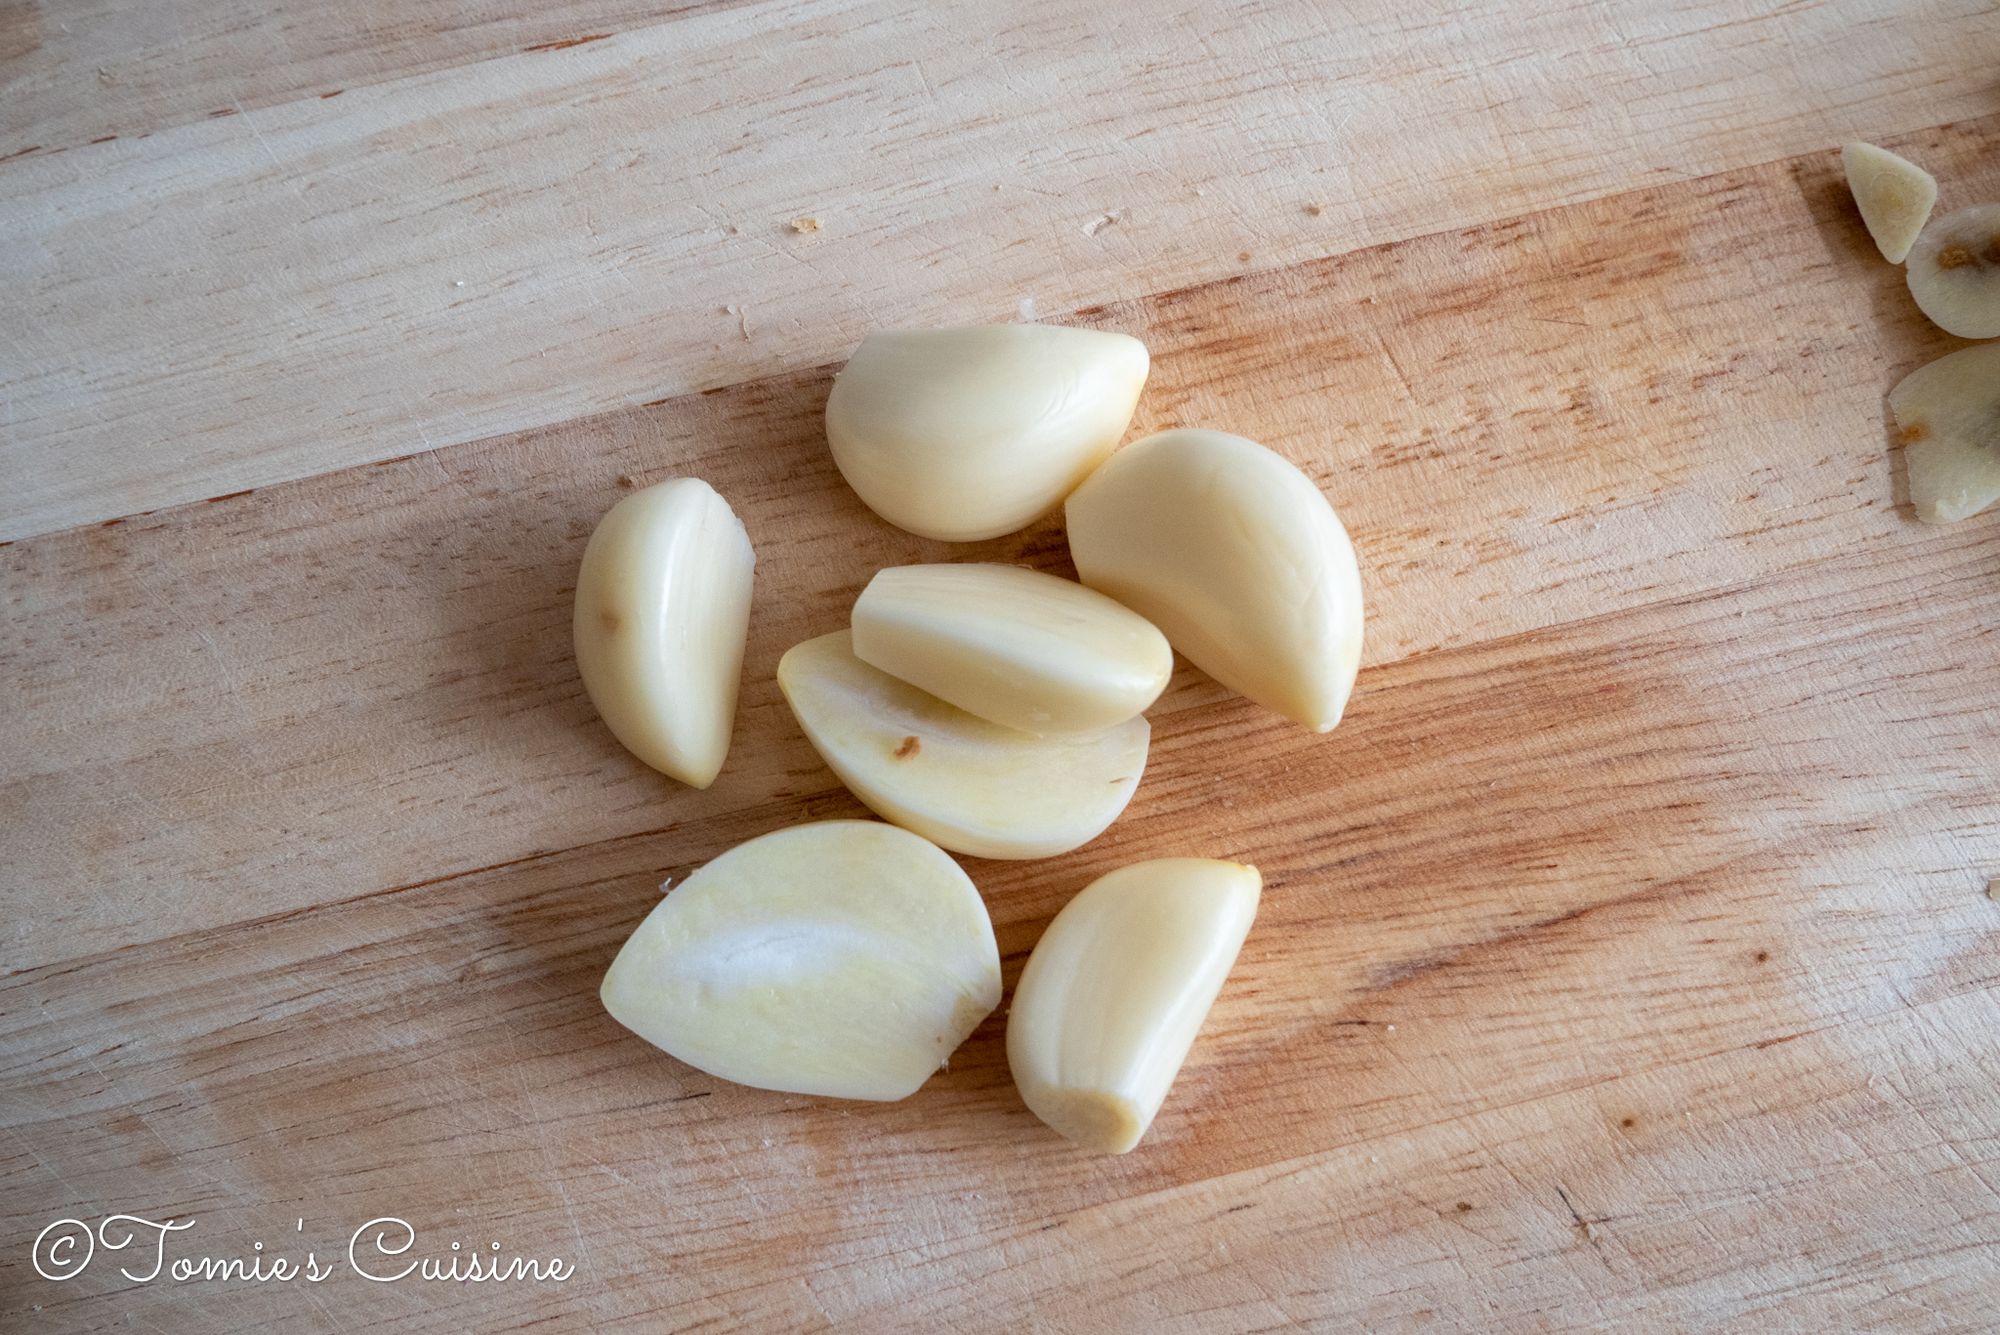
- 6 cloves of garlic
- Some ginger
- Dried Kombu
- Garlic chives (optional)
Tools
- Chopping board
- Knife
- Large bowl
- Blender or fine grater
- Kitchen scissors
- Glass food jar
Instructions

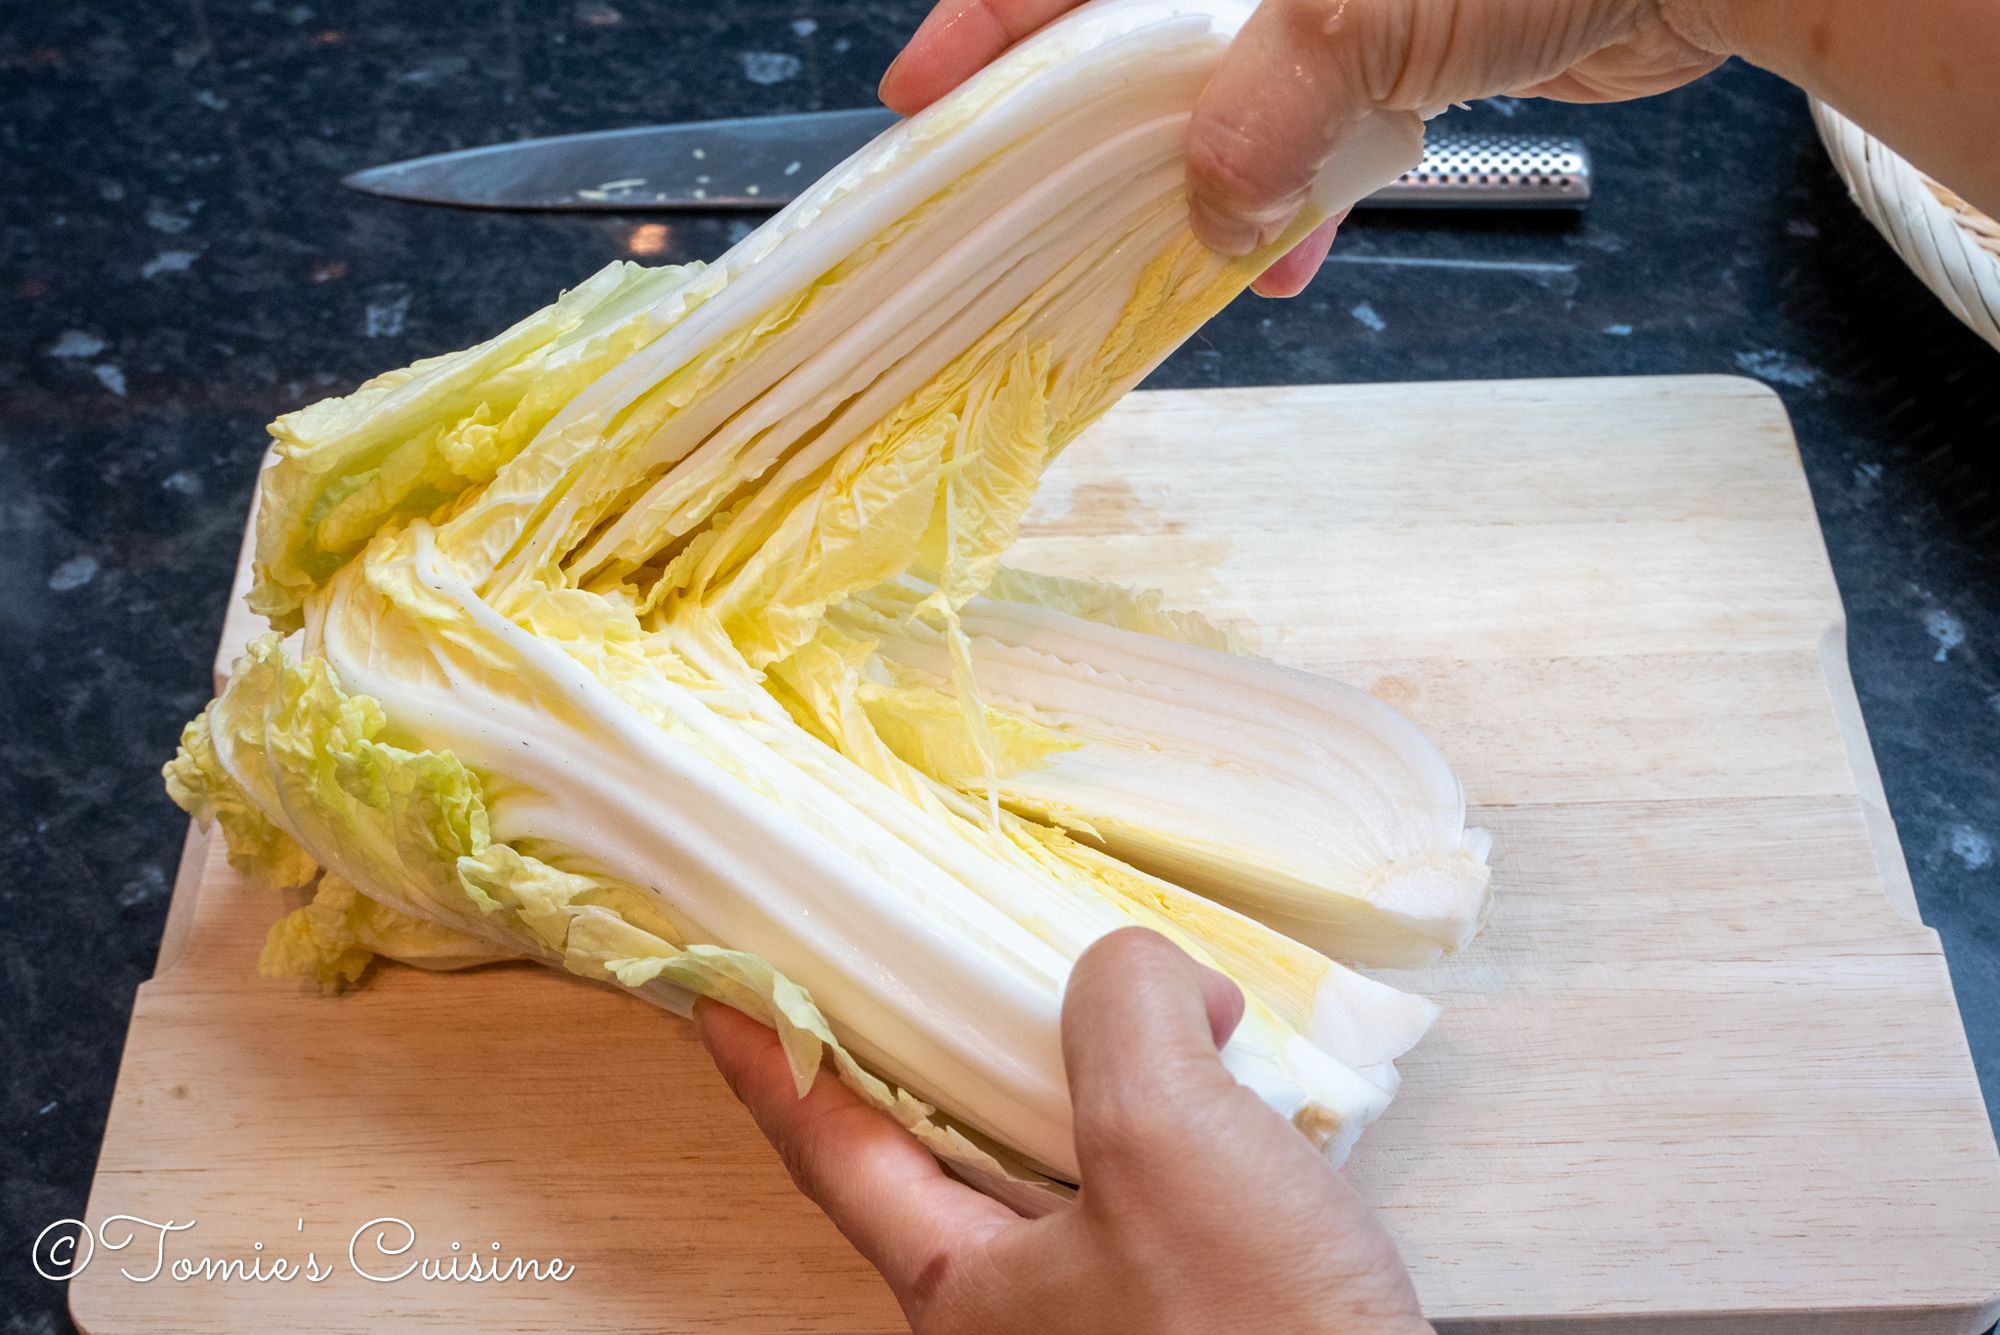
- Cut the bottom of the Chinese leaves into quarters and split them by hand.
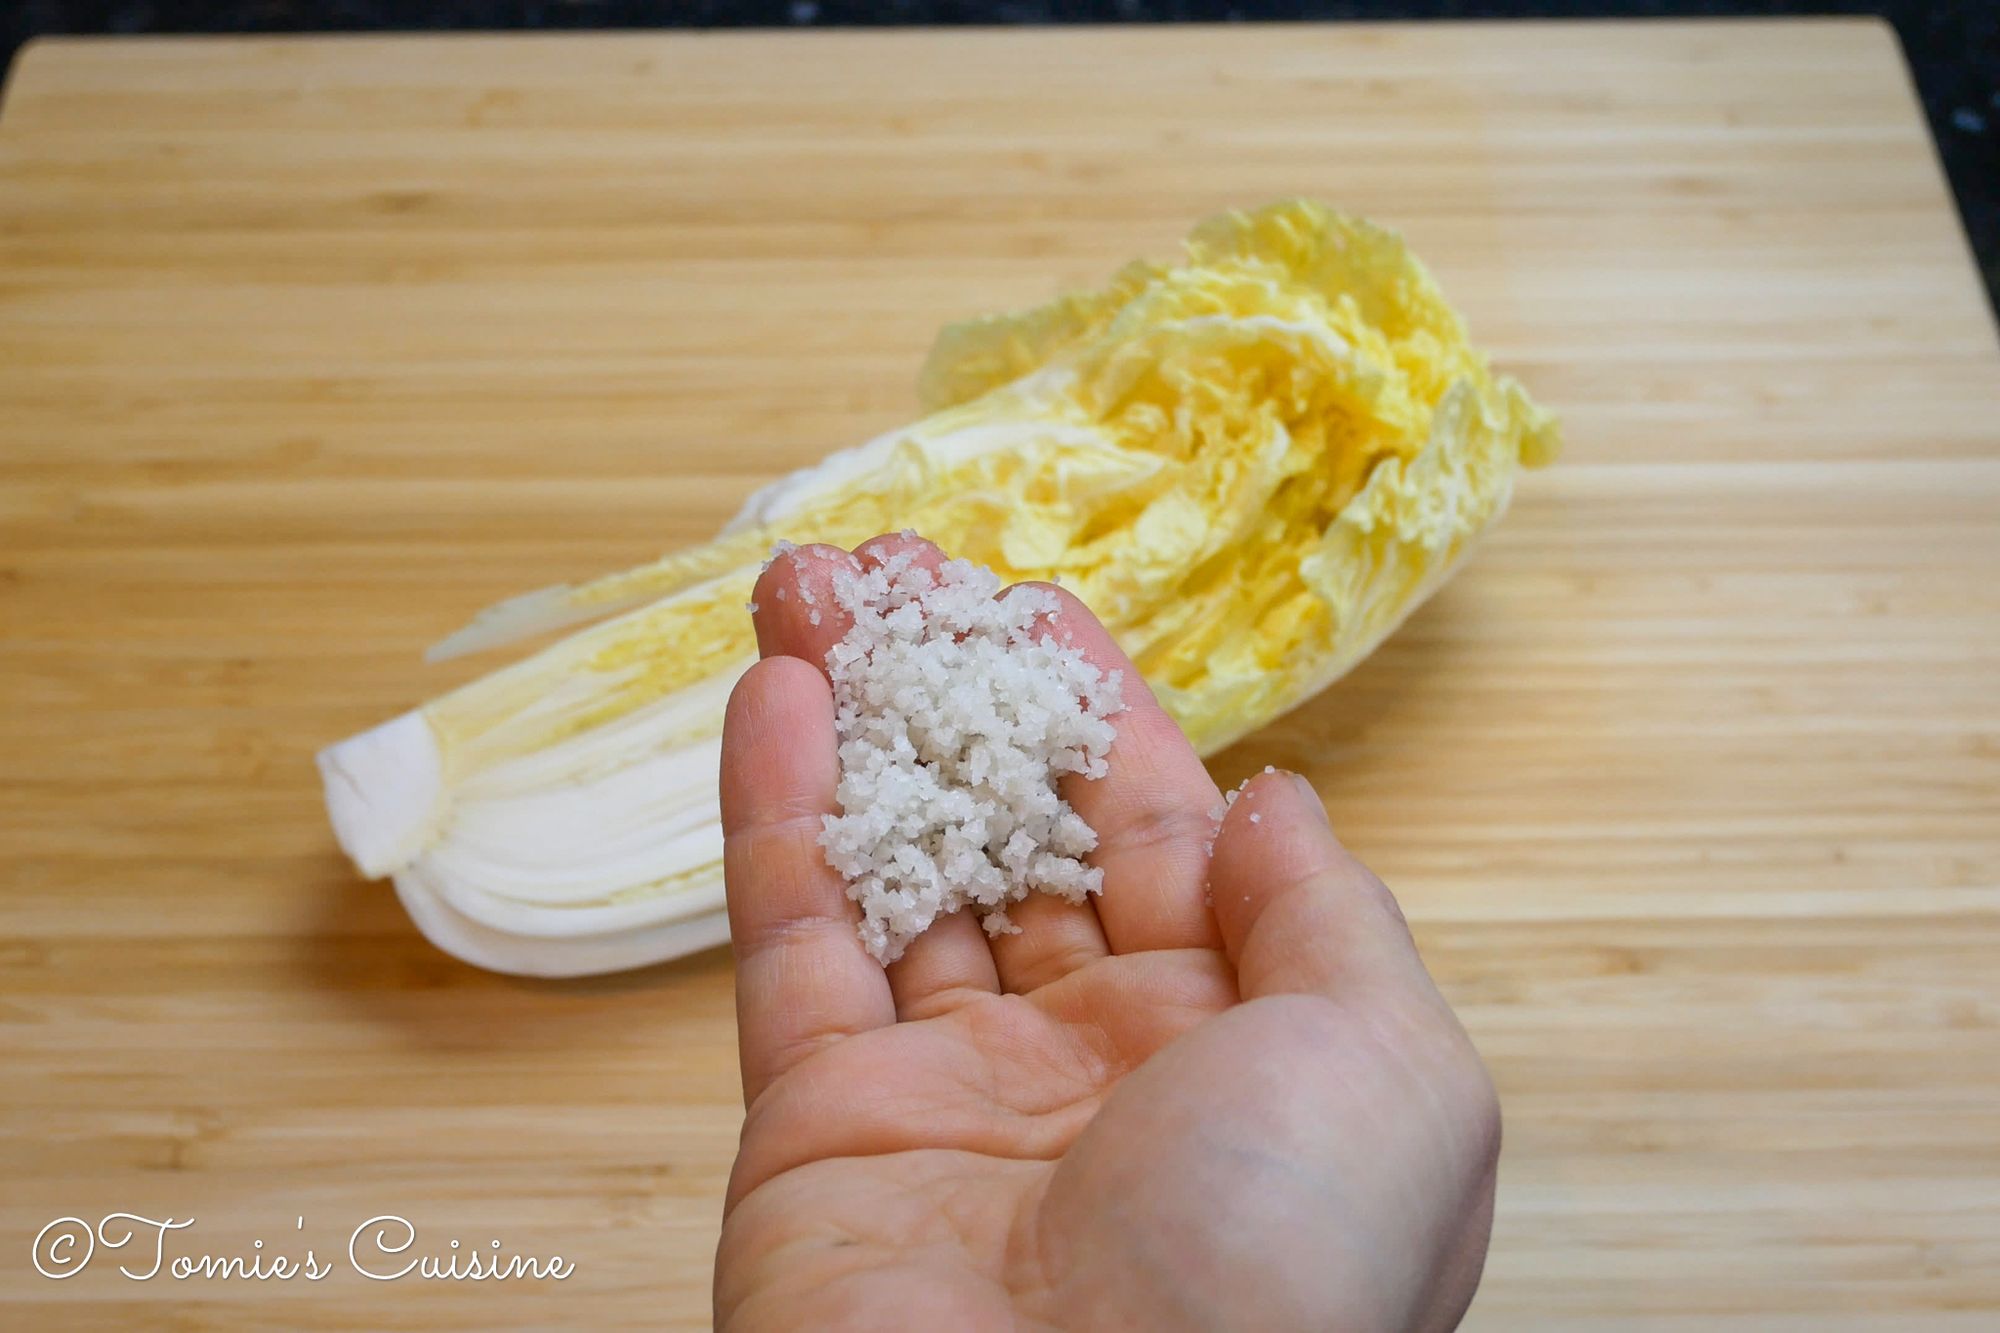
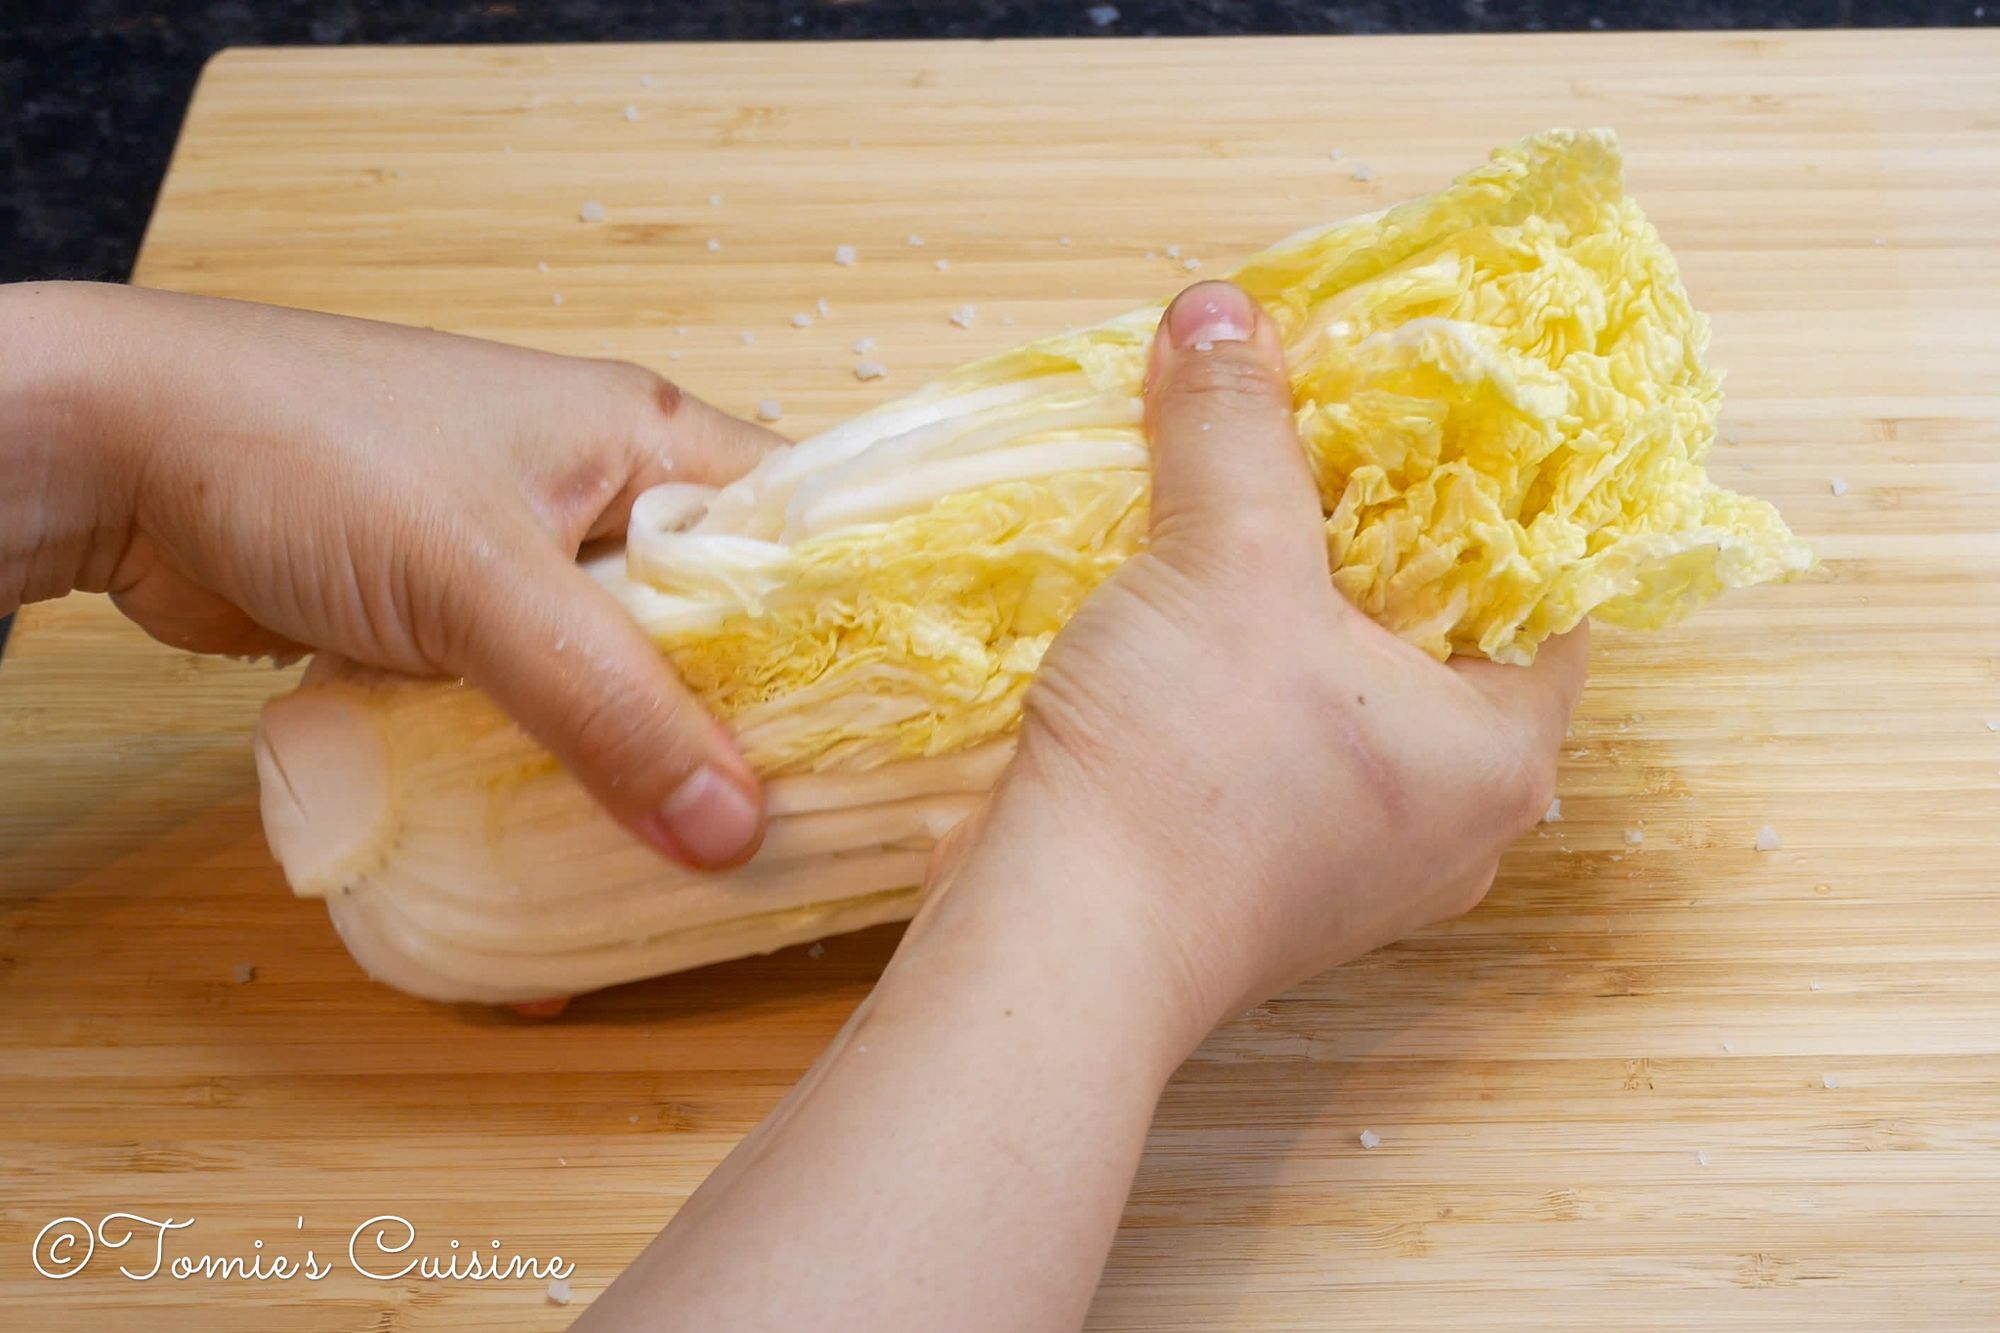
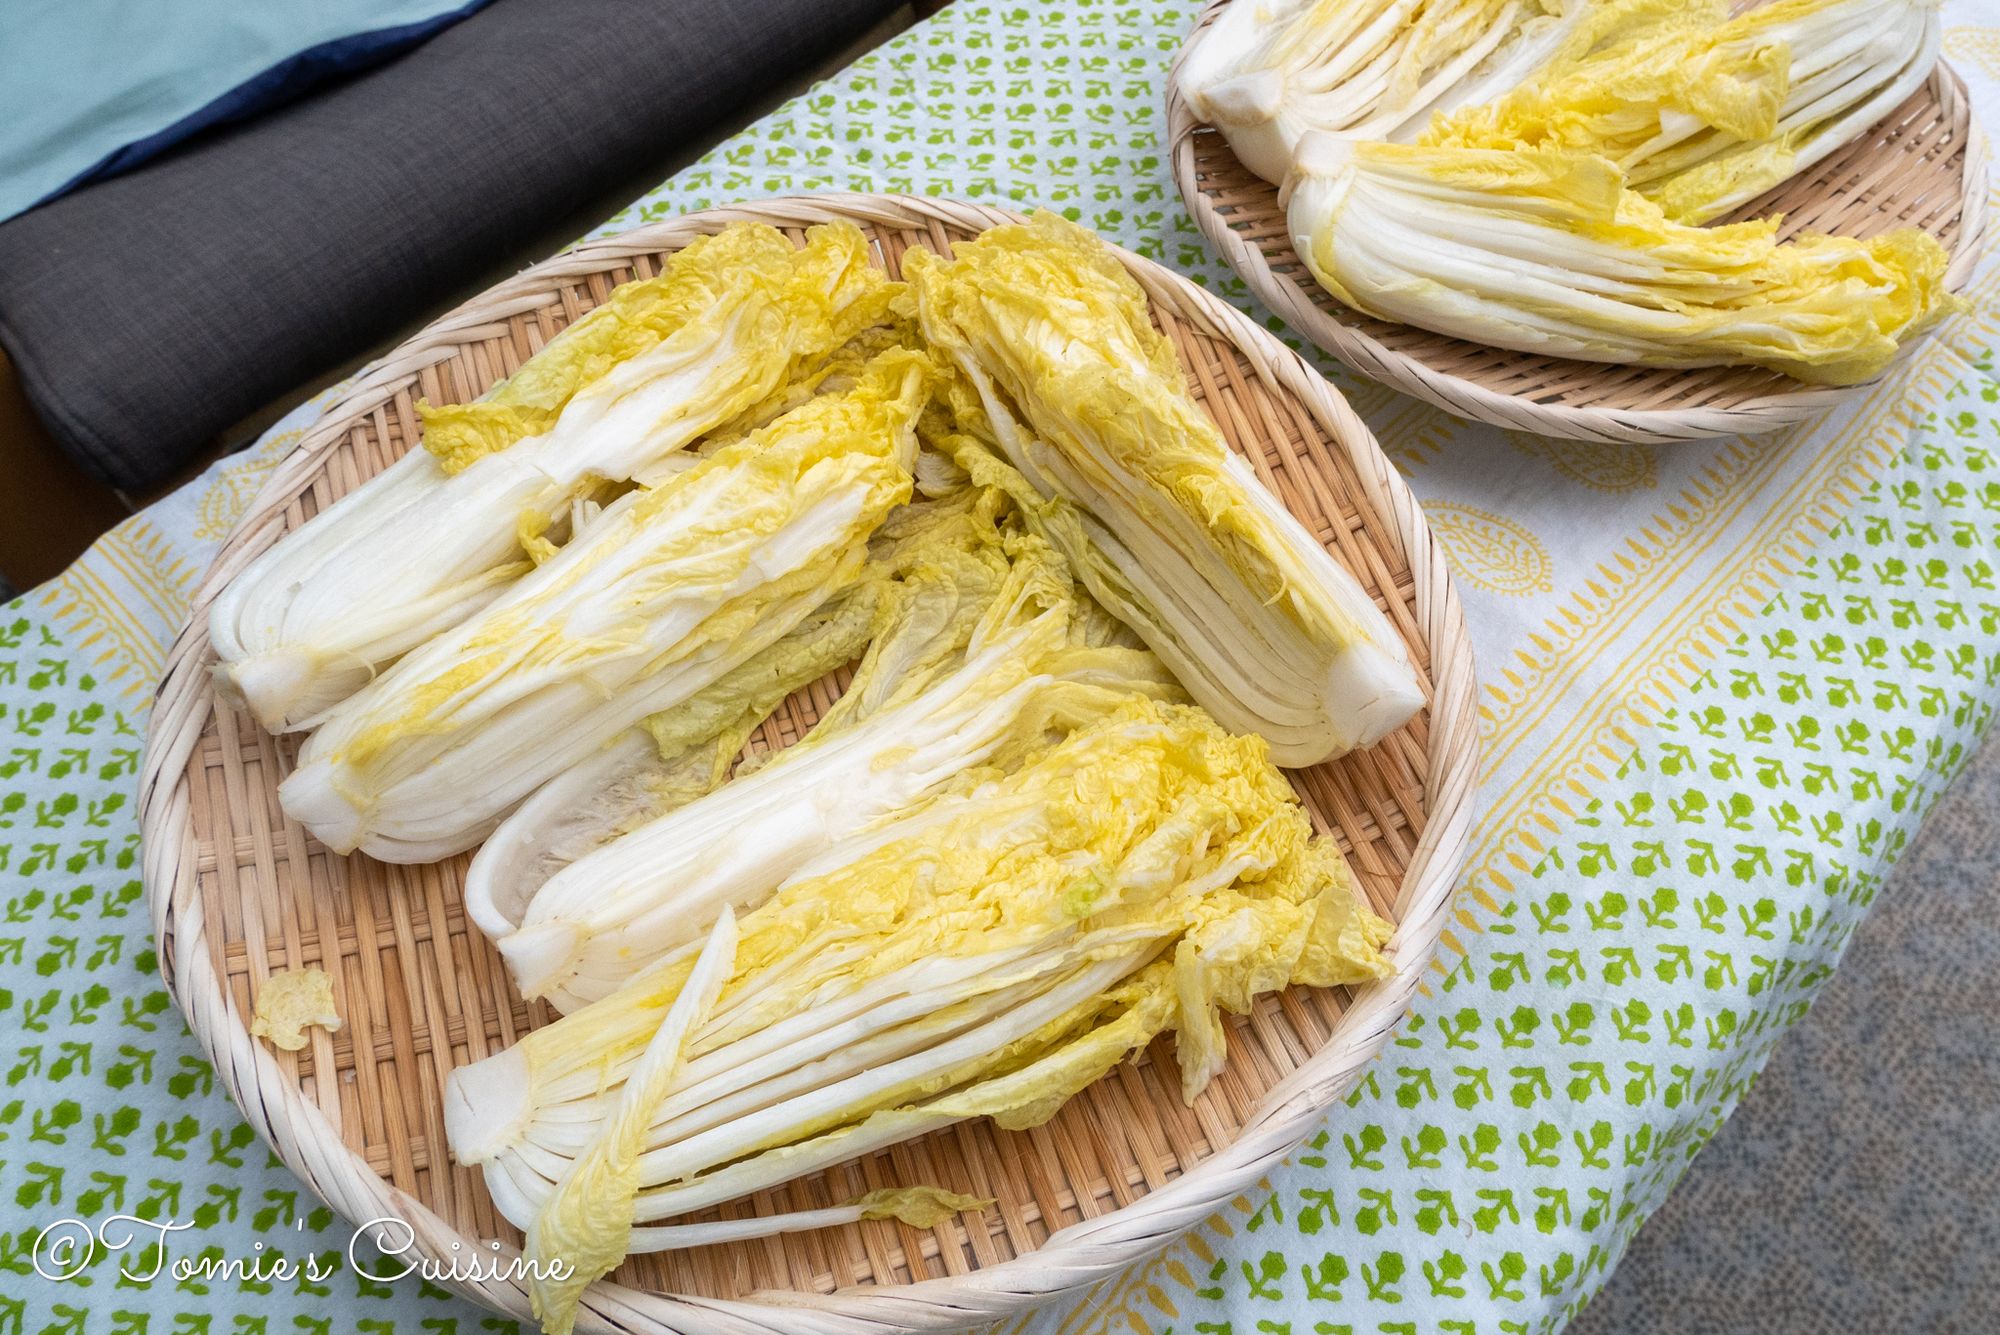
- Salt them evenly between the leaves as well. Put more on the thicker part. Leave it to dry somewhere with good air circulation for at least 2 hours. I did it overnight.

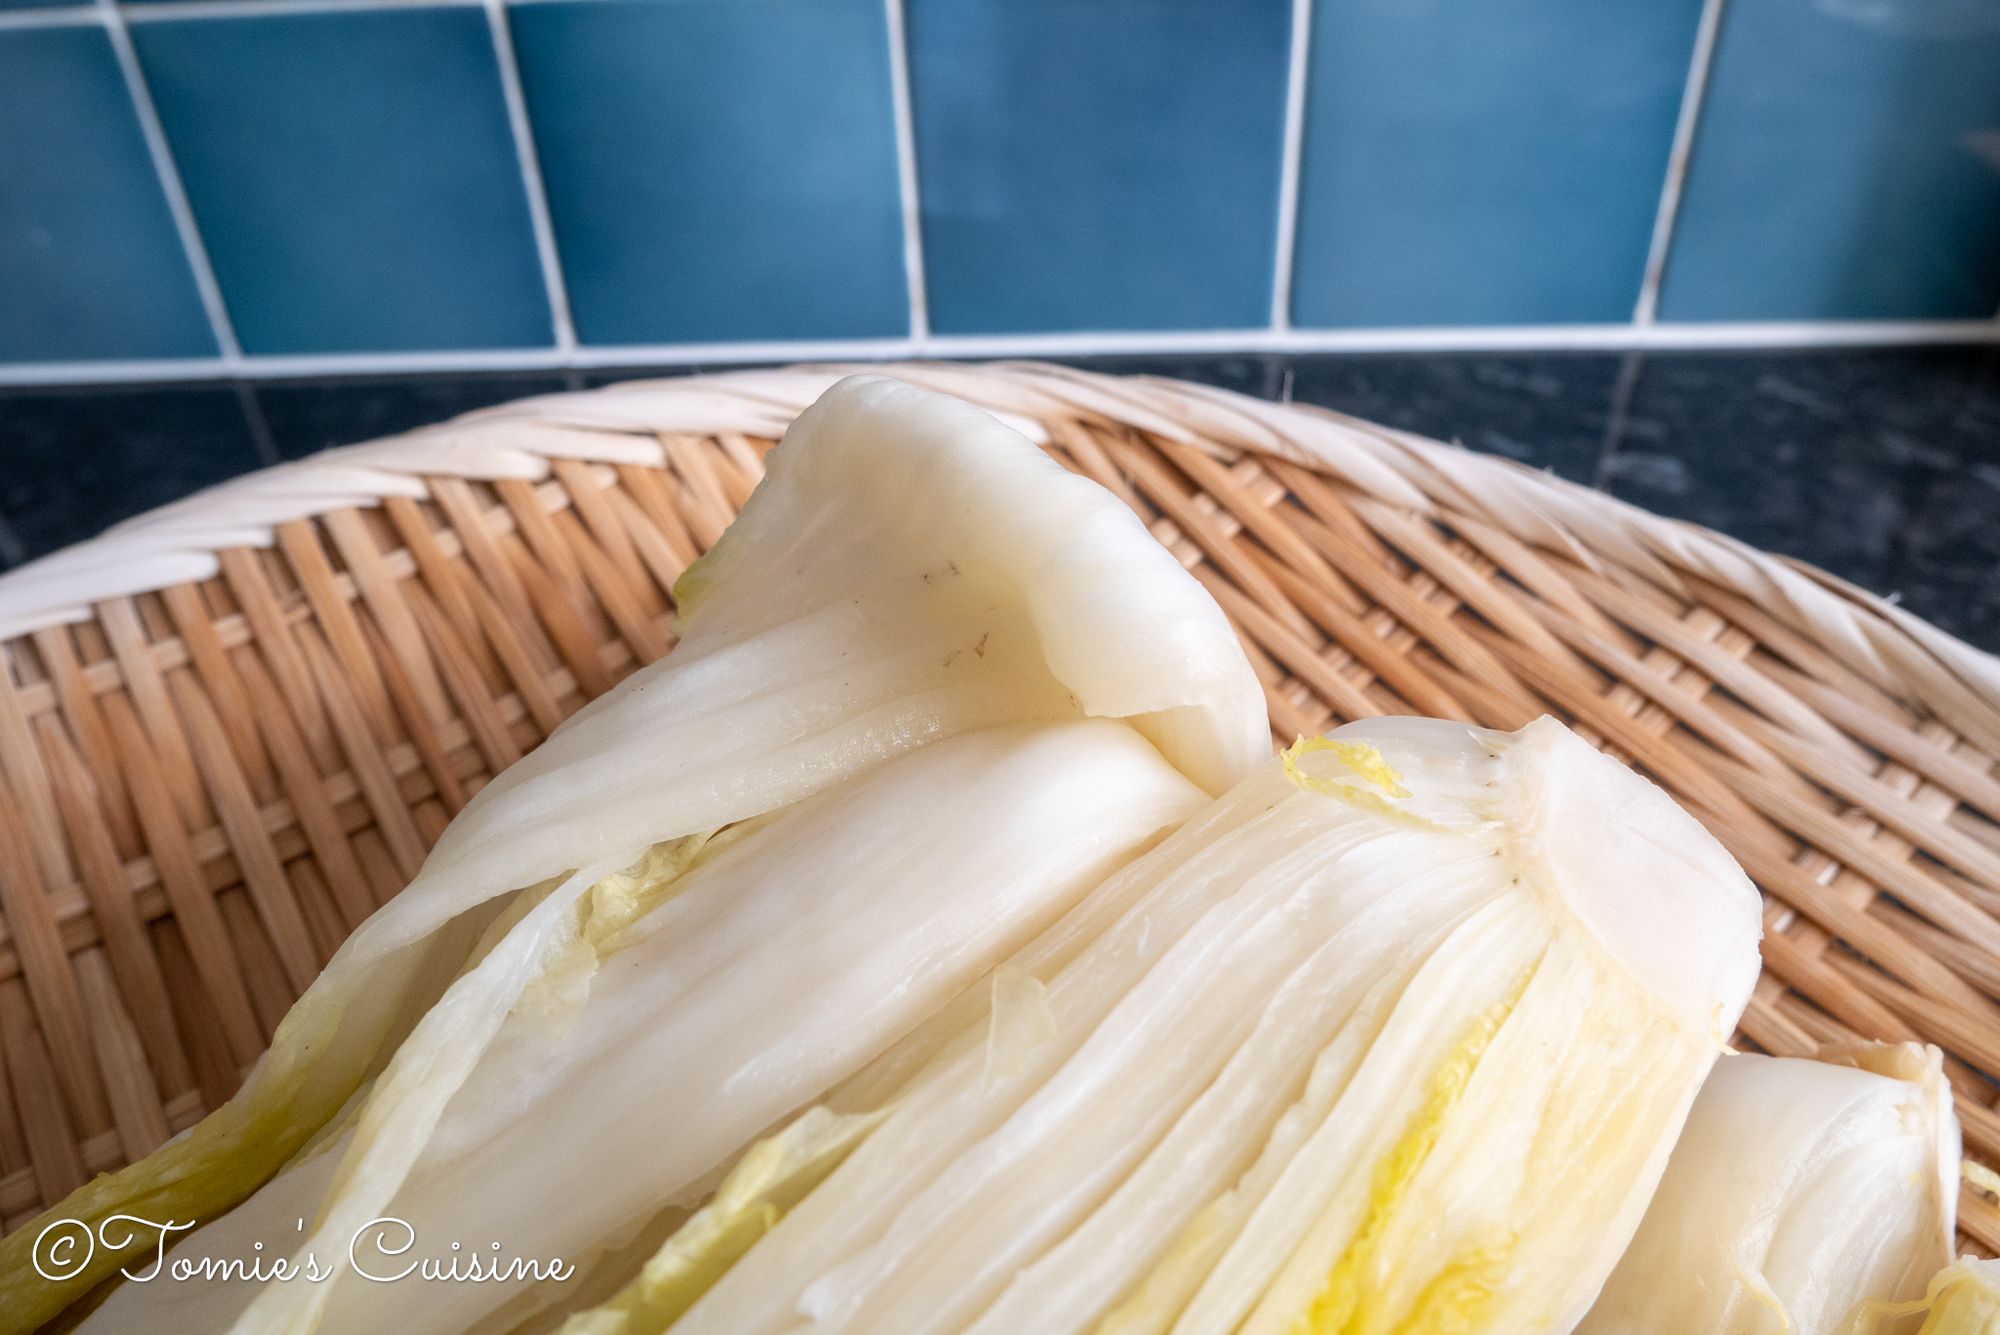

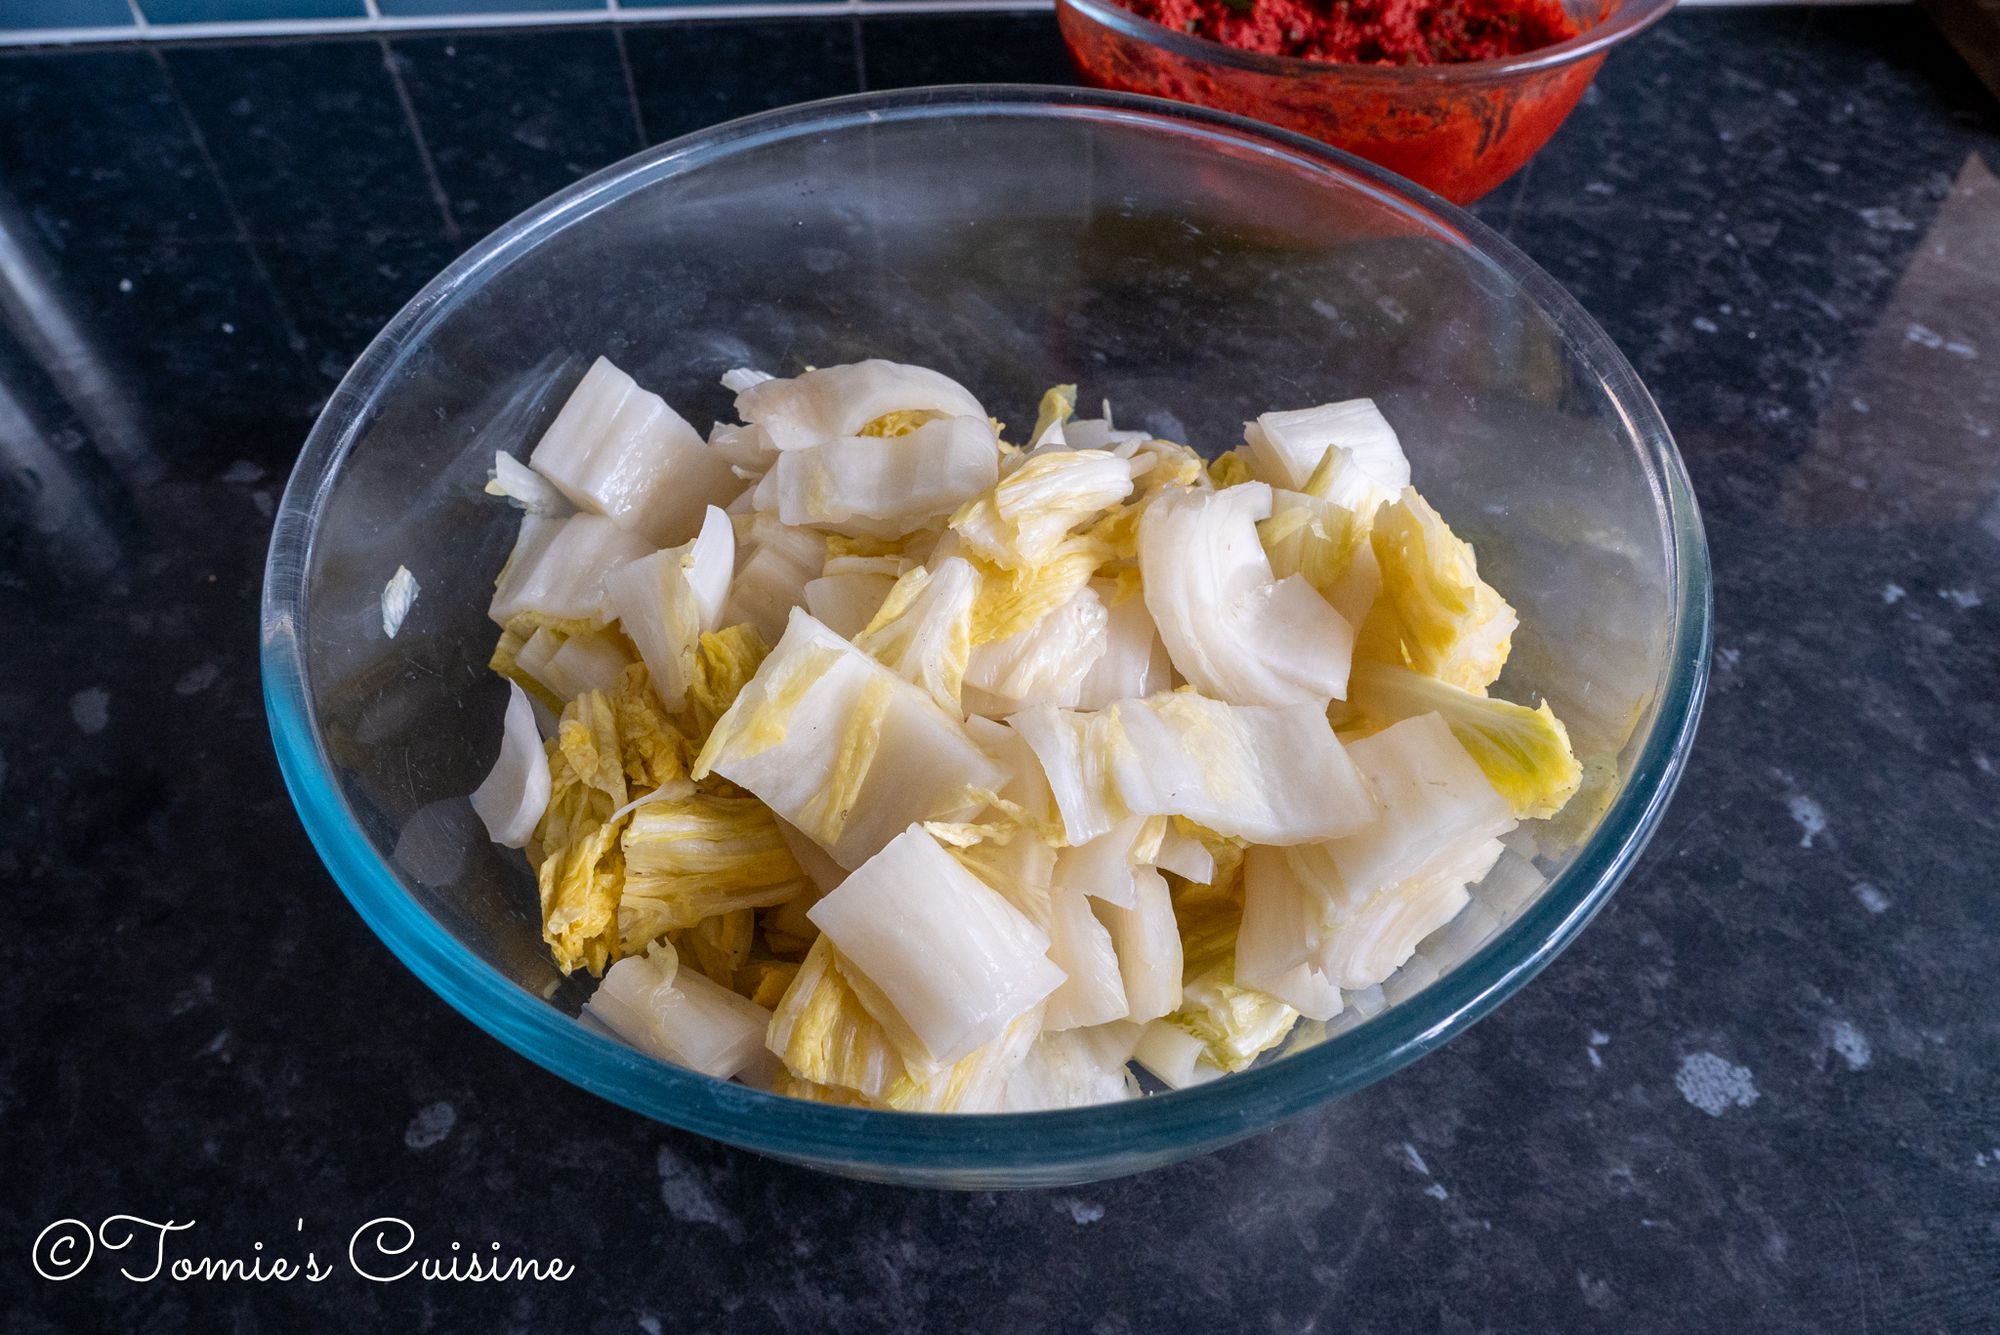
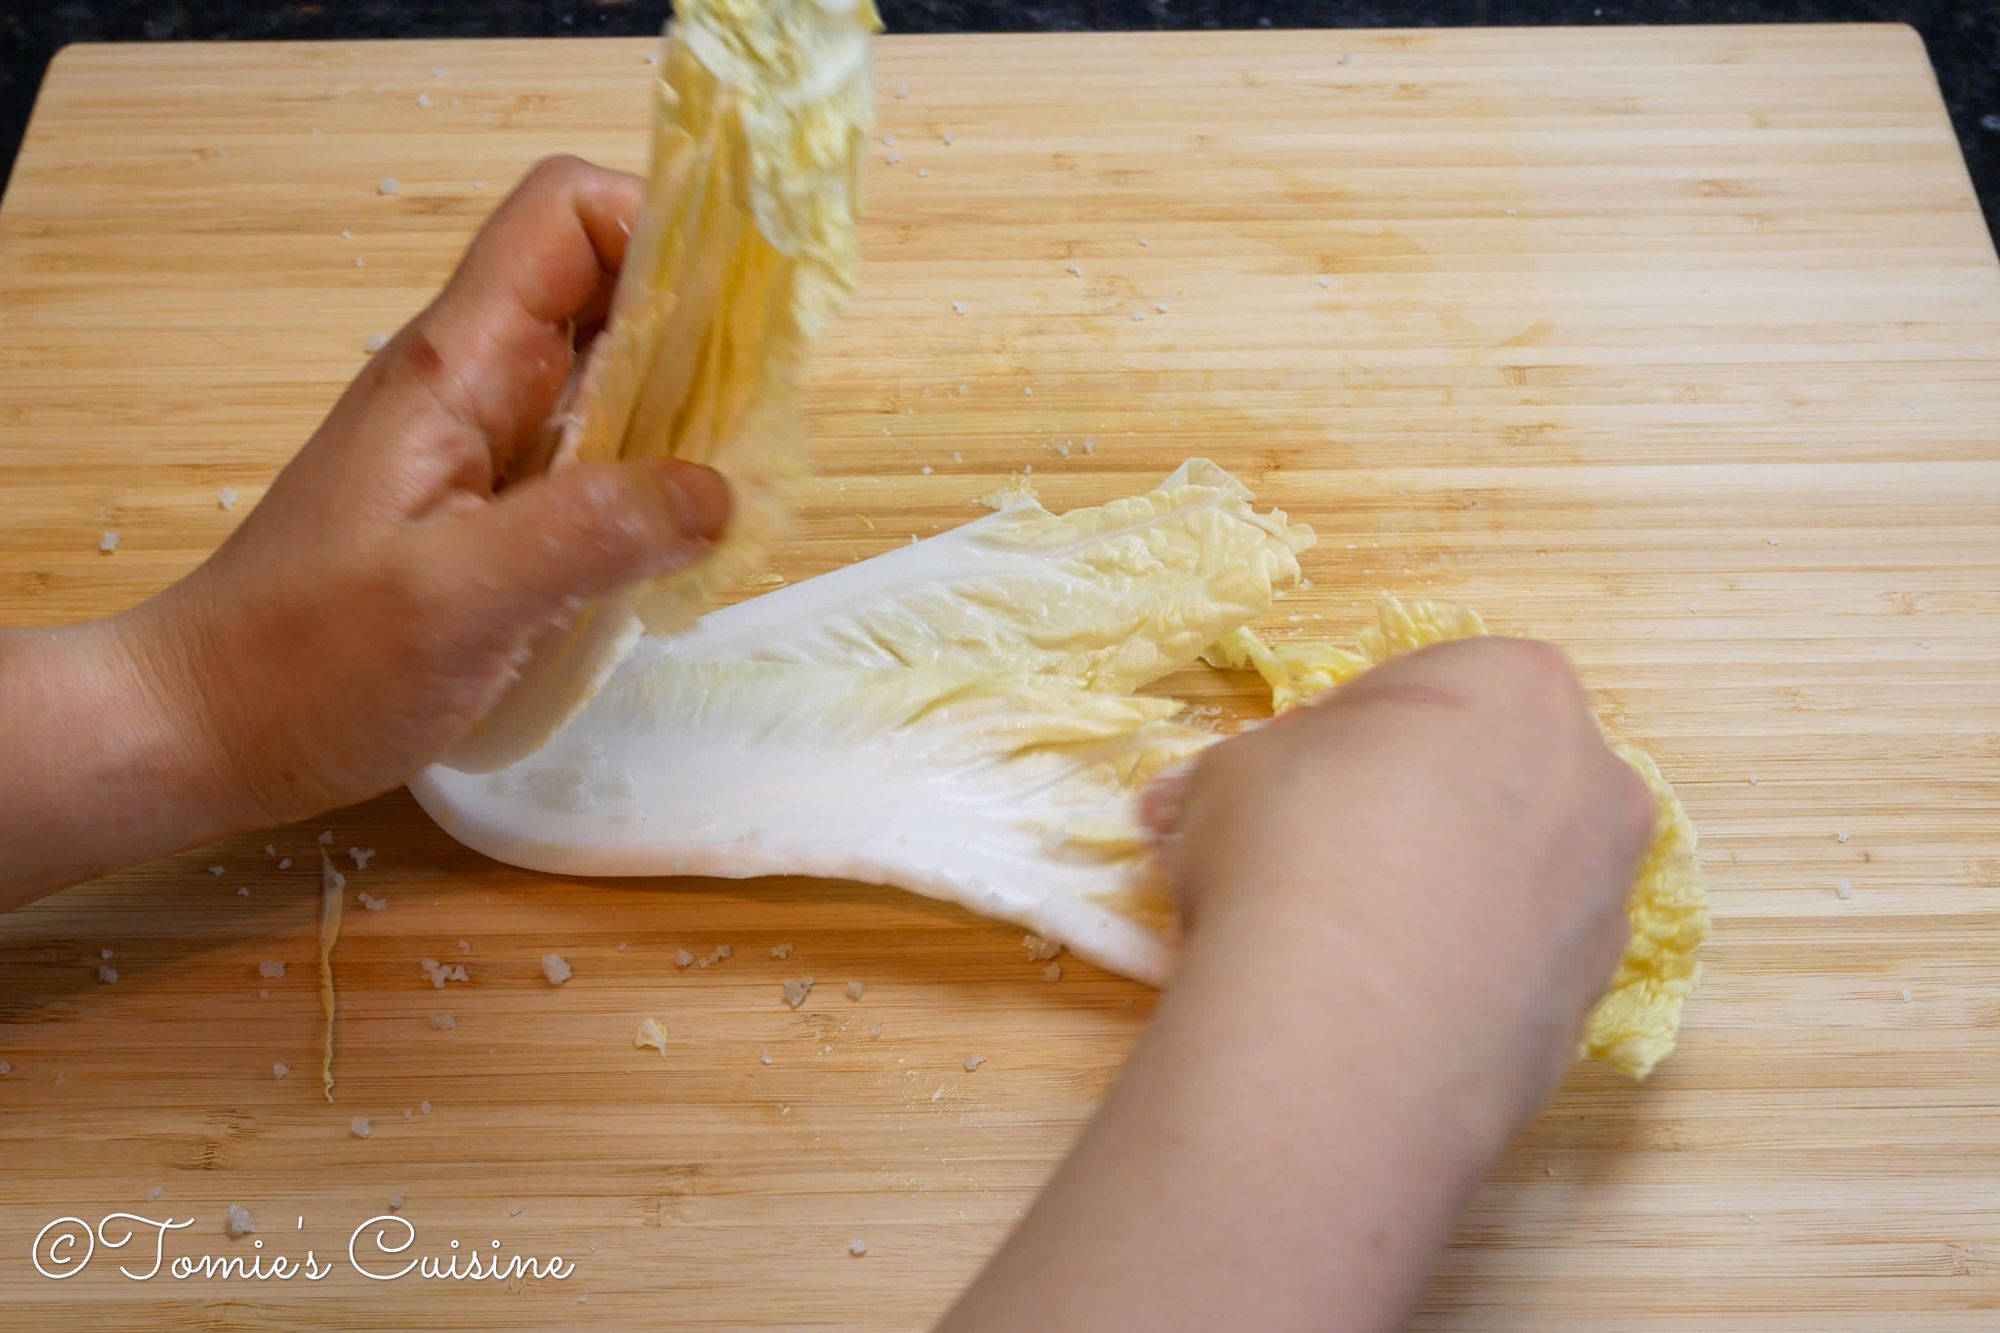
- Squeeze the Chinese leaves to remove the excess water. Chop them into a bite-size, or leave it as it is.
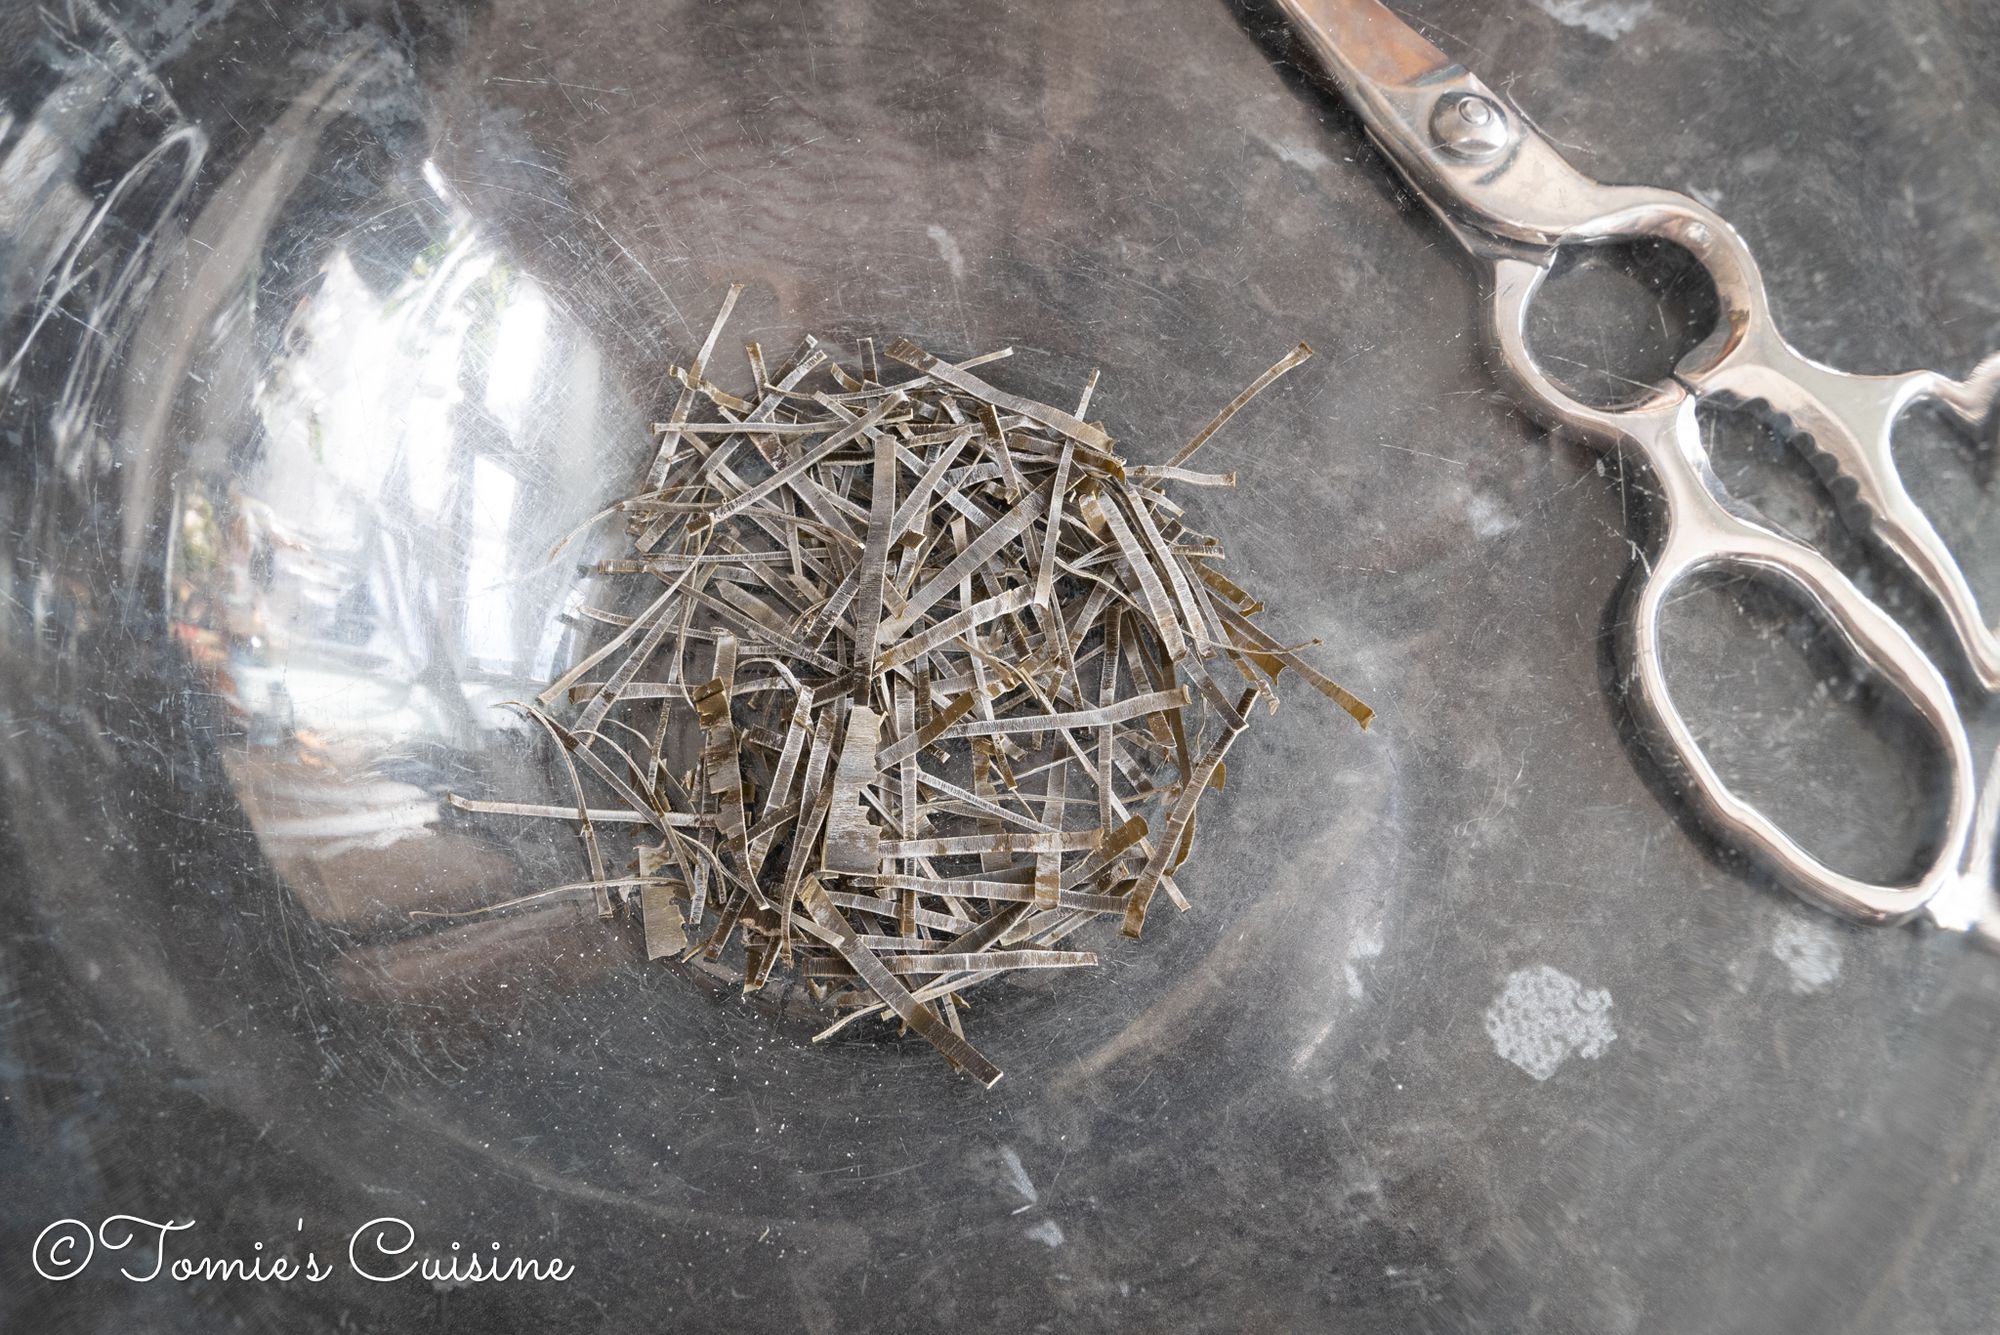
- Cut the kombu thinly with kitchen scissors.

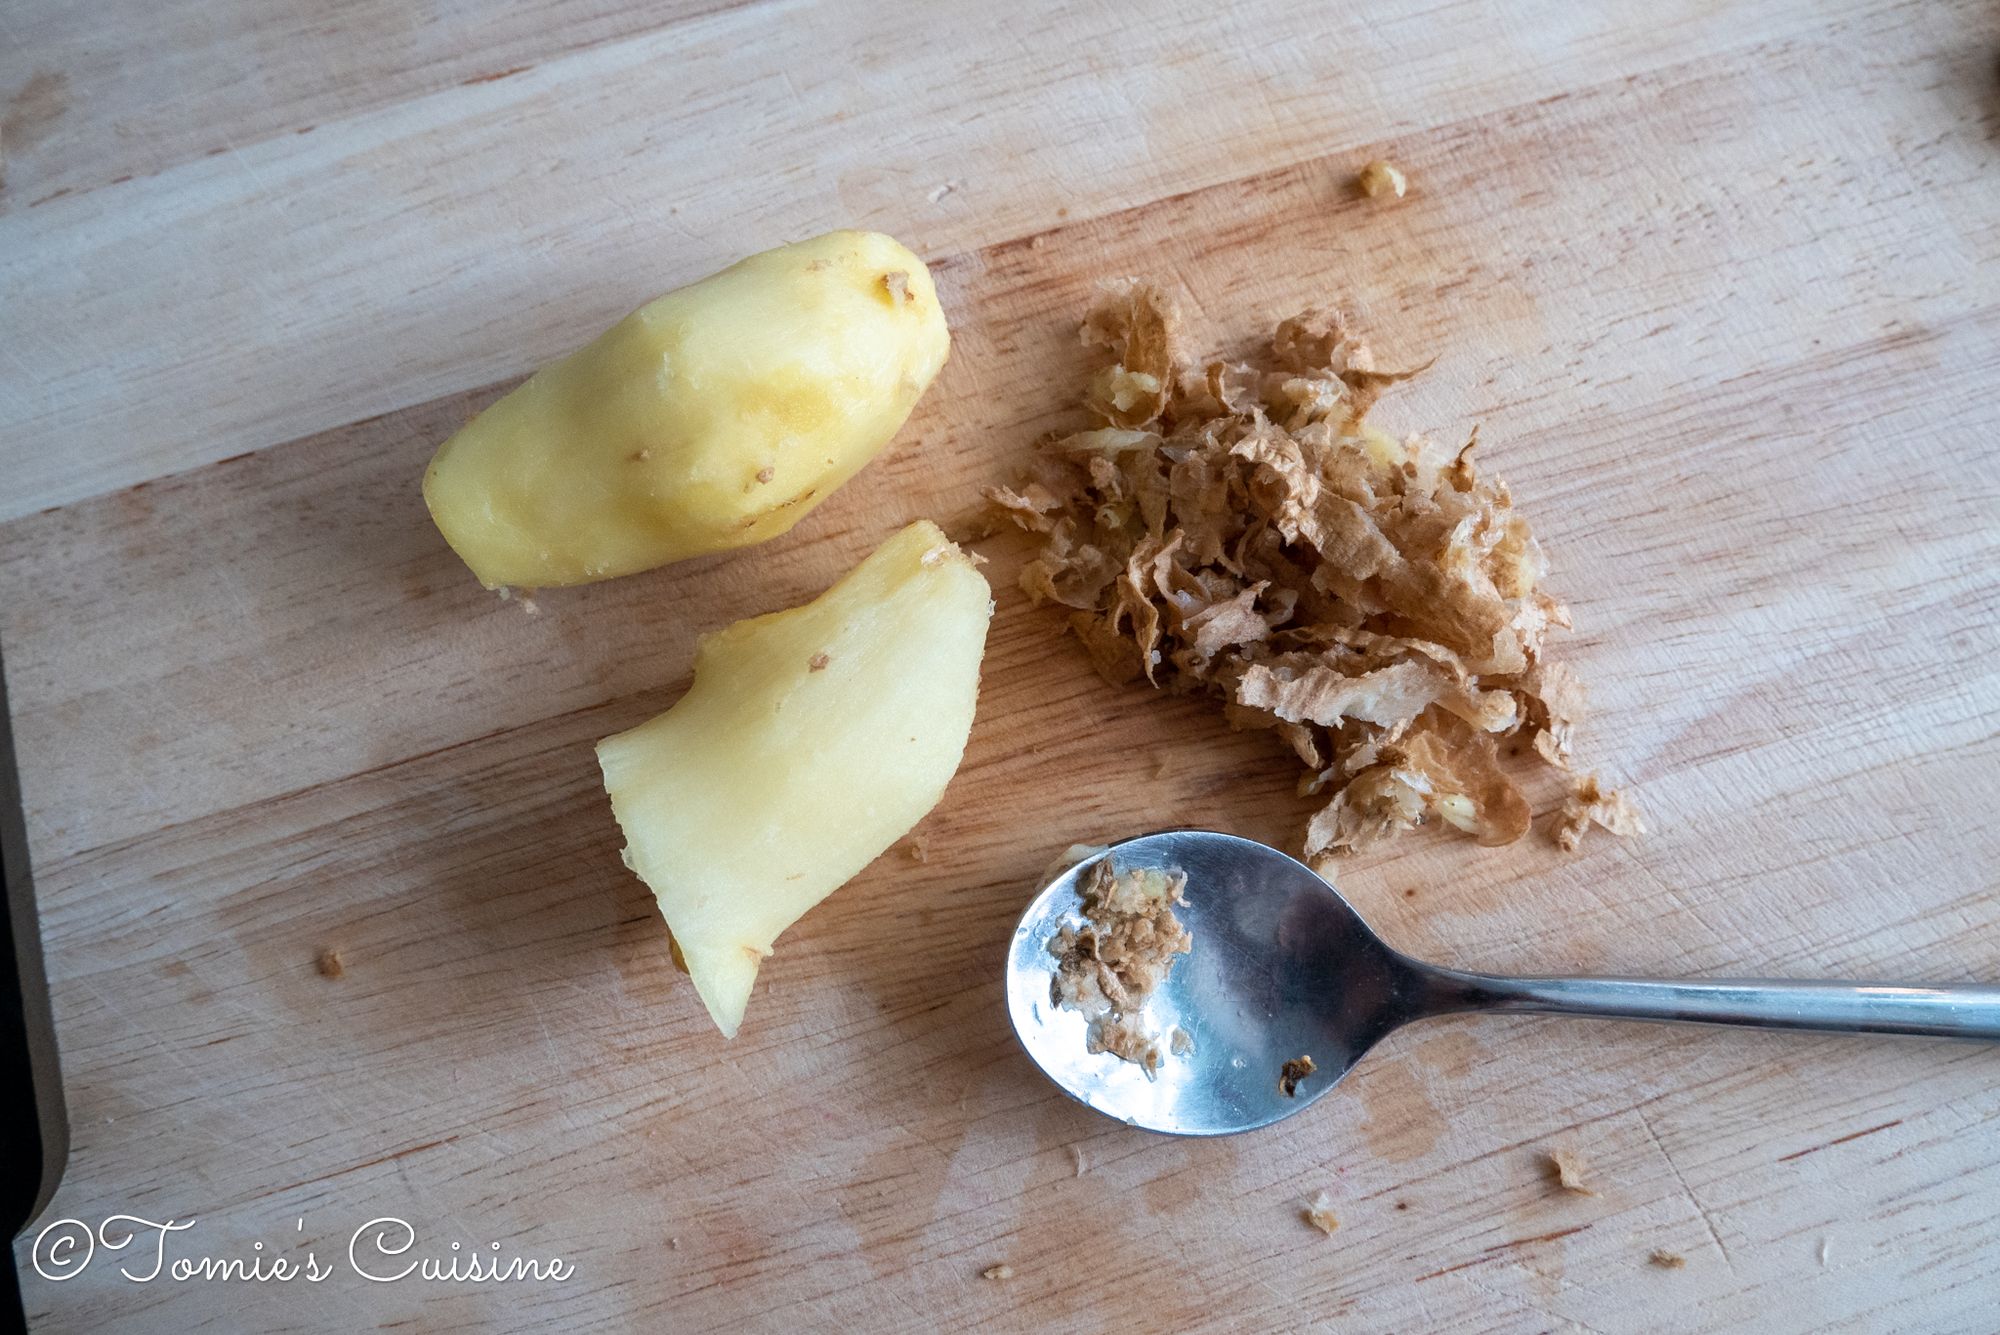
- Blend apple, ginger and garlic into a smooth puree. Add it to the bowl.
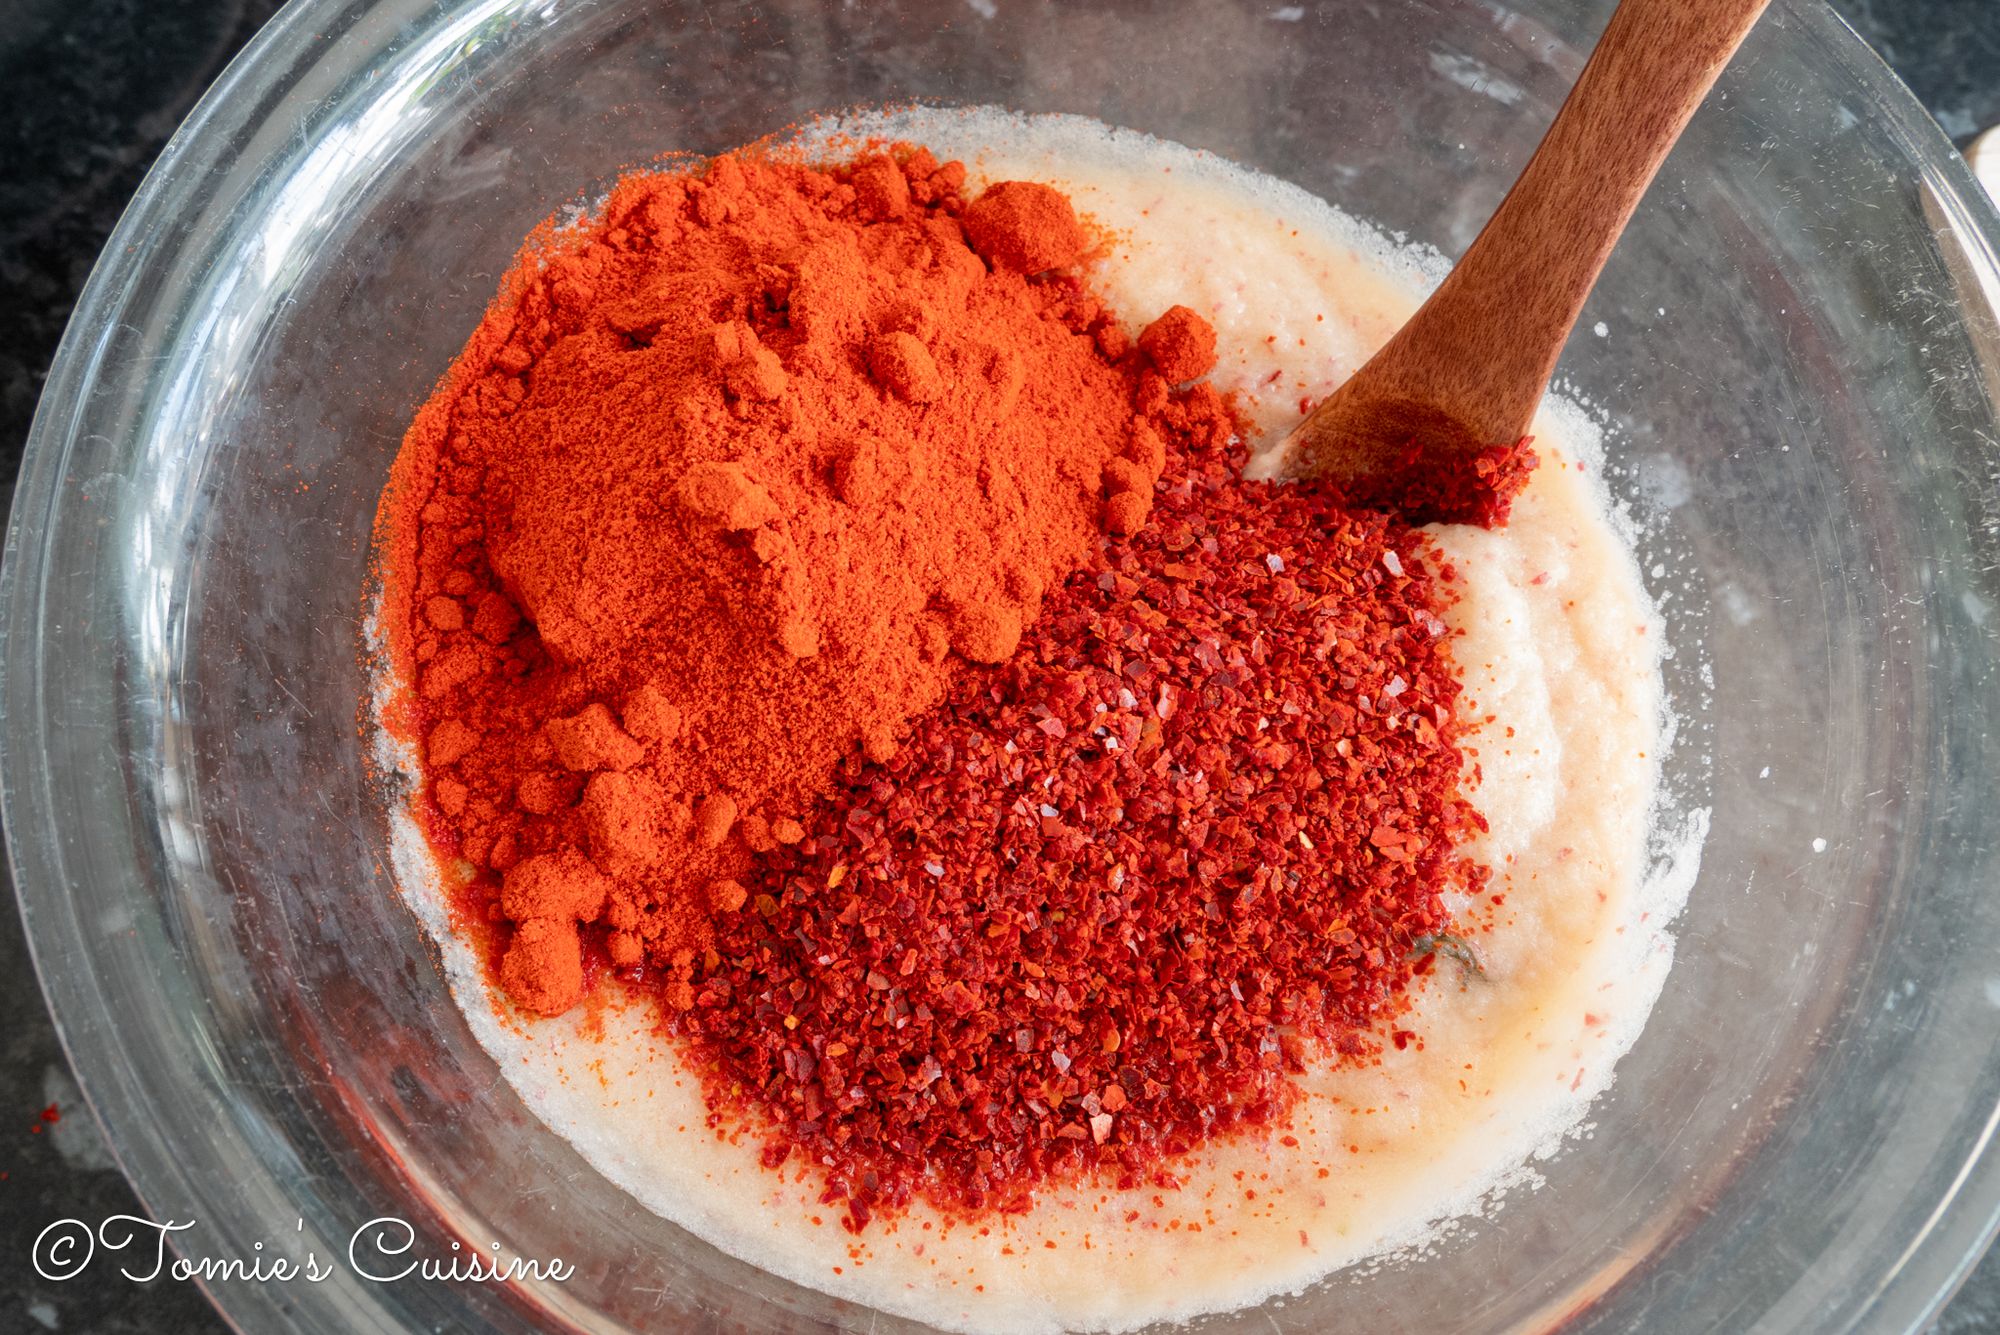
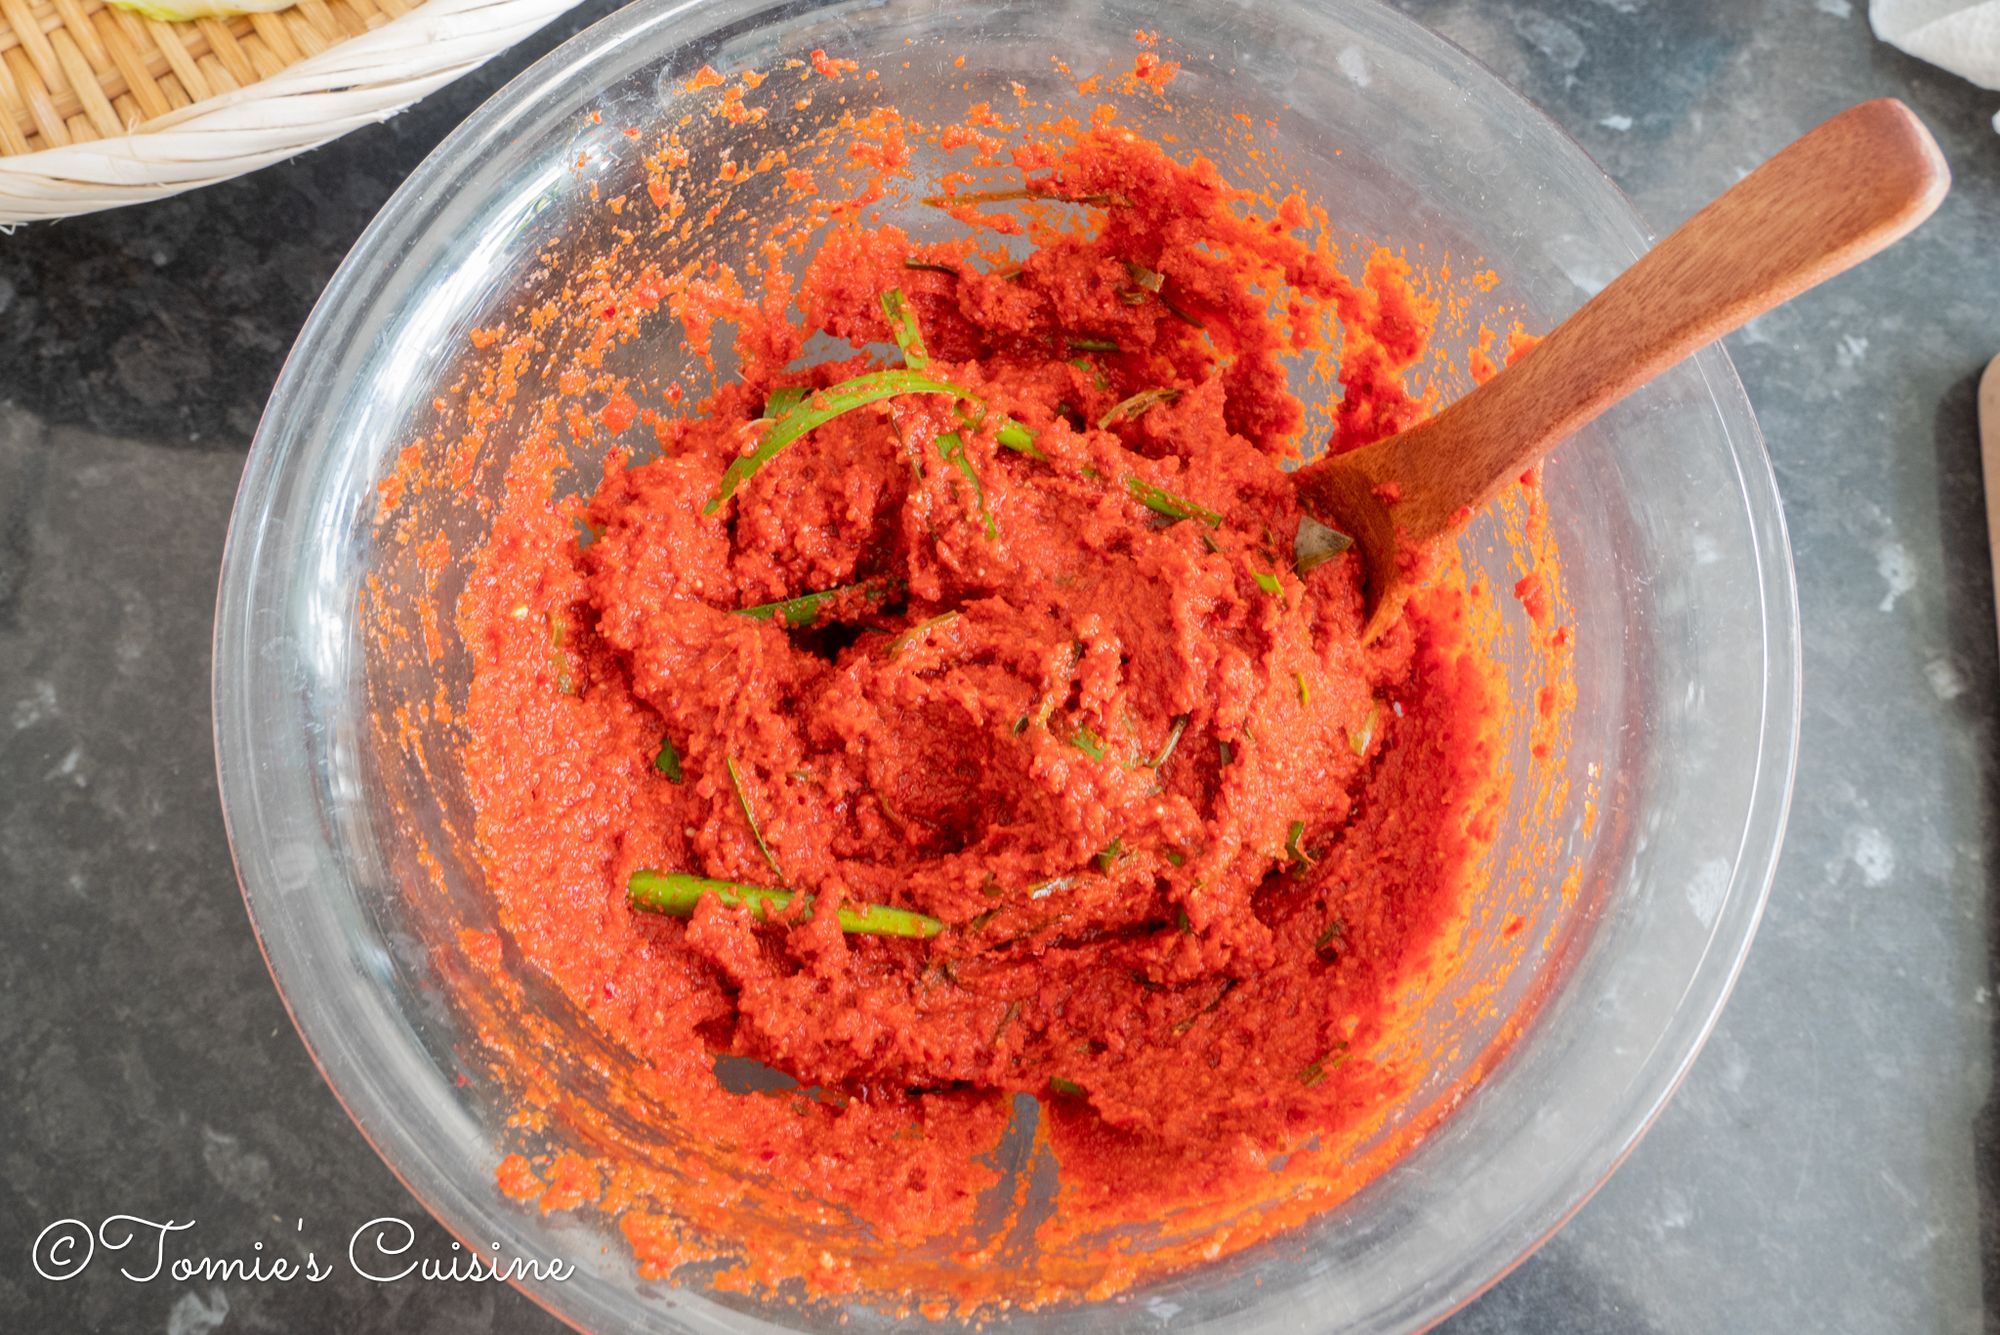
- Add both chilli and onion Koji and mix well to combine.
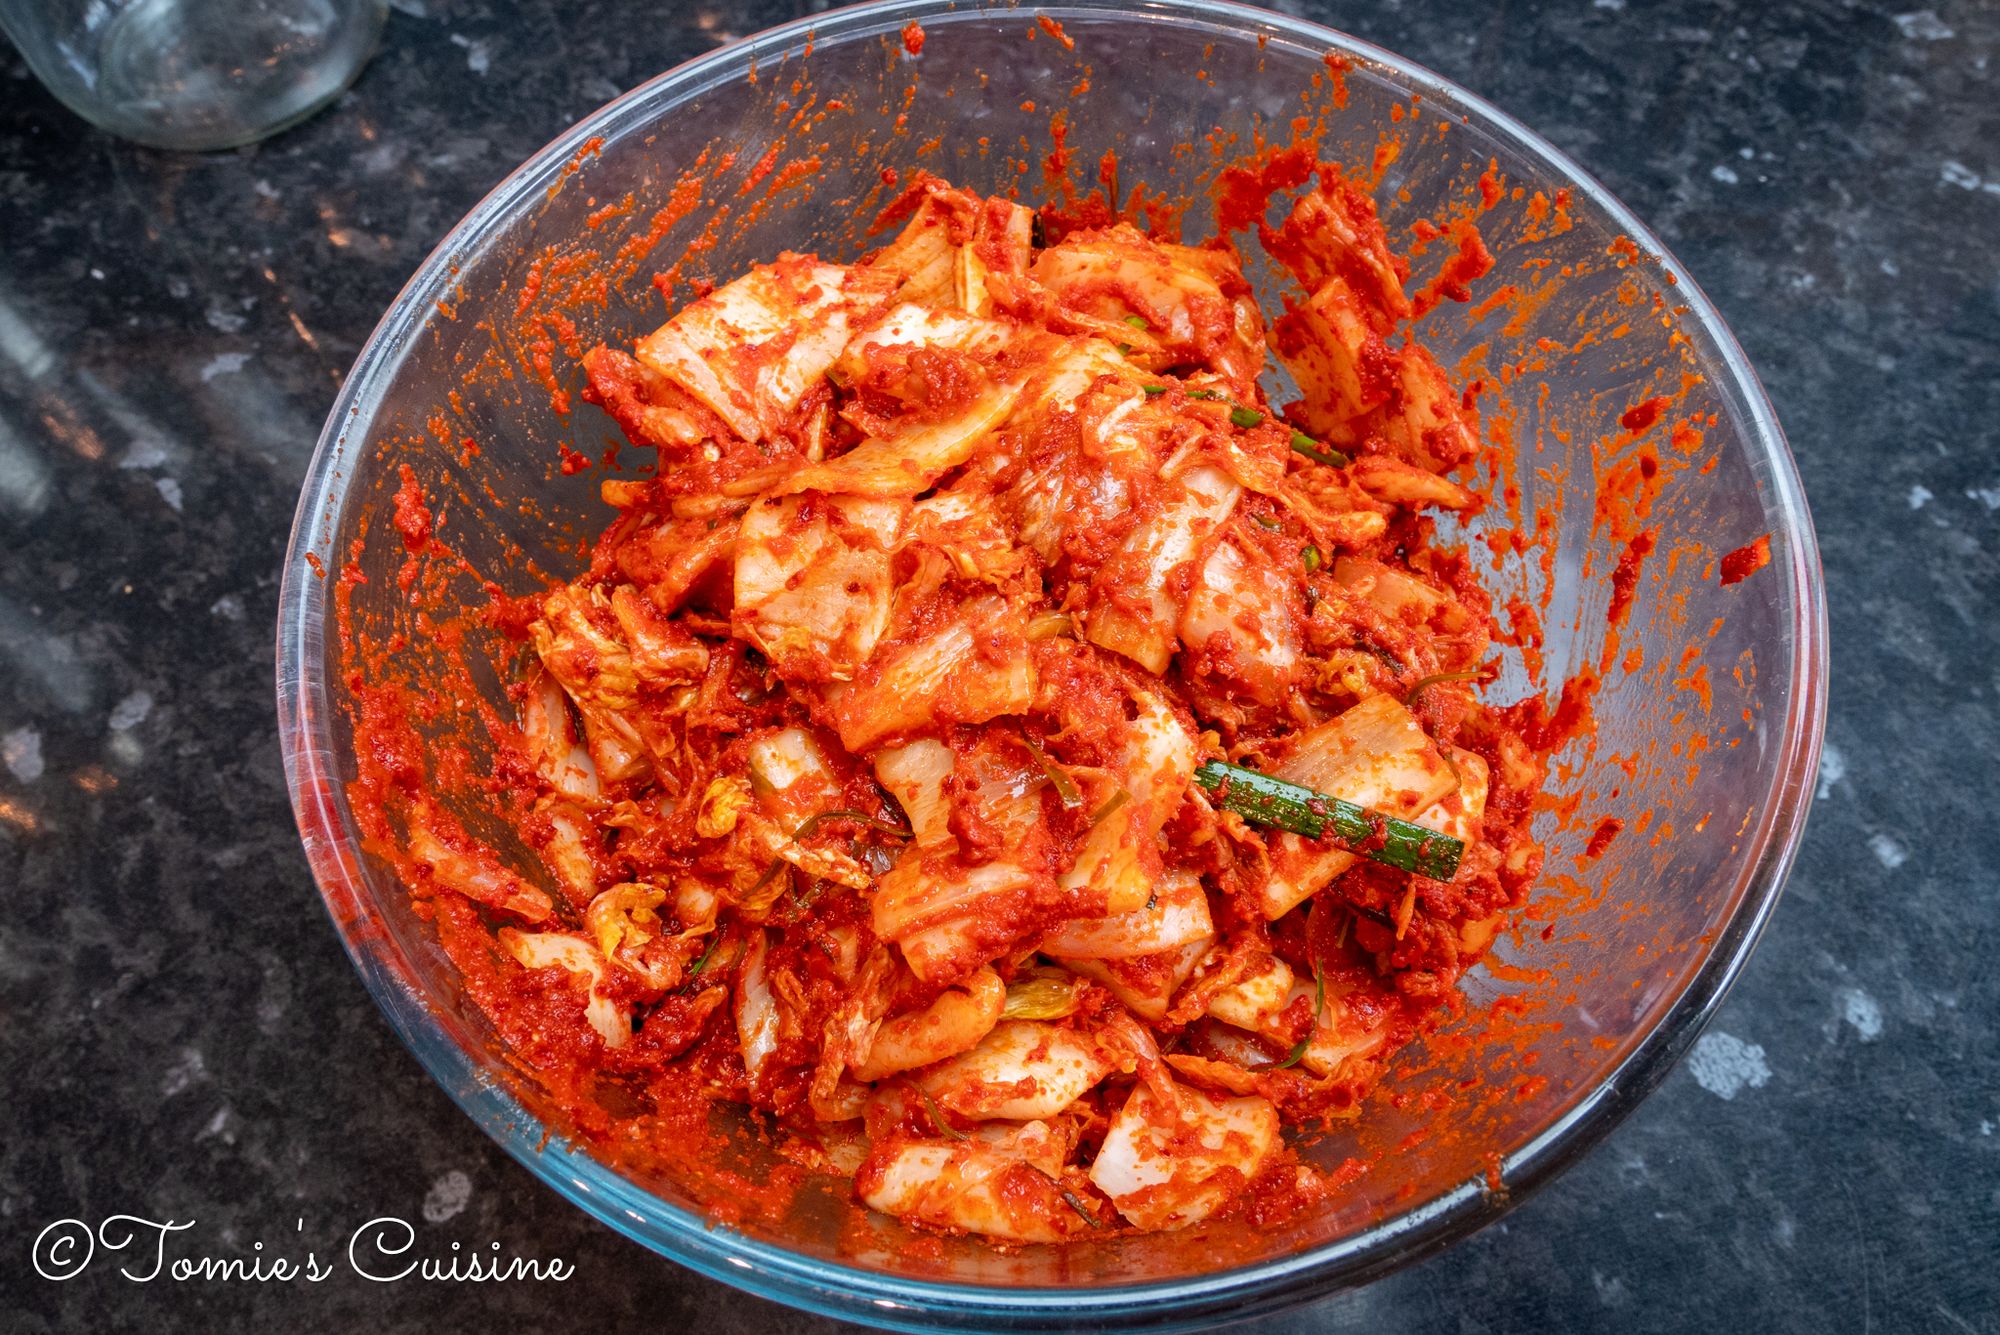
- Add it to the Chinese leaves, then mix well and squeeze gently.
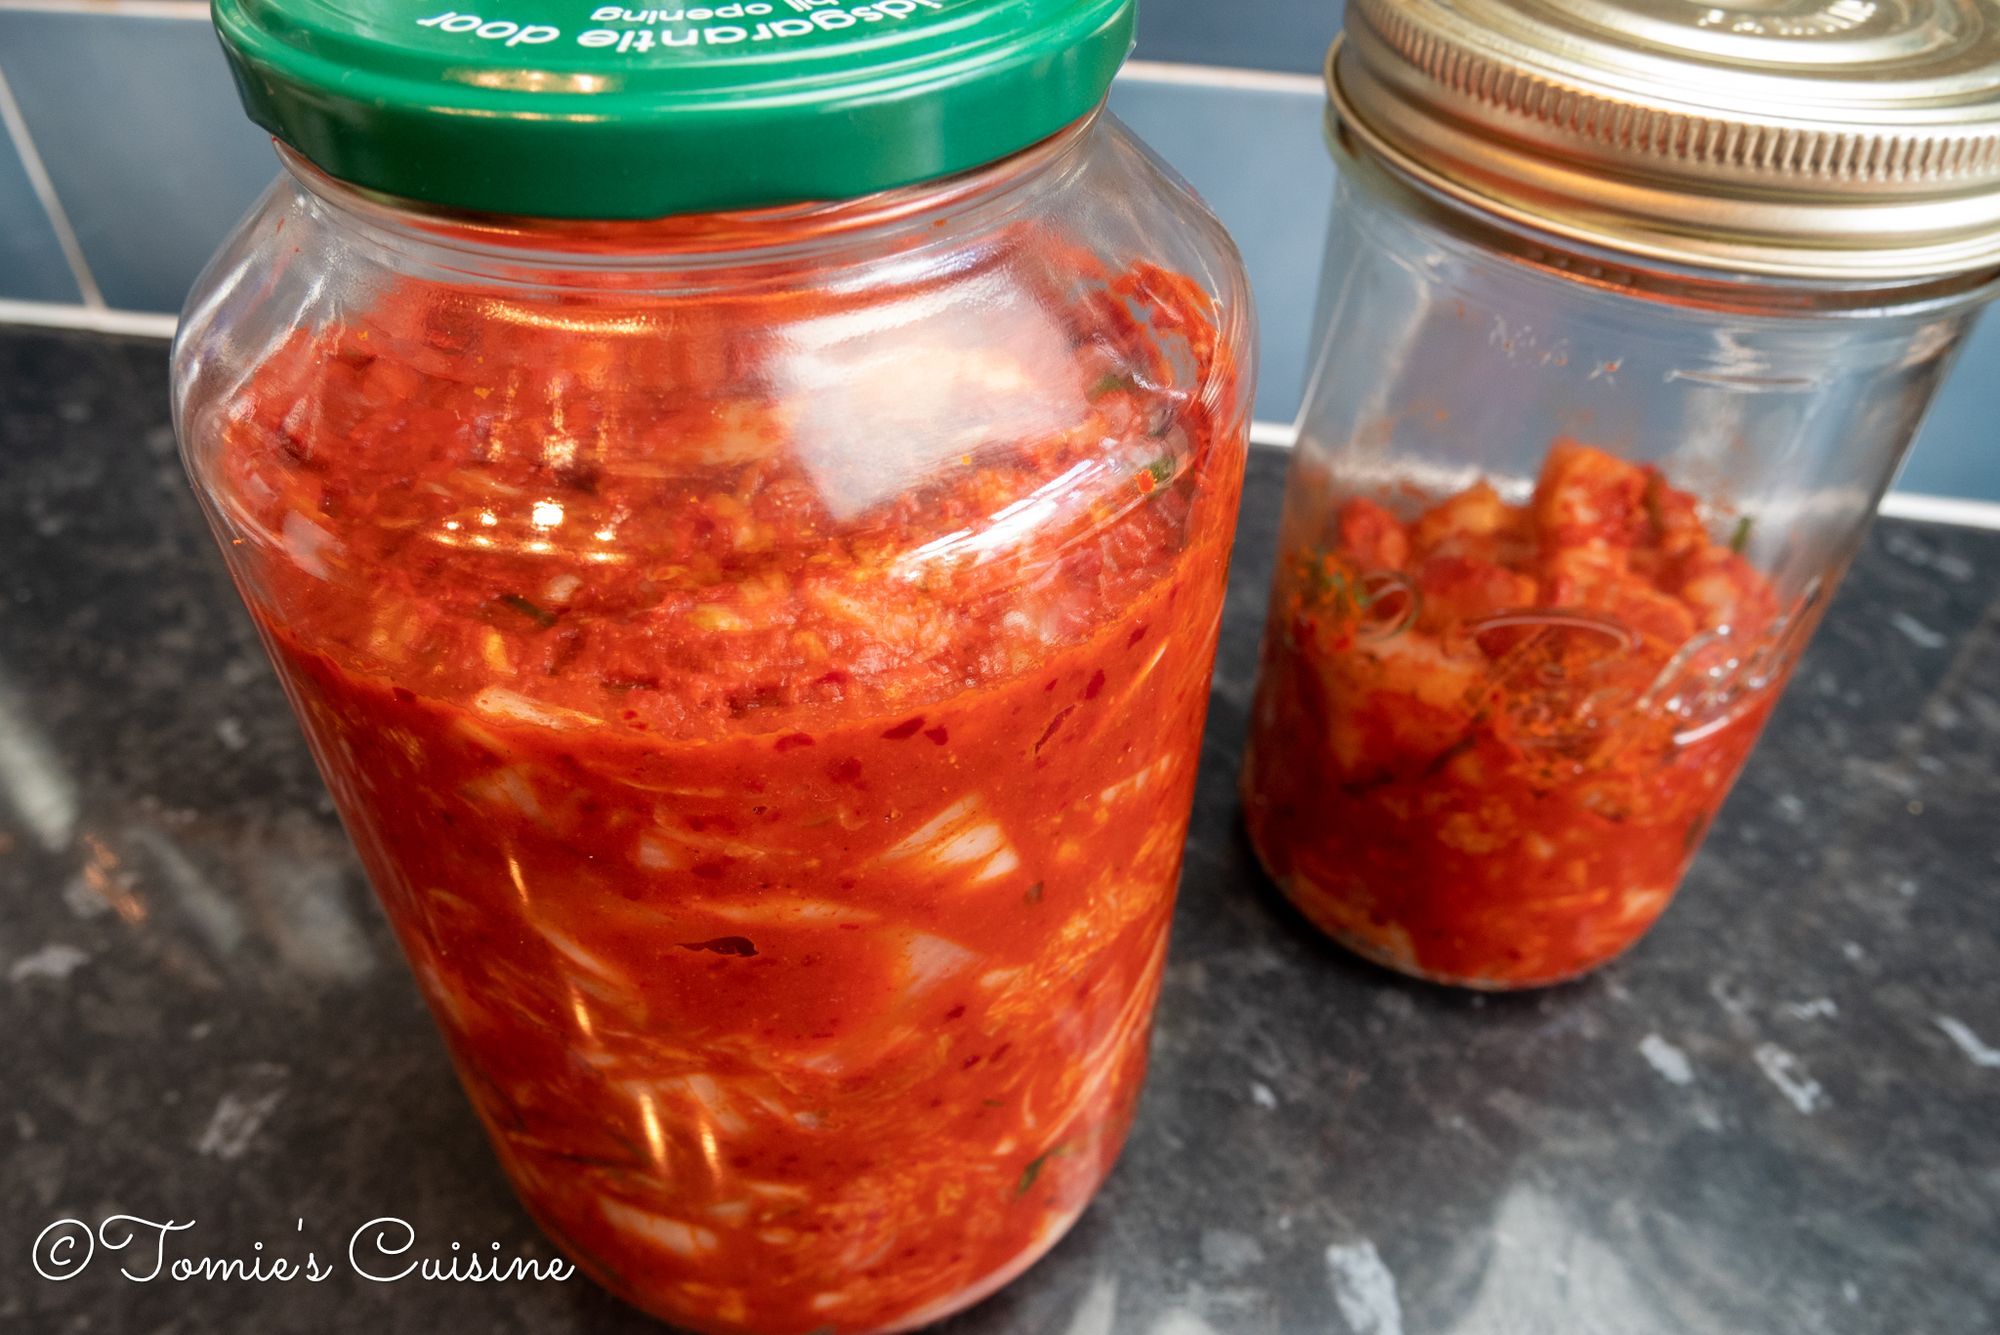
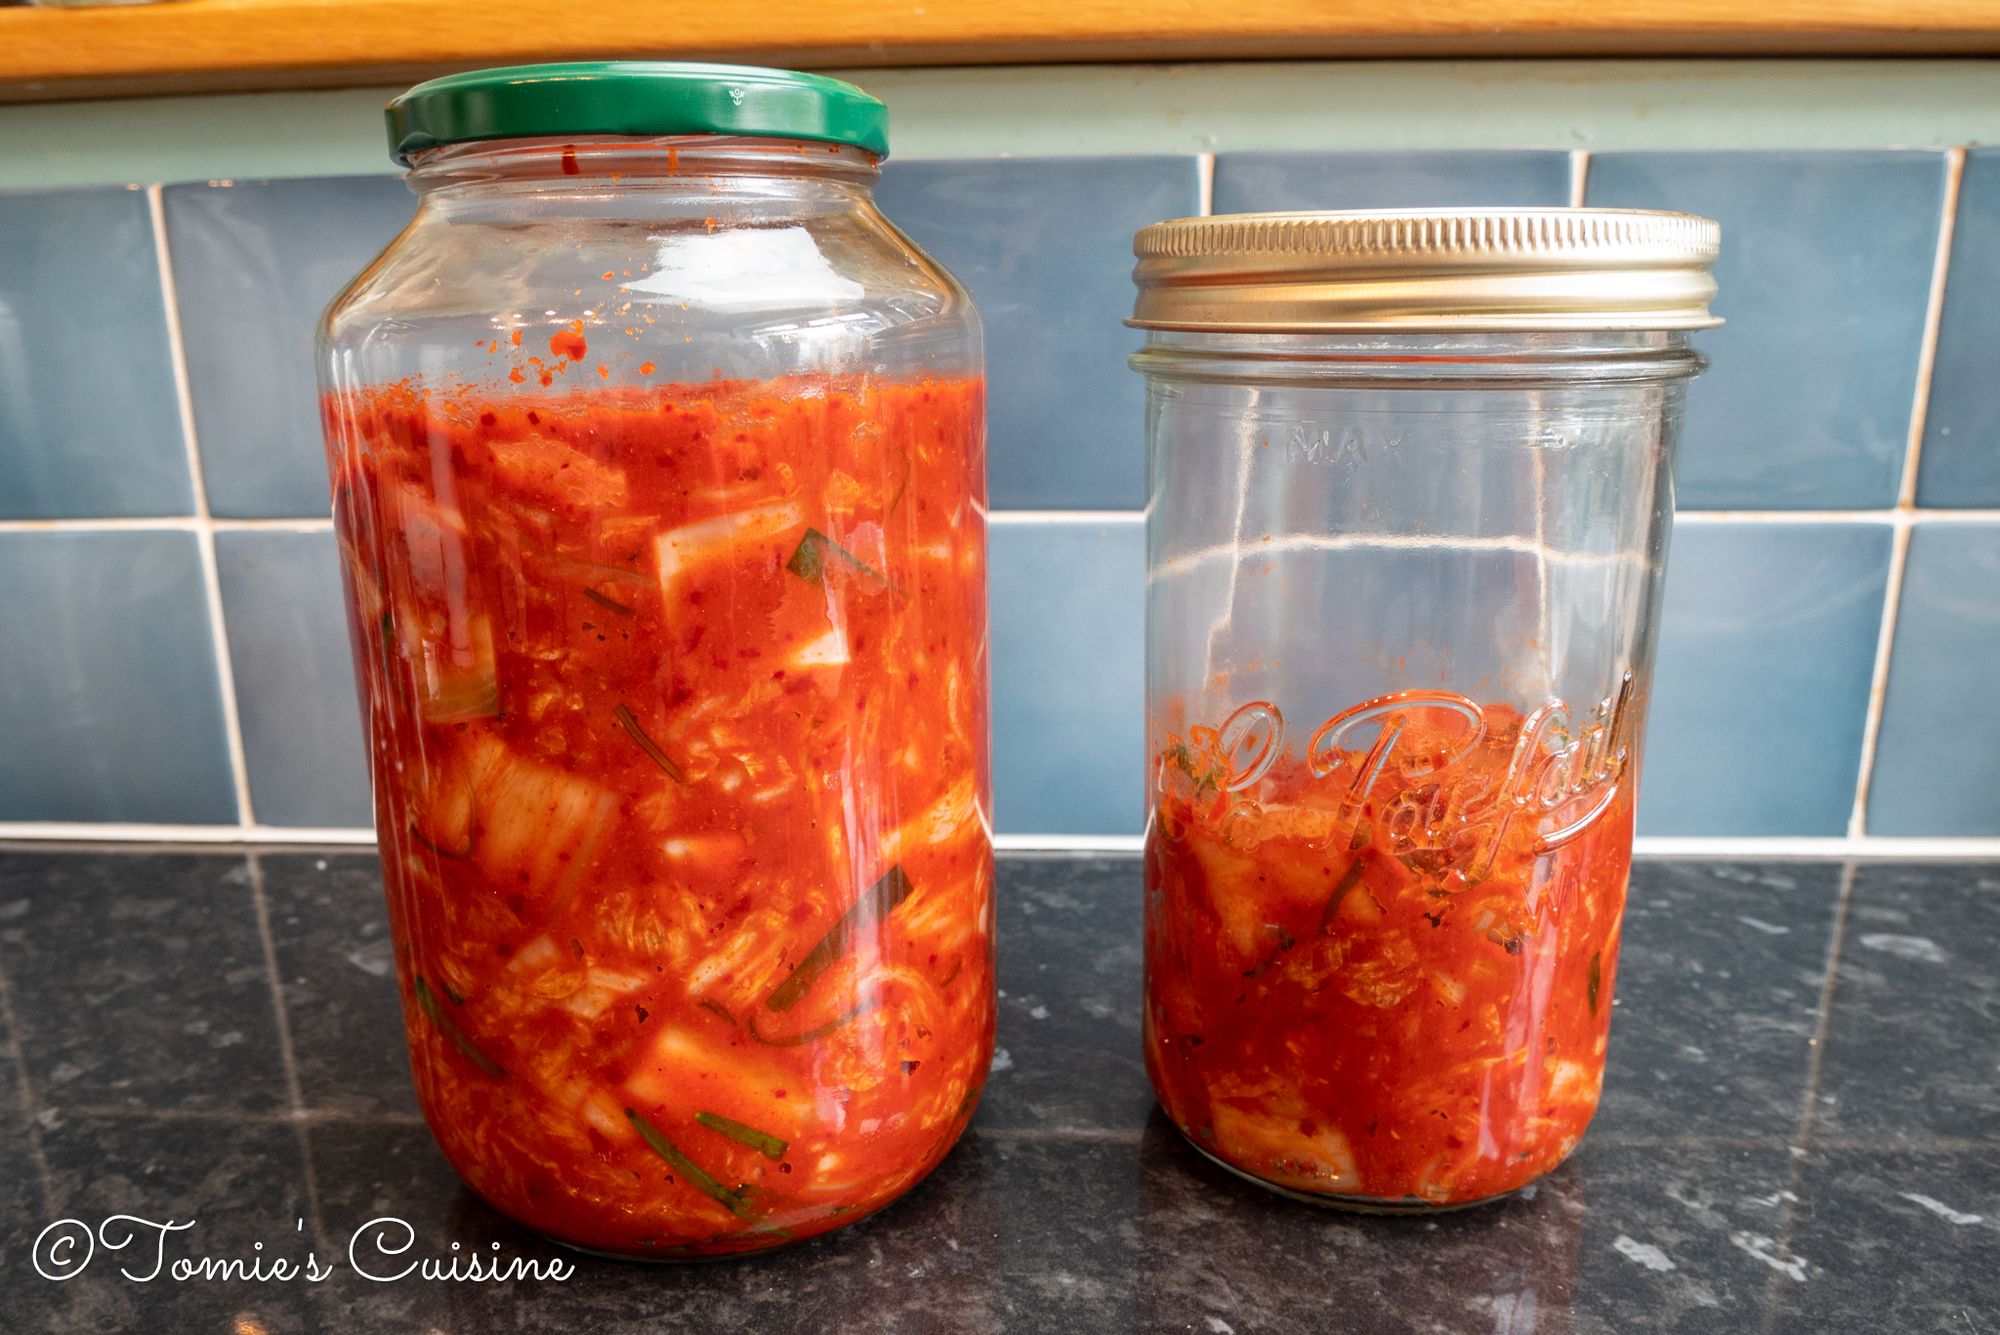
- Put them into the sterilised container, pressing down to remove air and leave it at room temperature for two days, then keep them in the fridge.
Small experiment
Small experiment
As you can see in the photo on instruction number 8, I pushed the kimchi down in the large glass jar and didn’t do it with the small jar to see if there were any differences in the finished product.
The result was, yes, there was a difference. The one that I didn’t press down got moulded with fluffy white mould on the surface of the kimchi. It might be because the weather was a little warmer than usual (about 25 degrees Celsius outside), but the pressed one had no mould.

I removed just the surface of the moulded kimchi and cooked the rest to make kimchi risotto and kimchi fried rice for our lunch. They were both delicious!
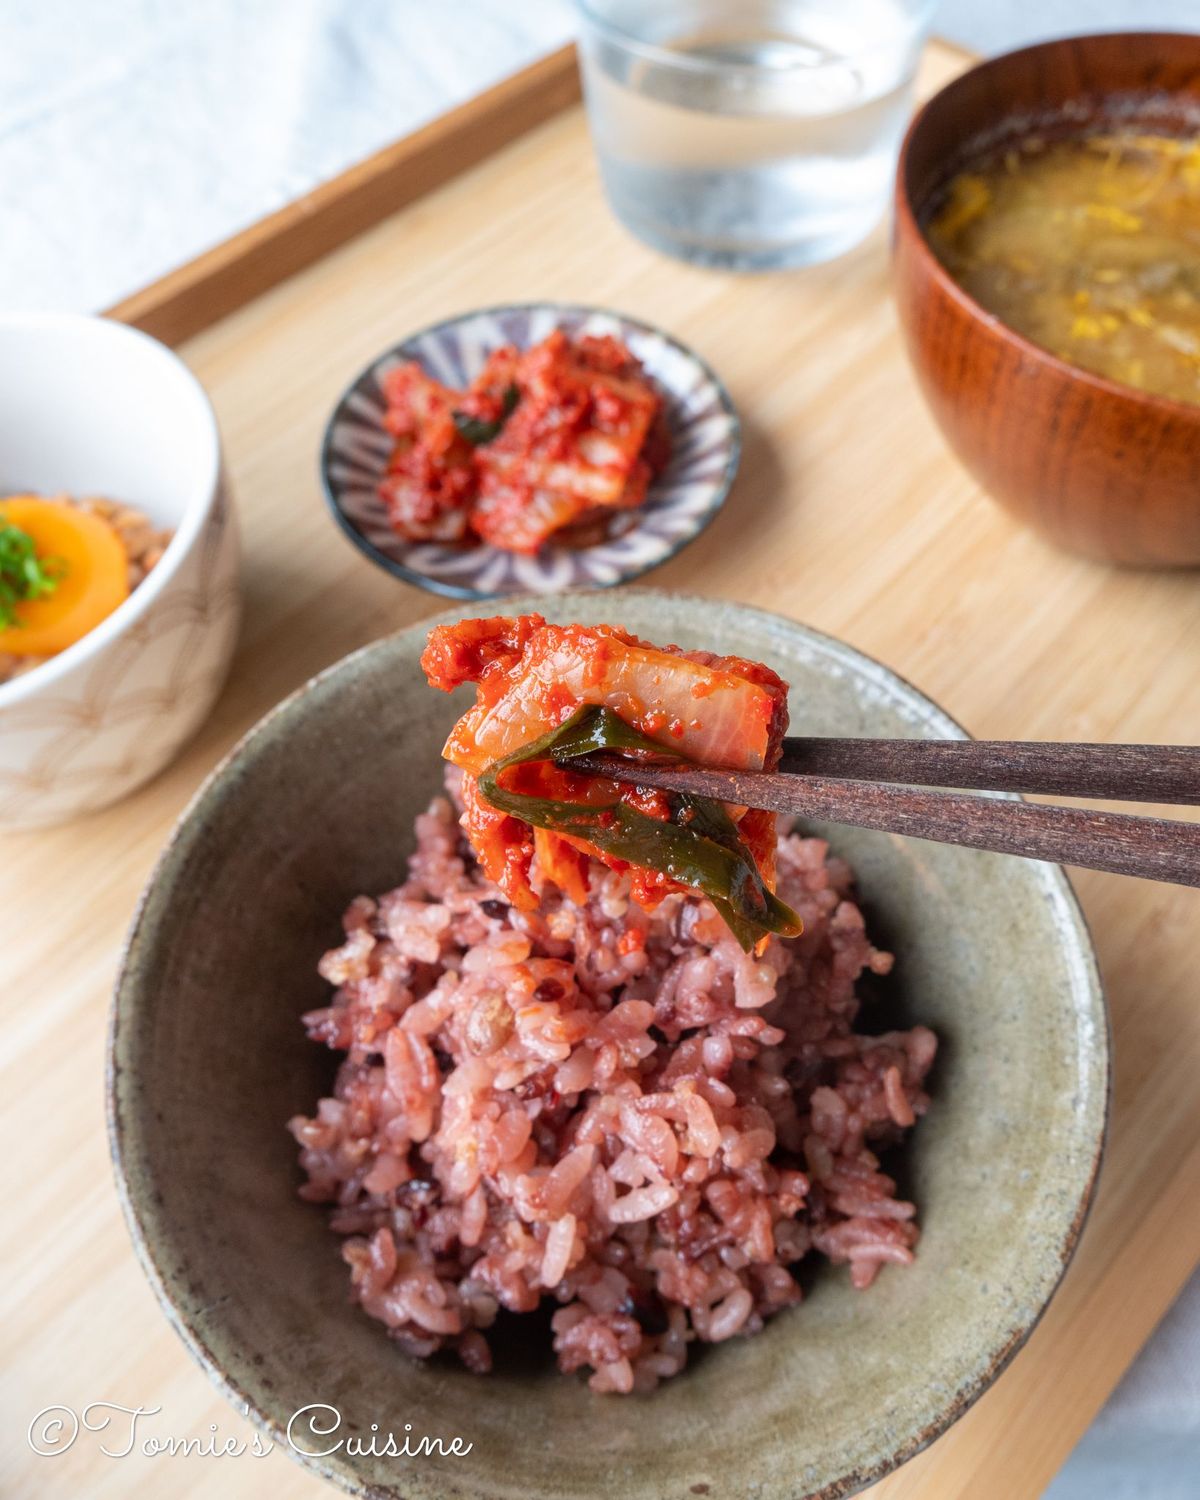
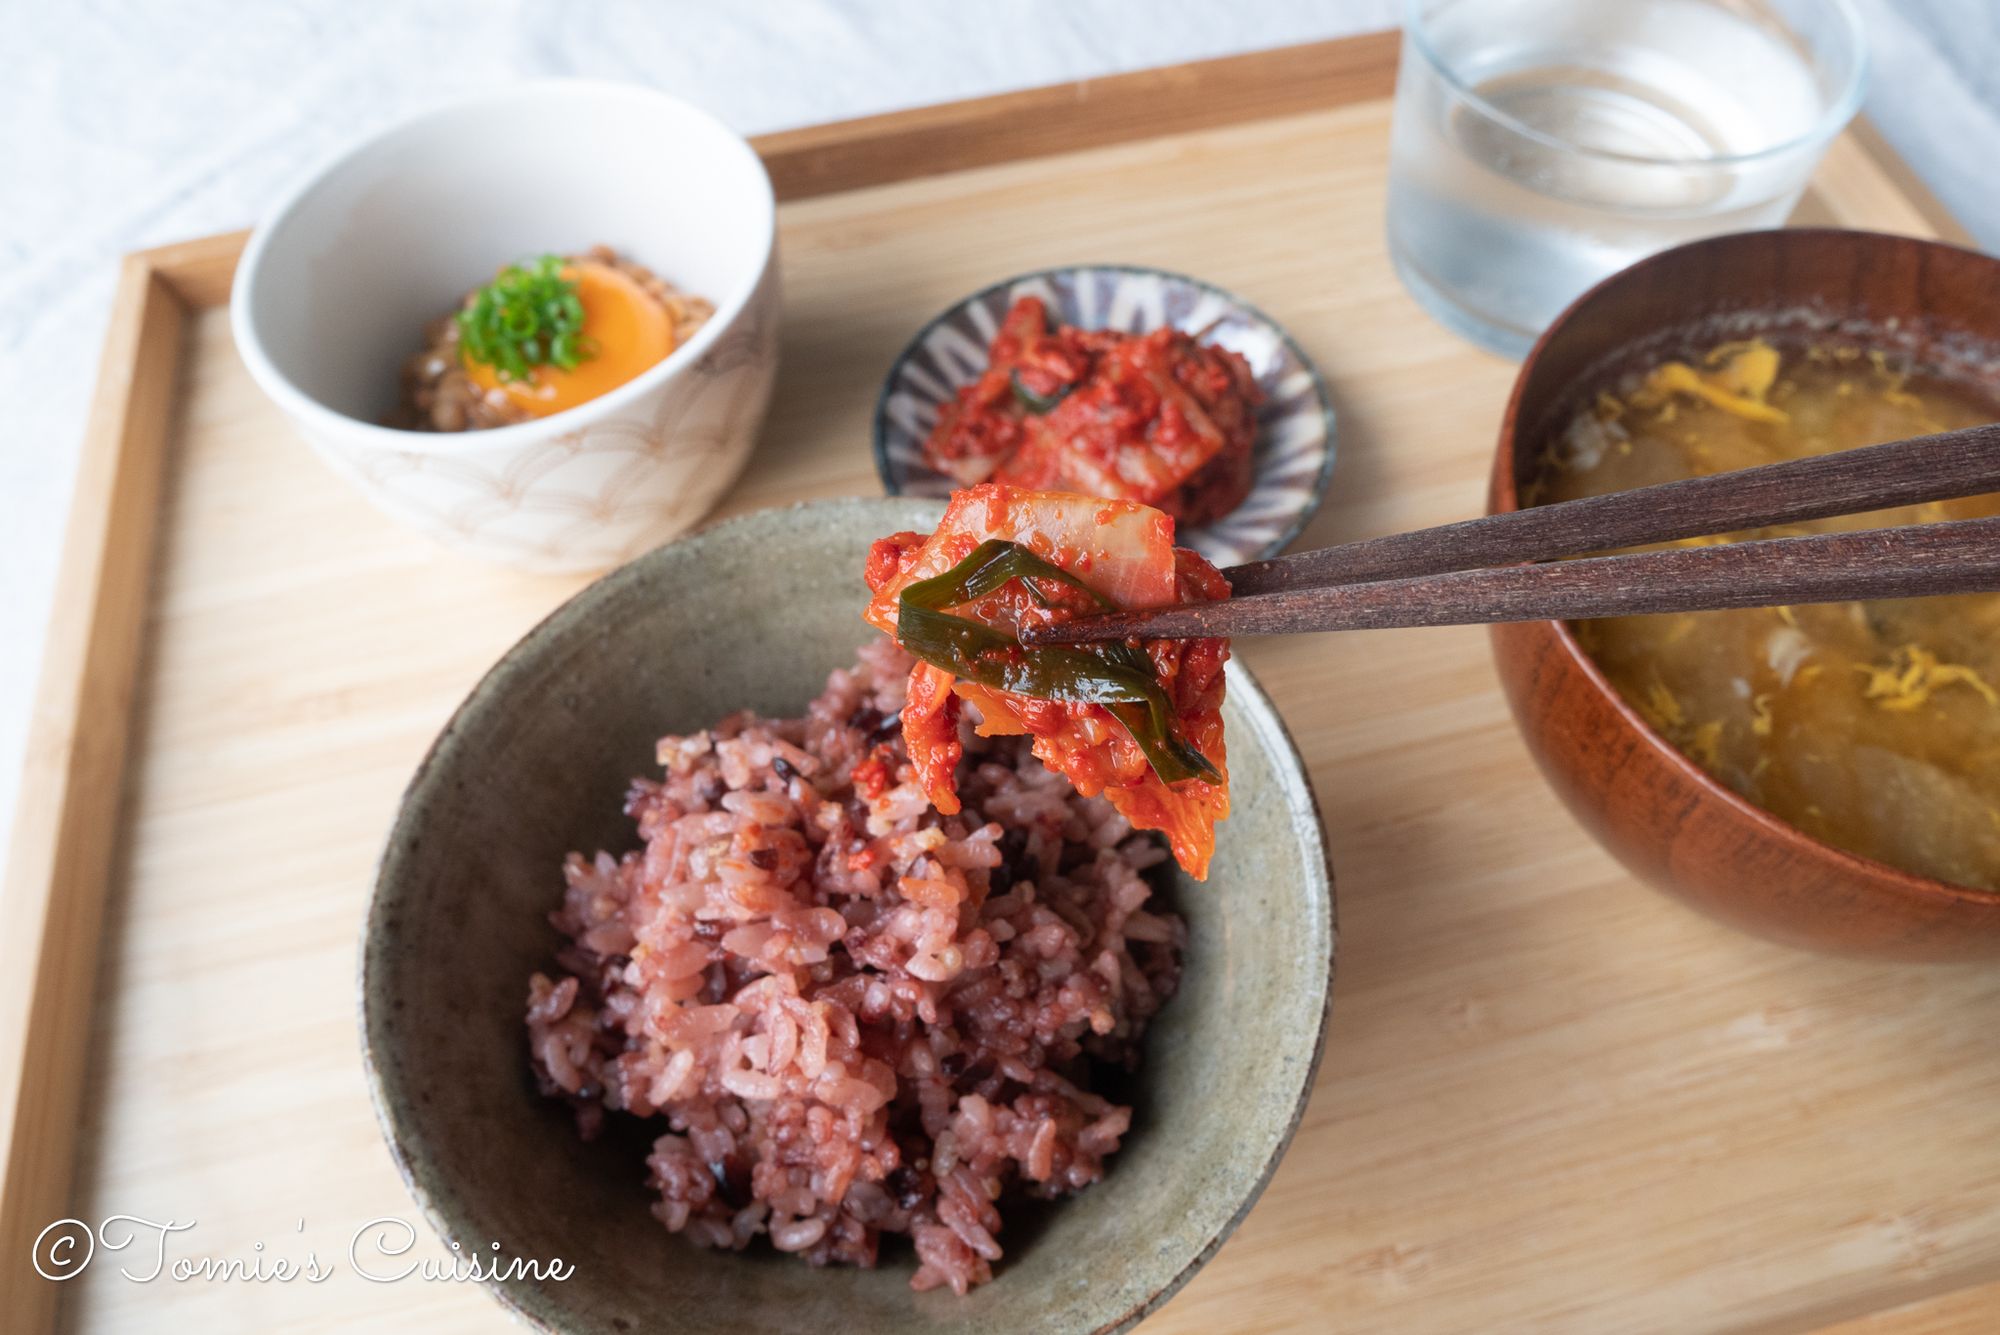
How we like to eat kimchi
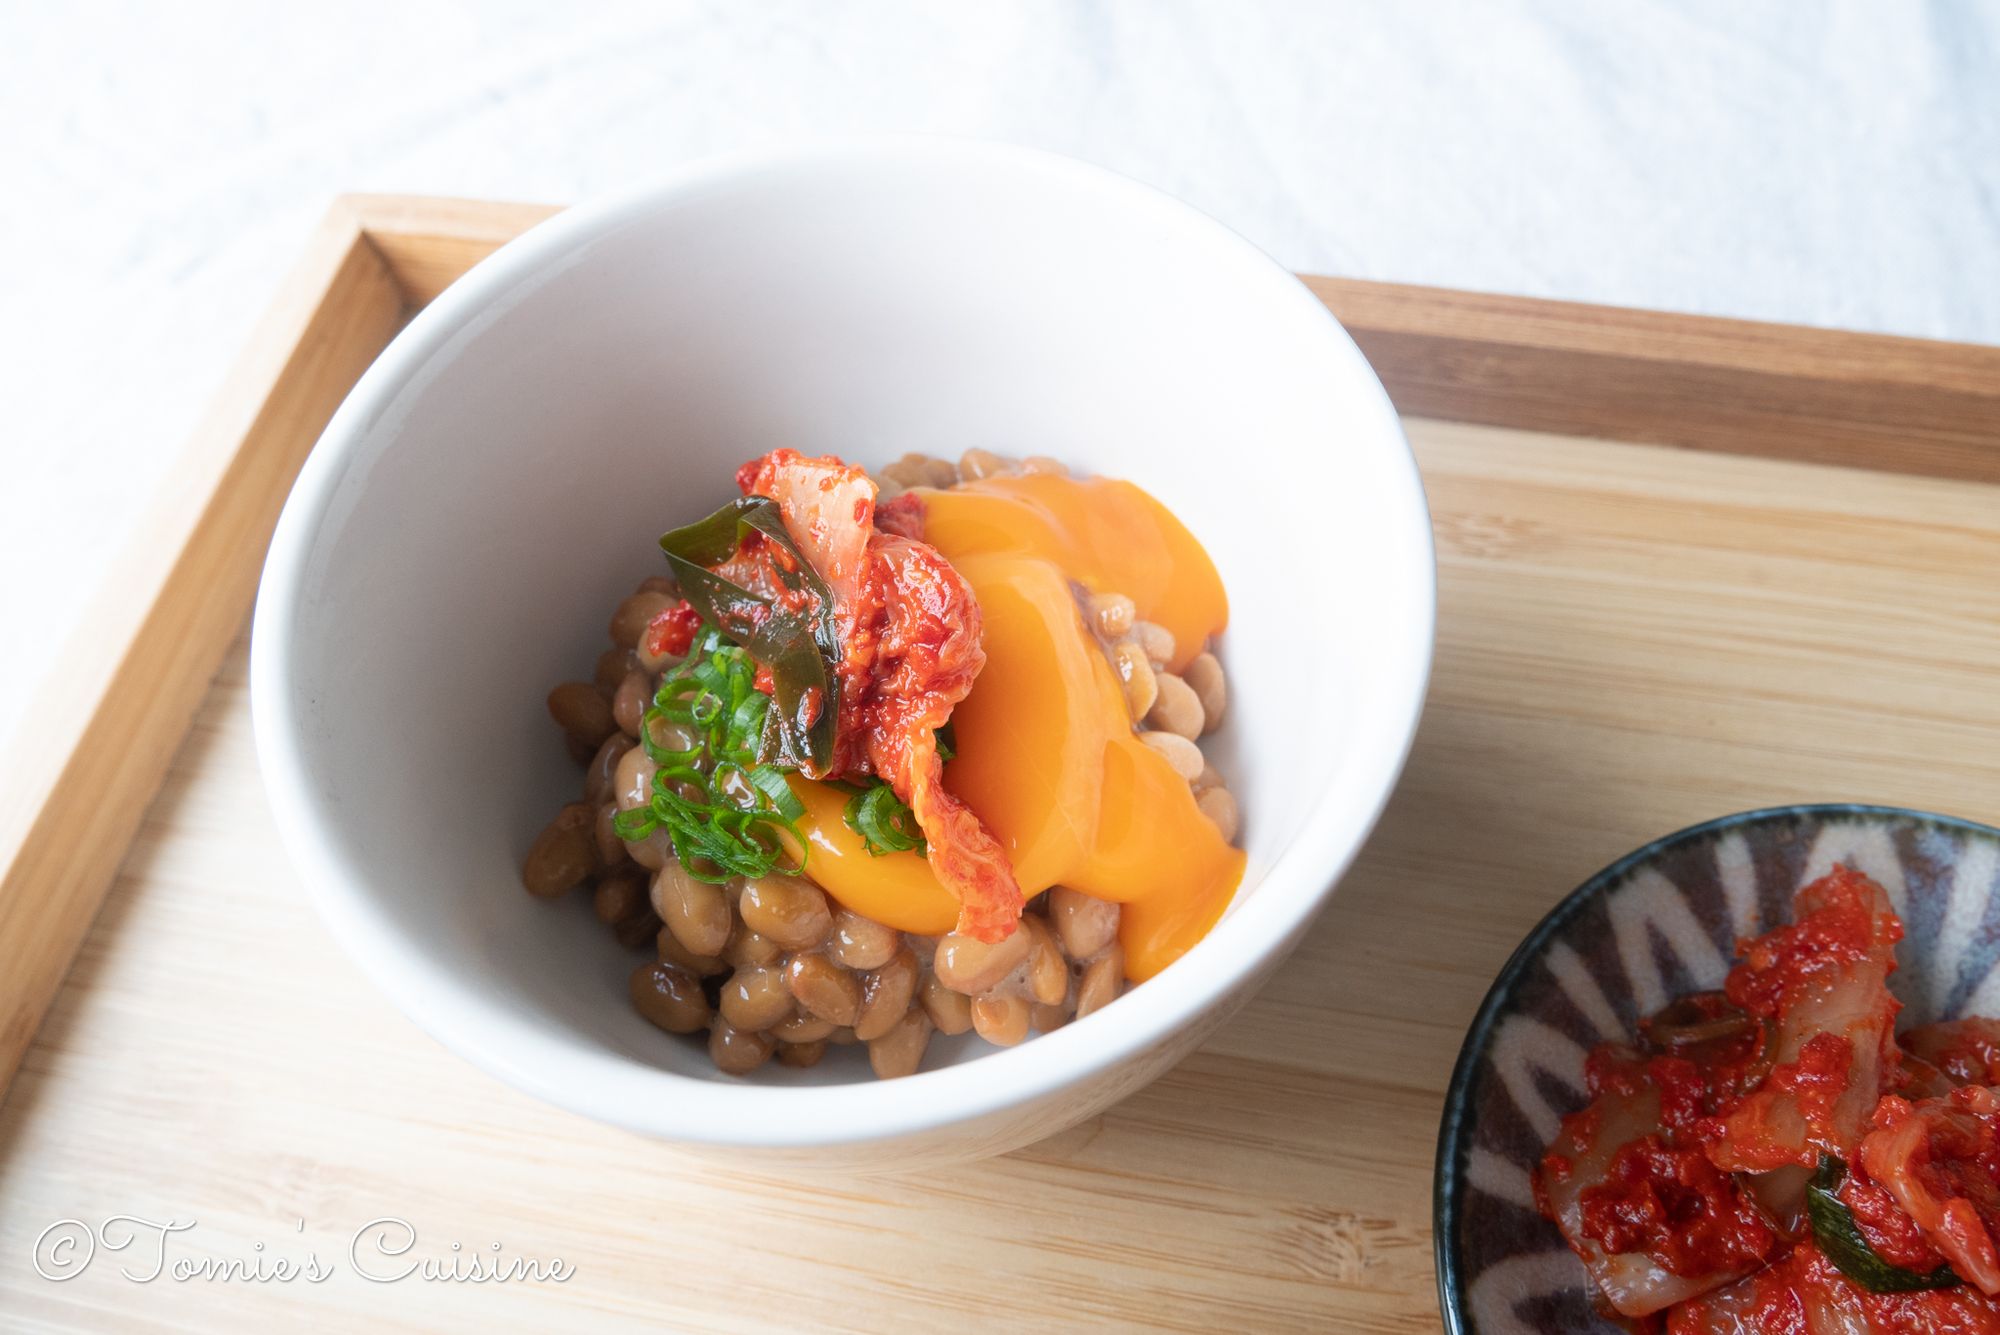
When it is still fresh (around a week old), I like eating it raw with some rice or as a condiment to enjoy simply cooked meat with salt and pepper. Adding to natto (fermented soybeans) or using it as a topping on tofu with a little soy sauce is also tasty. My husband's favourite is preparing some vegetables and meat for bibimbap and adding kimchi!
You'll have sourness when the kimchi gets older, so I like to use it in cooking, like risotto, fried rice, soup and hotpot.
The great thing about this kimchi is that it’s vegan. So, if you prepare or eat with vegan ingredients, it’ll be vegan but also goes very well with animal protein.
Closing words
It's getting cooler here in the UK, so why not try making kimchi to keep yourself warm and enjoy its health benefits?
We are on Instagram, Pinterest, and Facebook. Don’t forget to subscribe to our newsletter so you don’t miss our future blog posts about recipes and eco-friendly tips.