This article is quite long, so here’s a brief table of contents for what you will find below:
- A day-by-day recipe
- A flour comparison
- Three ways to know when your starter is ready
- Fixes for the most common problems
If you have been following our Instagram account, you may have already spotted the bubbling jars and floury countertops. That’s right, I have been on a sourdough bread journey! It all began back in June 2025, and what started as a little experiment has quickly turned into one of my favourite things to do in the kitchen. I have made the starter from scratch, tried several recipes, and learned so much along the way, including a few lessons I learned the hard way.
In this post, I want to share the sourdough starter recipe I followed, which flour works best, how to tell when your starter is ready to use, and some troubleshooting tips I really wish I had known from the start. Whether you are completely new to sourdough or have tried and failed before (and I’ve been there, as you’ll see below!), I hope this helps you on your way to your very first loaf.
What I learned from failing my first sourdough starter
I first came across the starter recipe I wanted to try on Instagram. The account is run by a Japanese woman who lives in Germany, and her videos are genuinely among the most calming to watch. It is not just about the bread; the way she films and explains things makes you feel like you can actually do it.
What caught my attention straight away was that her recipe uses a very small number of ingredients and creates minimal waste. I remember thinking, “Yeah, that’s it! I can try this now!” So off I went to the supermarket to pick up some rye flour and bread flour, and the journey began.
My first attempt did not go quite to plan. I followed the recipe carefully, but at some point the starter just stopped rising, and I couldn't figure out why. It was only later that I discovered that she had developed the recipe during a German winter, when kitchen temperatures are much lower. I, meanwhile, was making mine in the middle of a warm British summer, with my kitchen hitting close to 30ºC. The starter was rising much faster than the recipe accounted for, and by the time I checked on it, it had already peaked and exhausted itself. So, into the compost it went.
The second time around, I adapted. Rather than rigidly following the timing, I started watching the starter itself. For example, its texture, smell, and how much it had risen, and adjusting from there. That made all the difference. So if there is one piece of advice I would give before we even get into the recipe, it is this: treat the timings as a guide, not a rule. Your kitchen temperature will change everything.
The sourdough starter recipe I followed
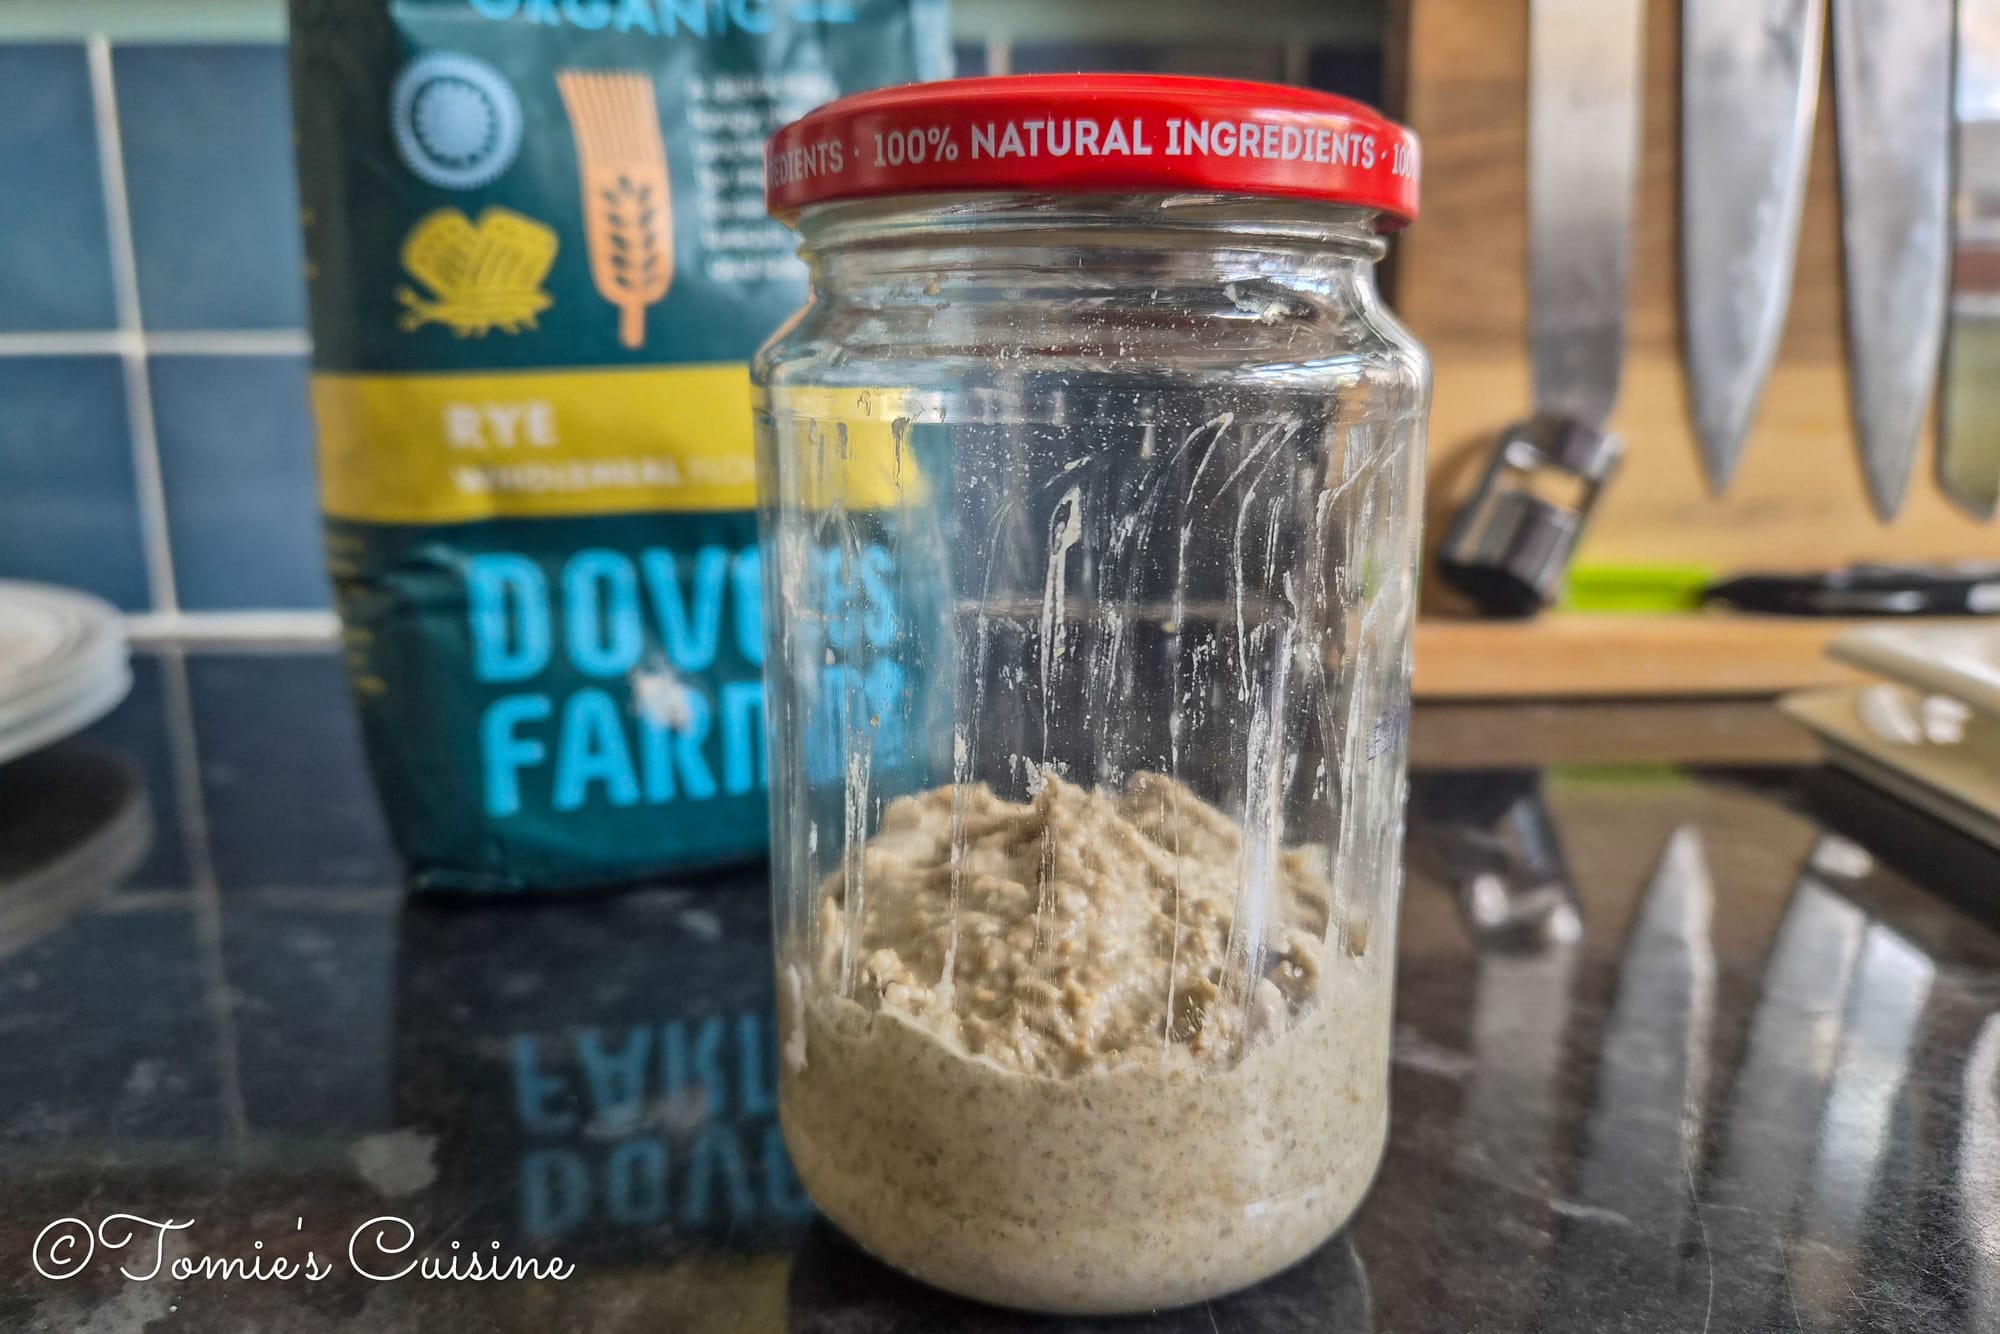
This recipe uses rye flour throughout, and the quantities are intentionally small to minimise waste. You will need a few small to medium-sized glass jars, a kitchen scale, and a little patience!
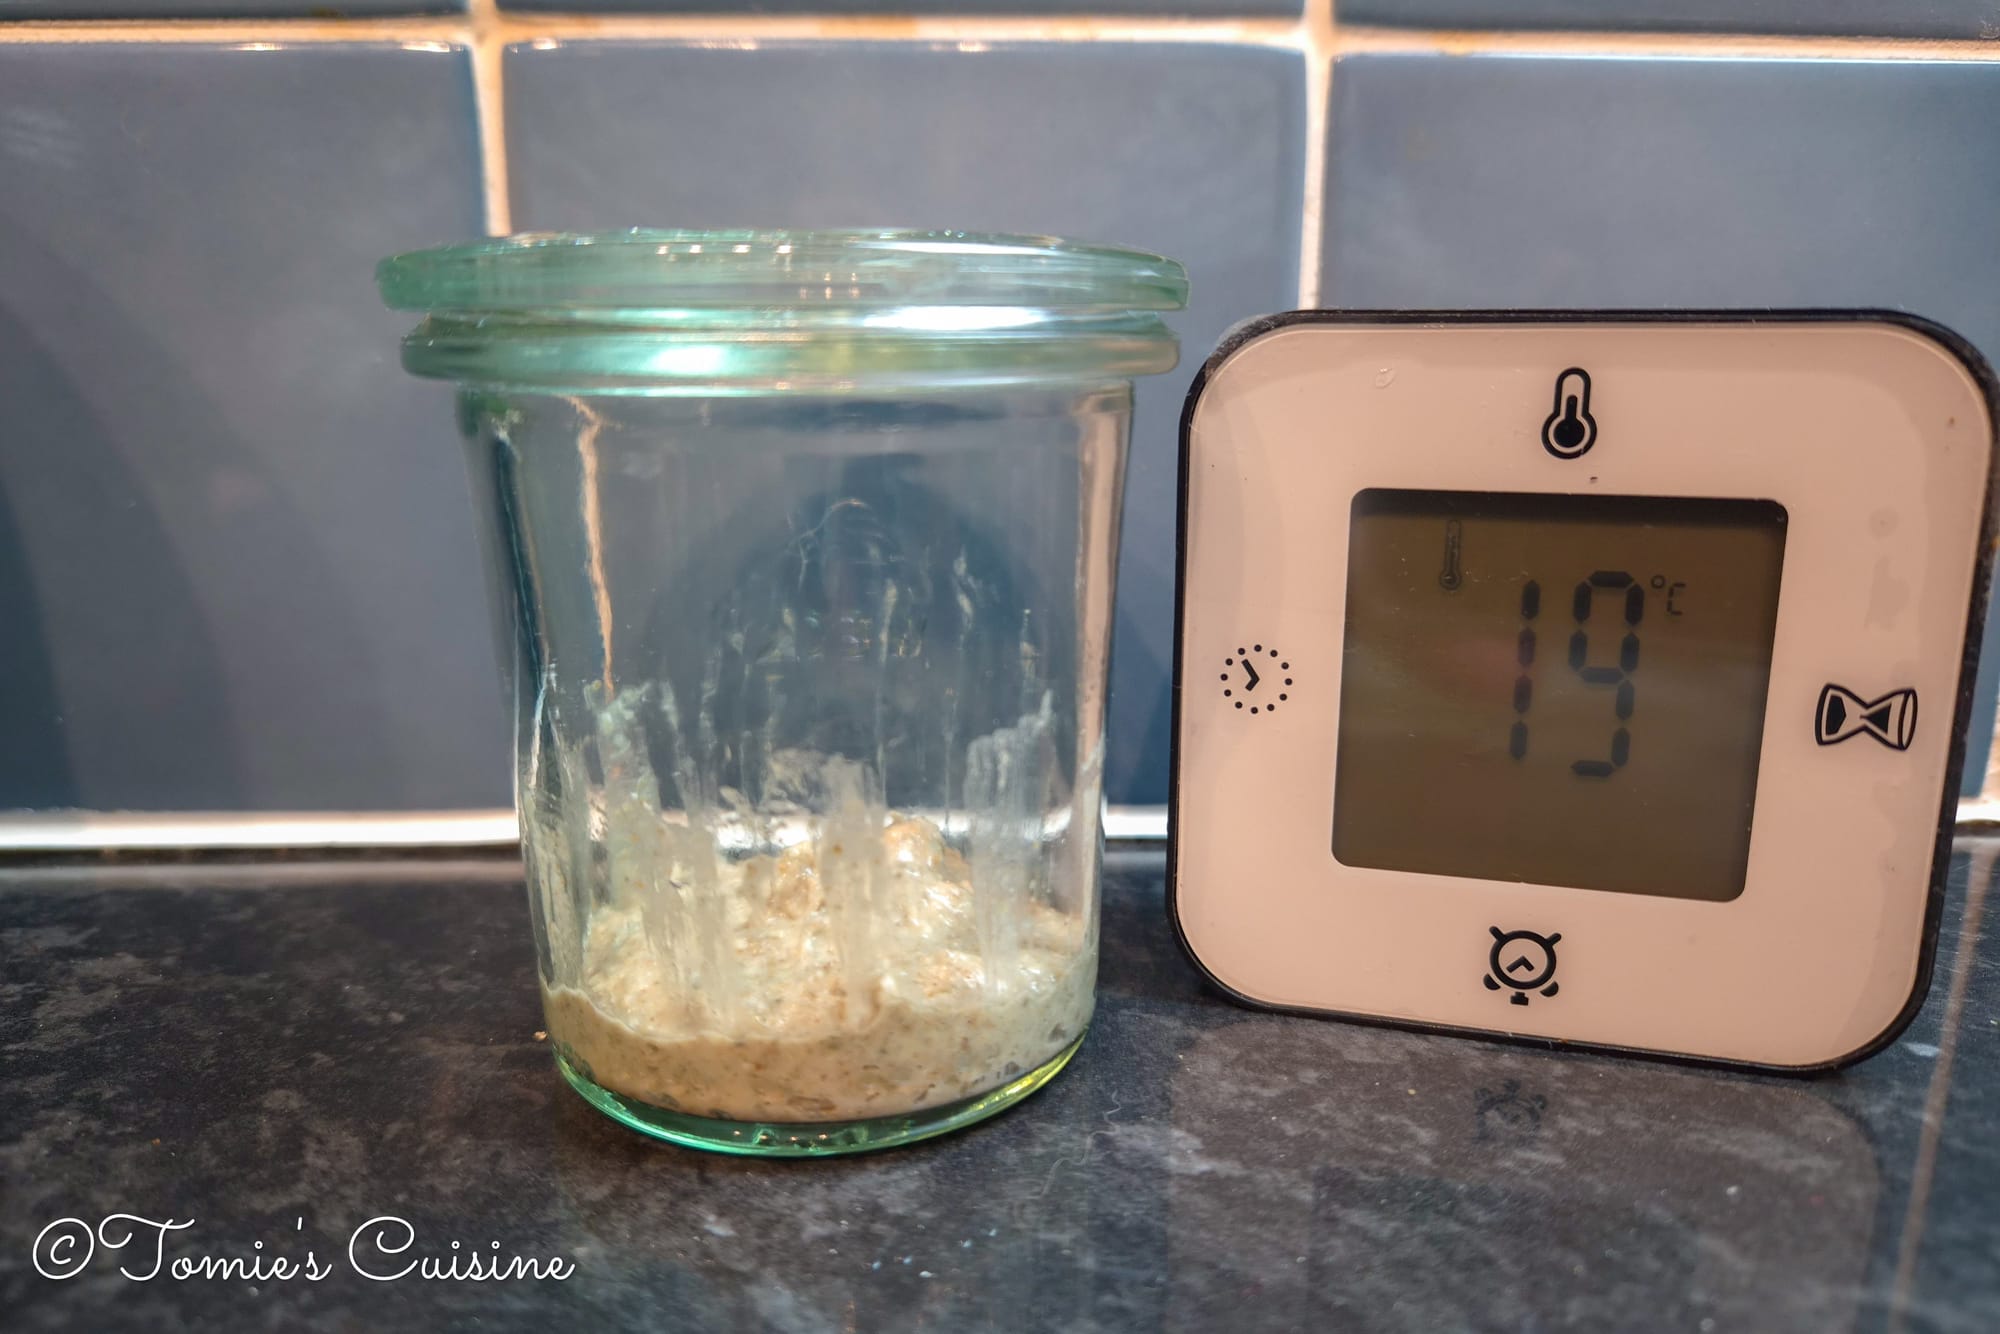
Your kitchen temperature should be between 18–22ºC.
Day 1
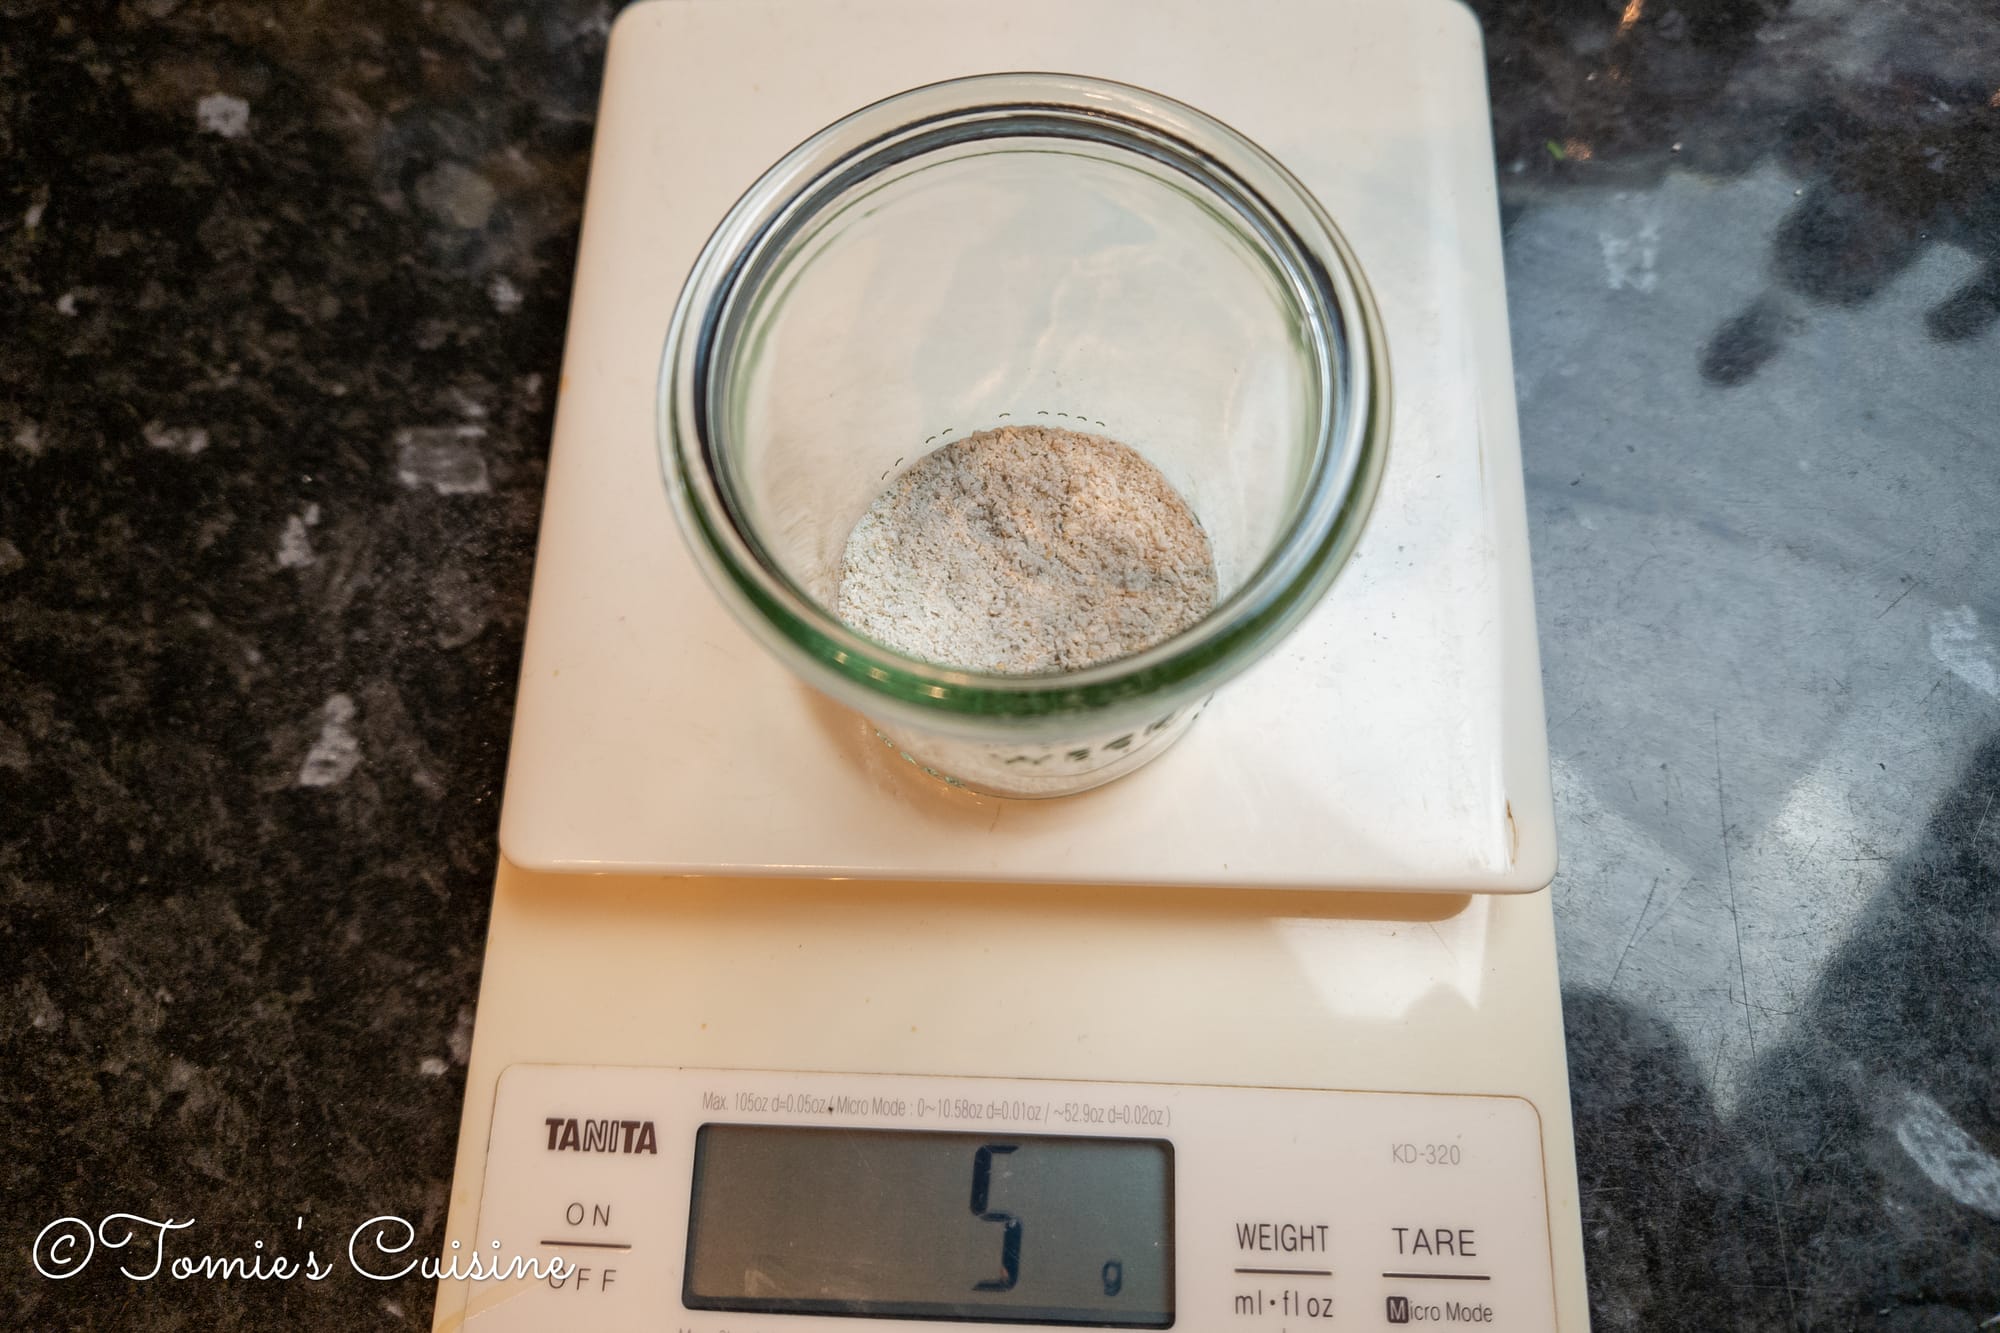
Add 5g of rye flour and 5g of water into a small, clean jar and mix well. Cover loosely and do not seal it airtight, as it needs to breathe. Leave for 24 hours.
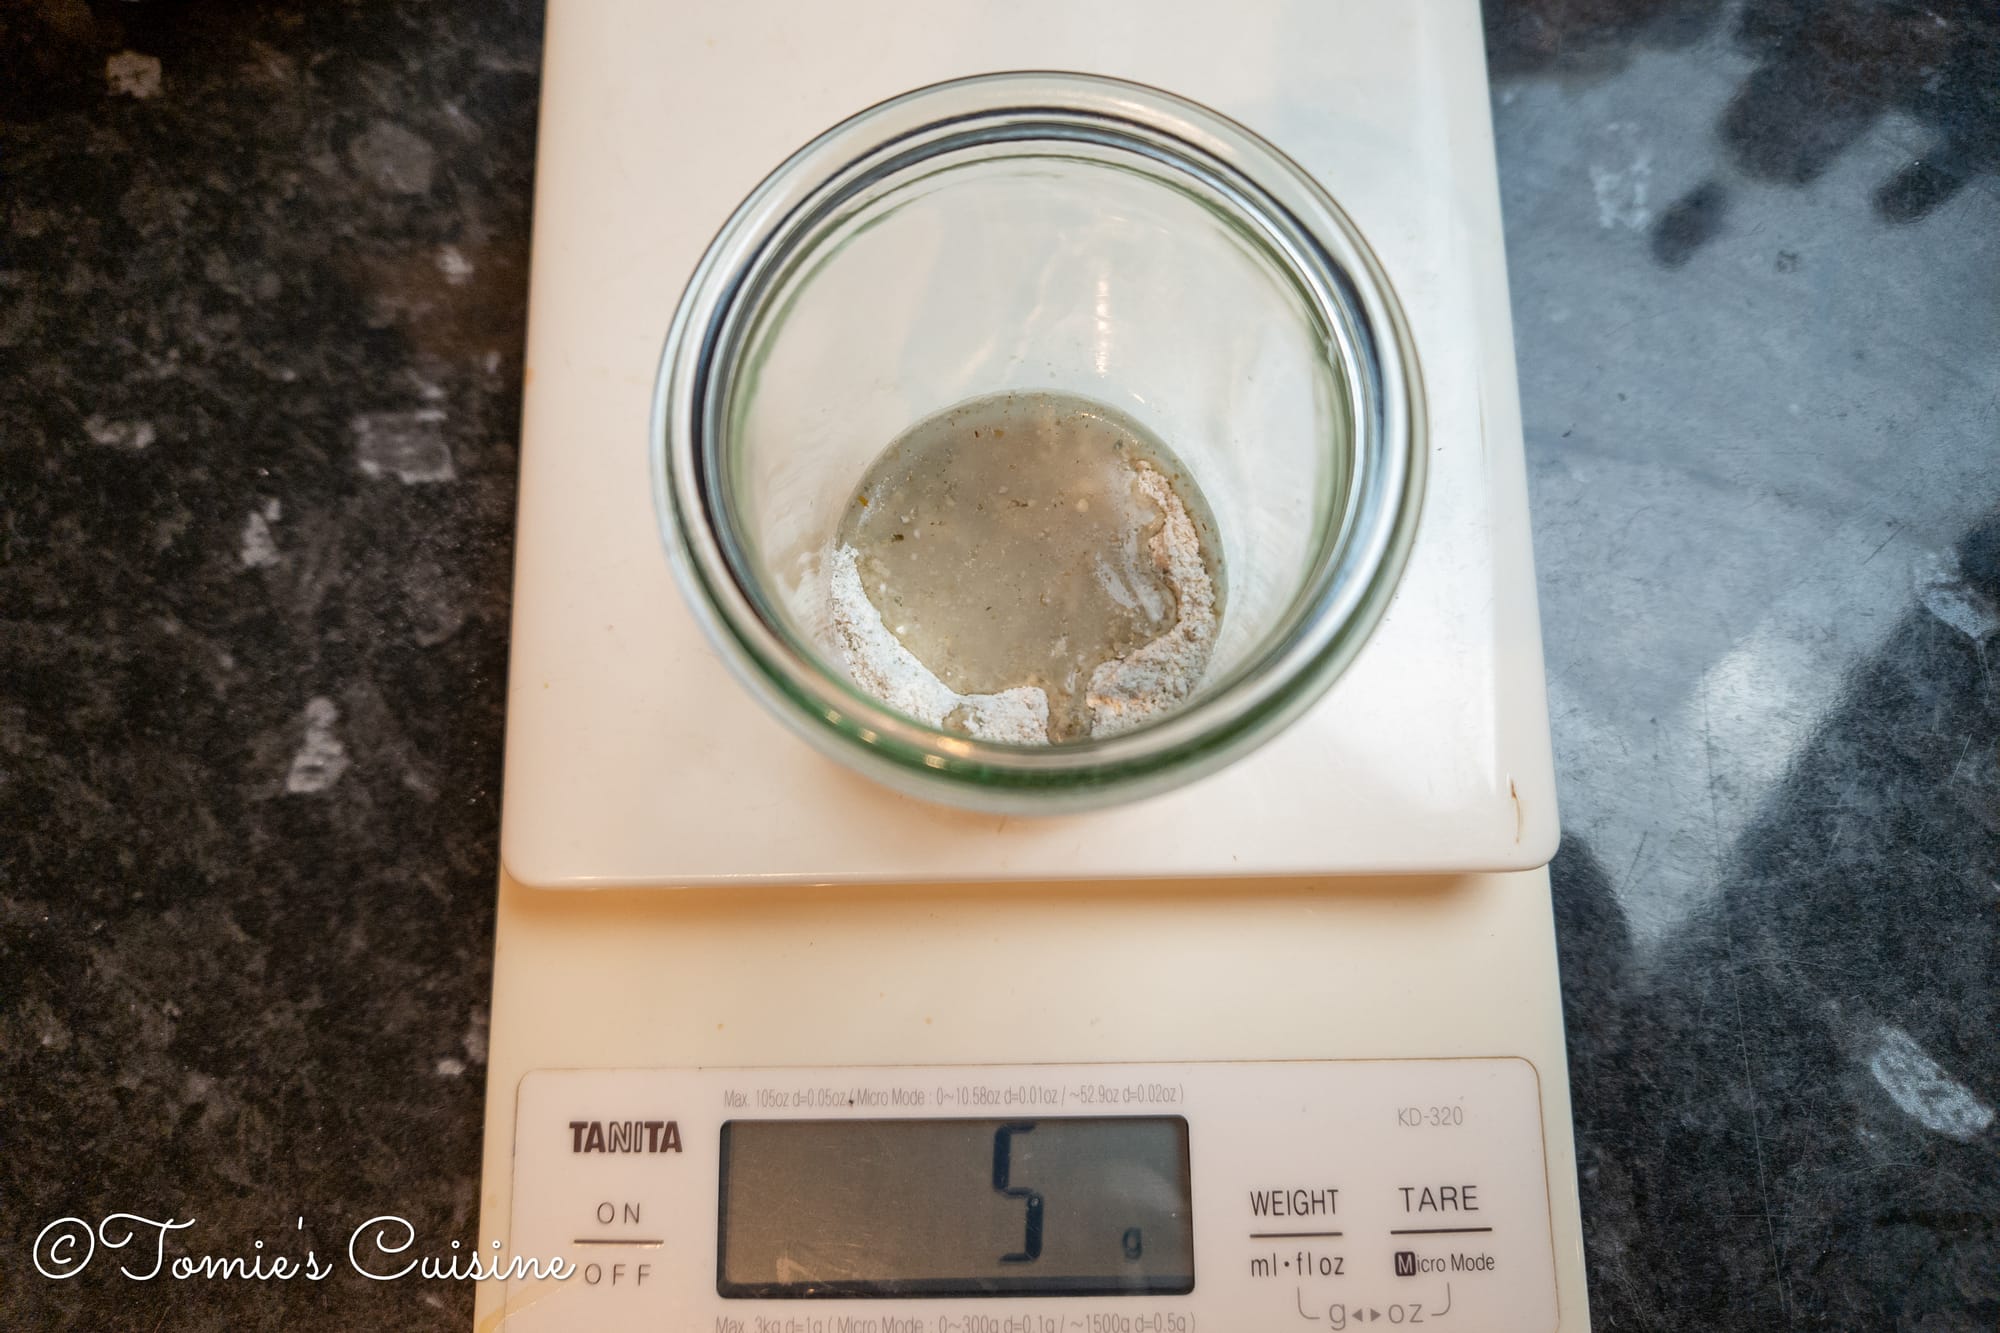
Day 2
Add another 5g of rye flour and 5g of water, mix well, and wait another 24 hours.
You might start to see a few tiny bubbles forming! That is a good sign!
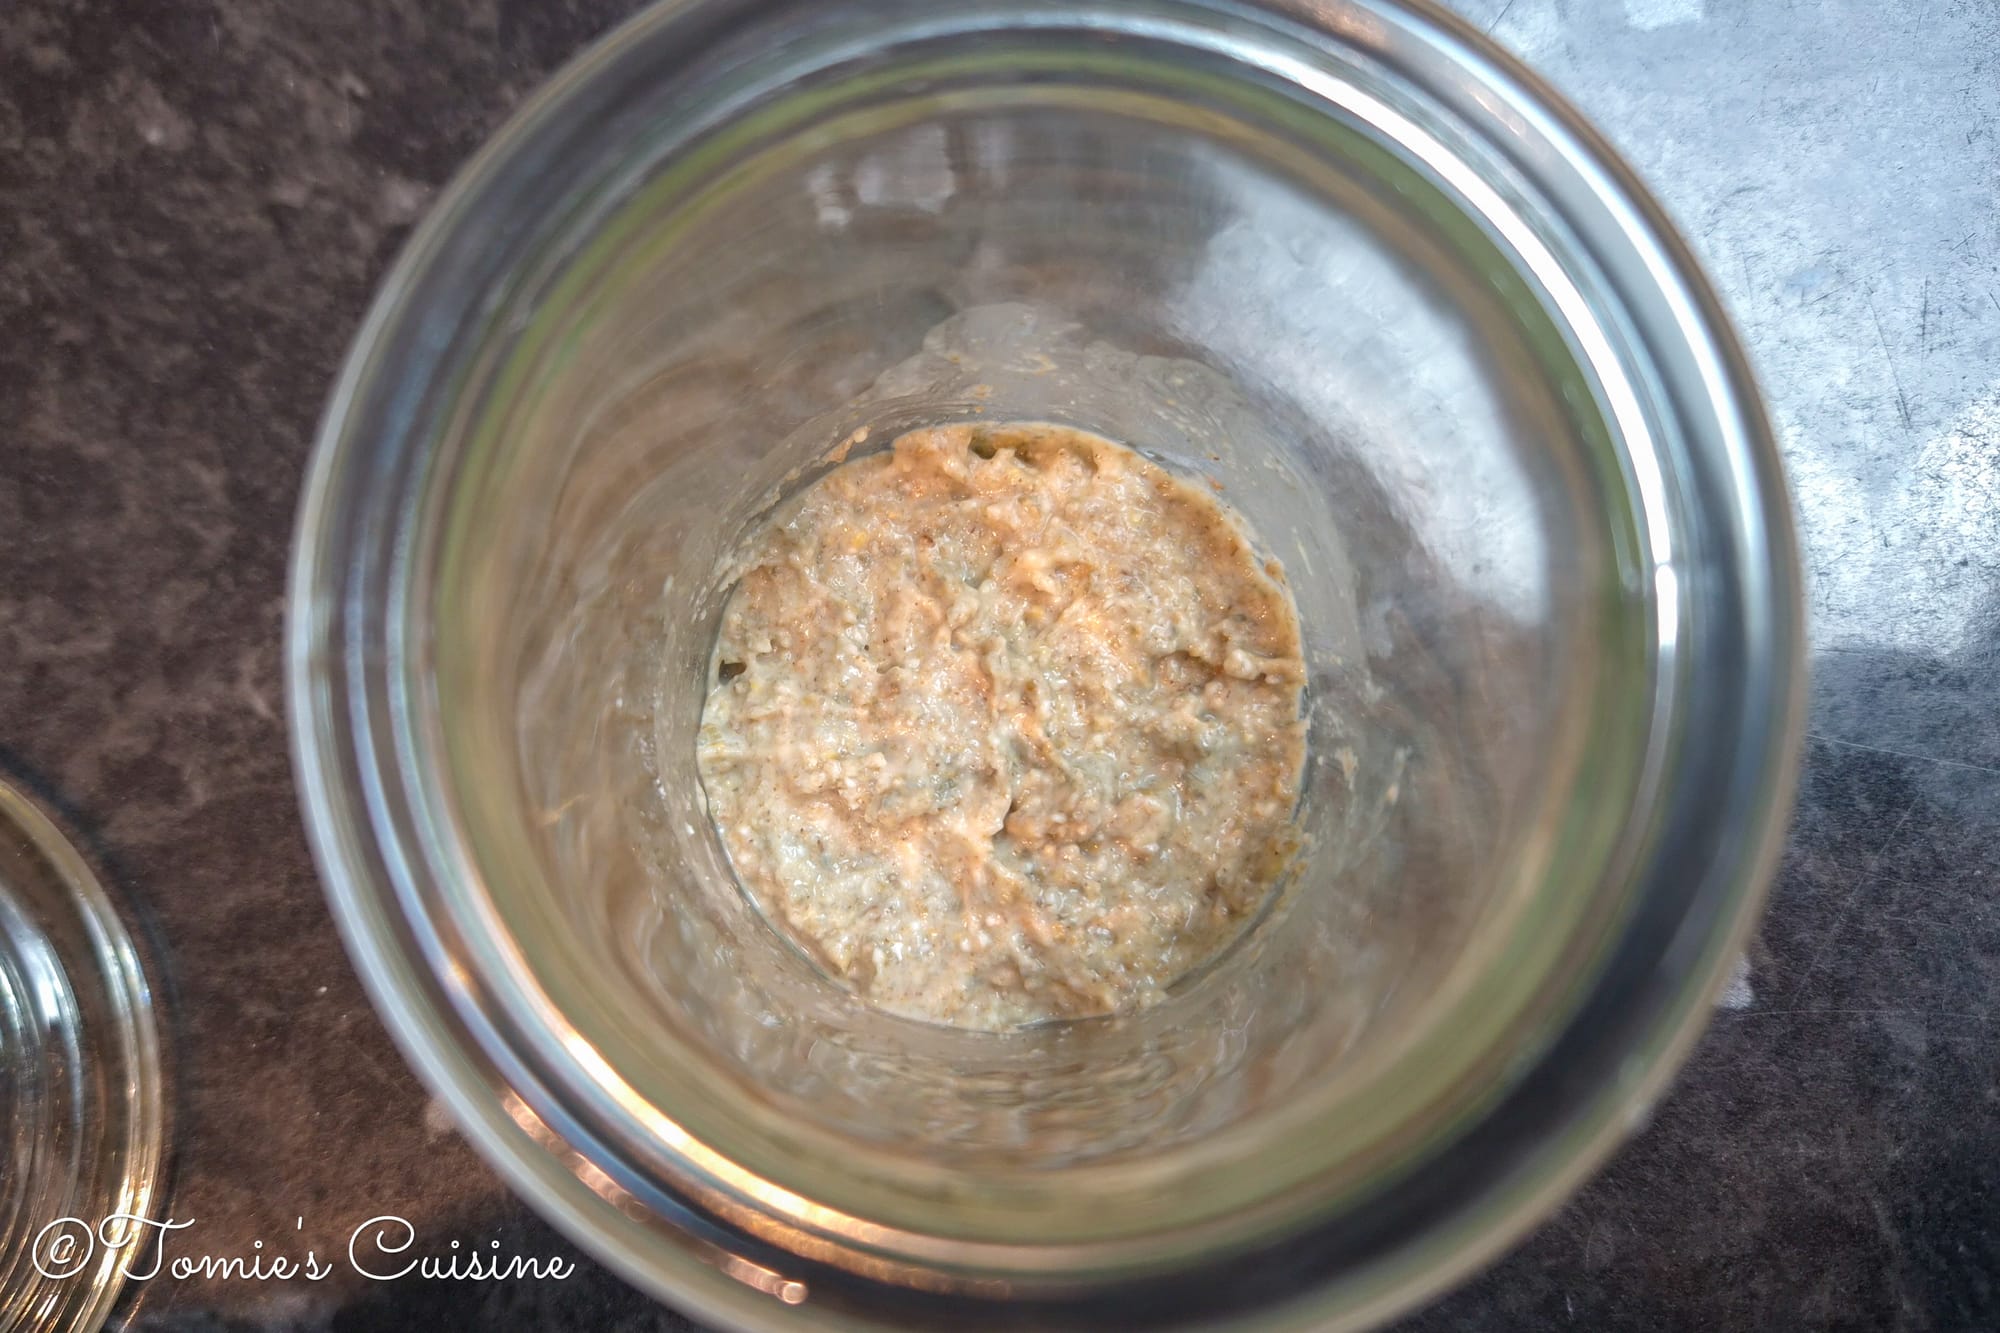
Day 3
Transfer 5g of your starter into a clean container, then discard or compost the rest. Add 10g of rye flour and 10g of water to the clean container, mix well, and wait 24 hours.
Day 4
From here, things start to move a little faster. Watch the starter rather than the clock:
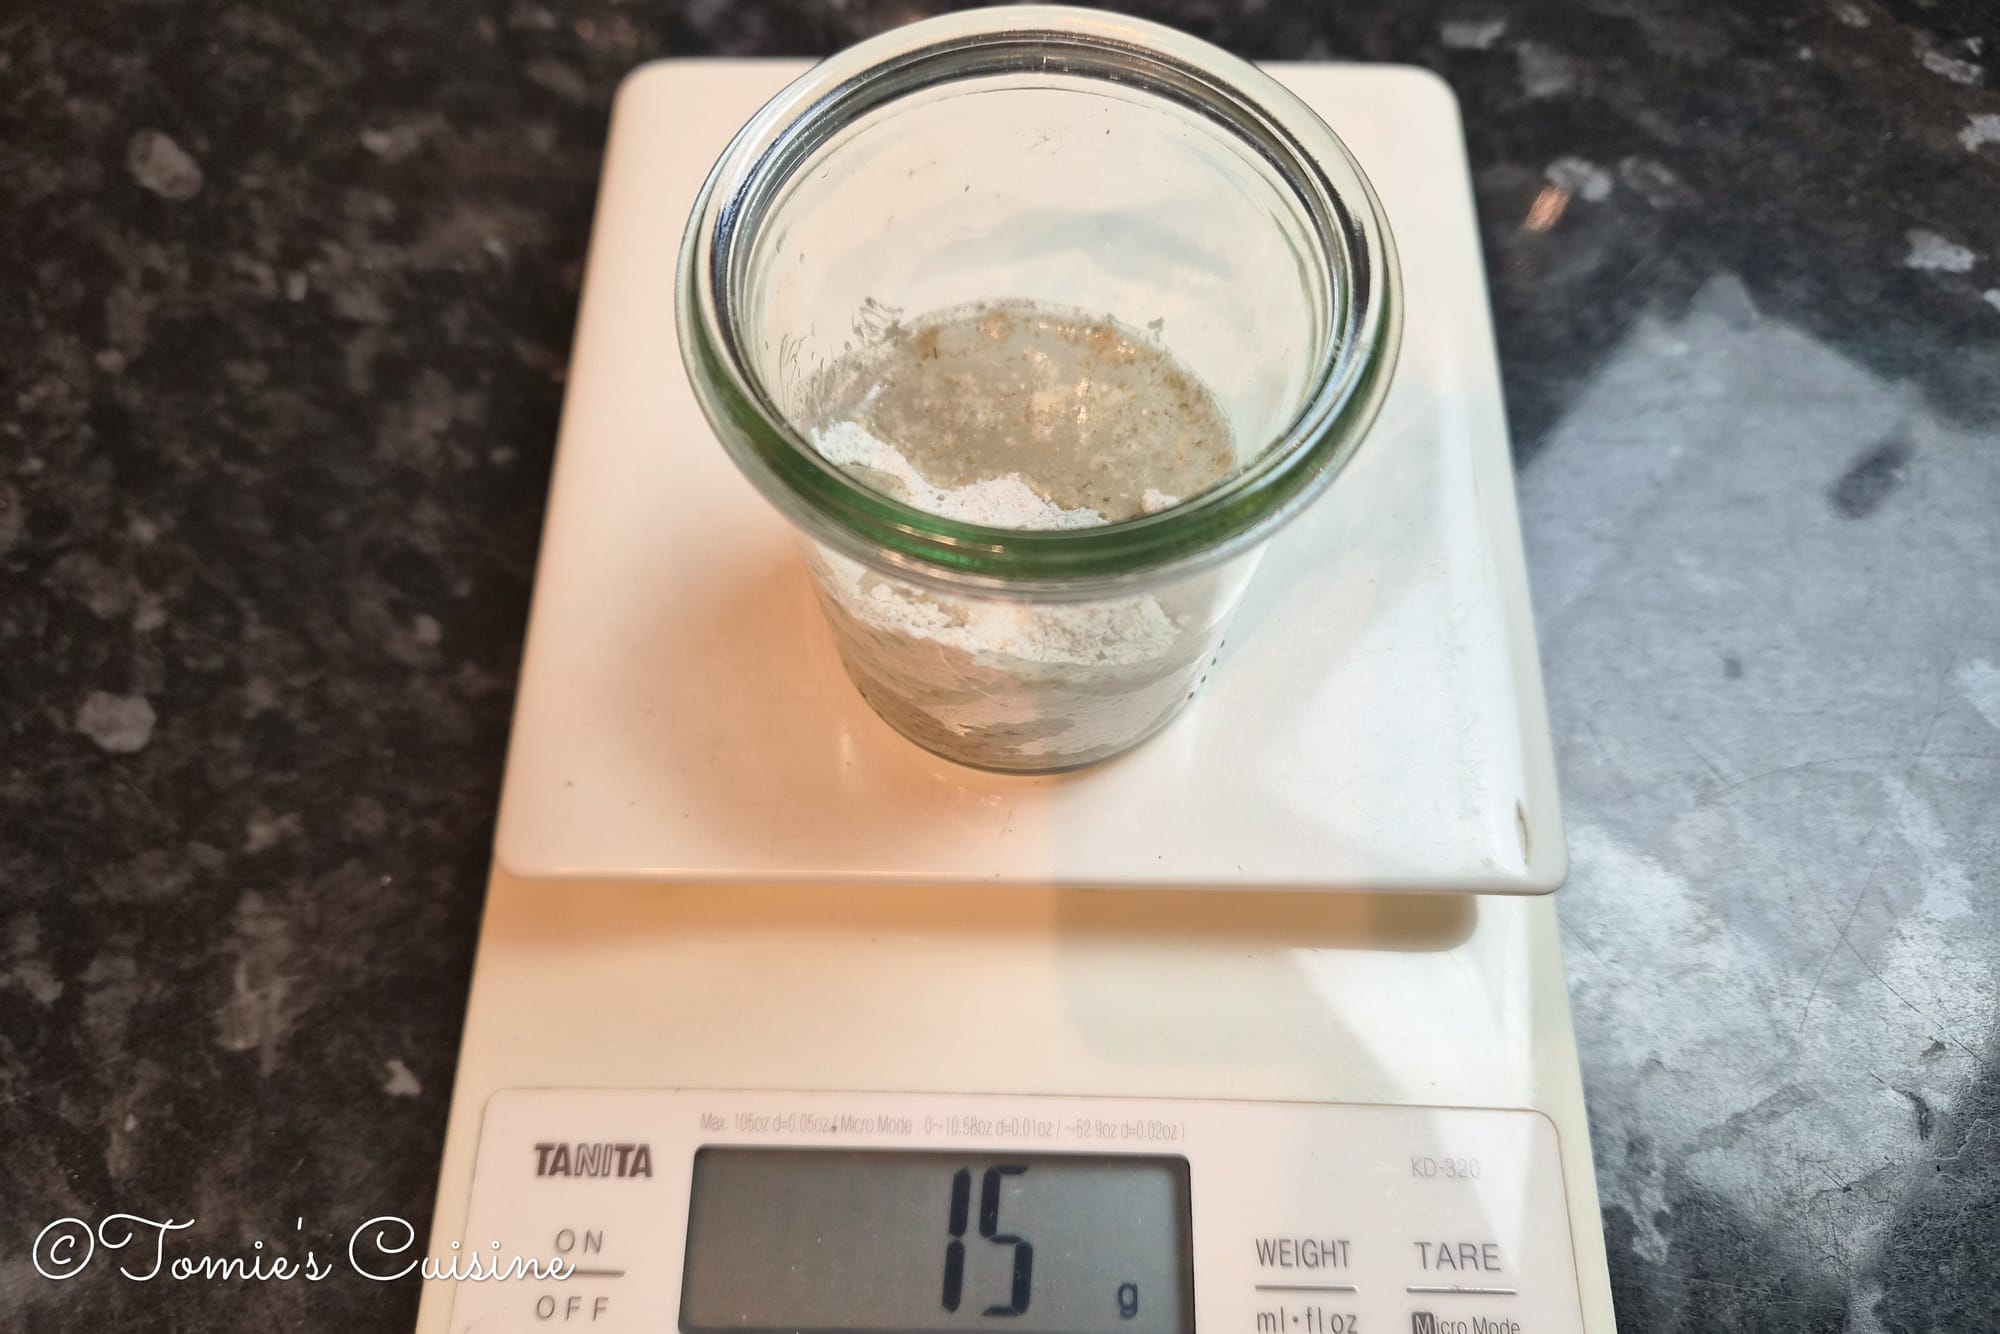

- Take 10g of your starter and place it in a clean container, then, as you did the previous day, discard the rest.
- Finally, add 15g of rye flour and 15g of water to your clean container. Mix well and wait until it has doubled in size.
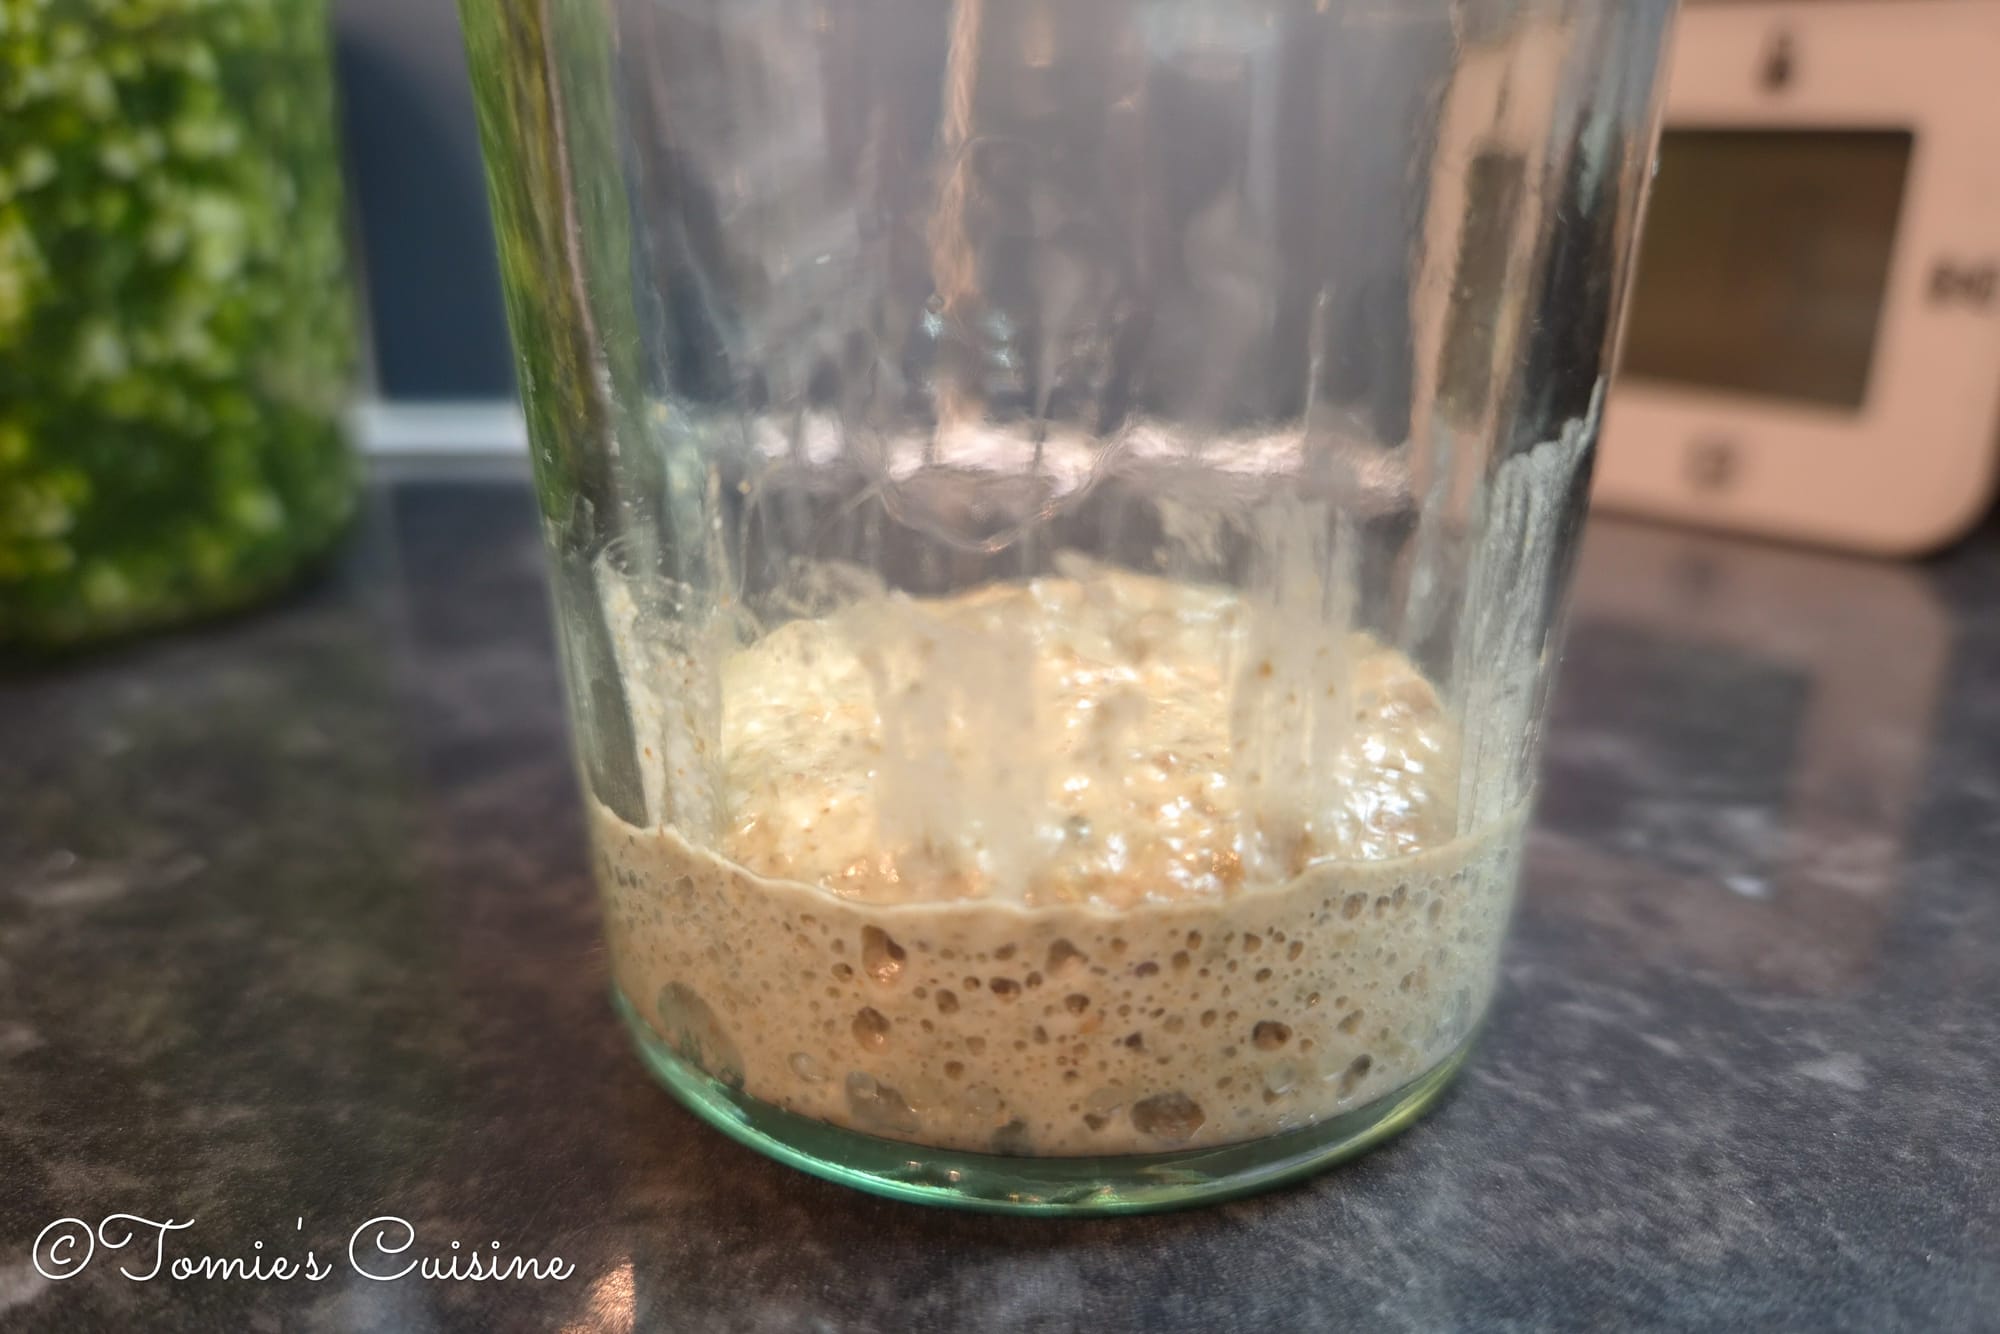
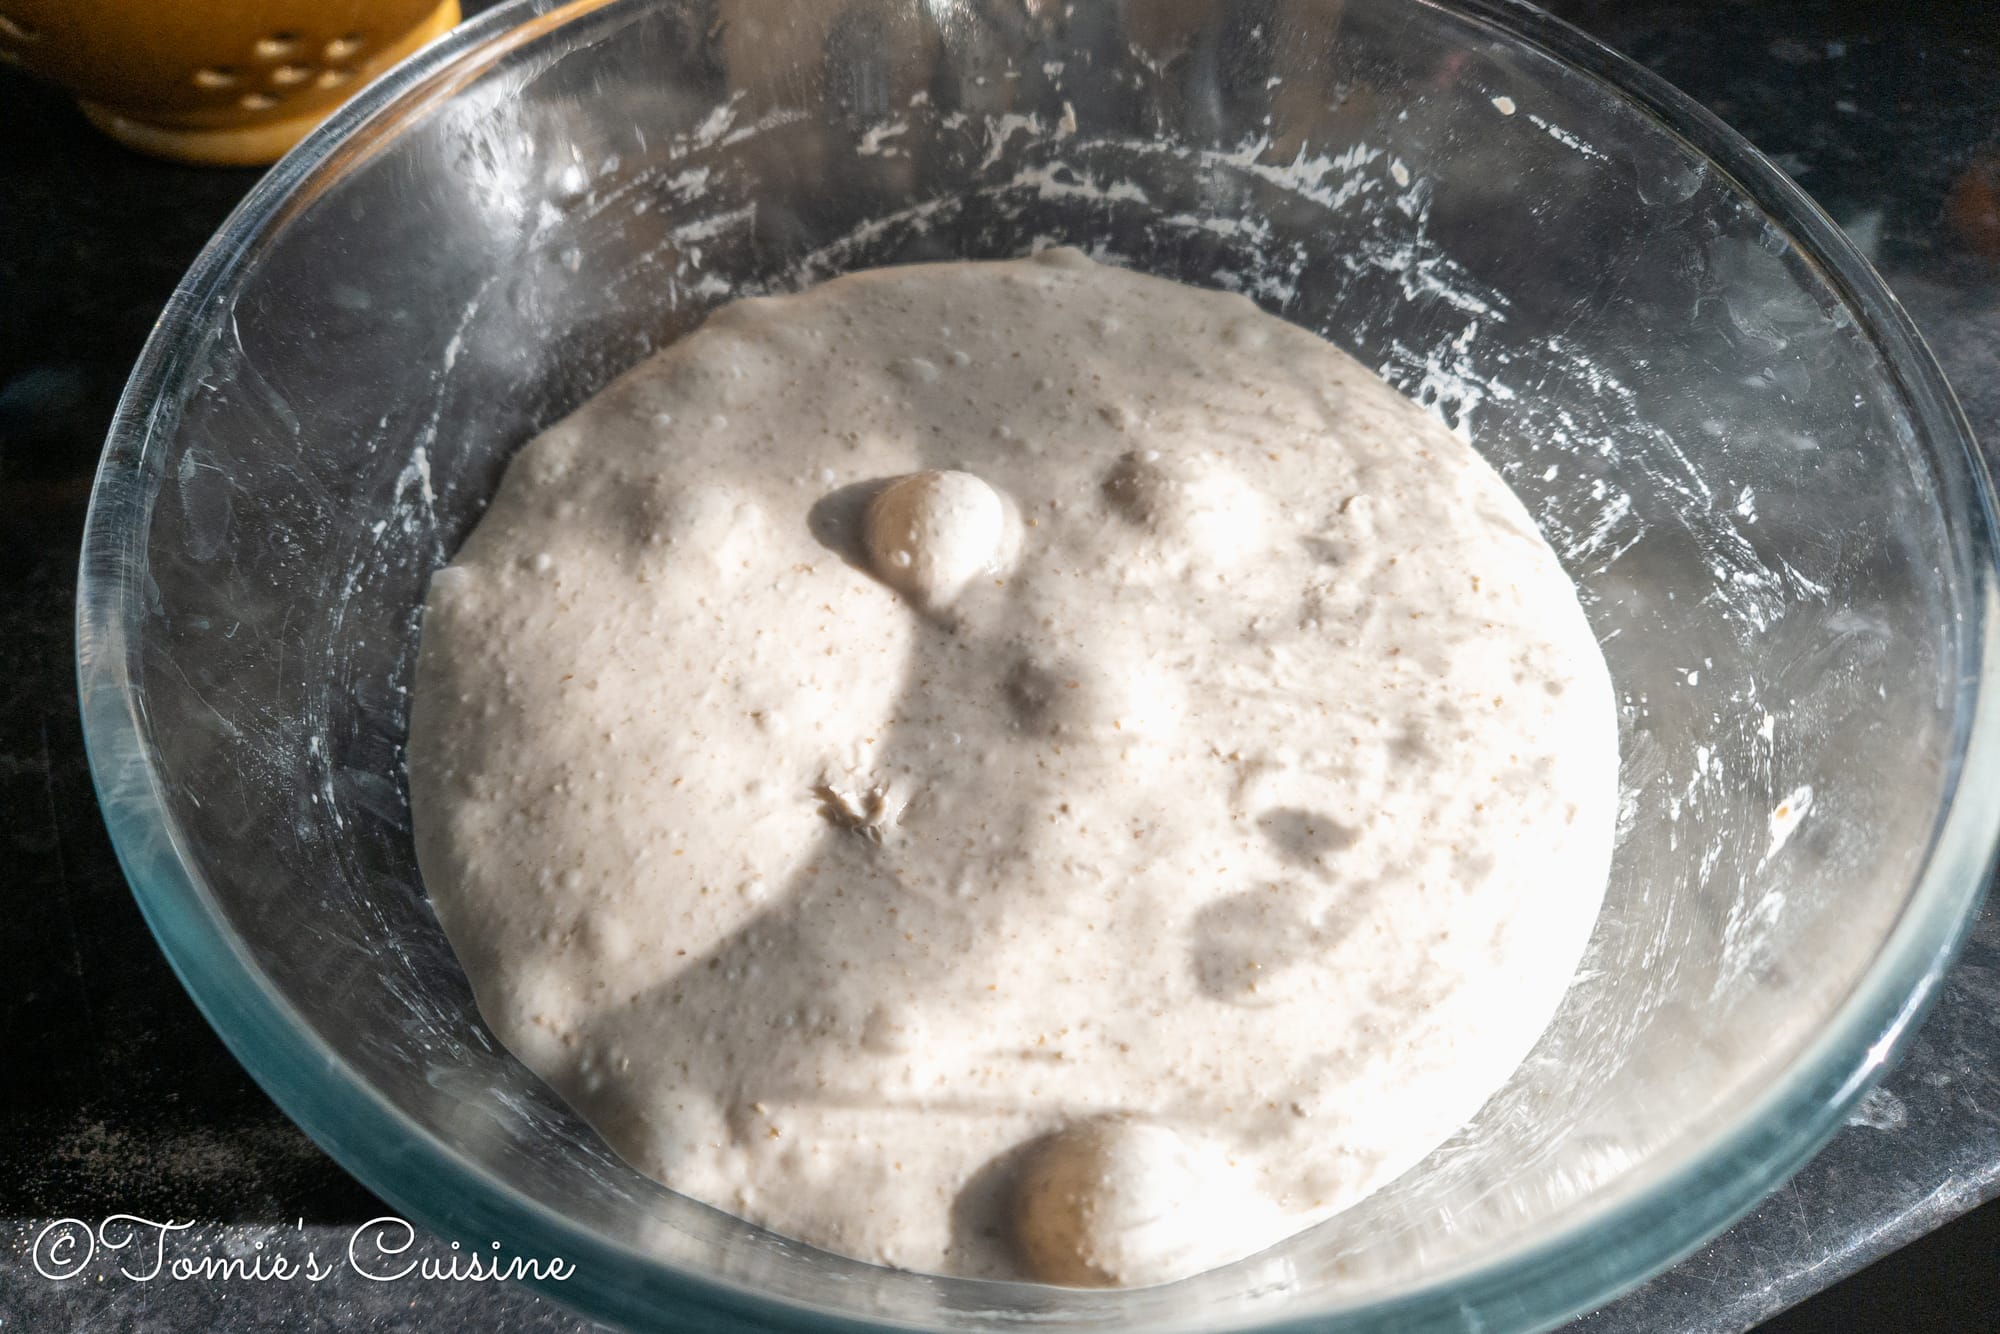
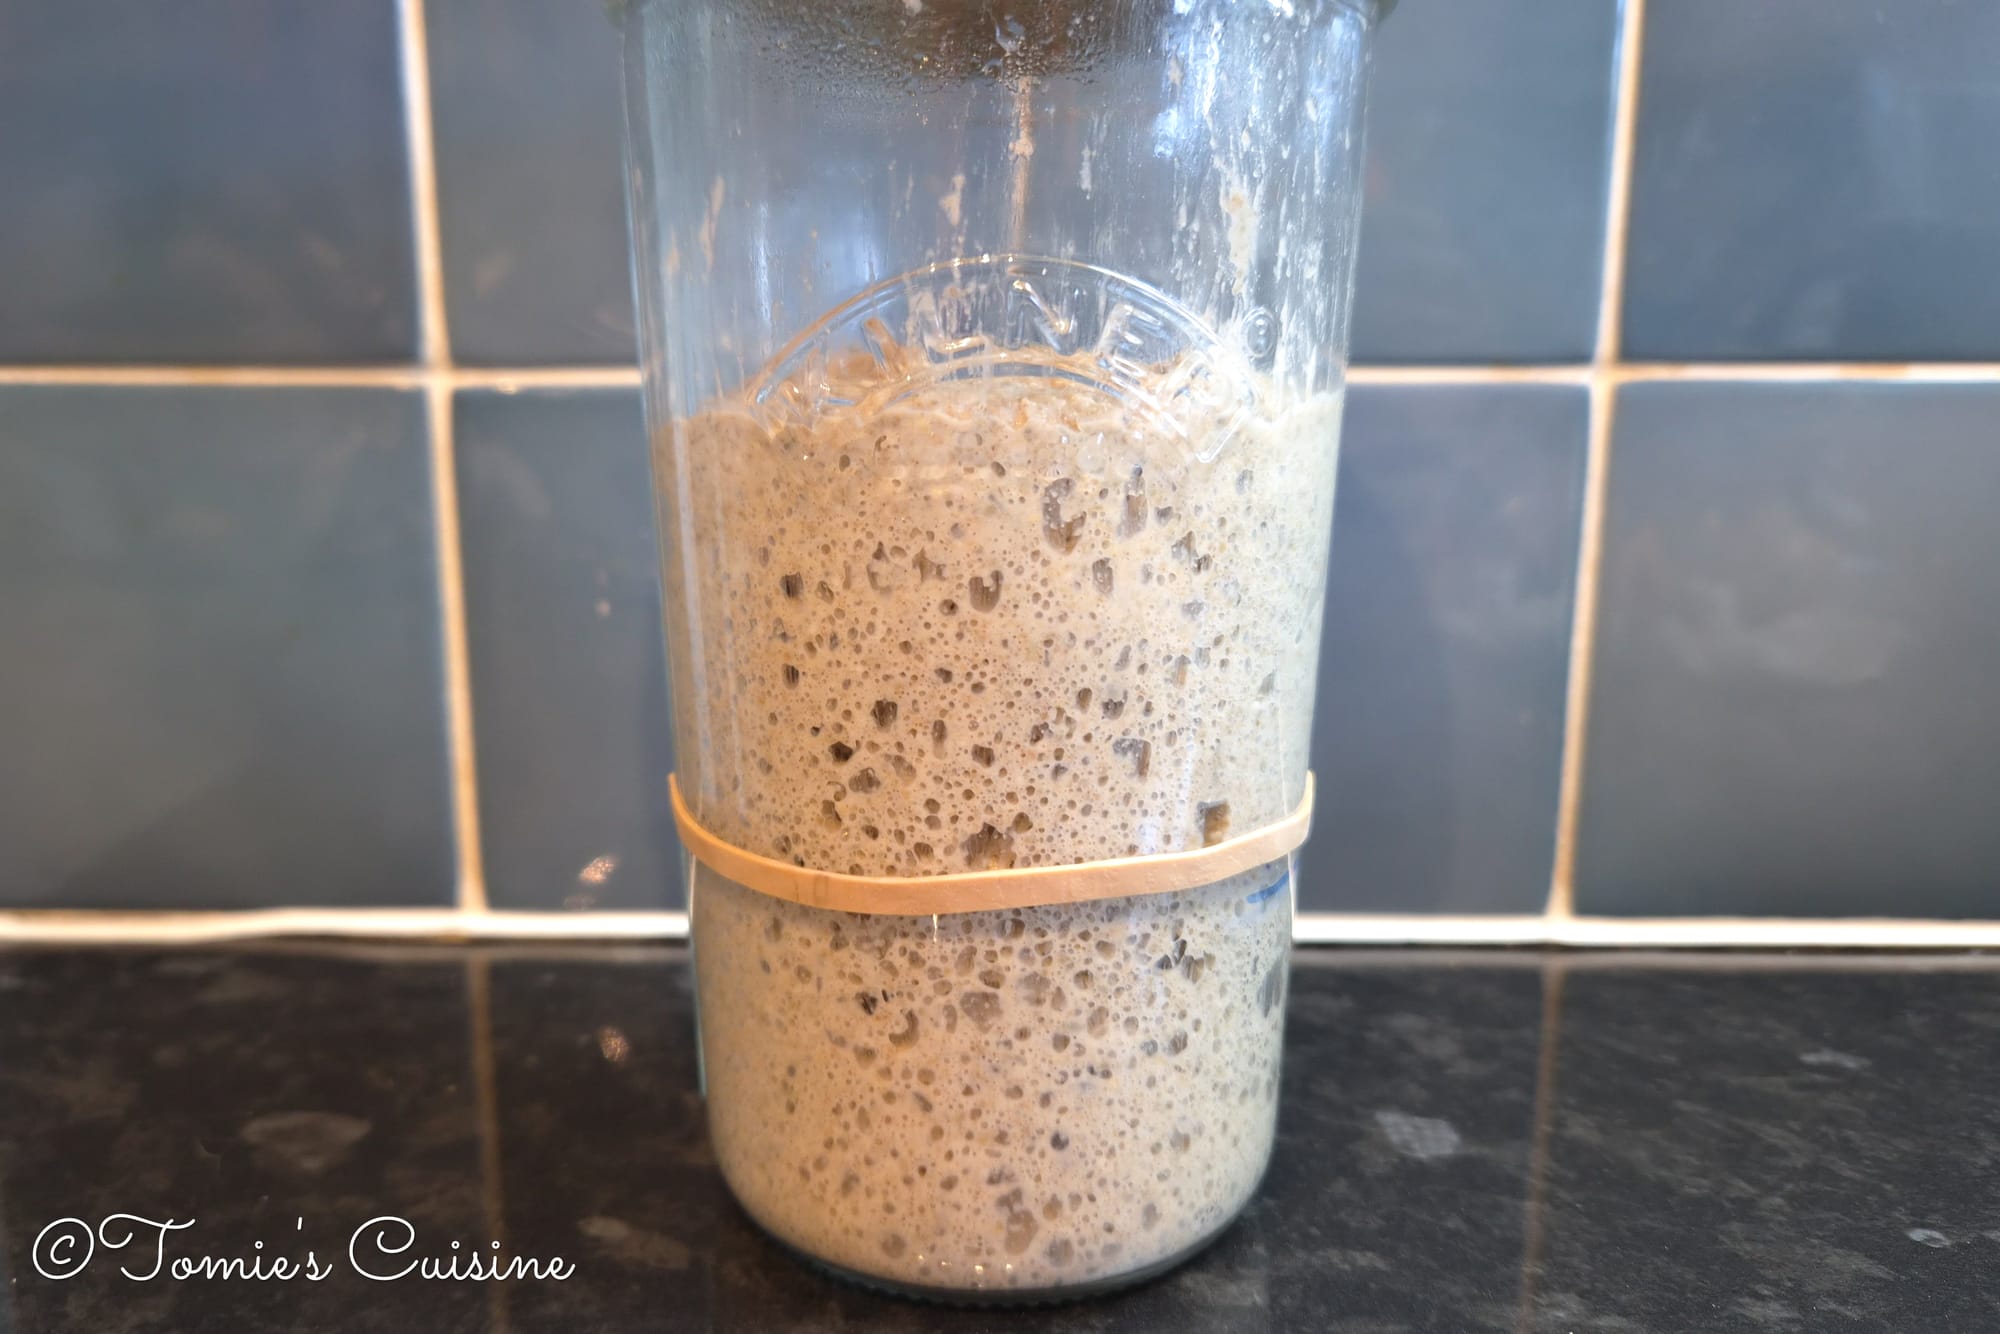
Day 5
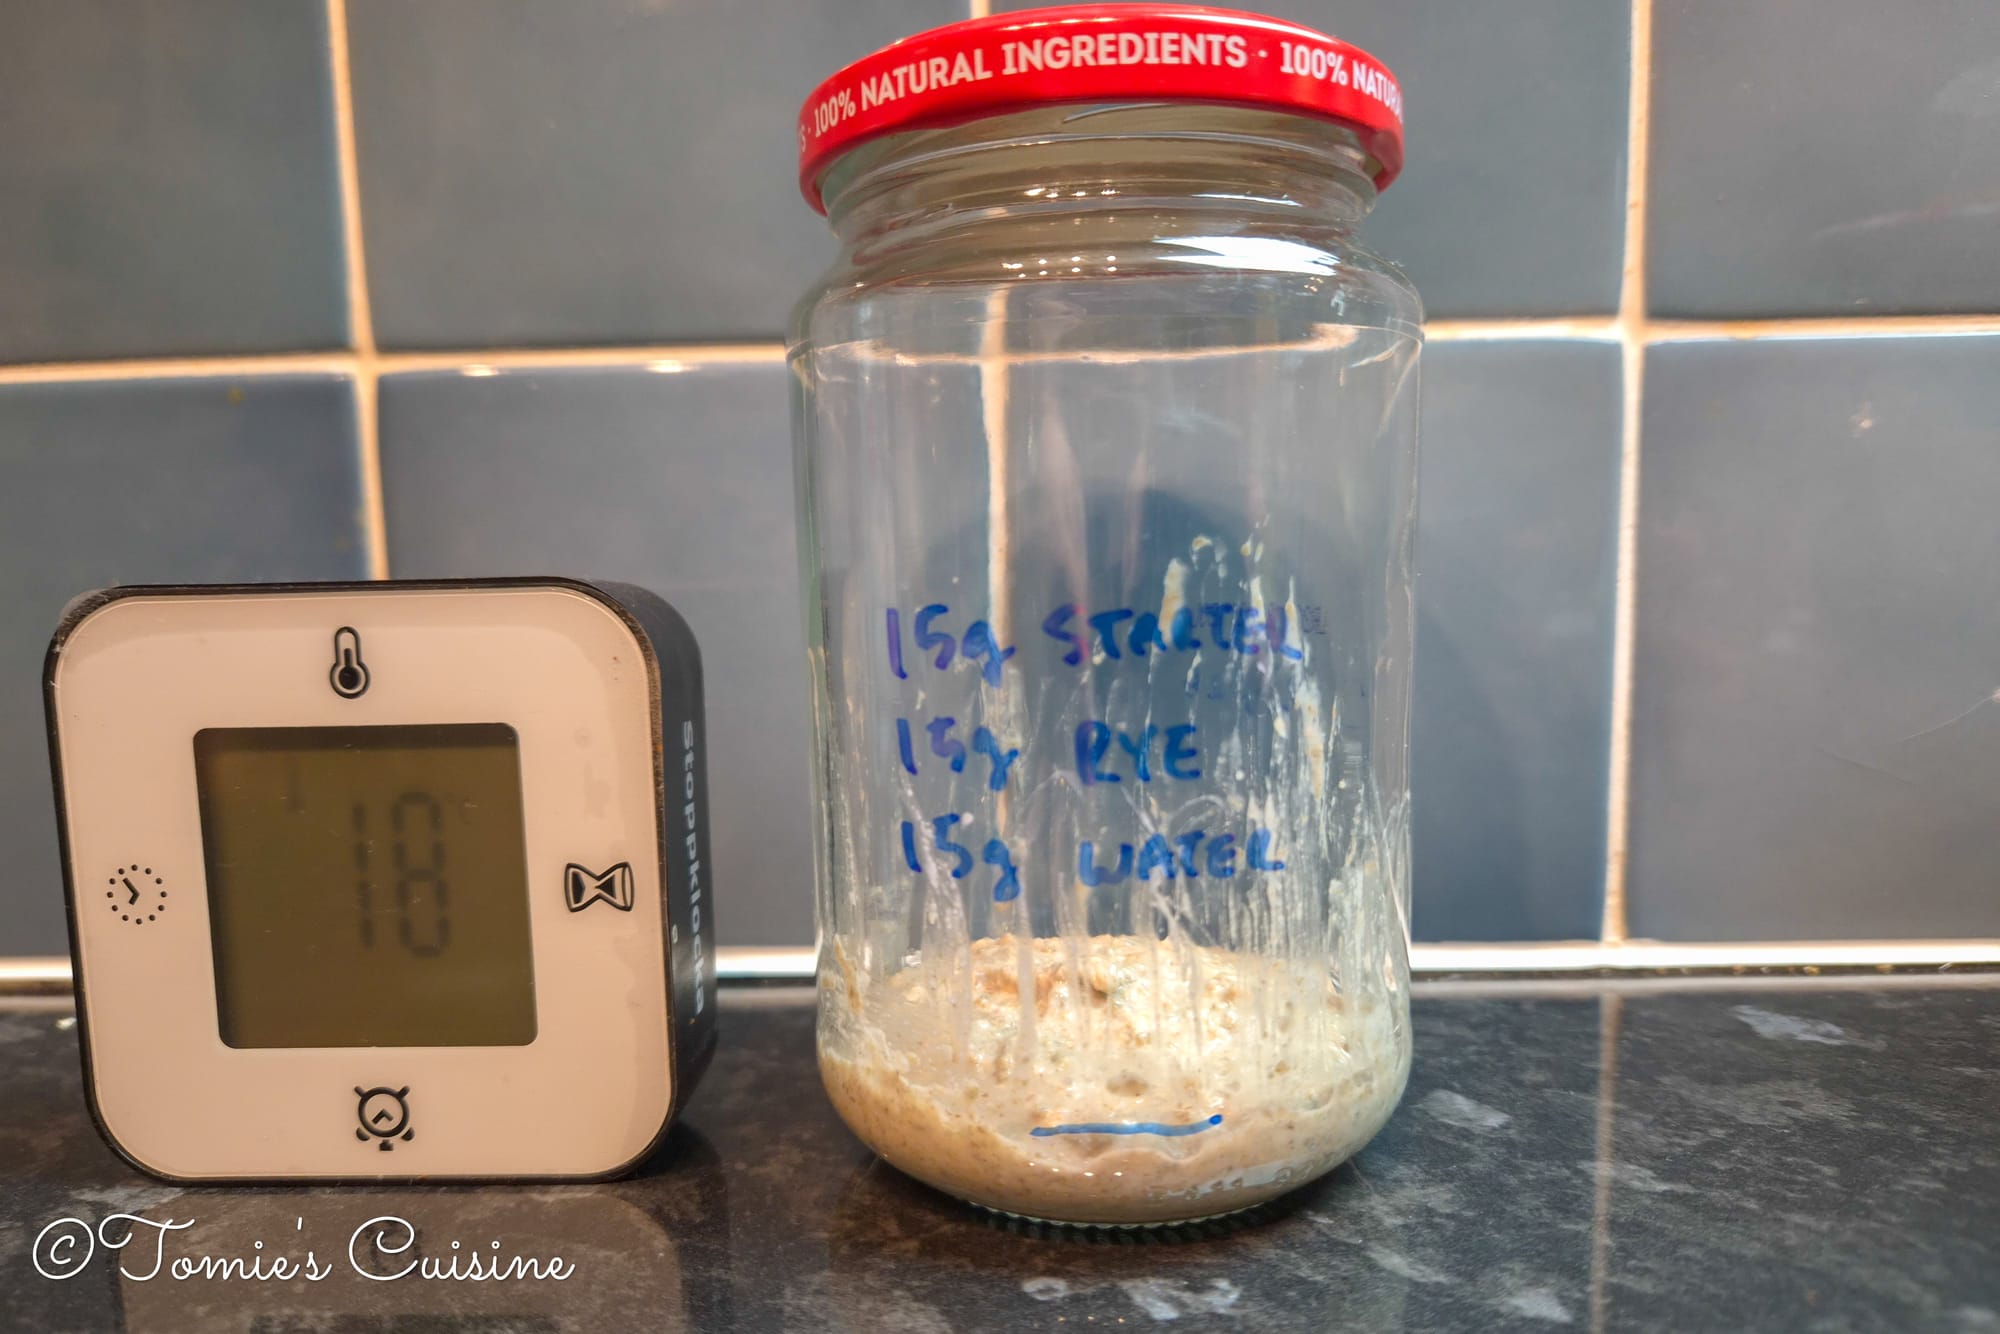
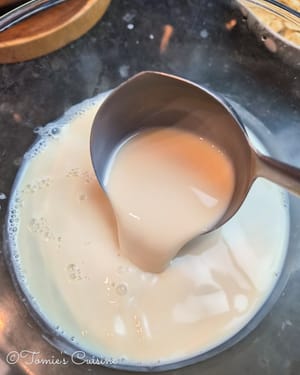
Day 5 didn't go as expected (left). Then you can see the result with equal amounts of starter, rye flour, and water (right).
I was expecting the starter to double in height within 24 hours, but because of the kitchen temperature, it did not. So I decided to feed the starter by adding 15g of starter to a clean glass container with 15g of water and 15g of rye flour.
I did this around 7 pm on Day 5 and left it at room temperature (around 20ºC) overnight.
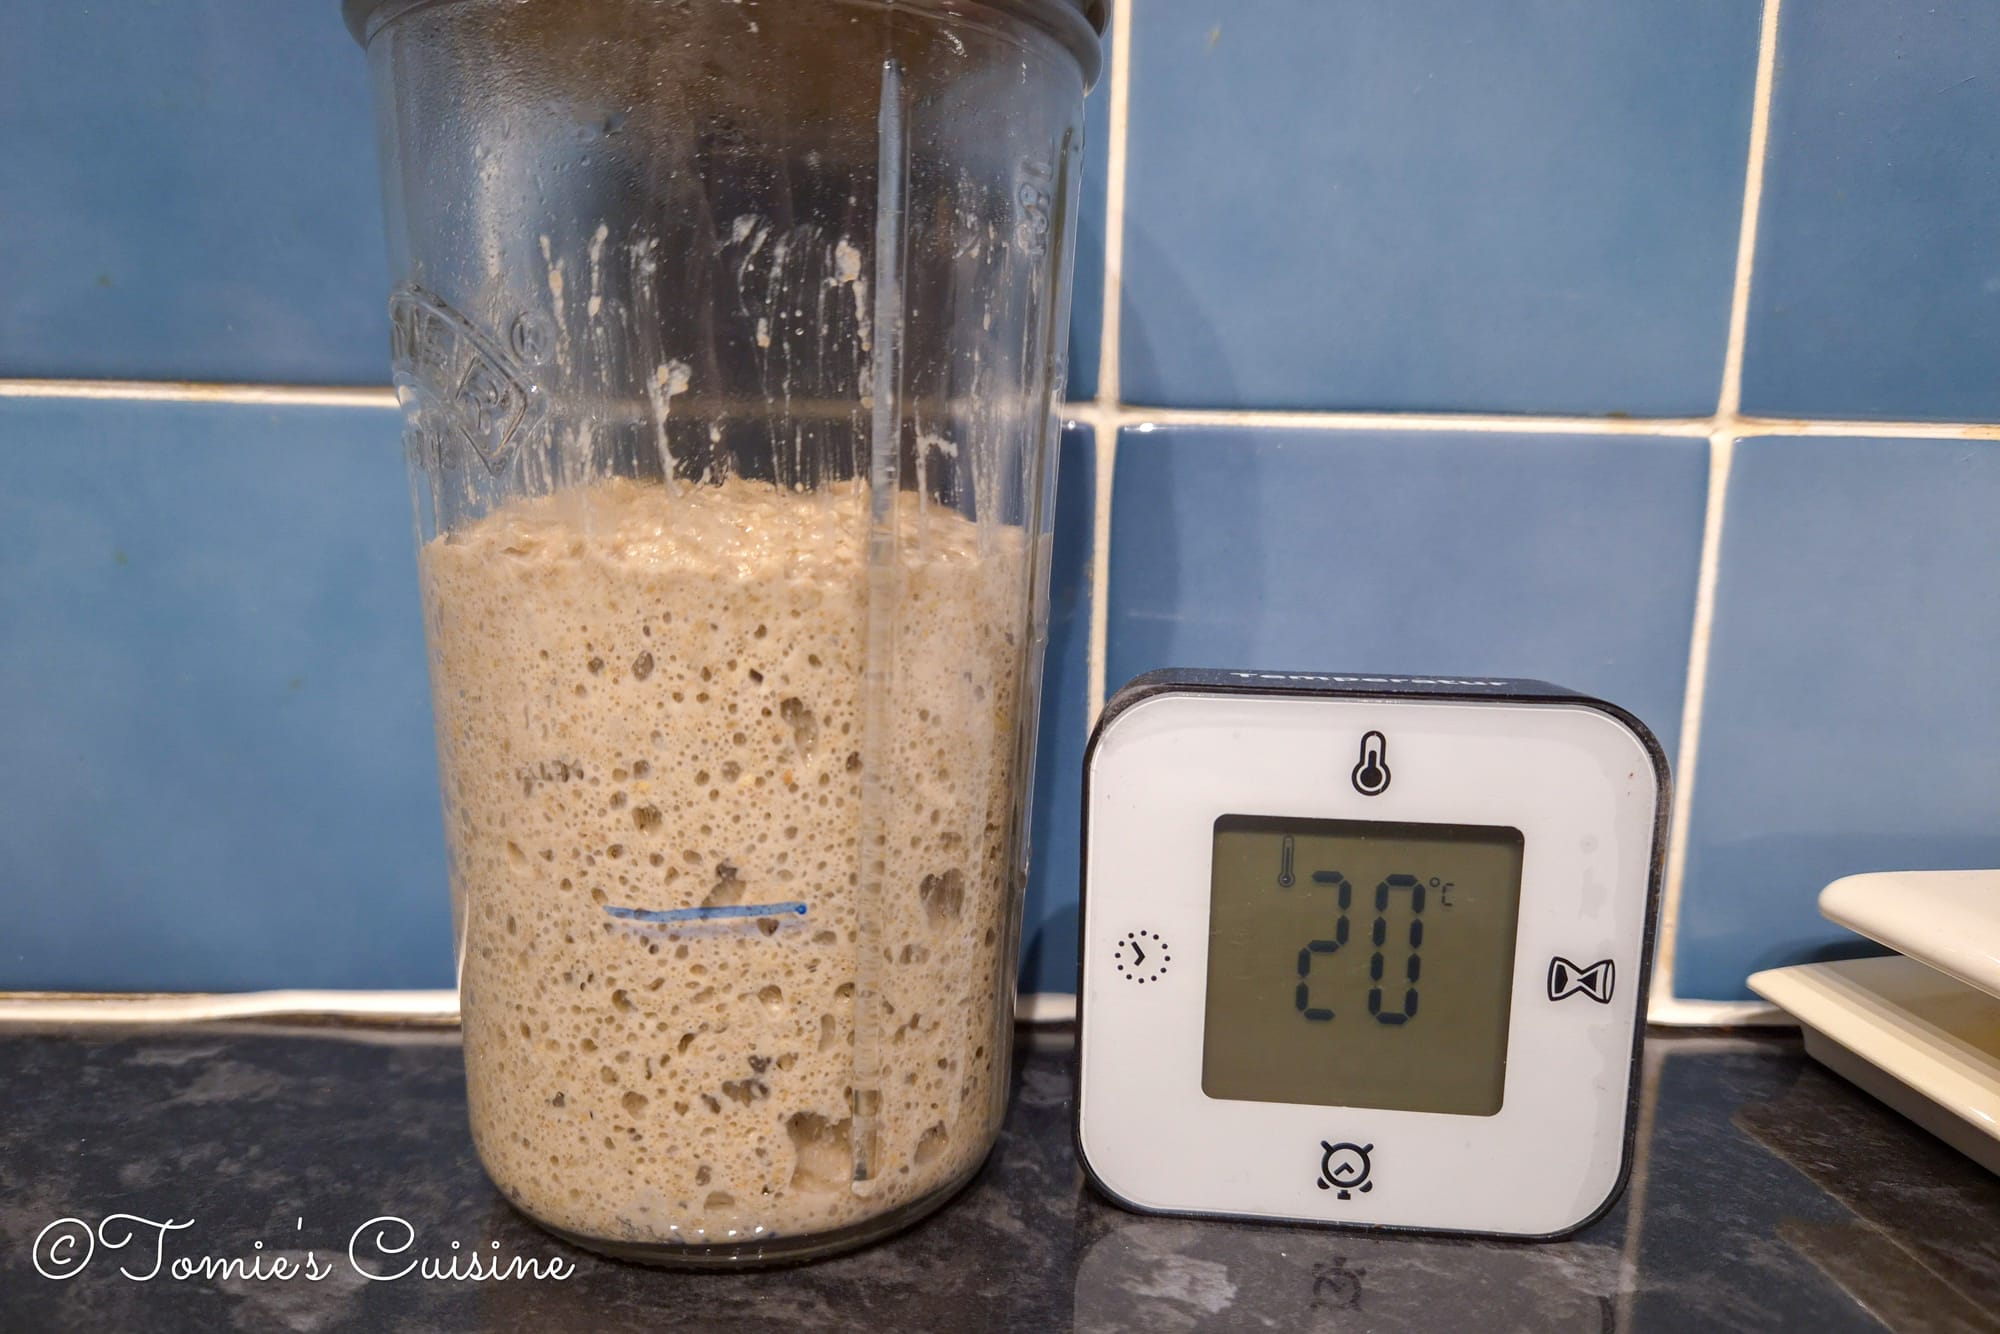
Day 6

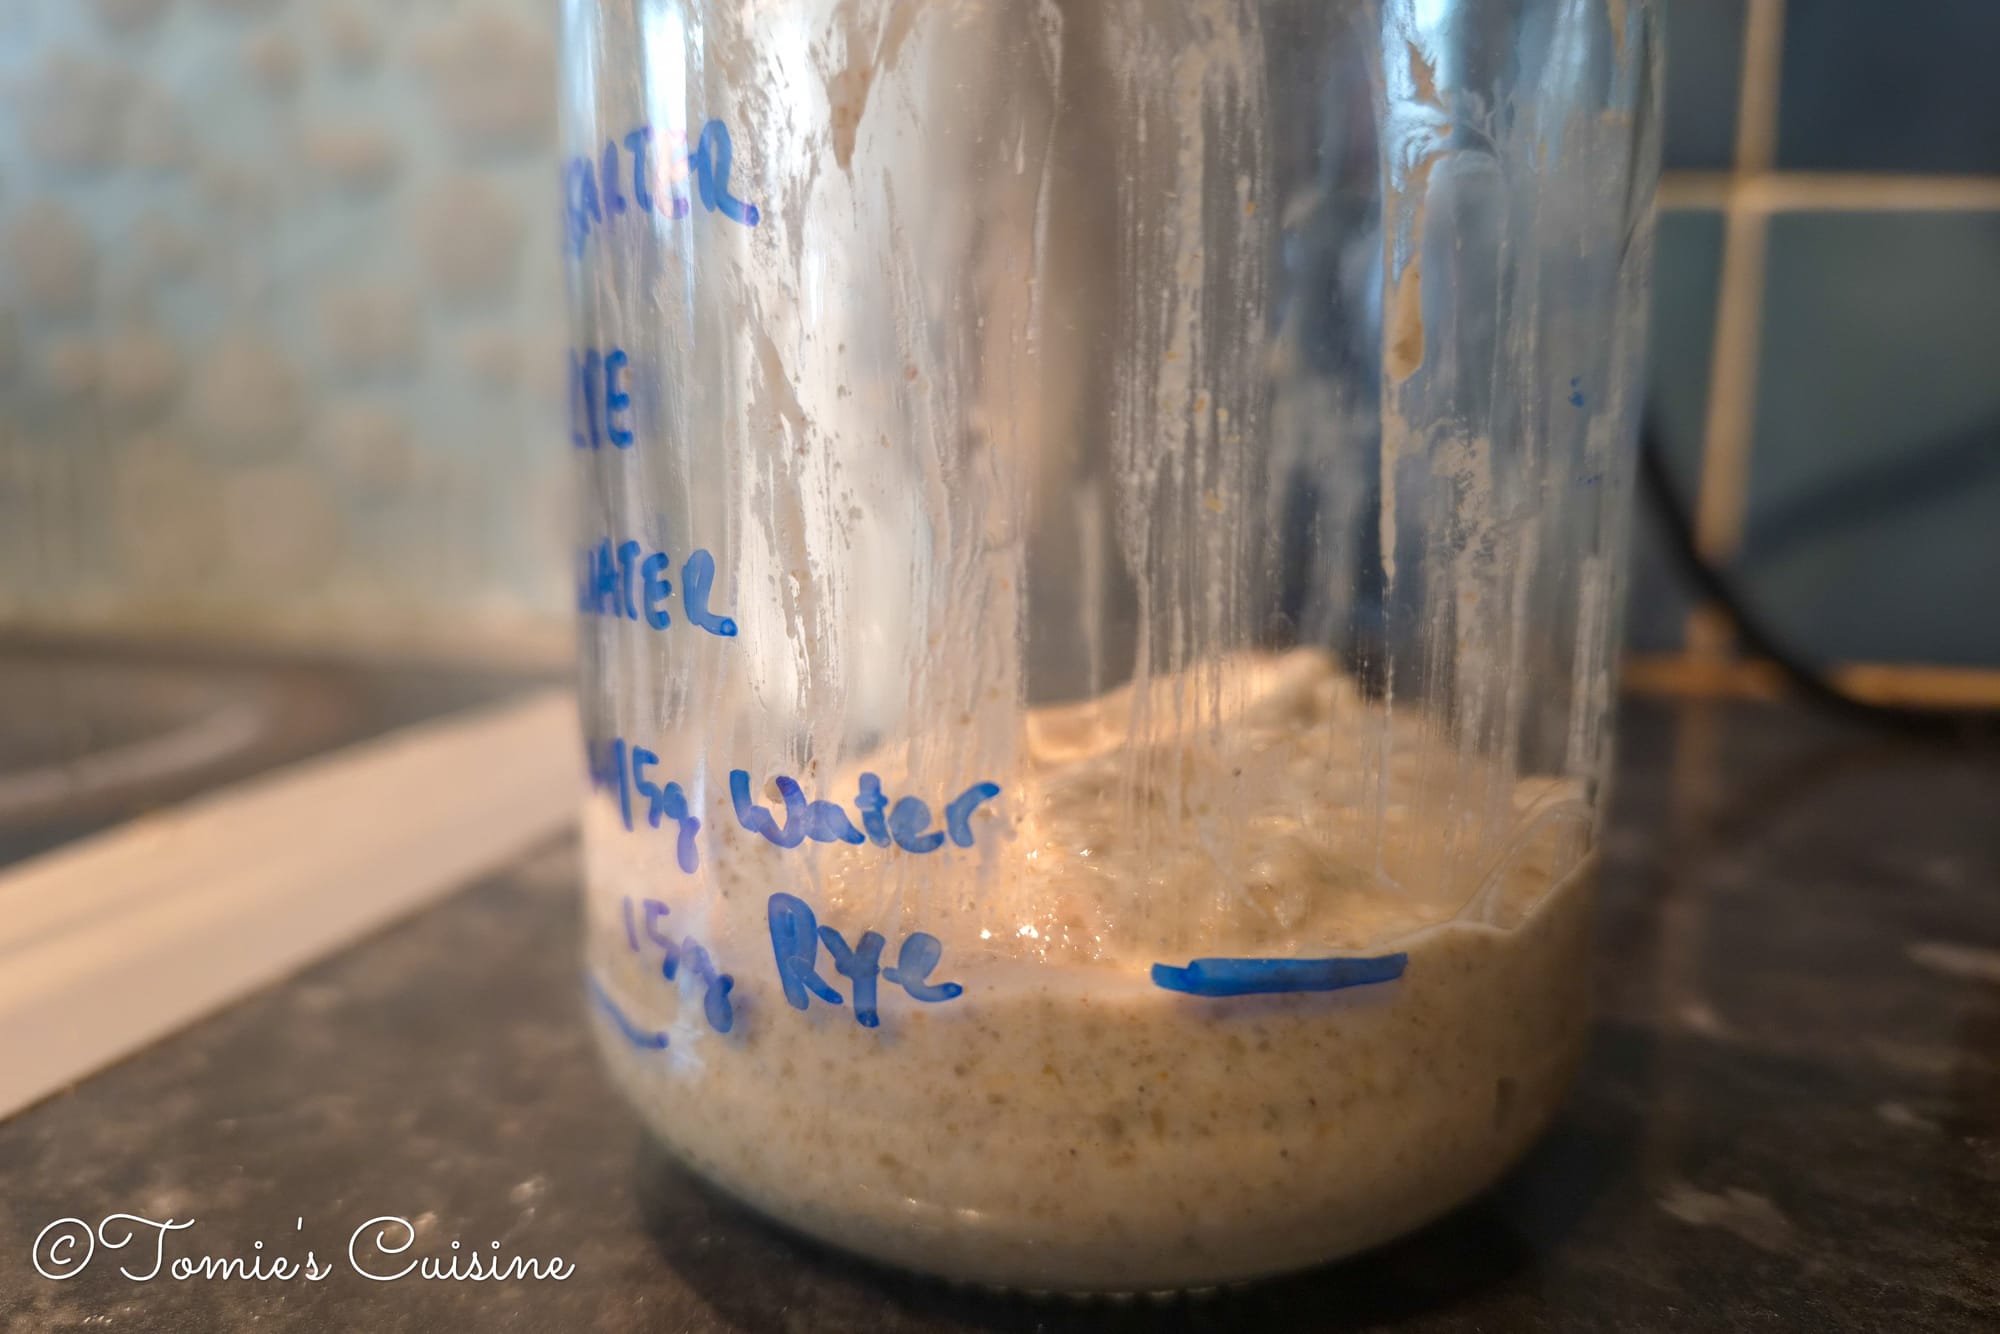
Day 6 in the morning, the starter rose well (left). I added 15g each of rye flour and water, and it rose again. (middle and right)
Around 10 am the next morning, the starter had doubled, so I added 15g of water and 15g of rye flour. It had doubled again by 3 pm.
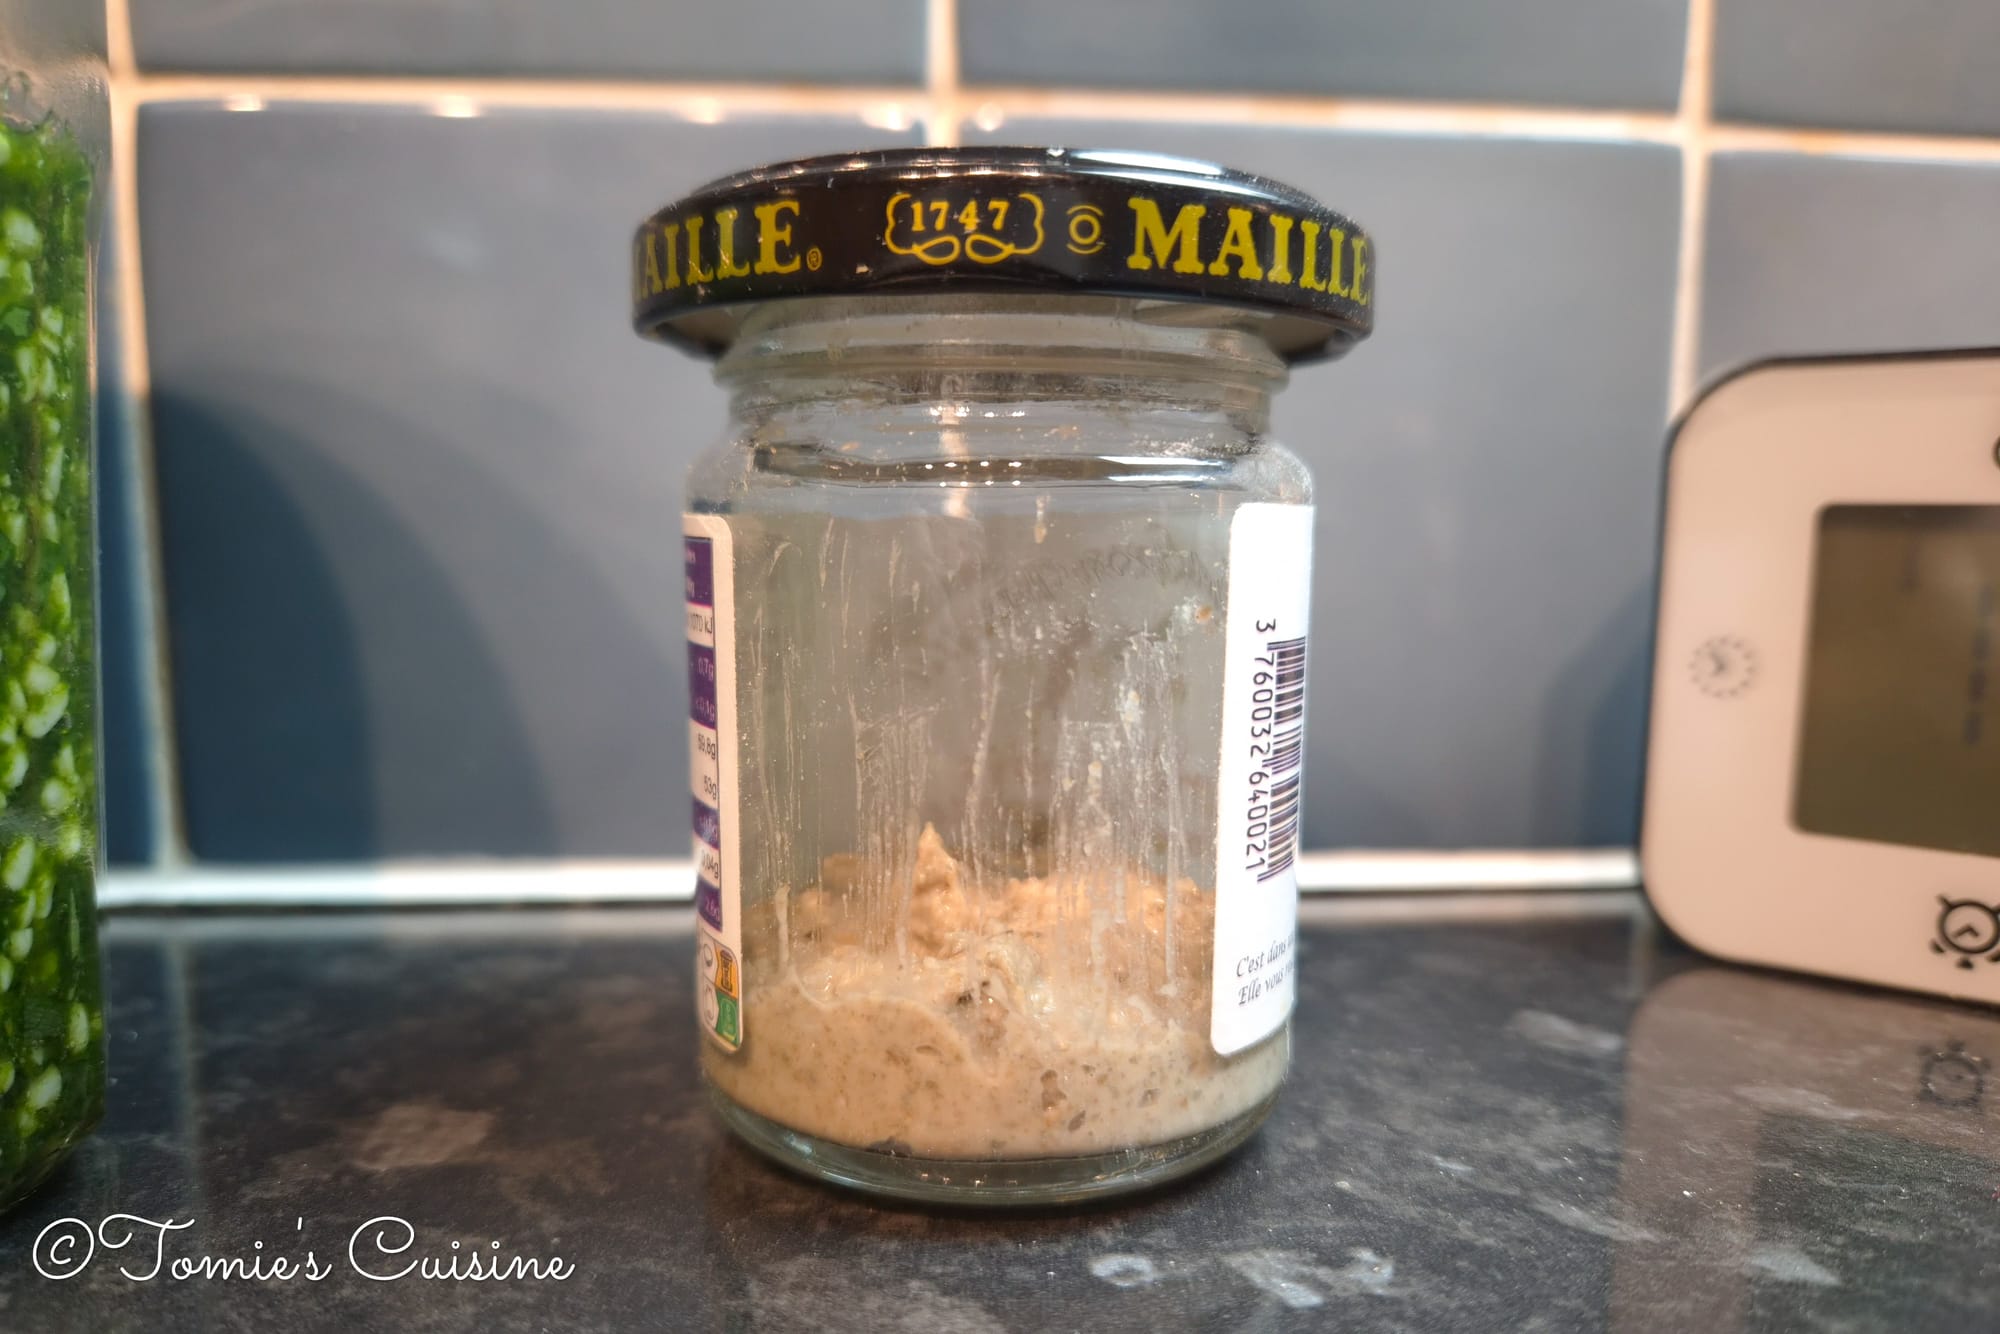
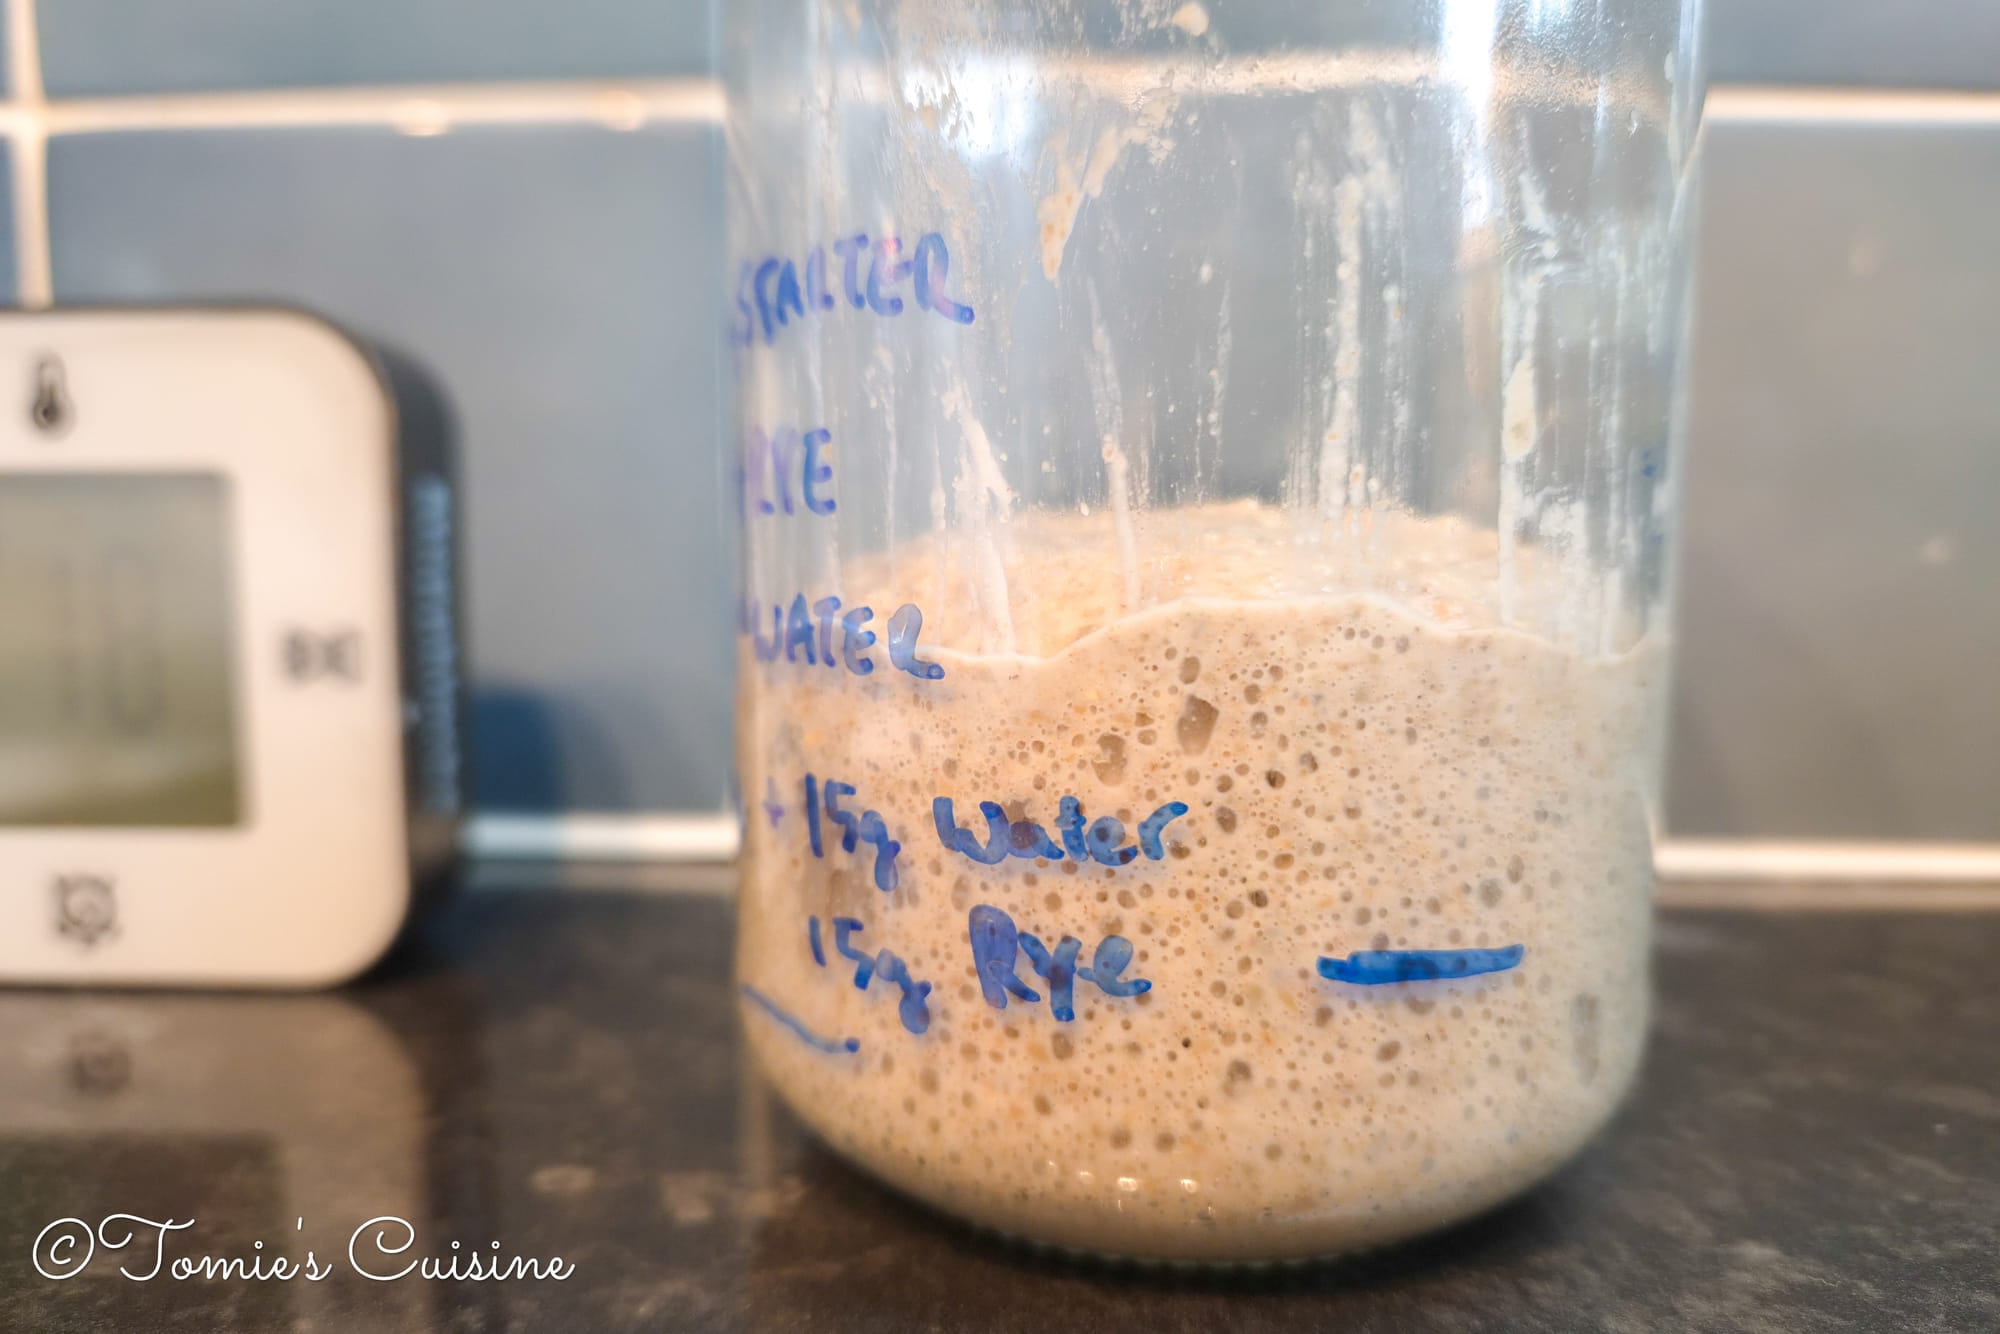
The "Final" feed. Although I missed the timing to make a sourdough when this starter was ready, I fed it again in the morning and managed to make one.
I then put 50g of starter into a clean glass jar and added equal amounts of water and rye flour for the final stage before making the bread dough. It doubled again around 8 pm, as I was keeping it in a warmer spot.
Unfortunately, it was too late for me to move on to the sourdough-making process, so I left it overnight.
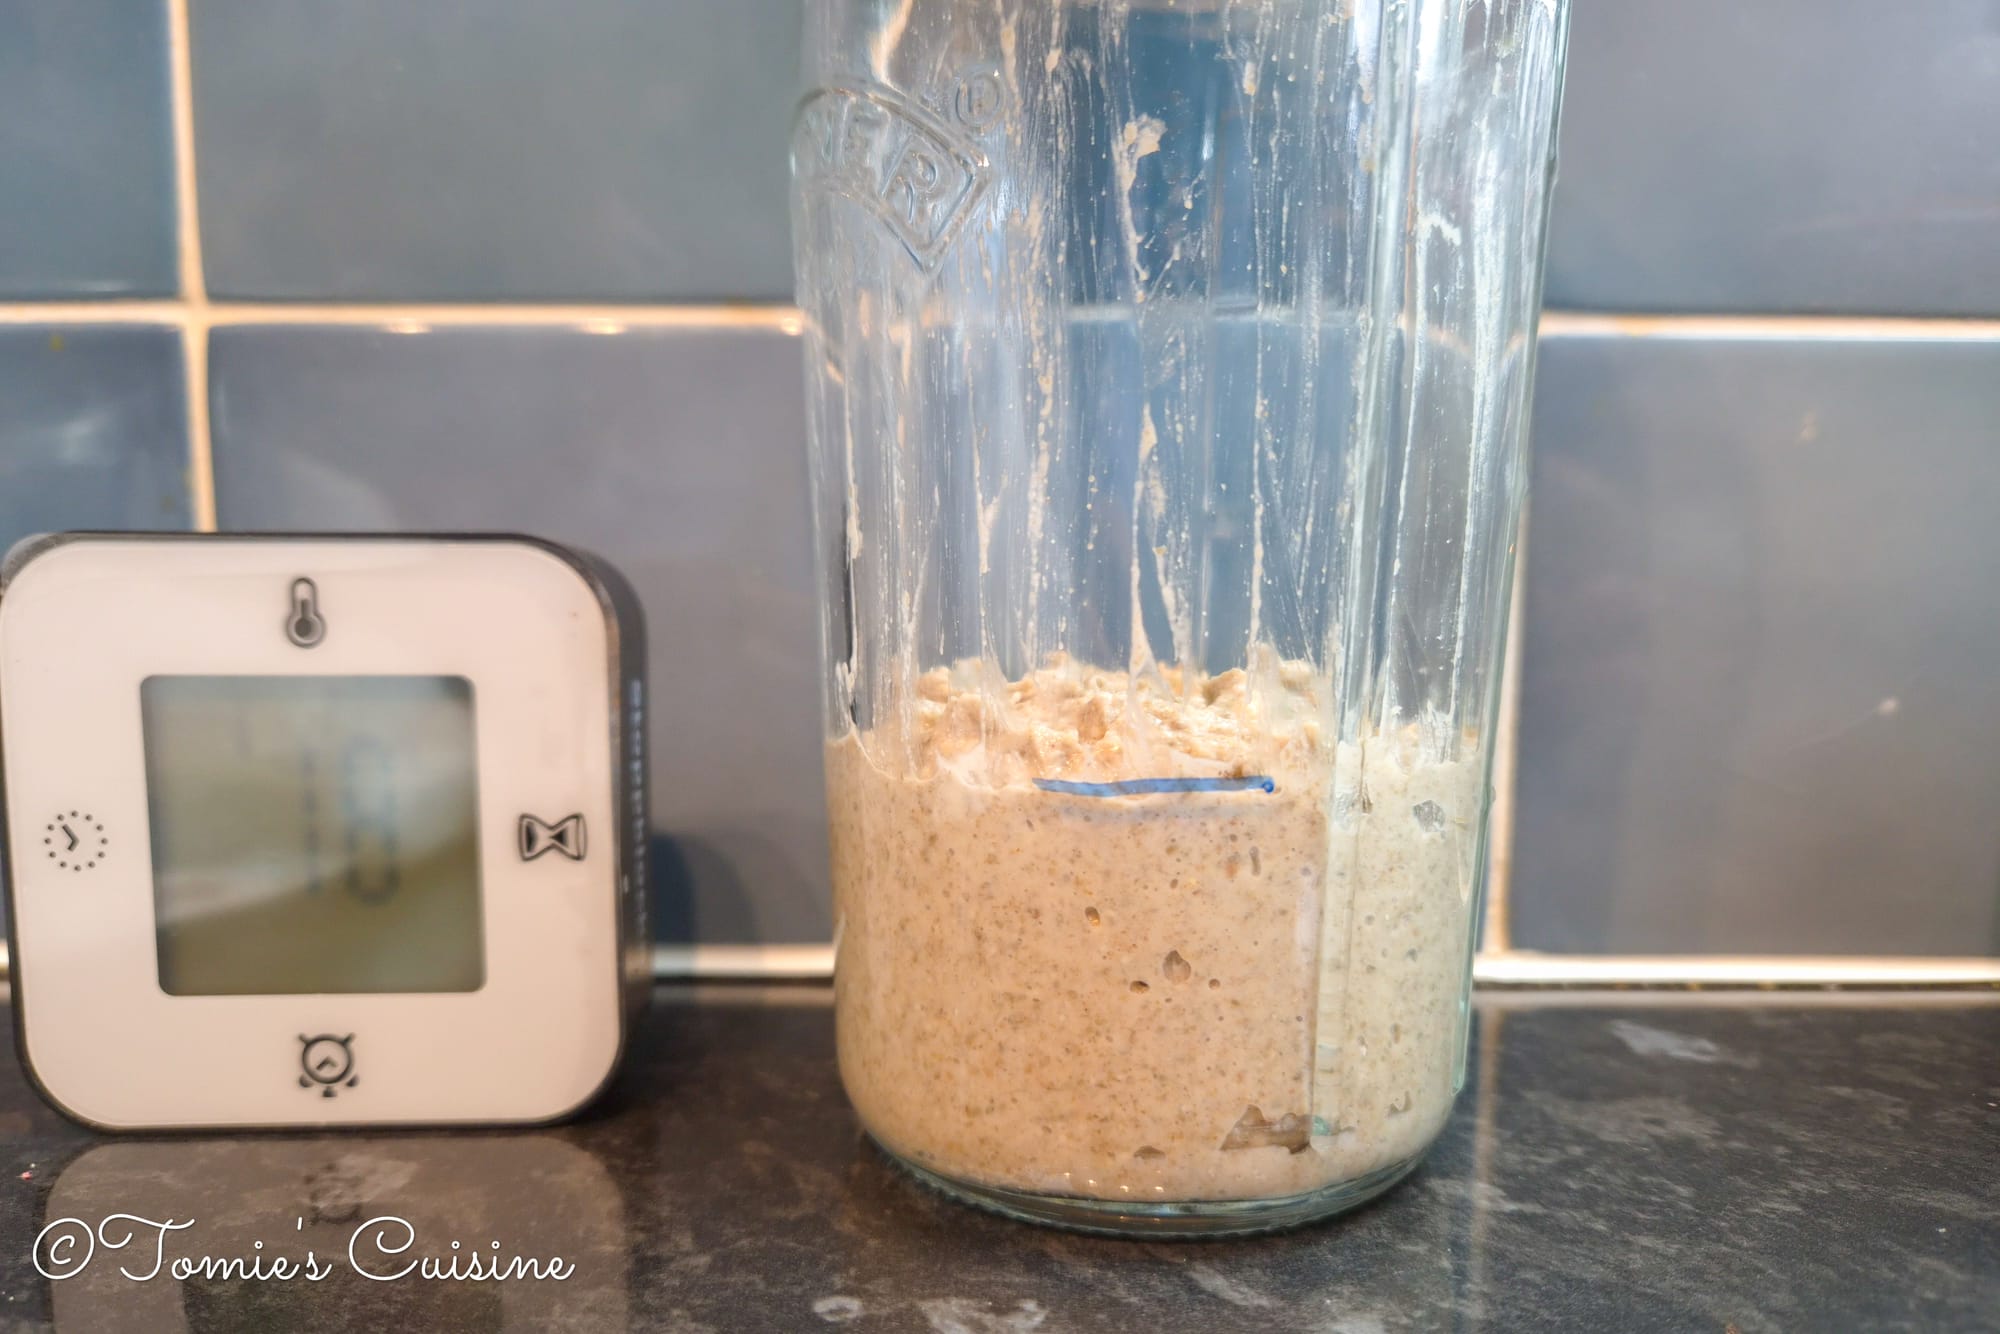
Day 7
I fed it again in the morning with the same ratio (equal amount of water and rye flour), and started making the dough at 3 pm.
If you enjoy this article, subscribe to get the sourdough recipe as soon as it goes live, including how to shape, score, and bake it. We share new recipes, eco-friendly guides, and behind-the-scenes bits from the kitchen, and much more! All straight to your inbox, no spam, ever.
Which flour is best for a sourdough starter?
I've learned what the best type of flour is through trial and error, and I suspect many beginners make the same mistake I did. I assumed that any bread flour would work for making a starter. It does not, and here is why.
The key factor is the protein content of your flour. A higher protein content means more gluten development, which gives the starter the structure it needs to trap the gases produced by fermentation and rise properly.
I once ran out of rye flour mid-process and, remembering that I had seen some people make starters with bread flour, decided to try Tesco’s Organic Strong Flour. At 11.5g of protein per 100g, I thought it would be fine, but in my case, it wasn’t. The starter would not rise. Some people say it’s fine that it doesn't rise unless it’s bubbly, but it’s difficult for beginners like us to tell if it’s ready. So, I then tried Tesco’s ‘Very Strong Bread Flour’, which has a higher protein content, and that worked better. But in the end, I always come back to Doves Farm Rye Wholemeal Flour. Oh, and another bonus of rye flour is that it provides extra nutrients.
Here is a quick comparison to help you choose:
- Rye wholemeal flour: the best choice for a starter. It is naturally rich in wild yeast and bacteria, ferments quickly, and produces an active, lively starter. Doves Farm Rye Wholemeal is my go-to.
- Very strong bread flour: a good substitute if rye is unavailable. Look for a protein content of 13g or higher per 100g.
- Standard strong or plain flour: I do not recommend it as a starter. The protein content is generally too low to get a reliable rise.
Once you've established your starter, you can transition to feeding it with white bread flour or a mix of rye and white, depending on the flavour you prefer in your final loaf. But for those first few days, stick with rye.
If you enjoy this article, subscribe to get the sourdough recipe as soon as it goes live, including how to shape, score, and bake it. We share new recipes, eco-friendly guides, and behind-the-scenes bits from the kitchen, and much more! All straight to your inbox, no spam, ever.
How do I know when my starter is ready to use?
I often get asked this question, and it's understandable. A starter that isn’t fully developed won’t provide the necessary rise for your bread. Here are three signs I use to determine if my starter is ready. I recommend checking all three signs together instead of relying on just one.
1. The float test
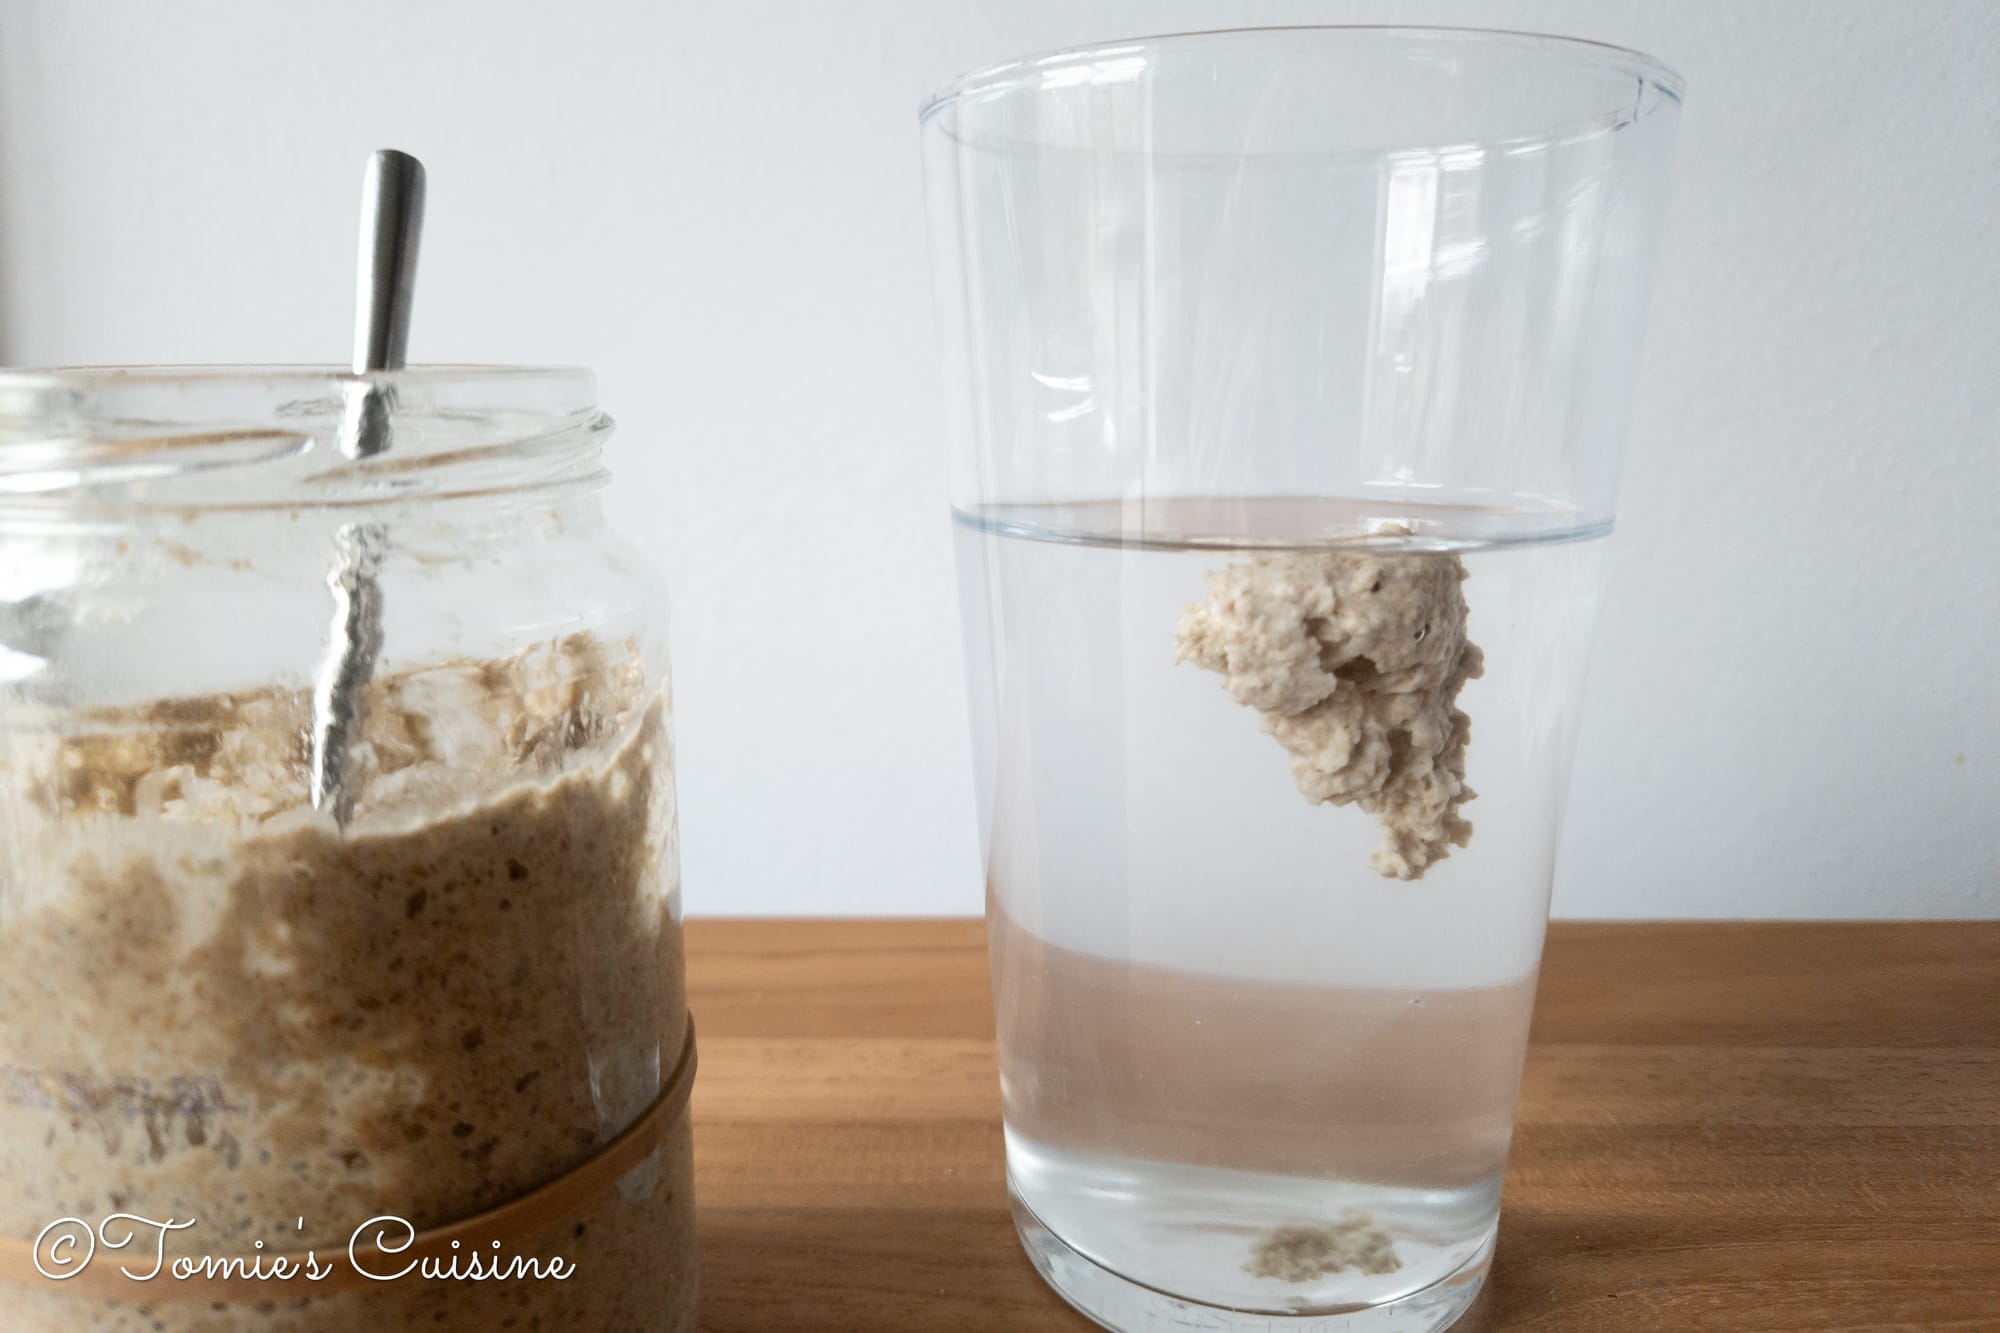
Drop about half a teaspoon of your starter into a glass of room-temperature water. If it floats, it is full of air bubbles from fermentation, which is a good sign that it is active enough to leaven your bread. If it sinks, give it a little more time and another feed.
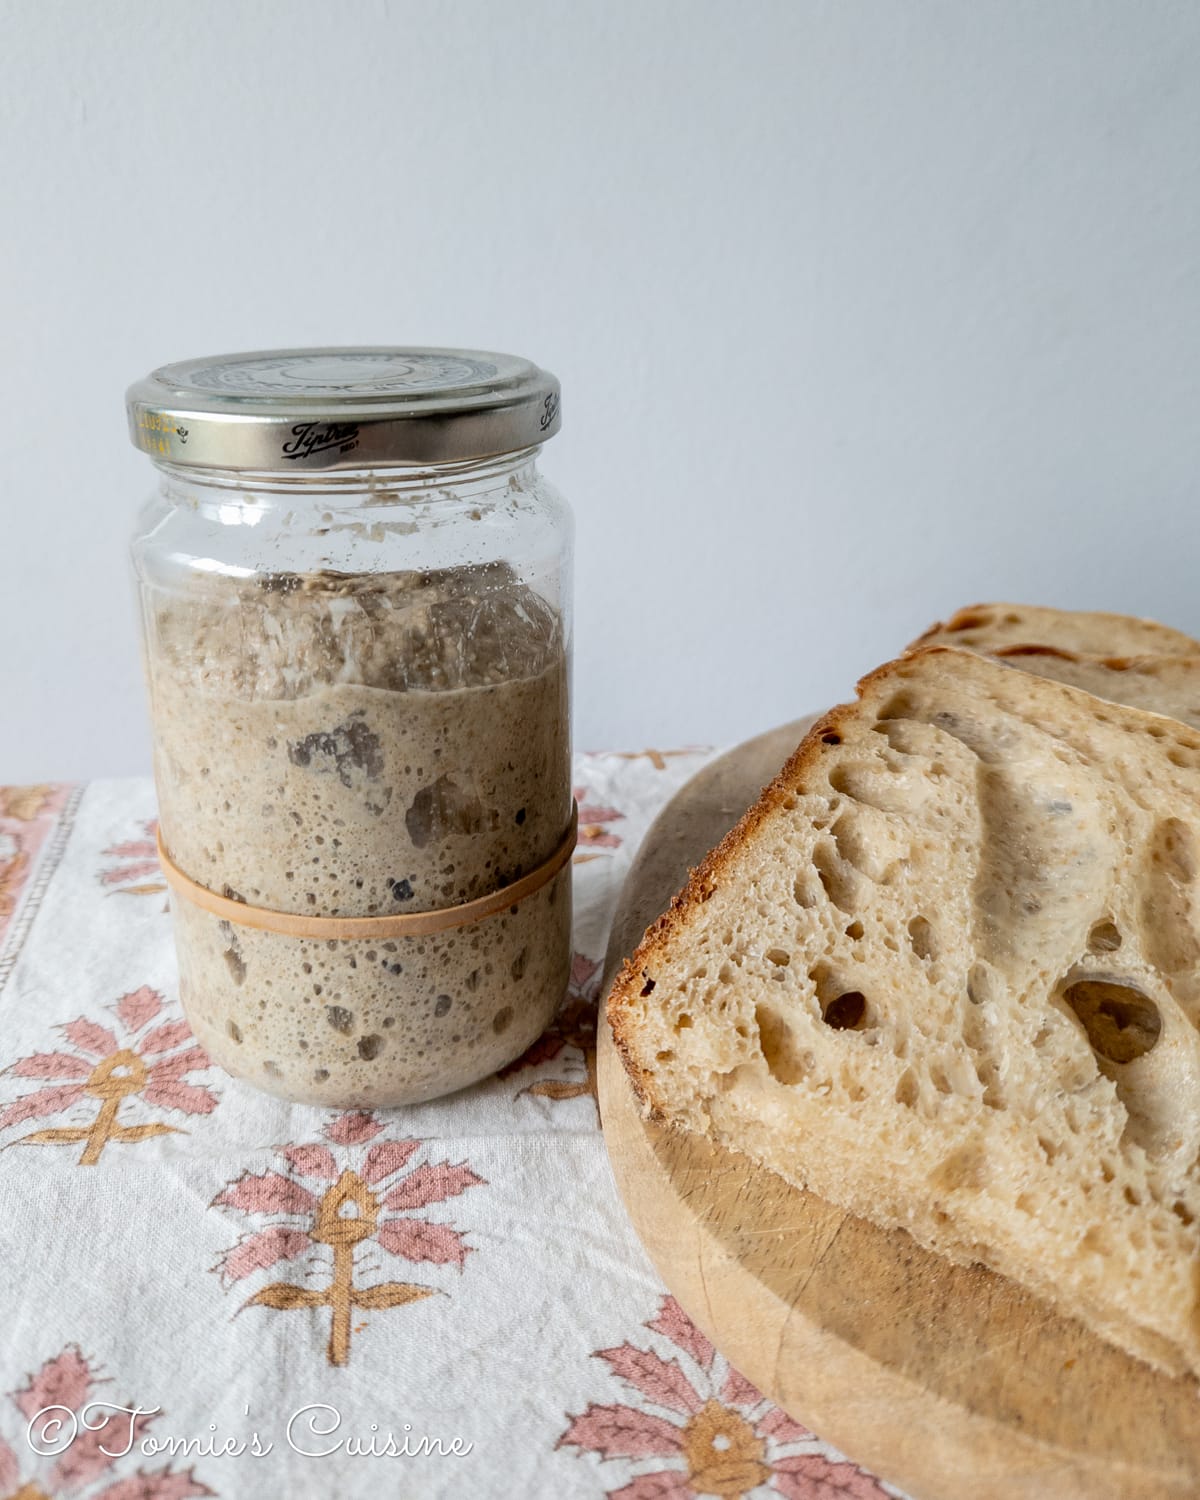
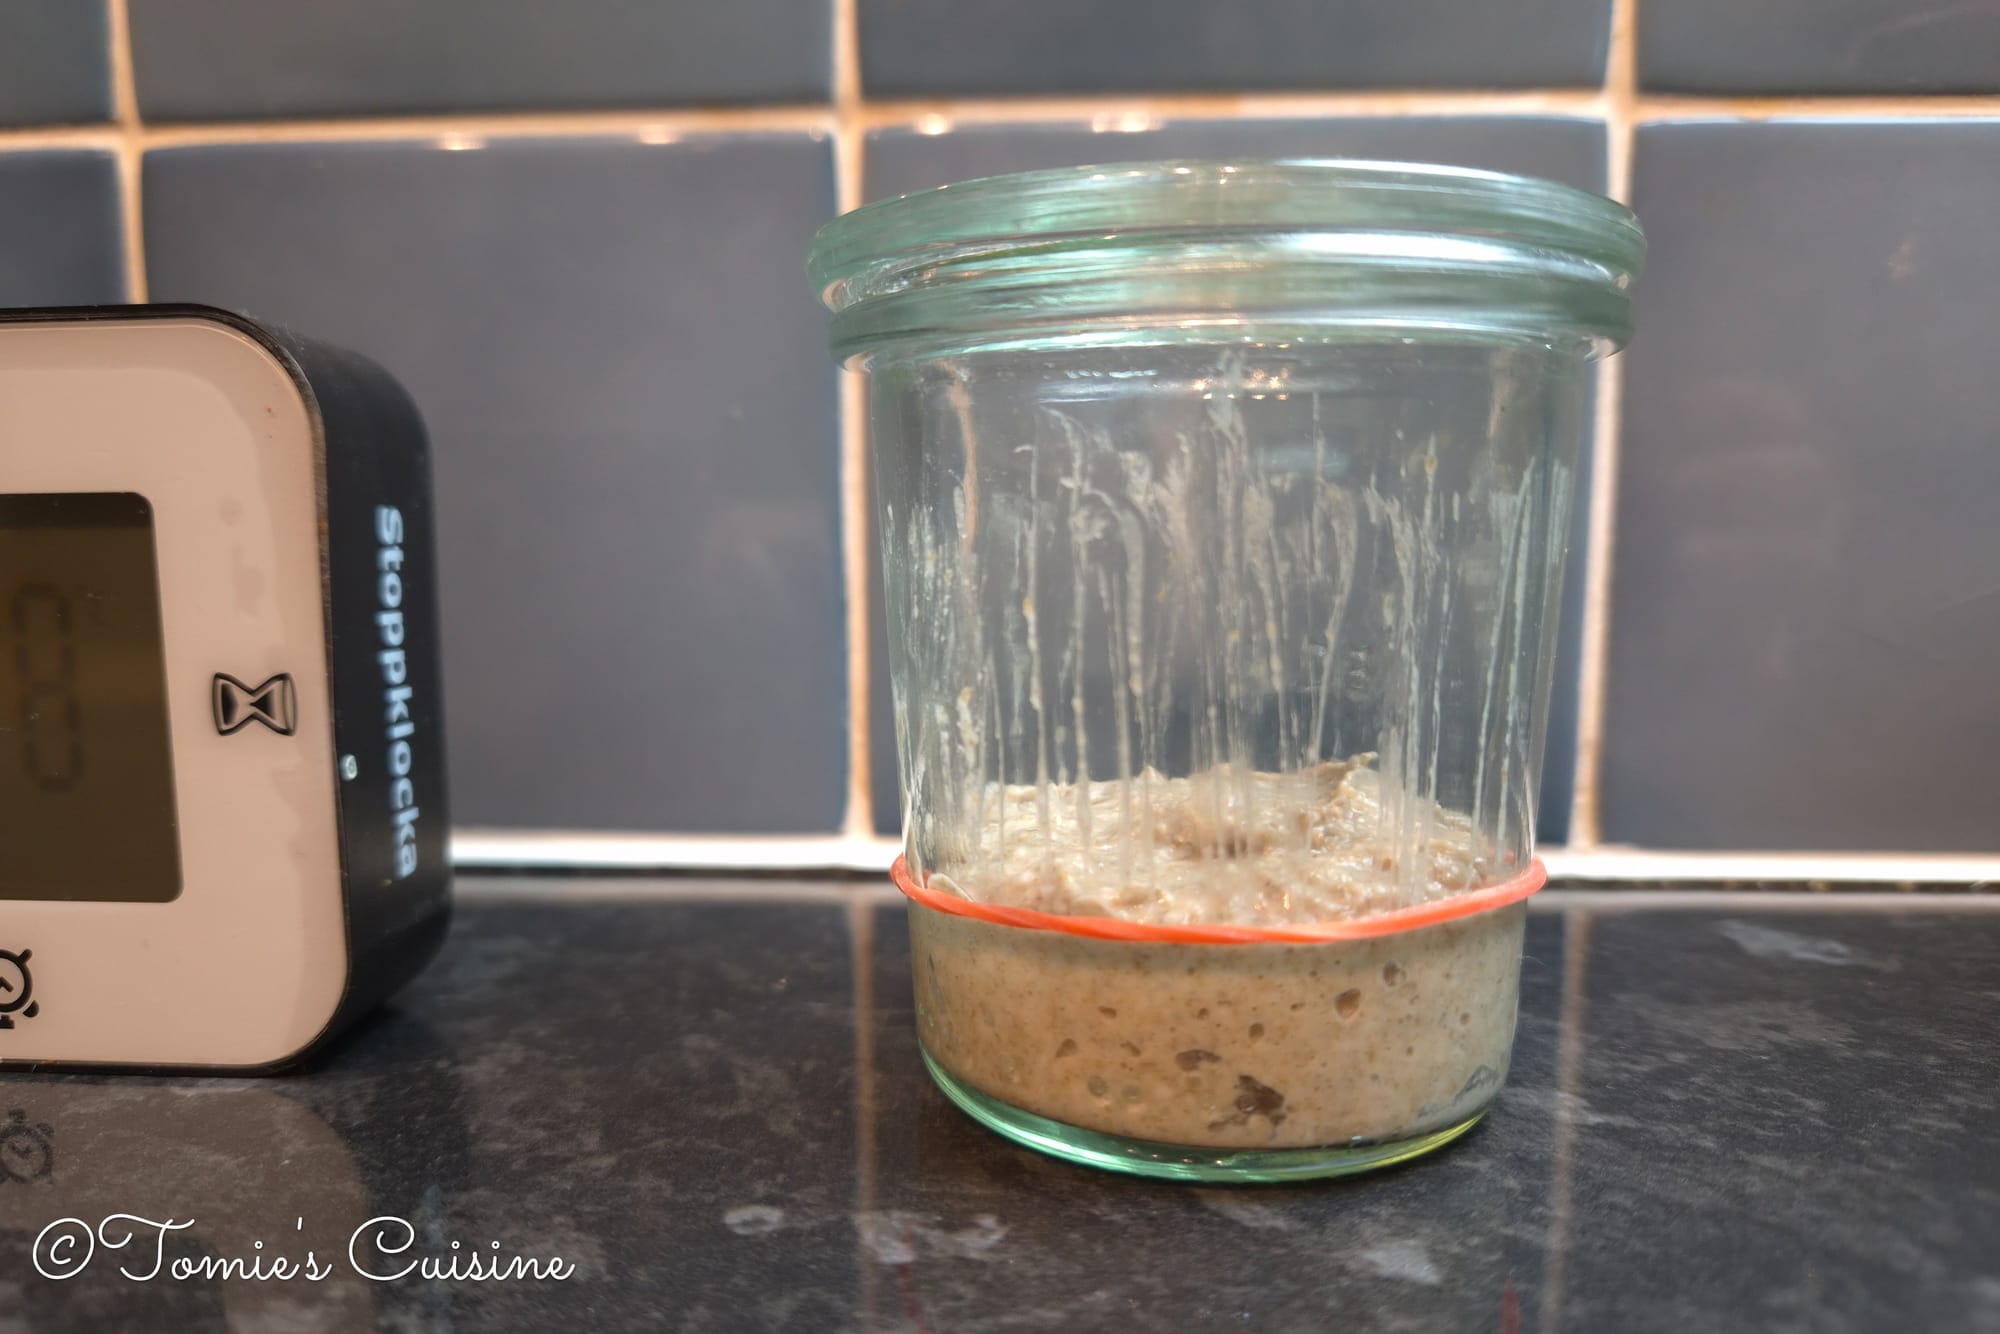
2. It doubles in size within 4–8 hours of feeding
A sourdough starter that is ready should at least double in size within 4 to 8 hours of being fed at room temperature. I use a rubber band or draw a line with a Sharpie on the jar to mark the level straight after feeding, so I can easily see how much it has risen. If it grows quickly and then starts to fall, that is the ideal moment to use it, because it means it is right at the peak of its activity.
3. The smell
A healthy, ready-to-use starter smells pleasantly tangy and yeasty. Imagine a yoghurt or beer. If it smells very sharp, almost like nail polish or acetone, it is hungry and needs a feed. A good, mildly sour smell is exactly what you are after.
If you enjoy this article, subscribe to get the sourdough recipe as soon as it goes live, including how to shape, score, and bake it. We share new recipes, eco-friendly guides, and behind-the-scenes bits from the kitchen, and much more! All straight to your inbox, no spam, ever.
What to do when your sourdough starter goes wrong?
Why is my starter not rising at all?
First, check your kitchen temperature. Wild yeast is most active between 24–28ºC, and becomes very sluggish below 18ºC. That’s what happened to me on day 4 of the starter-making process! If your kitchen is cool, try placing the jar somewhere slightly warmer: on top of the fridge, near a sunny window (but not in direct sunlight), or in an oven with just the light on. Also, check your flour: if you are not using rye, switching to it will often make a noticeable difference.
Why did my starter rise well at first, then stop?
Your sourdough starter might rise and stop. But not to worry, this is exactly what happened to me in that first warm summer attempt! If your starter rose quickly and then went flat and inactive, it has likely exhausted its food supply. Feed it more frequently. In warm weather, you may need to feed it every 12 hours rather than every 24. Reduce the amount of starter you carry forward and increase the flour-to-water ratio slightly.
Why is there some liquid on top of my starter?
That grey or dark liquid is called ‘hooch’, and it is a sign that your starter is hungry. It is not harmful. Just tip it off or stir it back in, then feed your starter. If you see it often, try feeding more regularly.
How do I tell if my starter has gone bad?
I will preface this by saying that I have not personally experienced a starter going bad yet, and I hope to keep it that way! But from what I have read and researched online, here are the warning signs to watch for:
- If you see pink, orange, or red streaks, discard it immediately. These streaks indicate harmful bacteria.
- Fuzzy mould (green, black, or white) on the surface? As above, discard the whole starter and start fresh.
- An overpoweringly unpleasant smell (not just sour, but truly rotten). Again, trust your nose and start again.
Regular feeding is the best prevention. If you bake infrequently, store your starter in the fridge and feed it once a week or two to keep it alive.
How do I store my starter and keep it healthy?
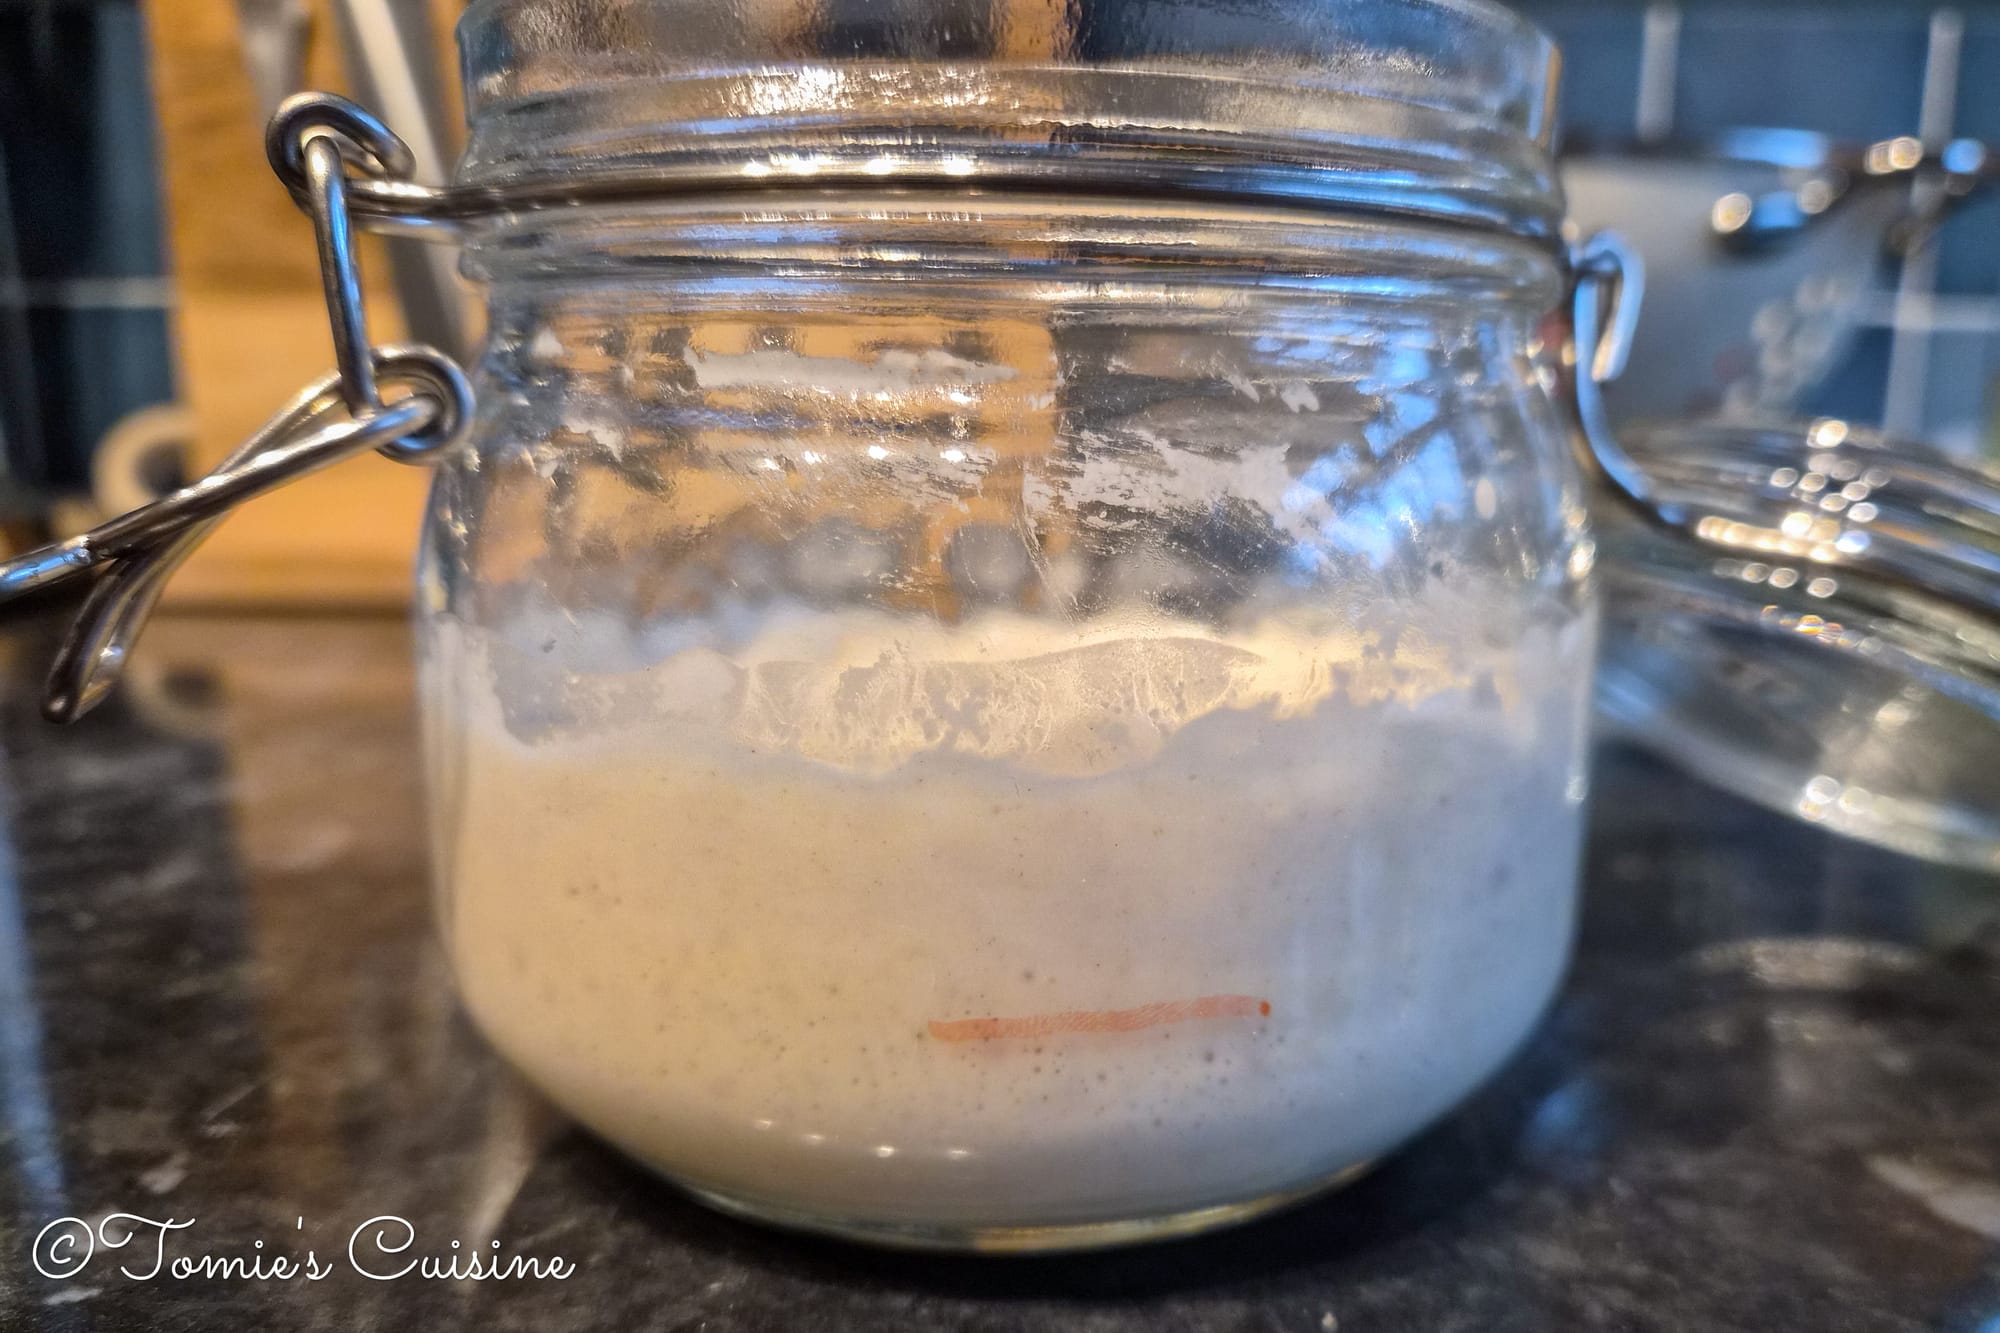
Once your starter is established and you have baked your first loaf (exciting!), you do not need to feed it every single day. Since I bake roughly once every two weeks, I keep my starter in the fridge in a glass jar with a lid. Before baking, I take it out, give it a feed, and leave it at room temperature until it becomes active and bubbly again. Usually, that means overnight or up to a day, depending on the season. Then it is ready to go.
Your starter will become more flavourful and reliable over time. Some bakers keep their starters going for years, and the older and more established the starter, the better the bread.
One last thing before you start baking your sourdough
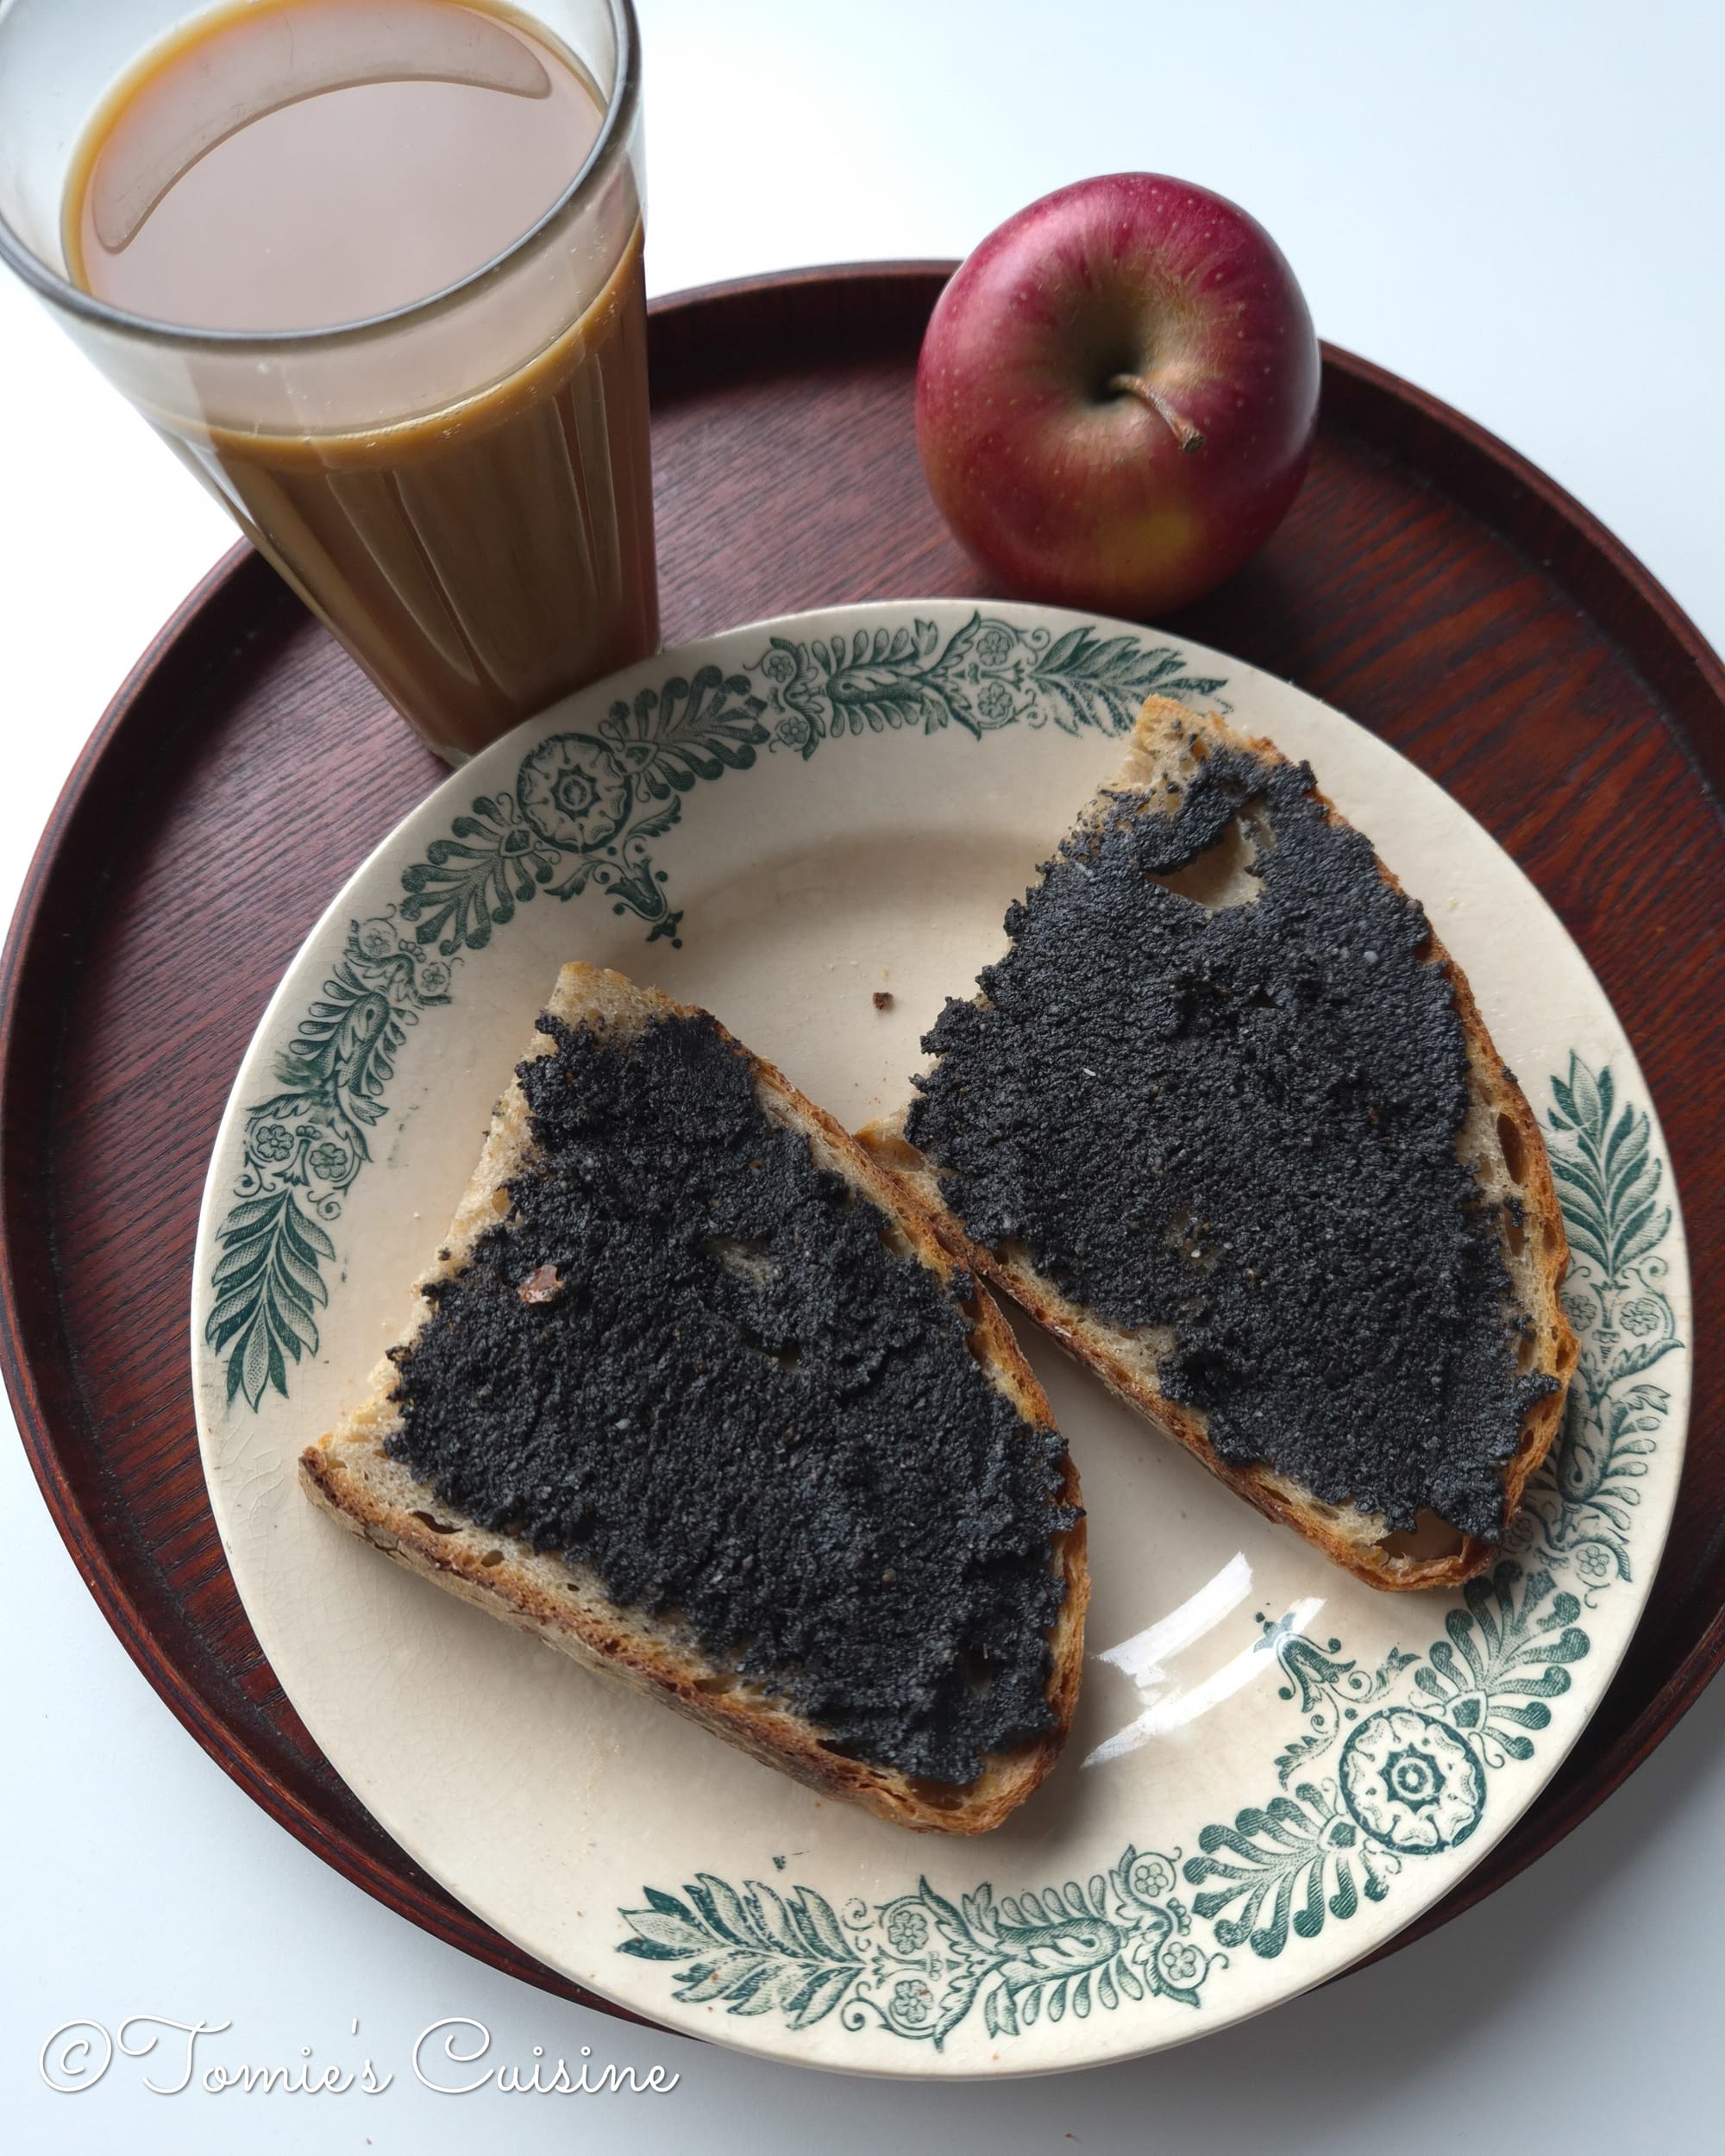
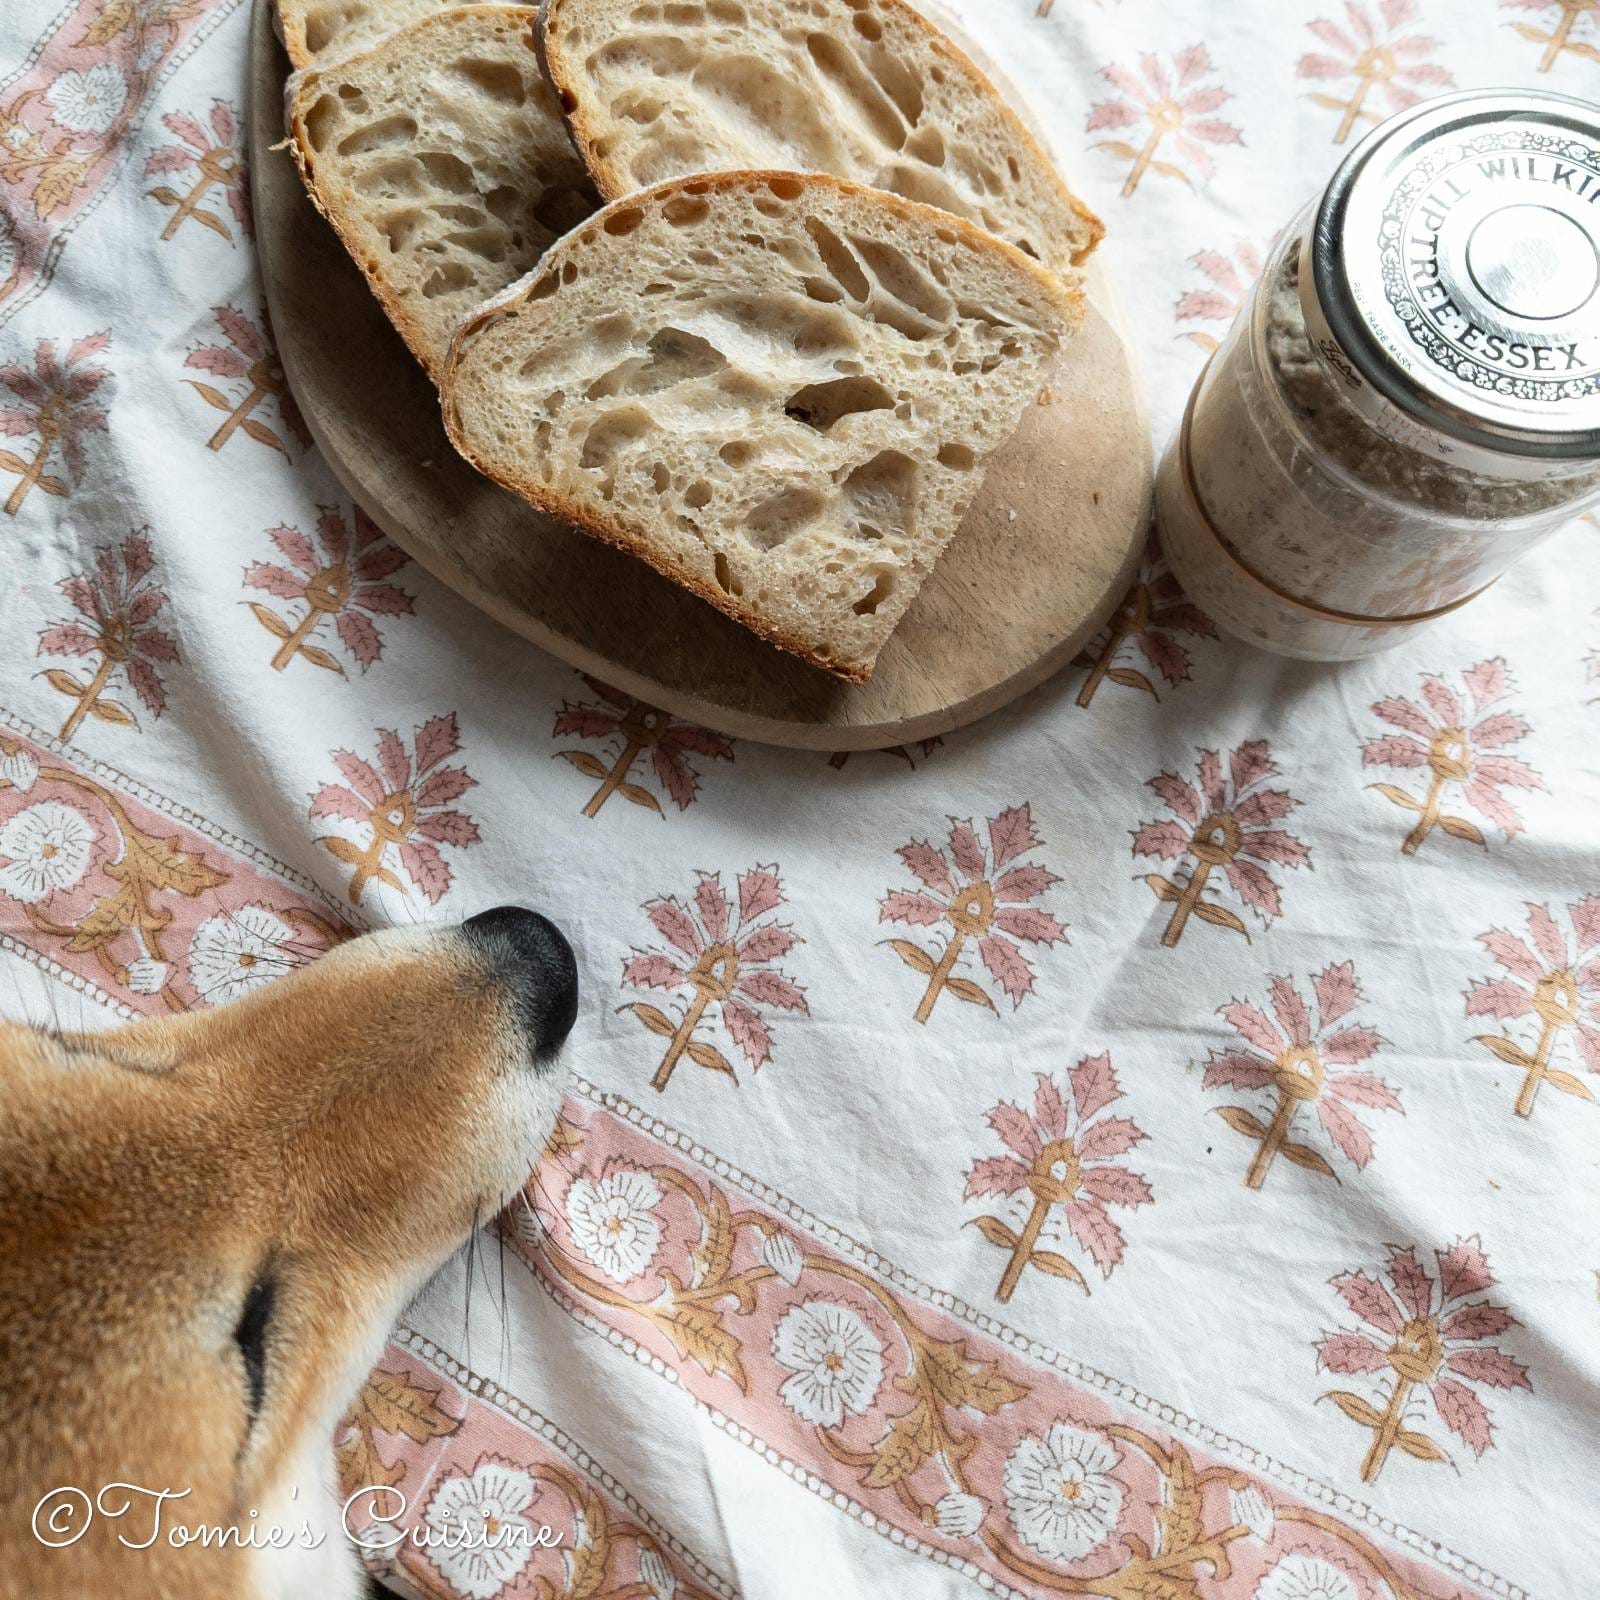
I love spreading my homemade black sesame paste on a toasted sourdough bread for my breakfast!
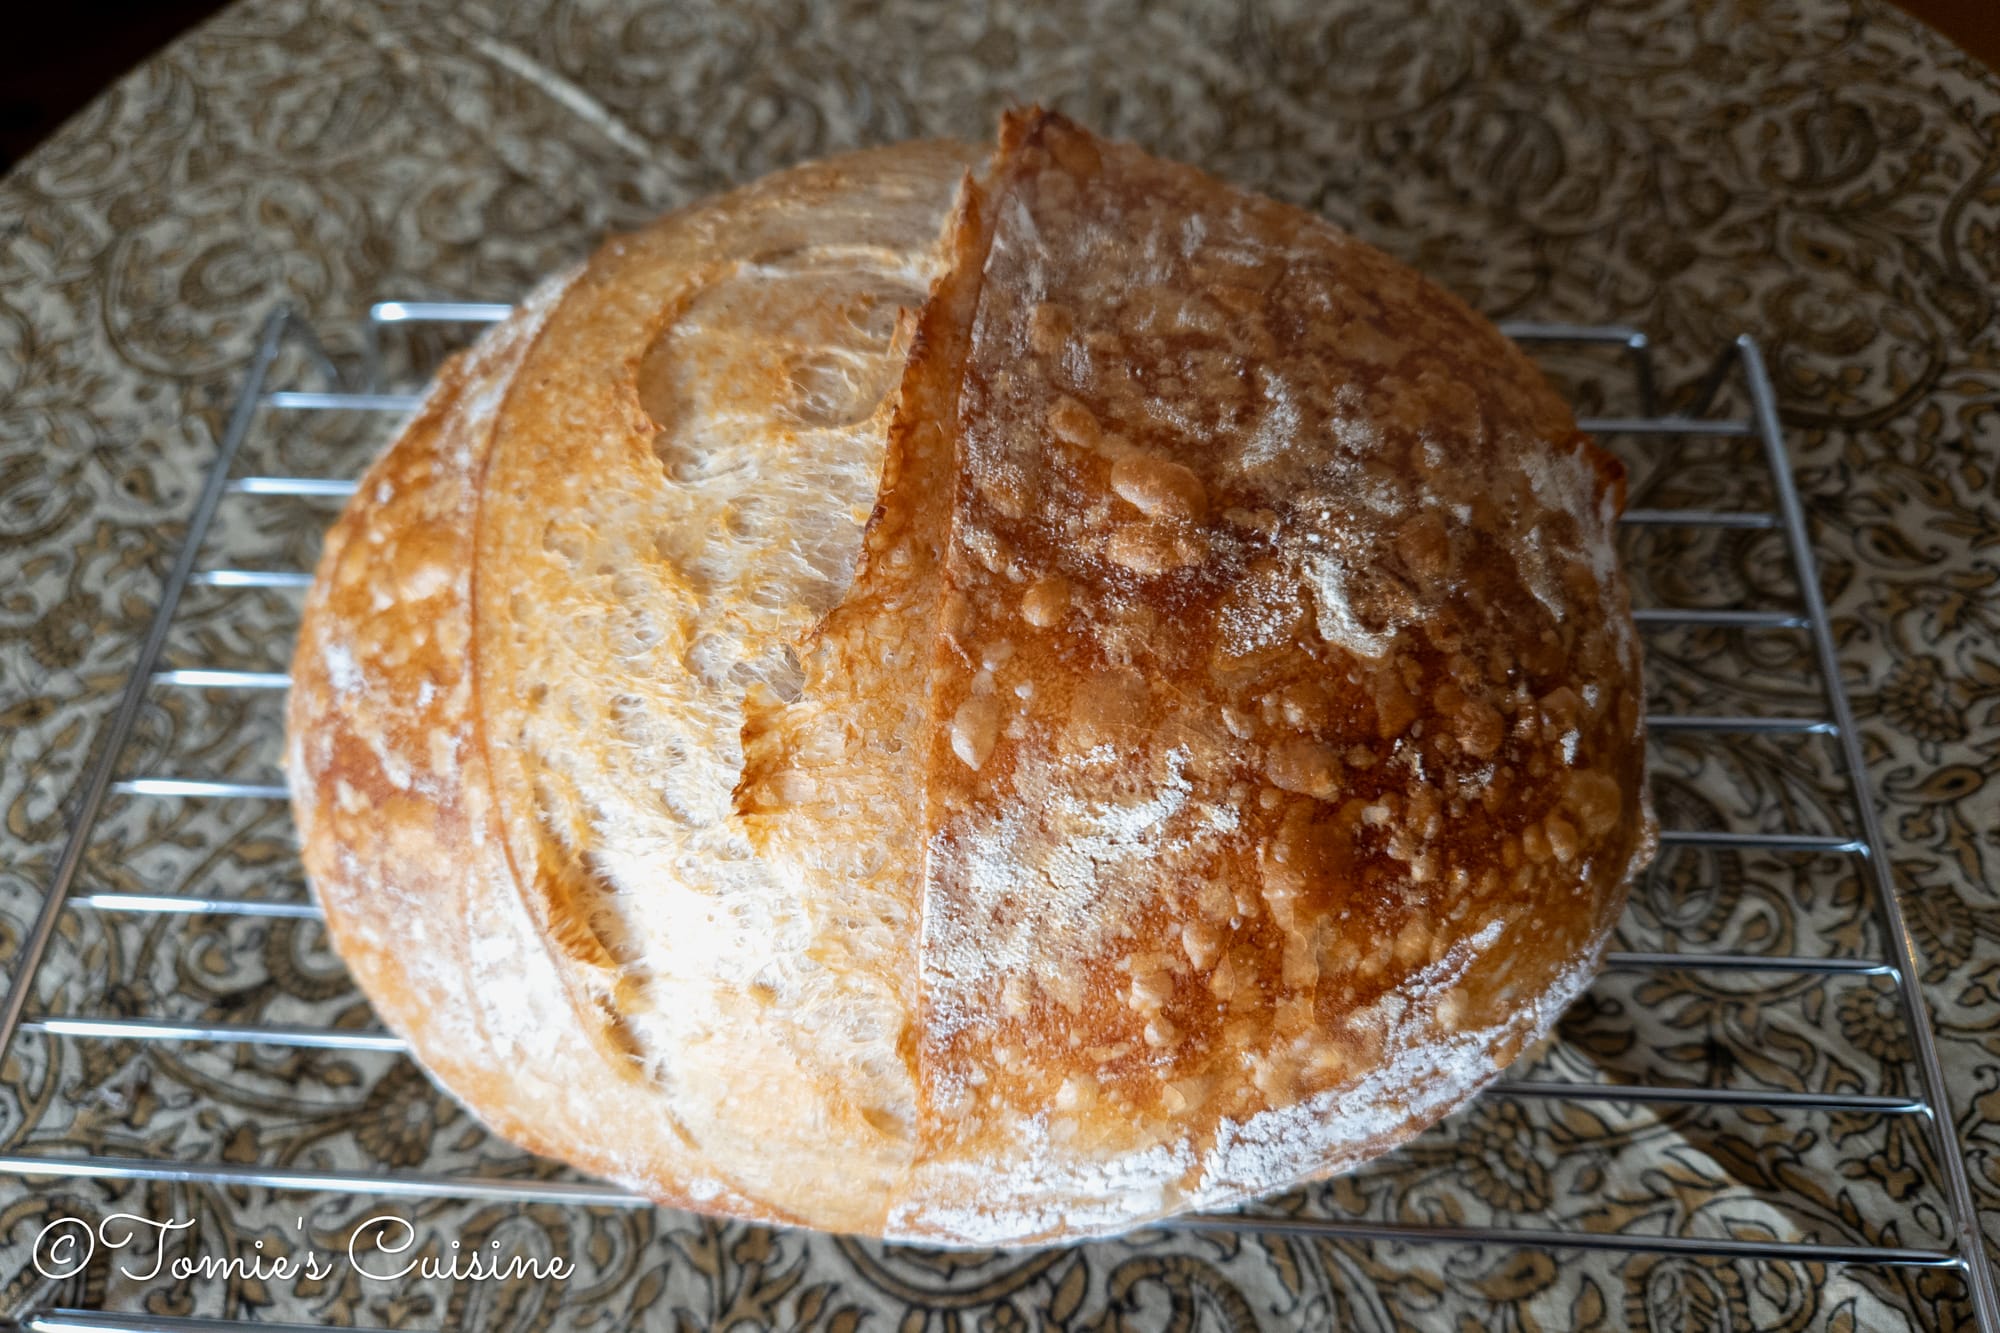
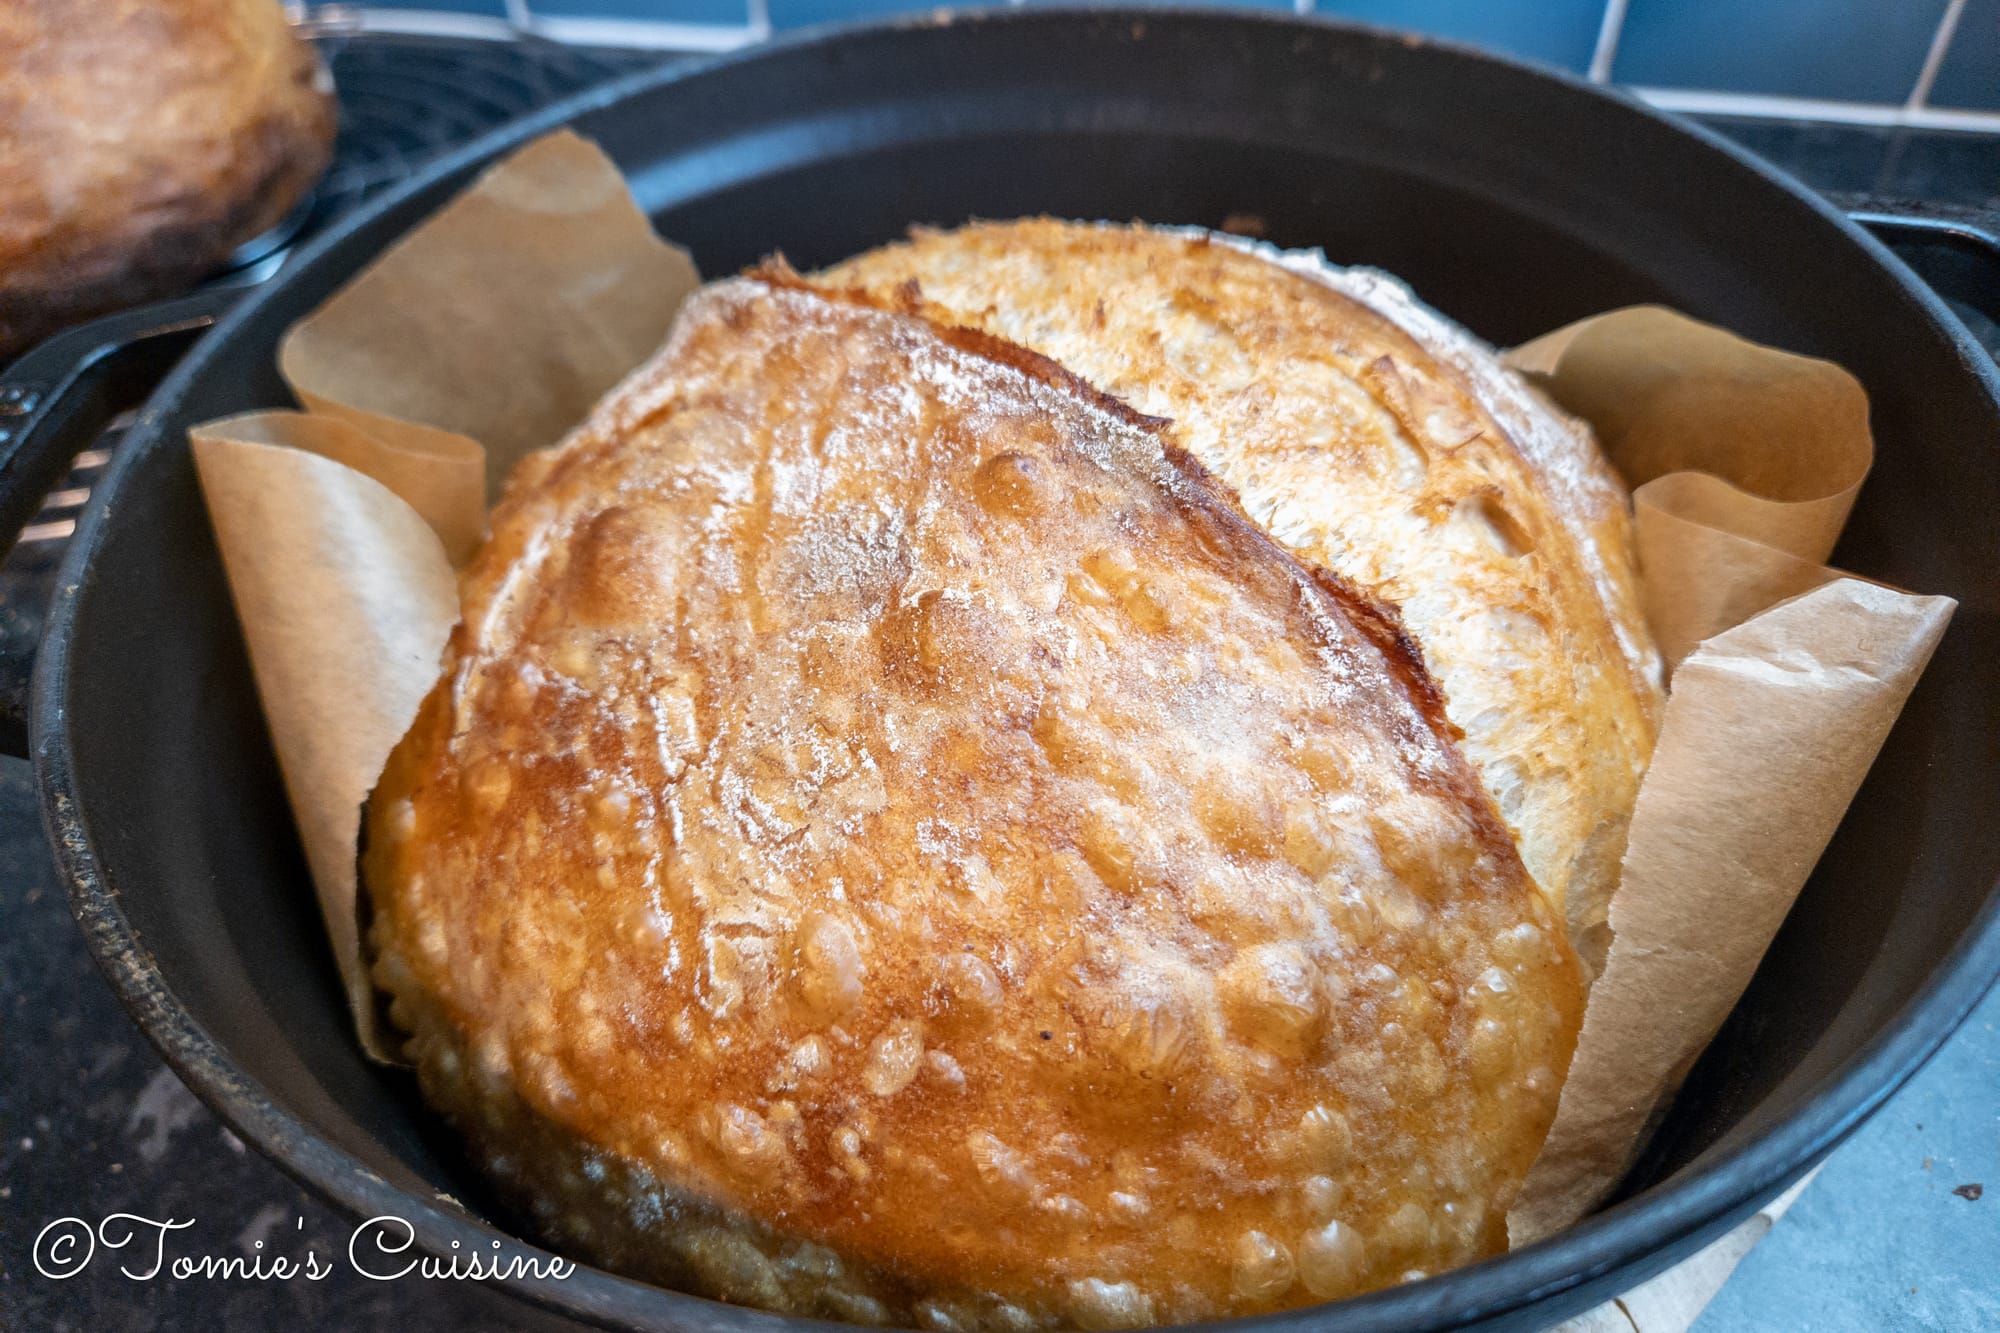
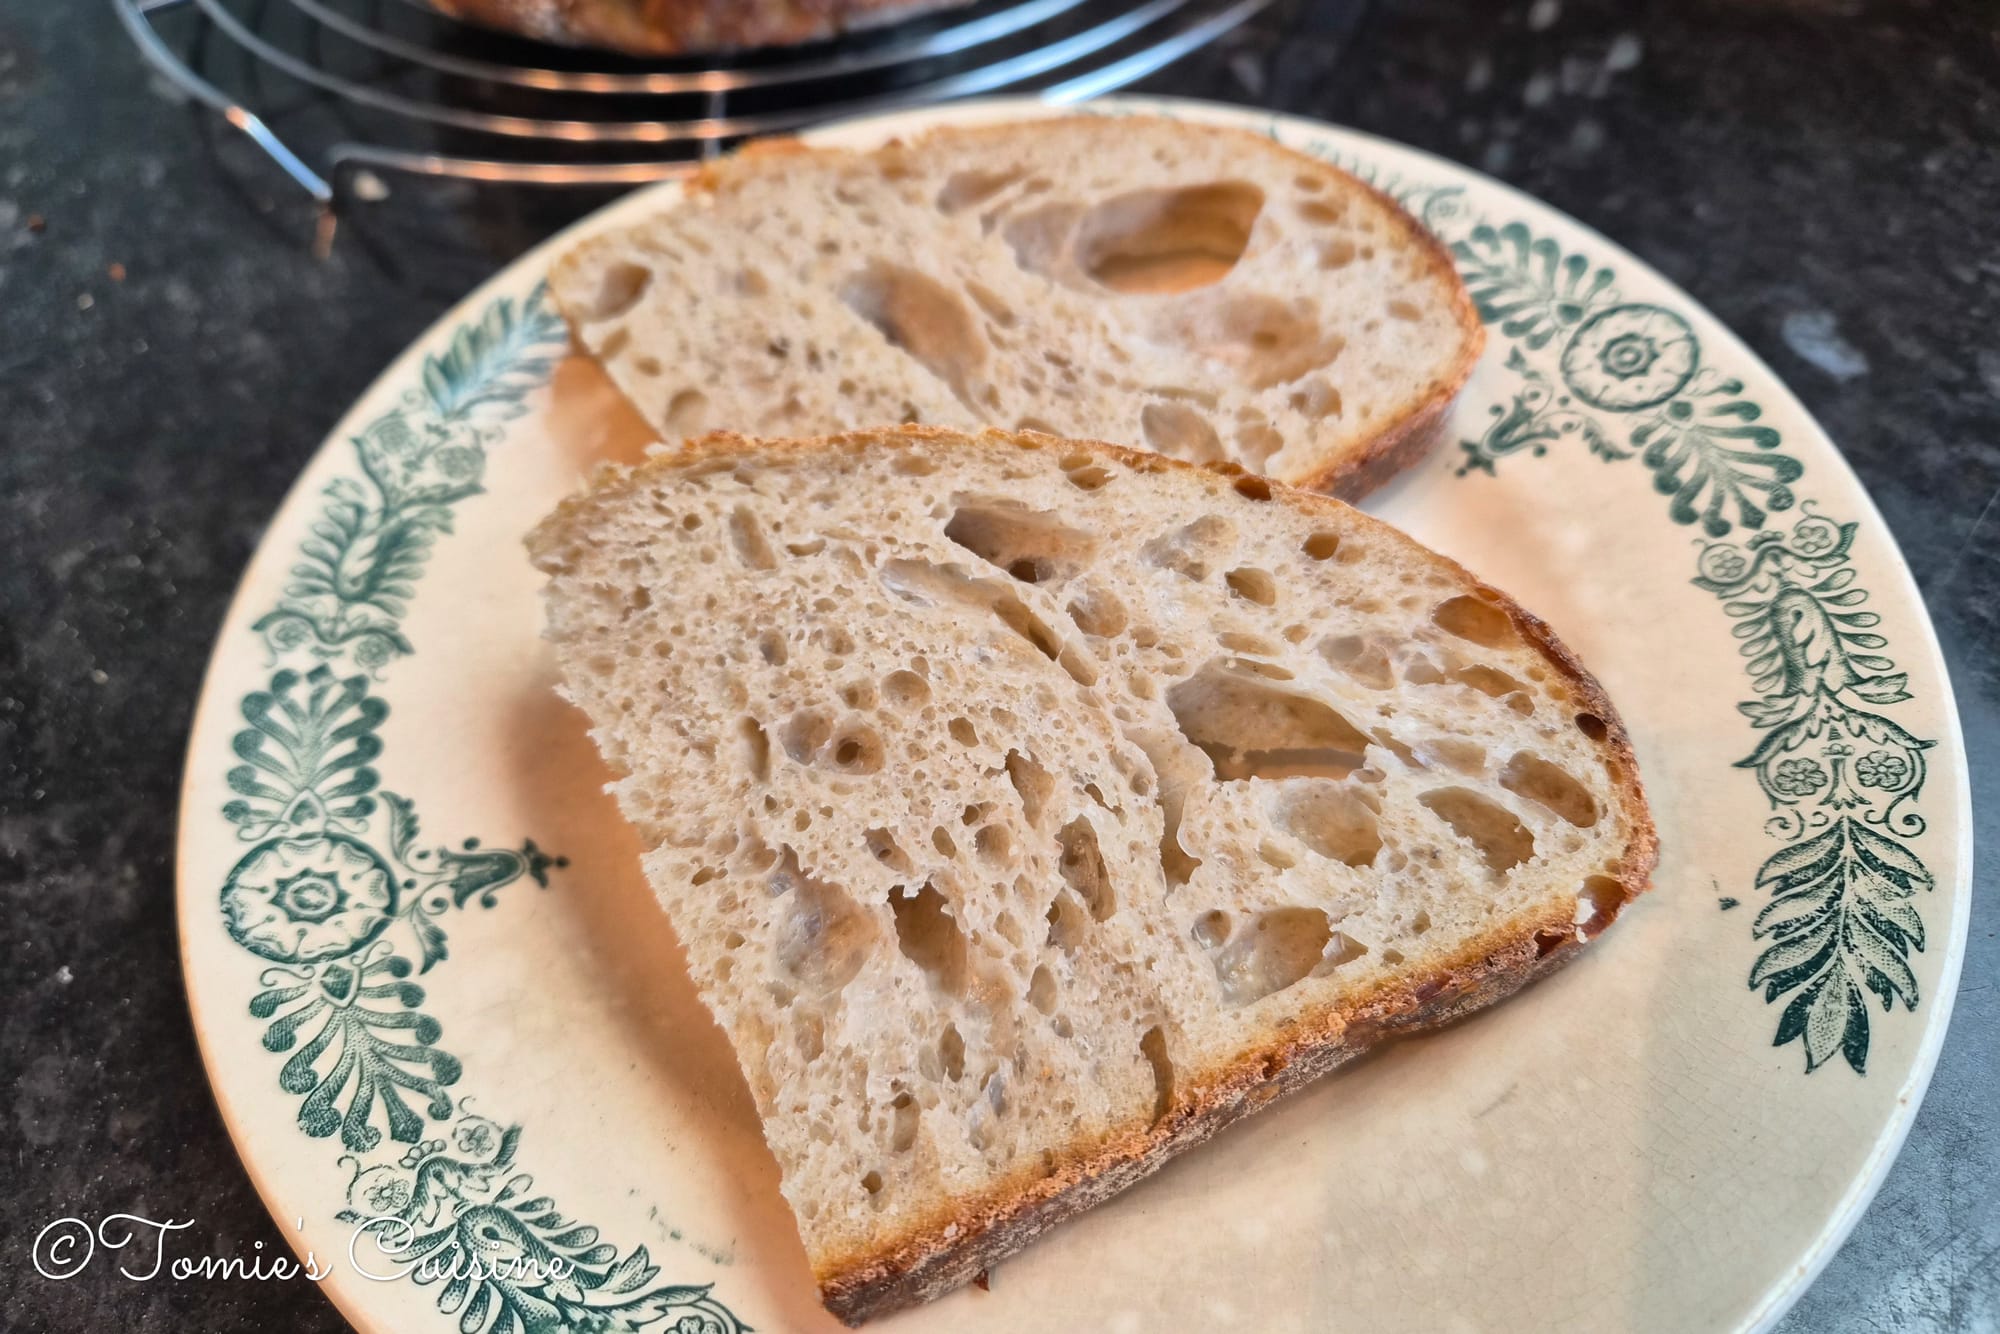
I will not pretend that making sourdough is entirely without frustration. There have been a few batches of starters that have gone in the compost, and more than a few late nights wondering why my loaf did not rise the way I hoped. But the results are absolutely worth it. Imagine a proper, crusty, slightly chewy loaf that you made entirely from scratch. I am honestly never going back to supermarket bread (though I will always make an exception for a great bakery!).
This post is just the beginning of our sourdough series here on Tomie’s Cuisine. Next up, we will be sharing the bread recipe I actually use with this starter, including how to shape, score, and bake it. Stay tuned!
If you enjoyed this article, subscribe to get the sourdough recipe as soon as it goes live, including how to shape, score, and bake it. We share new recipes, eco-friendly guides, and behind-the-scenes bits from the kitchen, and much more! All straight to your inbox, no spam, ever.
If you enjoy this article, subscribe to get the sourdough recipe as soon as it goes live, including how to shape, score, and bake it. We share new recipes, eco-friendly guides, and behind-the-scenes bits from the kitchen, and much more! All straight to your inbox, no spam, ever.