How to prepare sushi rice
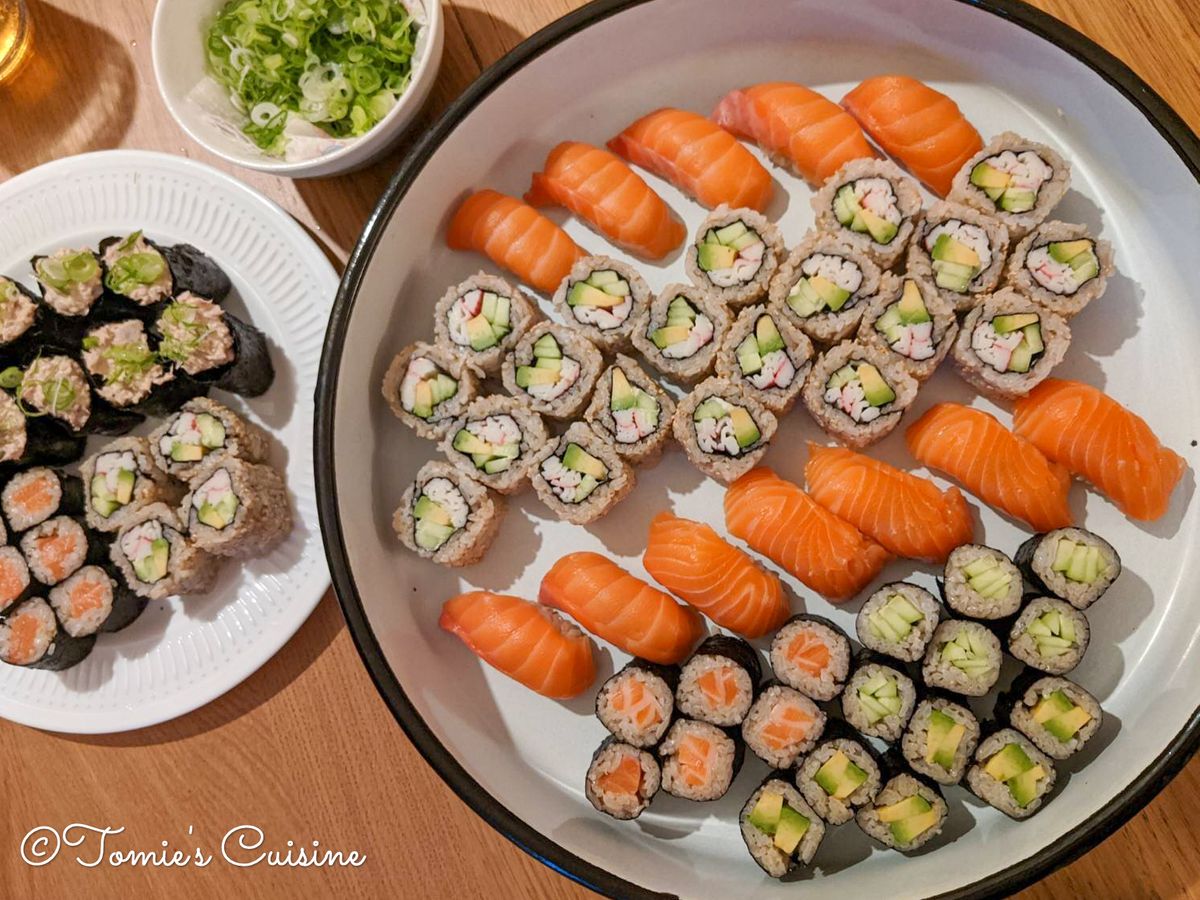
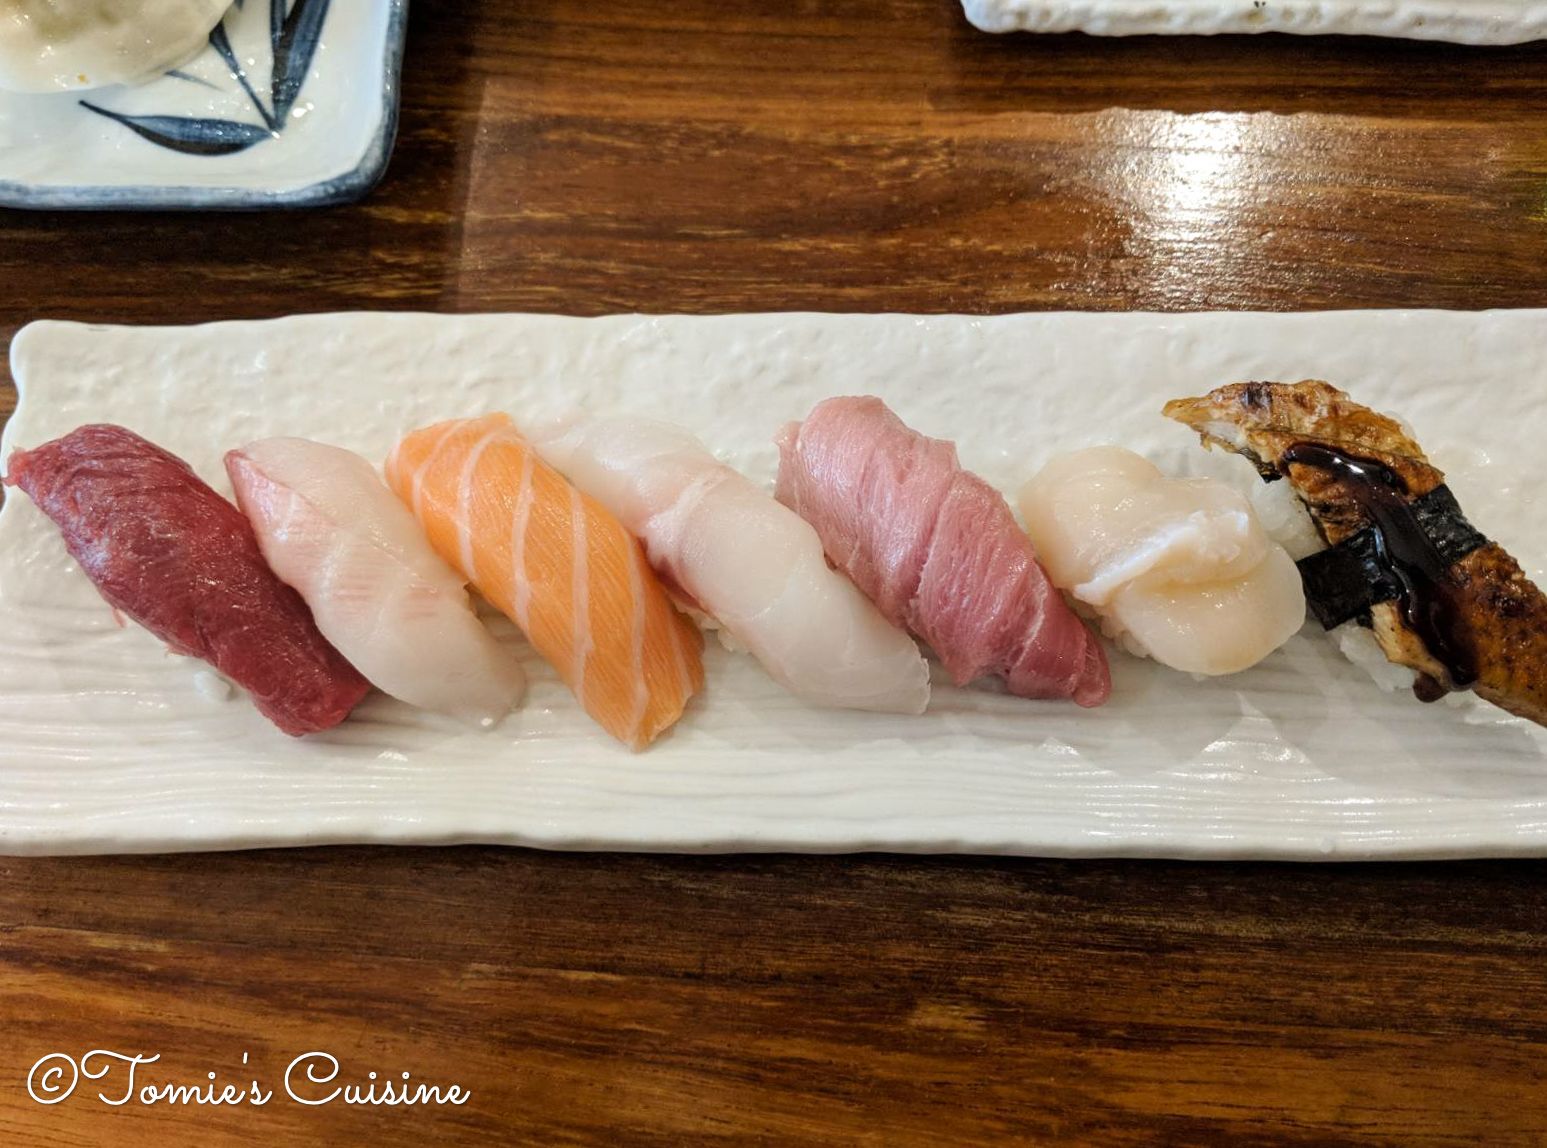
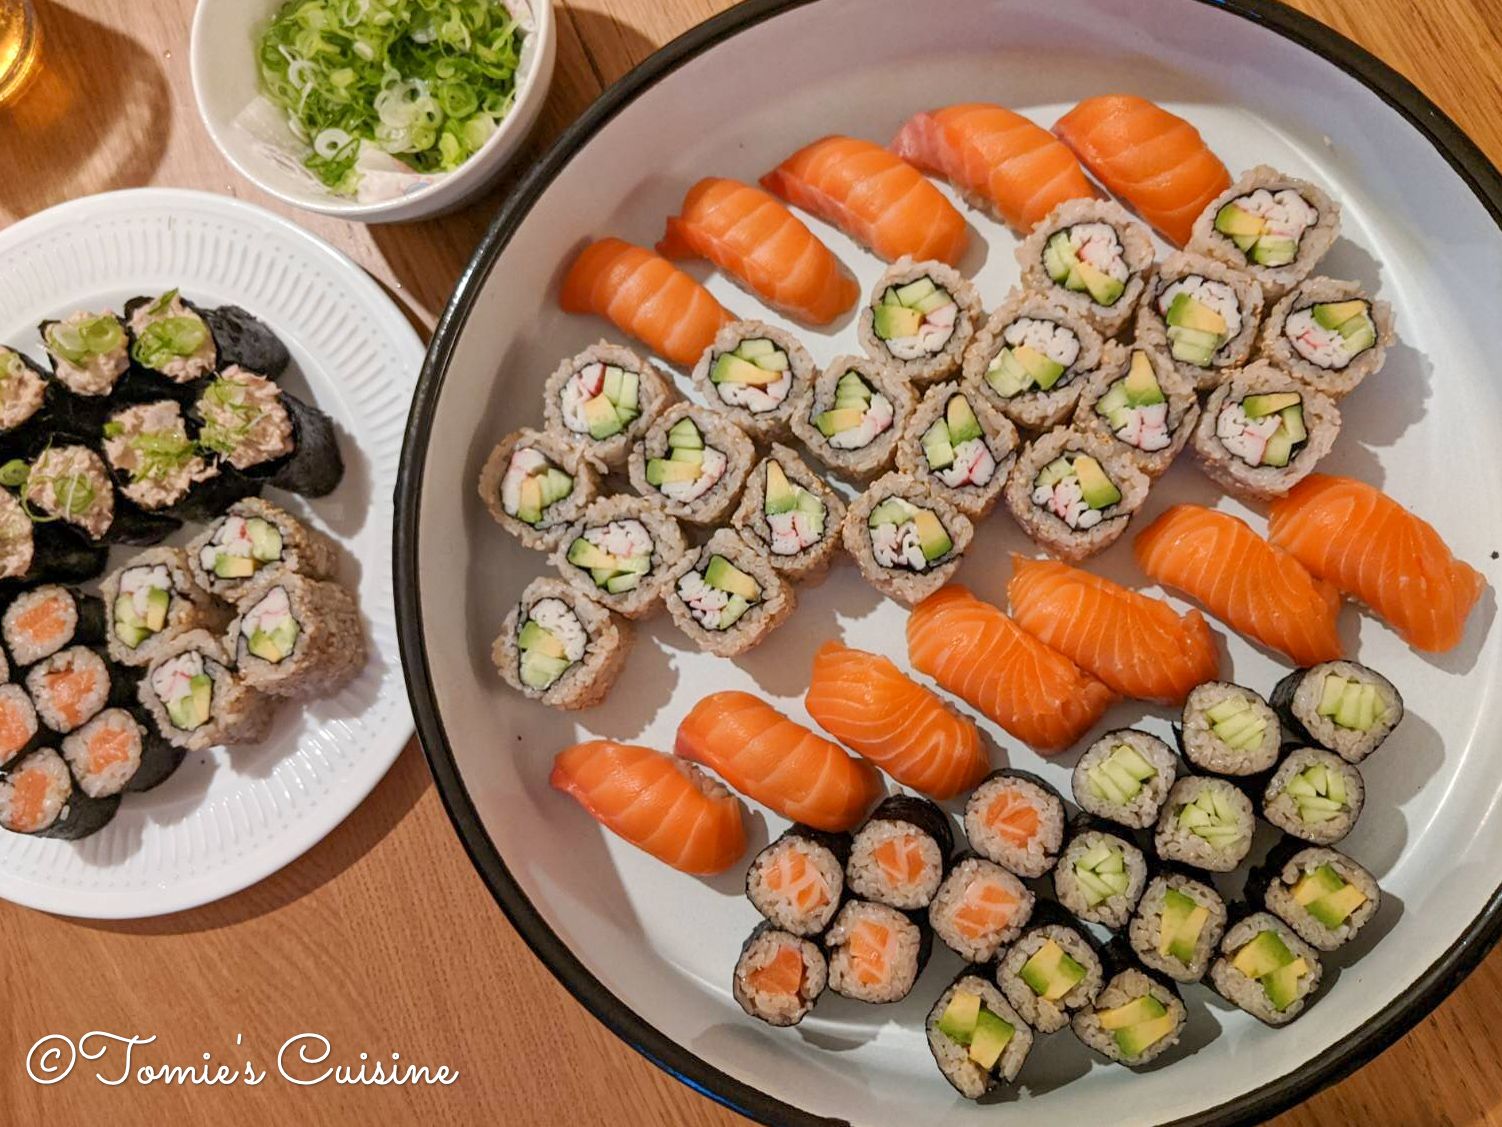
Today we are introducing the basic knowledge and techniques to prepare sushi. This article is the beginning of a multi-part series on sushi. Initially, I planned to make only two articles about recipes for different types of sushi (maki rolls, nigiri and chirashi), but I couldn’t fit them in one piece! So we are starting from the beginning, how to prepare sushi rice. I hope you enjoy it and that it helps you to prepare sushi at home!
Update, we've now published the articles for sushi maki and nigiri! Subscribe to our email list so that you don’t miss any of our future updates!
The history of sushi
The history of sushi dates back to the 4th century BC in south-east Asia. People who lived in the mountain marinated the freshwater fish with cooked rice and other grains using fermentation to keep the fish in the mountain.
The technique arrived in Japan from China at the same time as the technique to grow rice in the Nara period (710-794). Sushi at the time was prepared as a preserved food. It was seasoned cooked rice with sweet vinegar, freshwater fish on the top and left overnight.
At the end of the Edo period, food stalls got very popular, and people started to sell “Nigirizushi ” (the style of fish on the rice) with the fish from Tokyo bay. The name “Edomaezushi” comes from “sushi made with fish from the front of Edo (Tokyo)” = Tokyo bay. In 1923 after the big earthquake in Tokyo, some sushi chefs went back to their home town, and the Nigirizushi got popular all around Japan. After WW2, serving raw food got forbidden, so they brought their stall inside, and this turned into that sushi counter style that we all know and love. (Japan Culture Lab, 2020)
Sushi and me
I worked as a sushi chef for over two years while studying Food and Professional Cookery at University in London. Until then, I didn’t know how to roll sushi properly and the technique to make nigiri. I decided to work in a Japanese restaurant in London because I thought I should learn the professional methods to make Japanese cuisine as a Japanese Chef before working in a restaurant with chefs from different countries.
While studying at University, I was working in a small Japanese restaurant as a part-timer. Luckily, the head sushi Chef taught me and let me try everything there, making rolls, nigiri and all the preparations that go along with it. It wasn’t a fancy restaurant like the restaurants in Mayfair, but it was very popular with locals.
It’s been about three years since I stopped working as a sushi Chef, but I still make them sometimes for parties with my family or friends. When we were in Japan, I told my grandma that I would prepare sushi for dinner. When I served it, she was surprised and impressed at the quality! I still remember her face when I served sushi. So I guess the quality of the sushi I make is good enough to prepare at home.
Ingredients to prepare sushi rice
- Japanese rice (the one we got is from Italy)
- Rice vinegar (or as an alternative, white wine vinegar)
I found rice vinegar in the nearest supermarket, but white wine vinegar is acceptable if you can’t find it.
Order the ingredients online
- Japanese rice (from Toyama prefecture!): Toyama Koshihikari 1kg
- Rice vinegar: Mizkan Rice Vinegar 568ml
- Ready-made sushi vinegar: KIKKOMAN Seasoning for Sushi
Equipment to make sushi rolls
- Sushi oke (if you have one, it would be great but not necessary. Flat bottom large container would be perfect. I’m using an enamel serving tray in London. A Clean baking tray works too!)
- Makisu (sushi rolling mat)
- Shamoji (flat rice spoon or spatula)
- Silicone reusable wrap or silicone sushi rolling mat if you want to make an “inside-out roll”.
I’ve seen some people use beeswax wrap or squeezed clean wet cloth, but I haven’t tried it myself. I’ll try next time I make sushi just to be sure.
Order the equipment online
- Serving tray (which you can use as a sushi oke): Olympia GM240 Enamel Serving Tray 45x320mm Steel Platter Restaurant Commercial, White
- Traditional sushi oke (wooden rice mixing bowl): 36cm/14" Wooden Sushi Rice Bowl/Hangiri/Sushi Oke/Handai w/Sushi Rolling Mat
- Sushi kit: MUDEELA Bamboo Sushi Rolling Mat, Carbonized Sushi Making Kit 9 pcs, Beginner Sushi Mat, Includes 2 Rolling Mats, 5 Pairs Chopsticks, Paddle, Spreader, Beginner's Guide (PDF), Roll on
How to cook Japanese rice
- Wash Japanese rice with cold water until you don’t see the white.
- Cover the rice with water and wait for 10 to 20 minutes.
- Strain the water.
- Put the rice into a pot or rice cooker.
- Pour water.
- If you are using a rice cooker, add water to a little bit less than the same number as how many cups of rice you put. E.g., 2 cups of rice should be just under number 2.
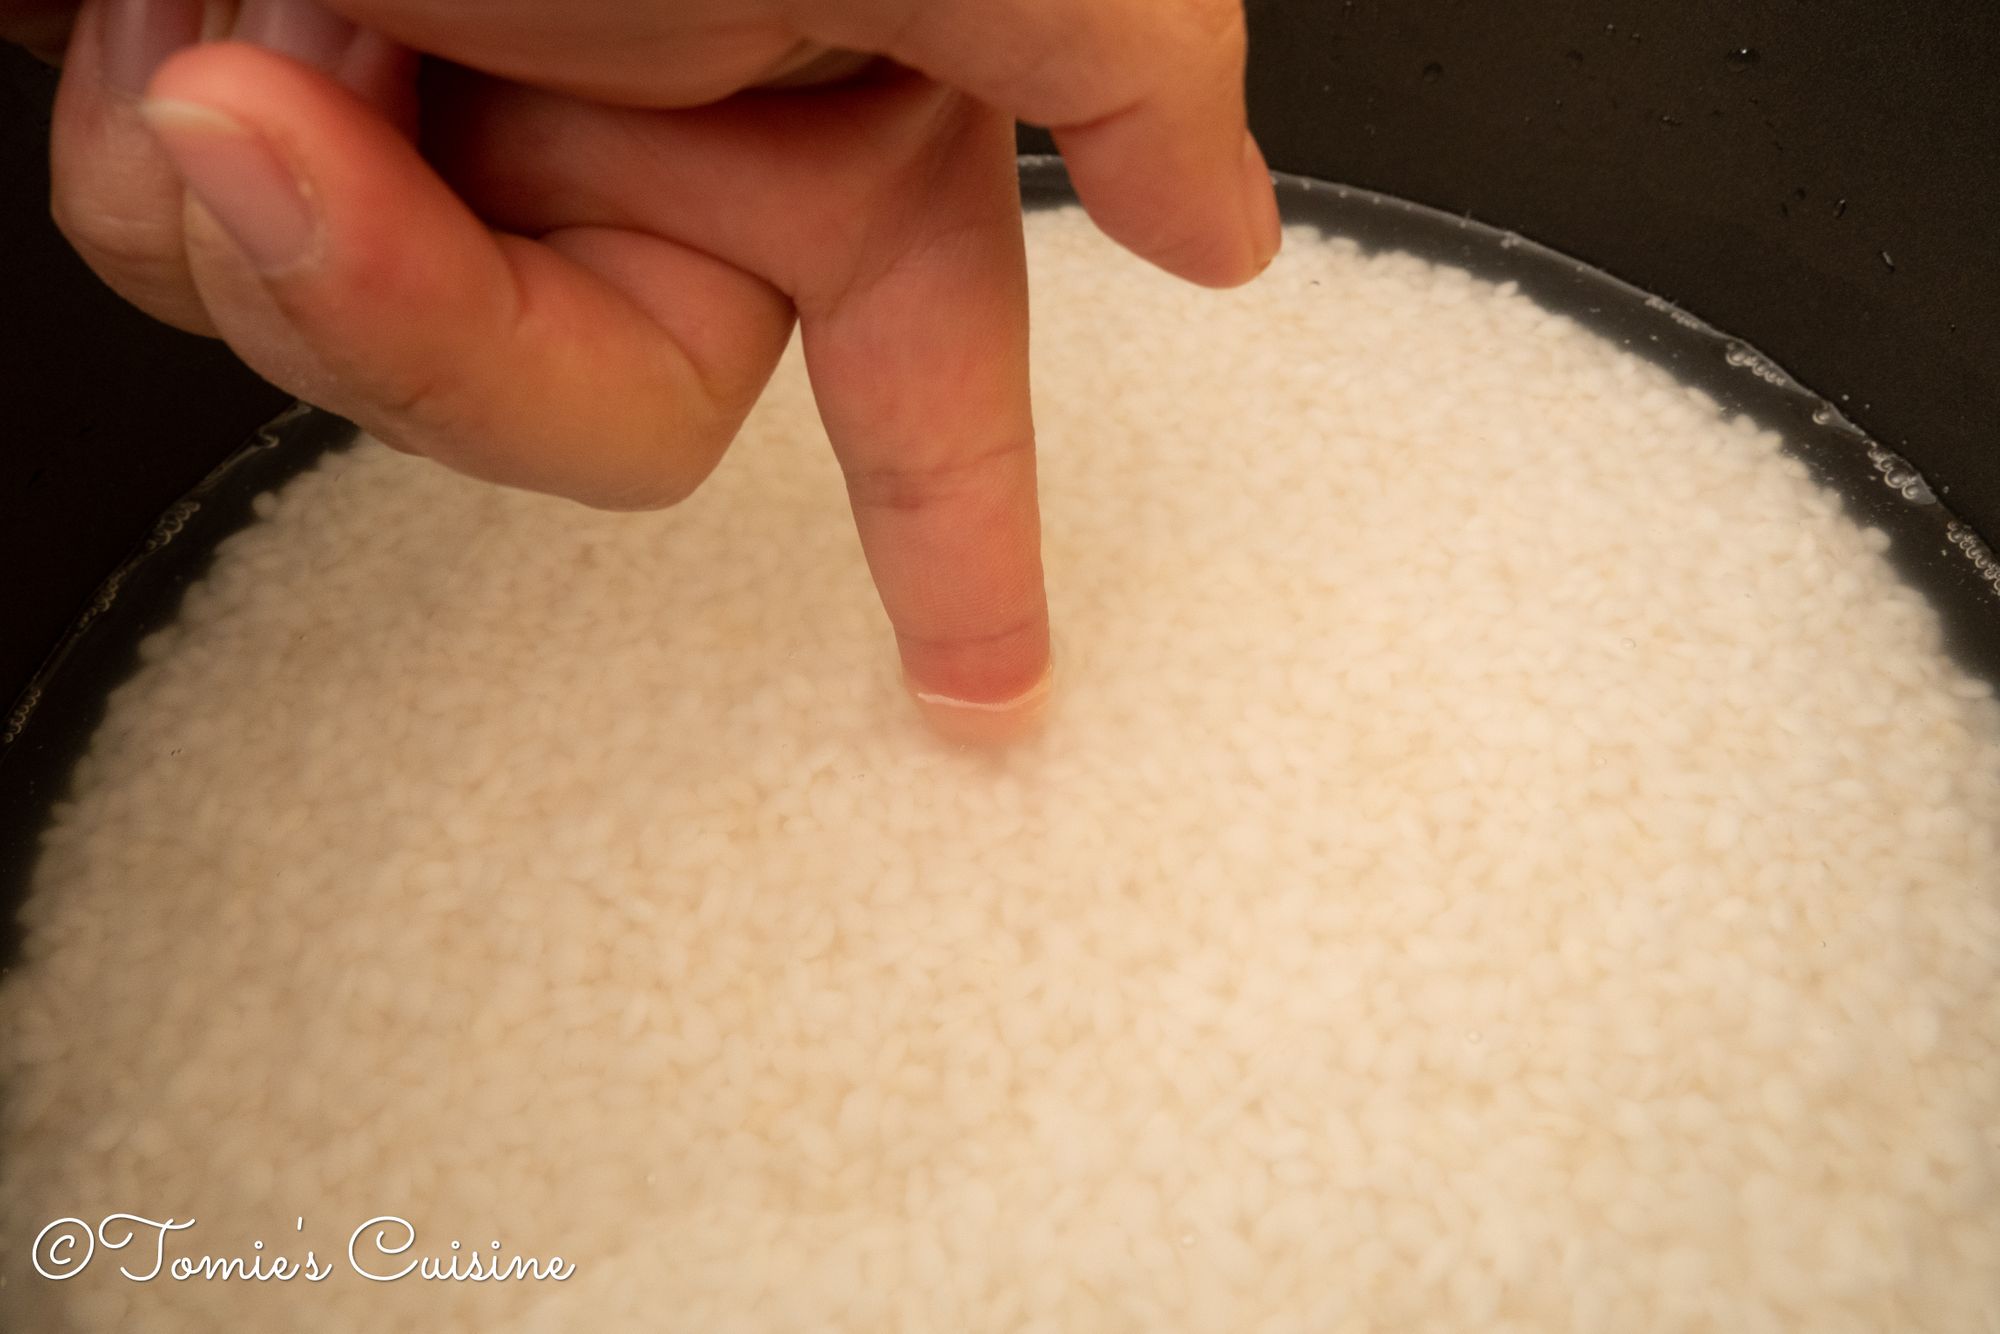
- If you use a pot without any marks, you can use your first knuckle to measure it. To do so, level the rice out and place your index finger on the surface of the rice. Then pour the water until it reaches the crease of your index joint. To make sushi rice, fill the water just under the crease of your index joint.
-
Shake the pot a little after pouring the water to make sure the rice is still placed evenly.
-
If you are using a pot, start cooking with high heat and once it’s boiling, turn it down to low. Turn off the heat when you can smell the crisp aroma. Make sure you are always in front of the stove so as not to burn the rice.
-
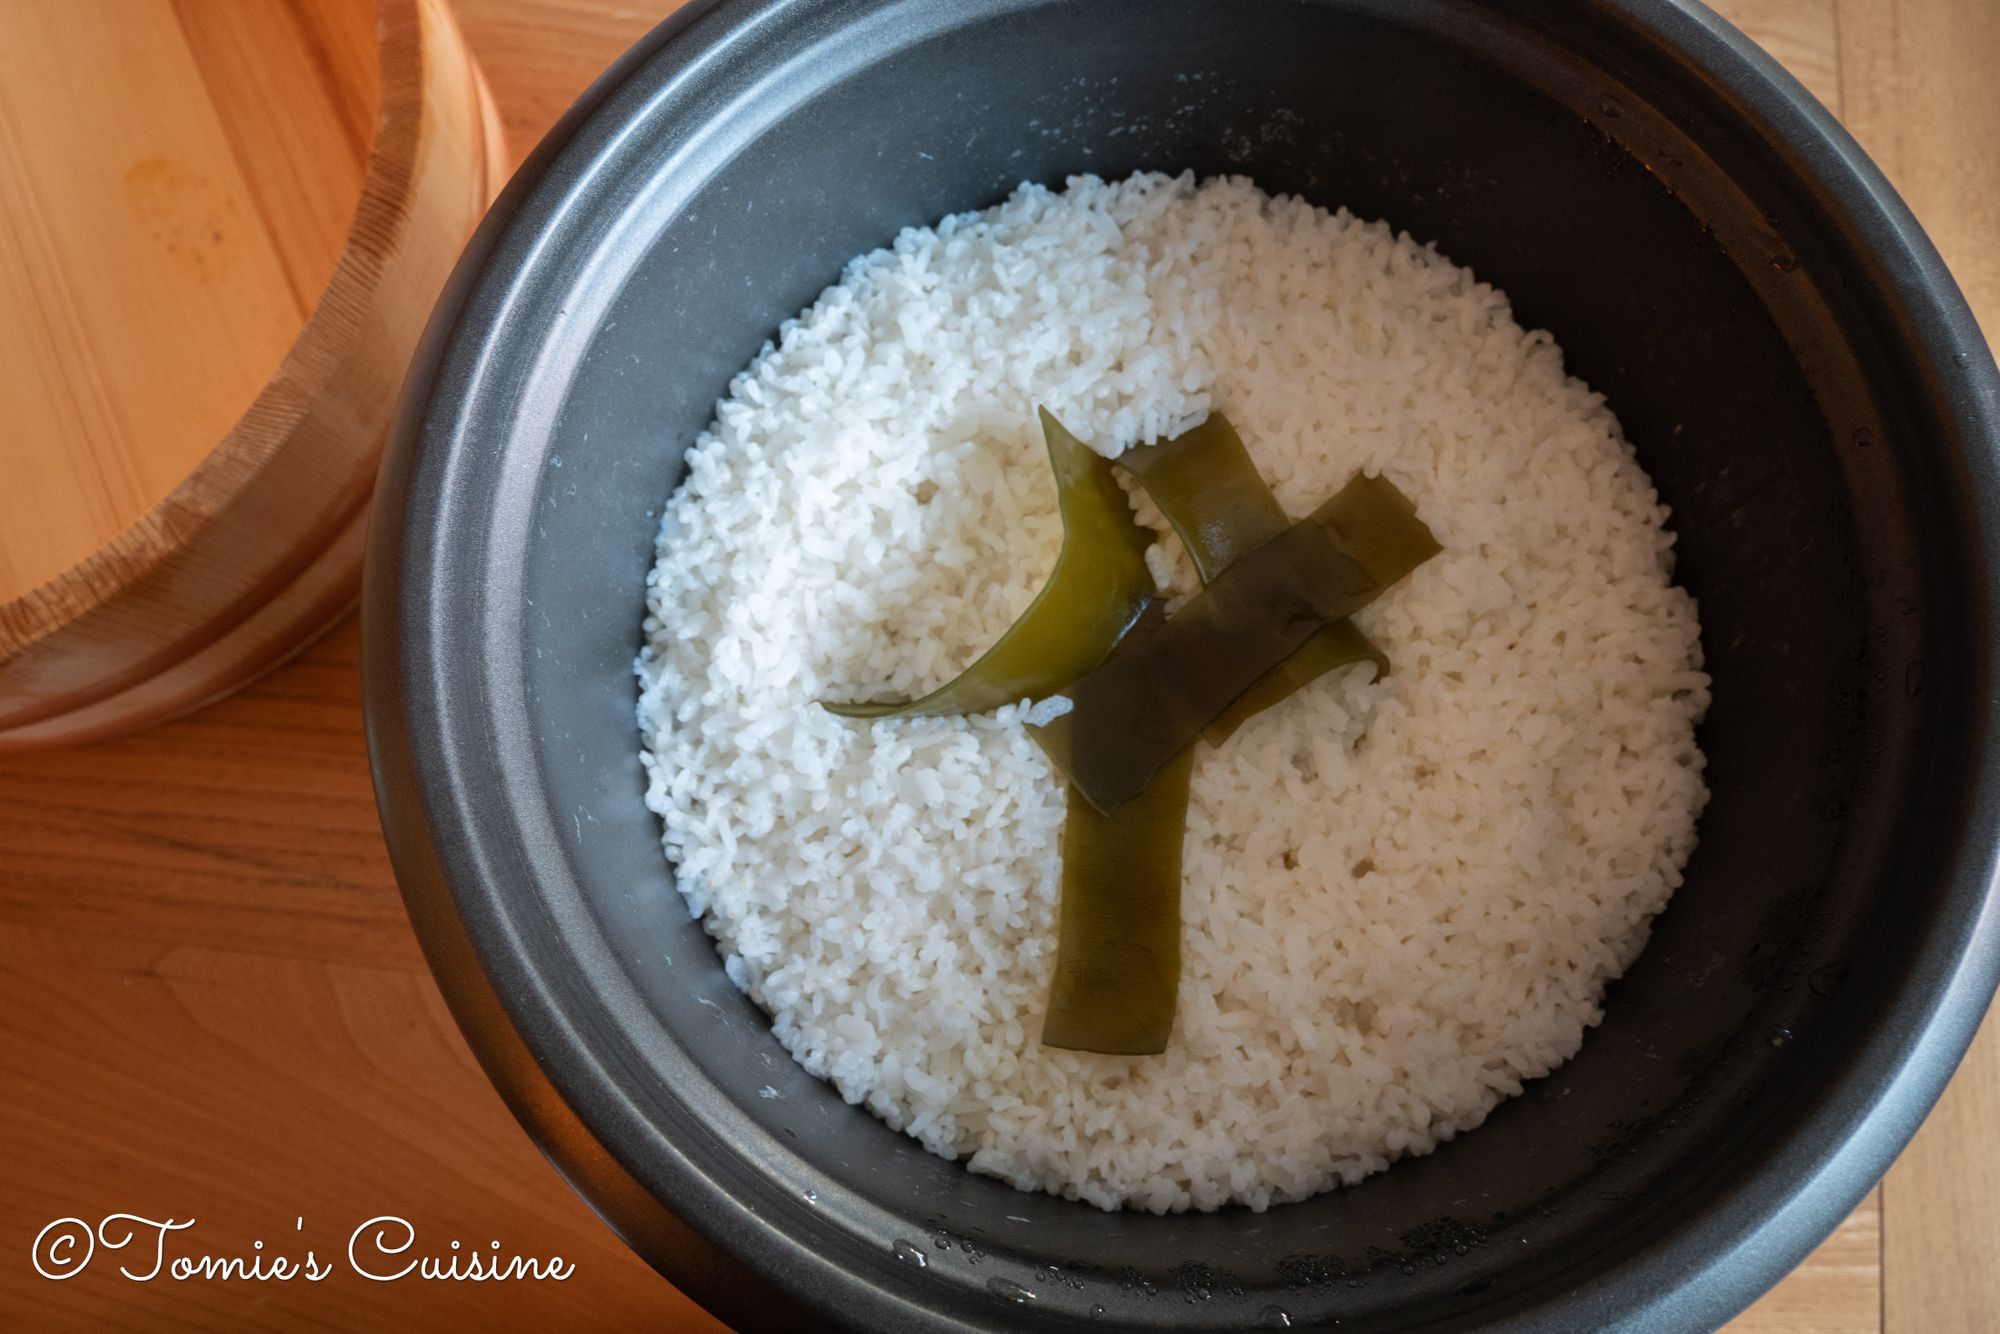
Rest the rice for 10 minutes without opening the lid.
Order a rice cooker
- The rice cooker I use while in France: Russell Hobbs 19750 Rice Cooker and Steamer, 1.8 Litre, Silver
- Our rice cooker in London: TIGER Outside of Japan for IH jar rice cooker Far red kettle three-layer Cooked (5.5gouCook) JKW-A10W(S)/220V
- My dream rice cooker: STAUB 16cm Round Cast Iron Rice Cocotte Black
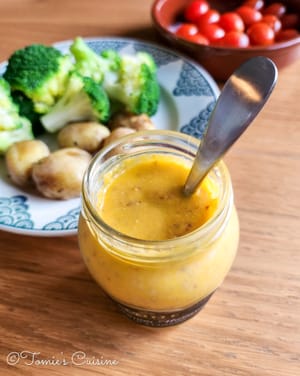
How to make sushi vinegar
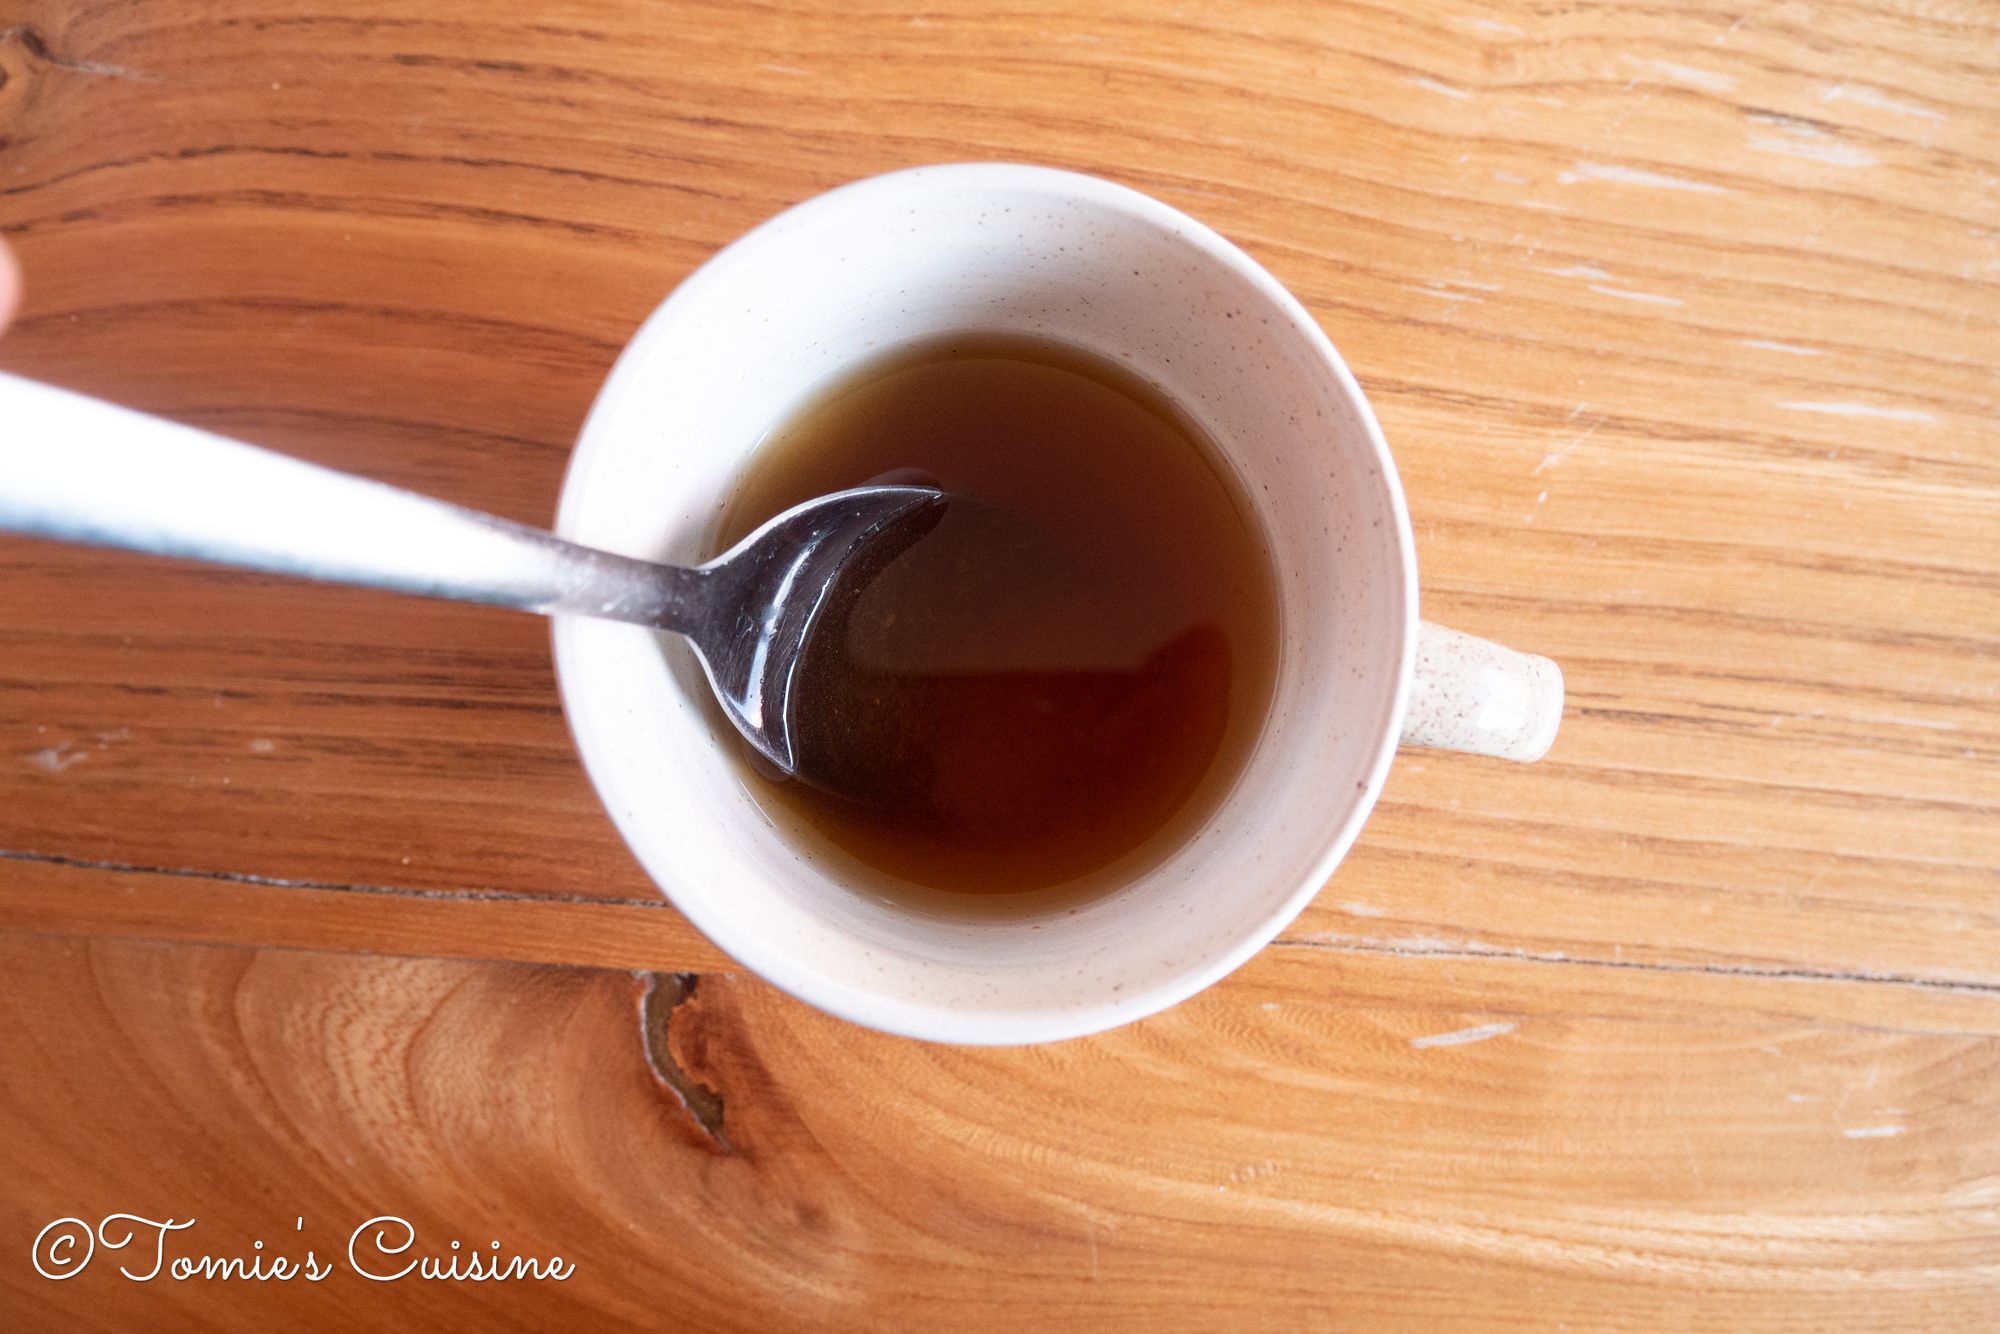
The sushi vinegar ratio is as follow
- vinegar: 4
- sugar: 3
- salt: 1
For 2 cups of rice, prepare sushi vinegar with
- 4 tablespoons of vinegar
- 3 tablespoons of sugar and
- 1 tablespoon of salt into a saucepan
Heat them to dissolve the sugar.
Order the ingredients for sushi vinegar
- Rice vinegar: Mizkan Rice Vinegar 568ml
- Ready-made sushi vinegar: KIKKOMAN Seasoning for Sushi
How to mix Japanese rice and sushi vinegar to make sushi rice
- Wet the sushi oke thoroughly and wipe with a squeezed clean wet cloth to remove the excess water.
- Place the cooked rice on one side of the sushi oke or flat-bottom container. The rice should form a small pile.
- Pour the sushi vinegar evenly on the rice.
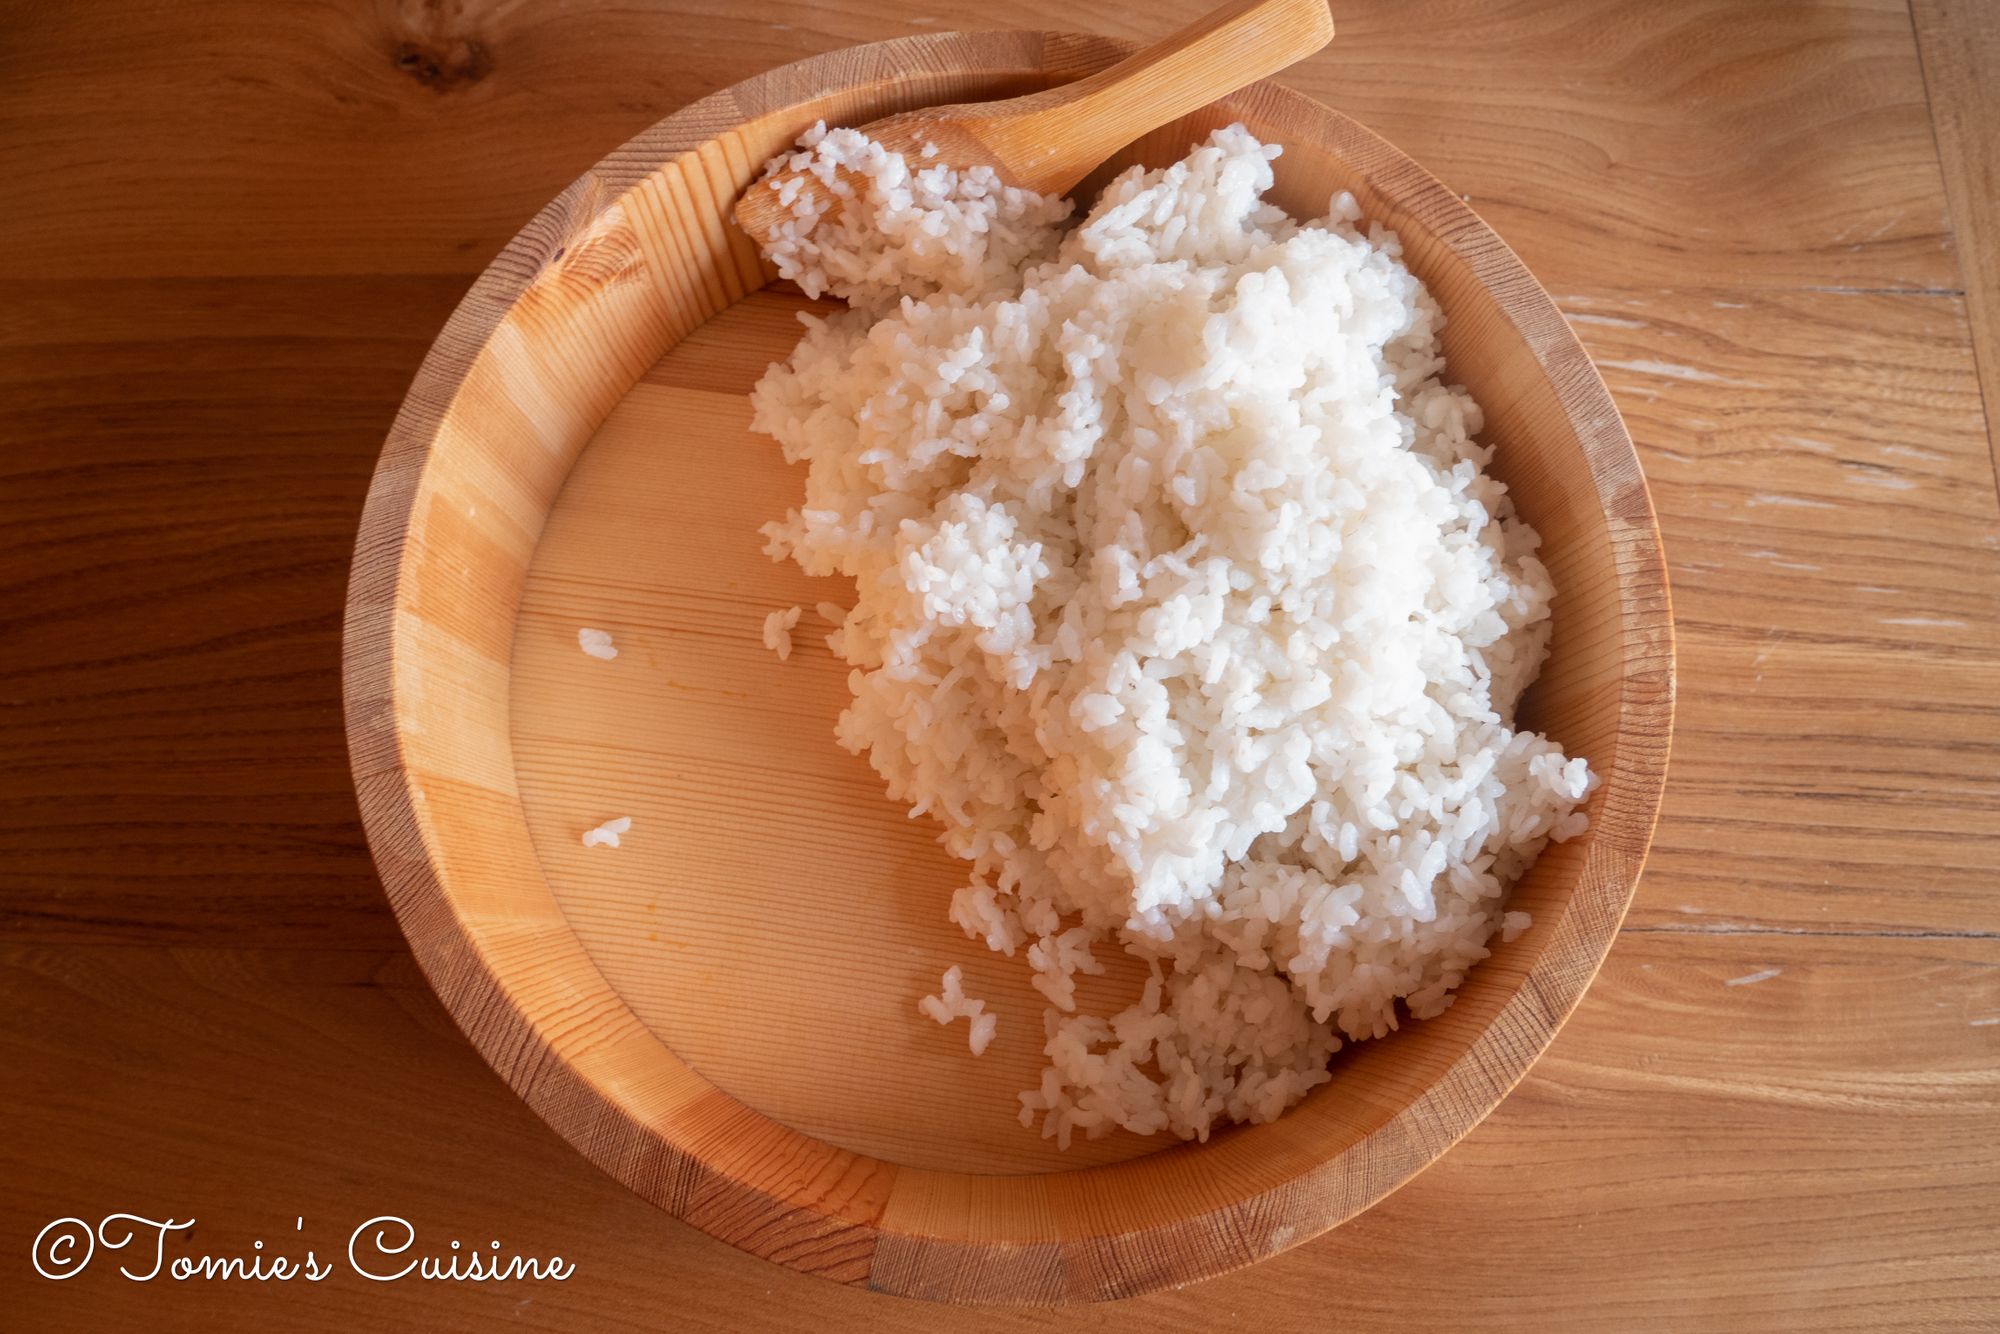
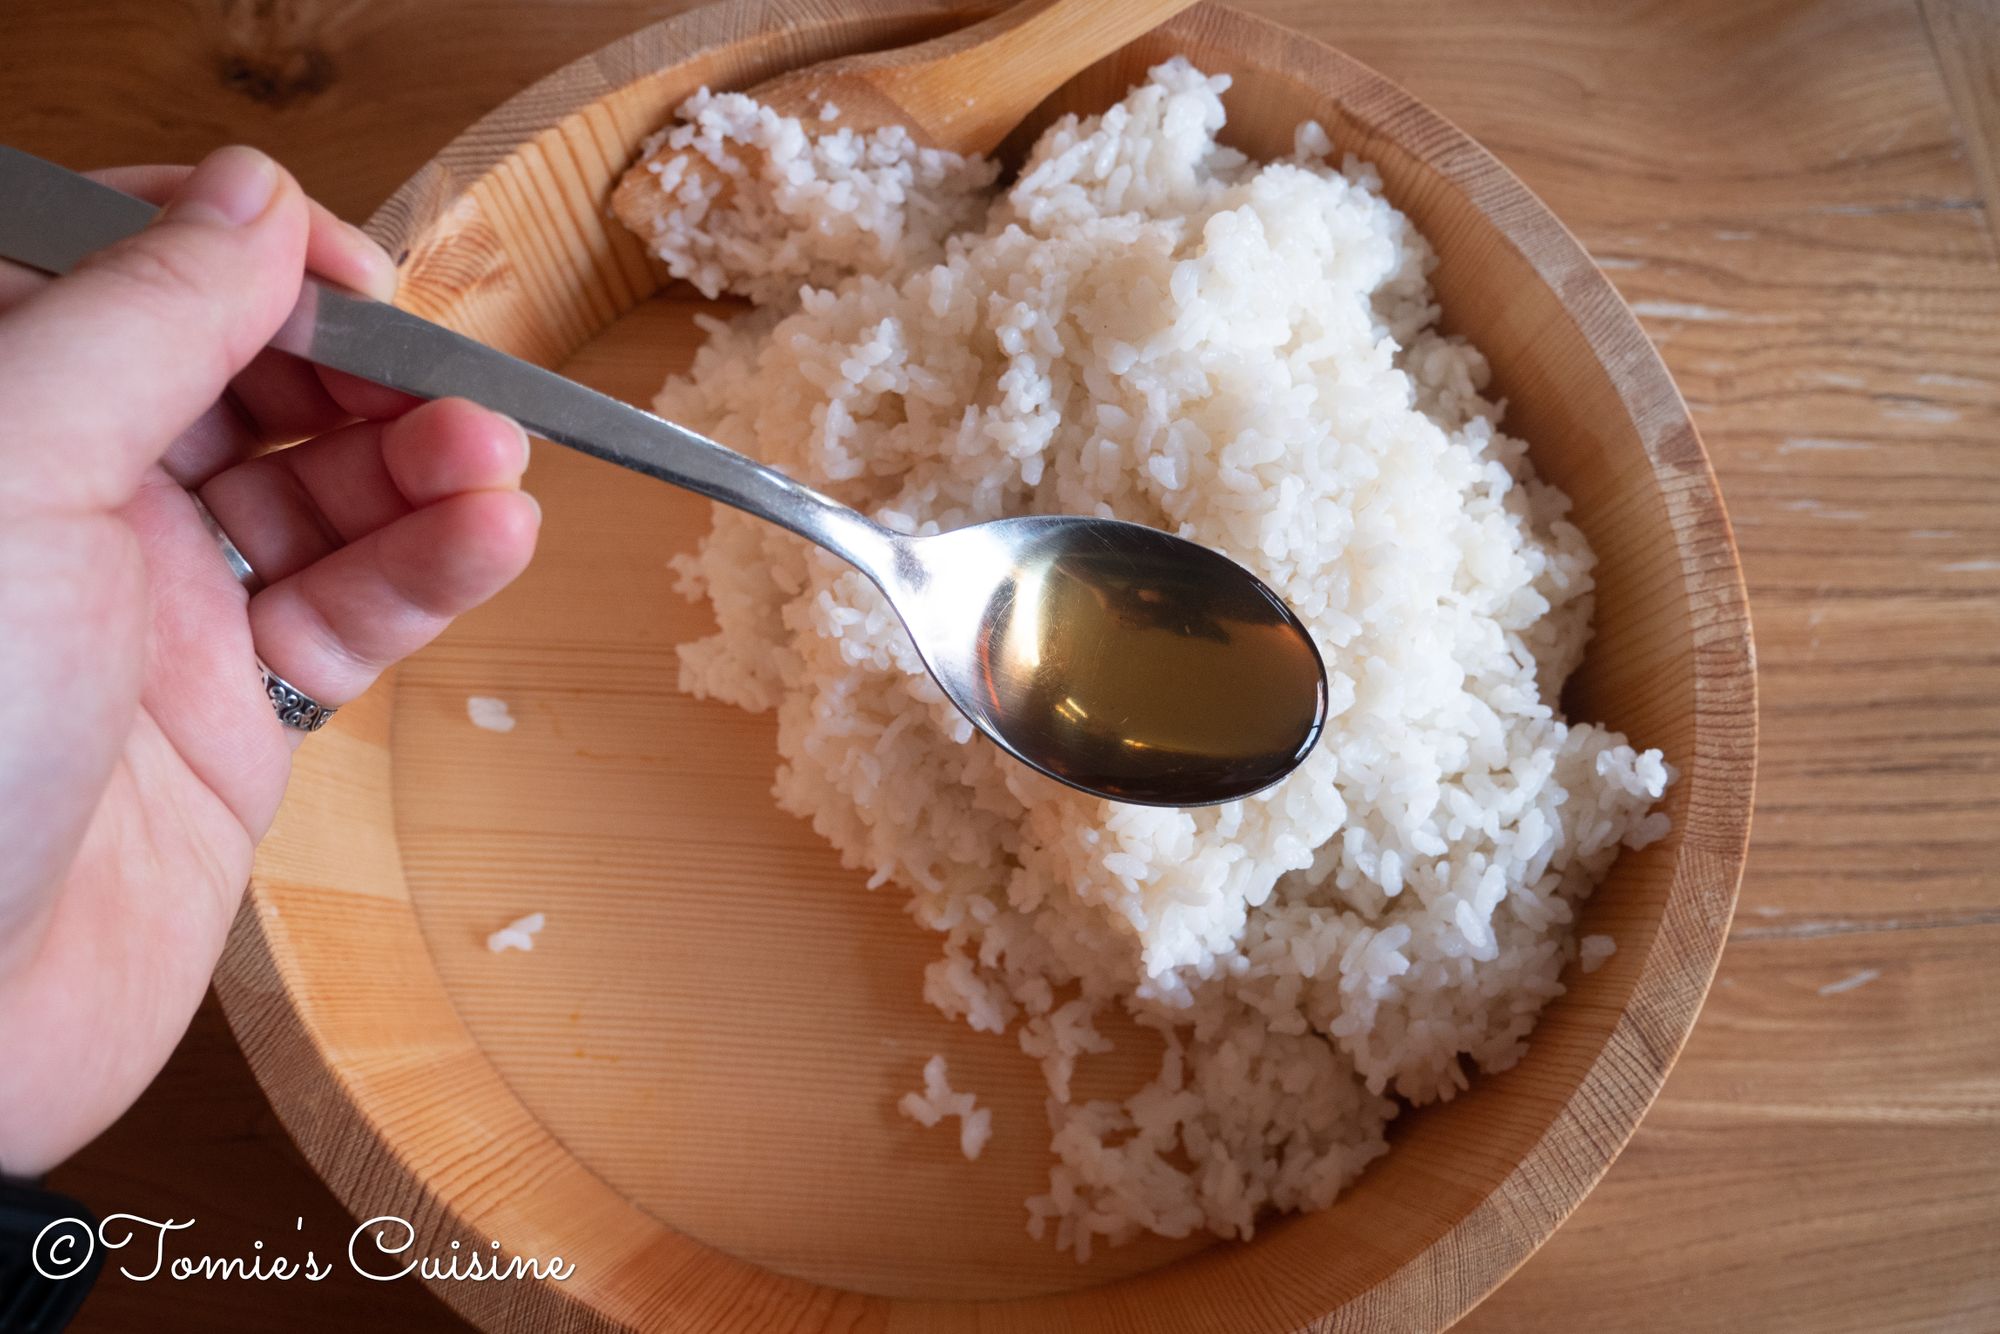
- Start breaking the rice pile from the side. Hold your rice spoon flat and mix with a slight angle in a cutting motion (similar angle as 8:10 on a clock 🕖). DO NOT smash the rice.
- Once the pile of rice is flattened, keep mixing it thoroughly. Be careful not to smash the rice. Do not over mix it.
- While mixing the rice, keep the spoon flat and don’t push it down on the rice. Start blowing some wind with a paper fan or fold fan. I didn’t have any of those, so I used a paper plate. This method is not about cooling the rice down; it’s to make it shine—therefore no need to work too hard.
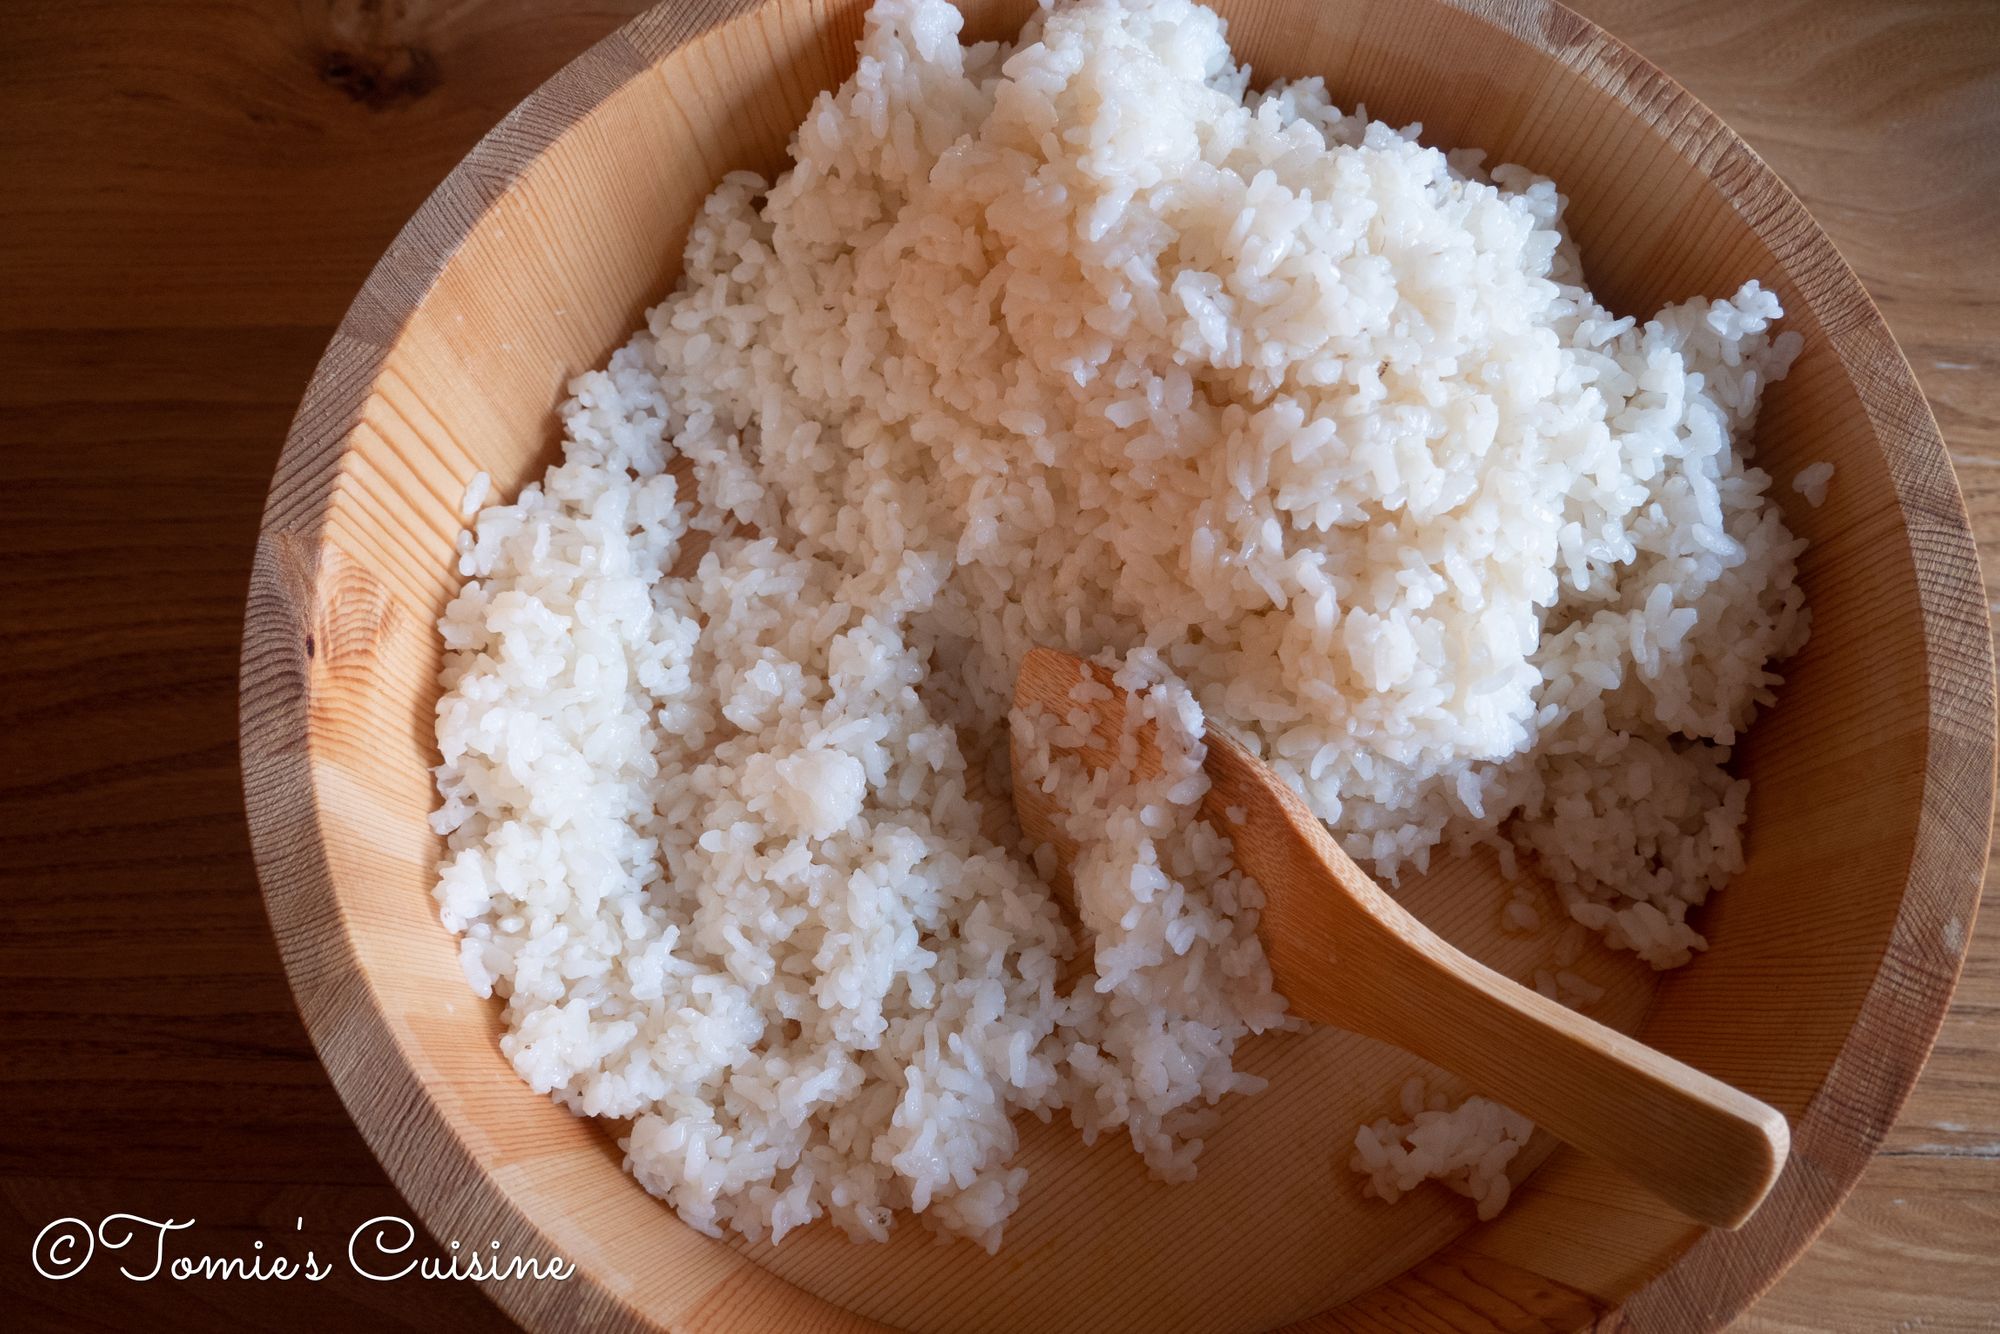
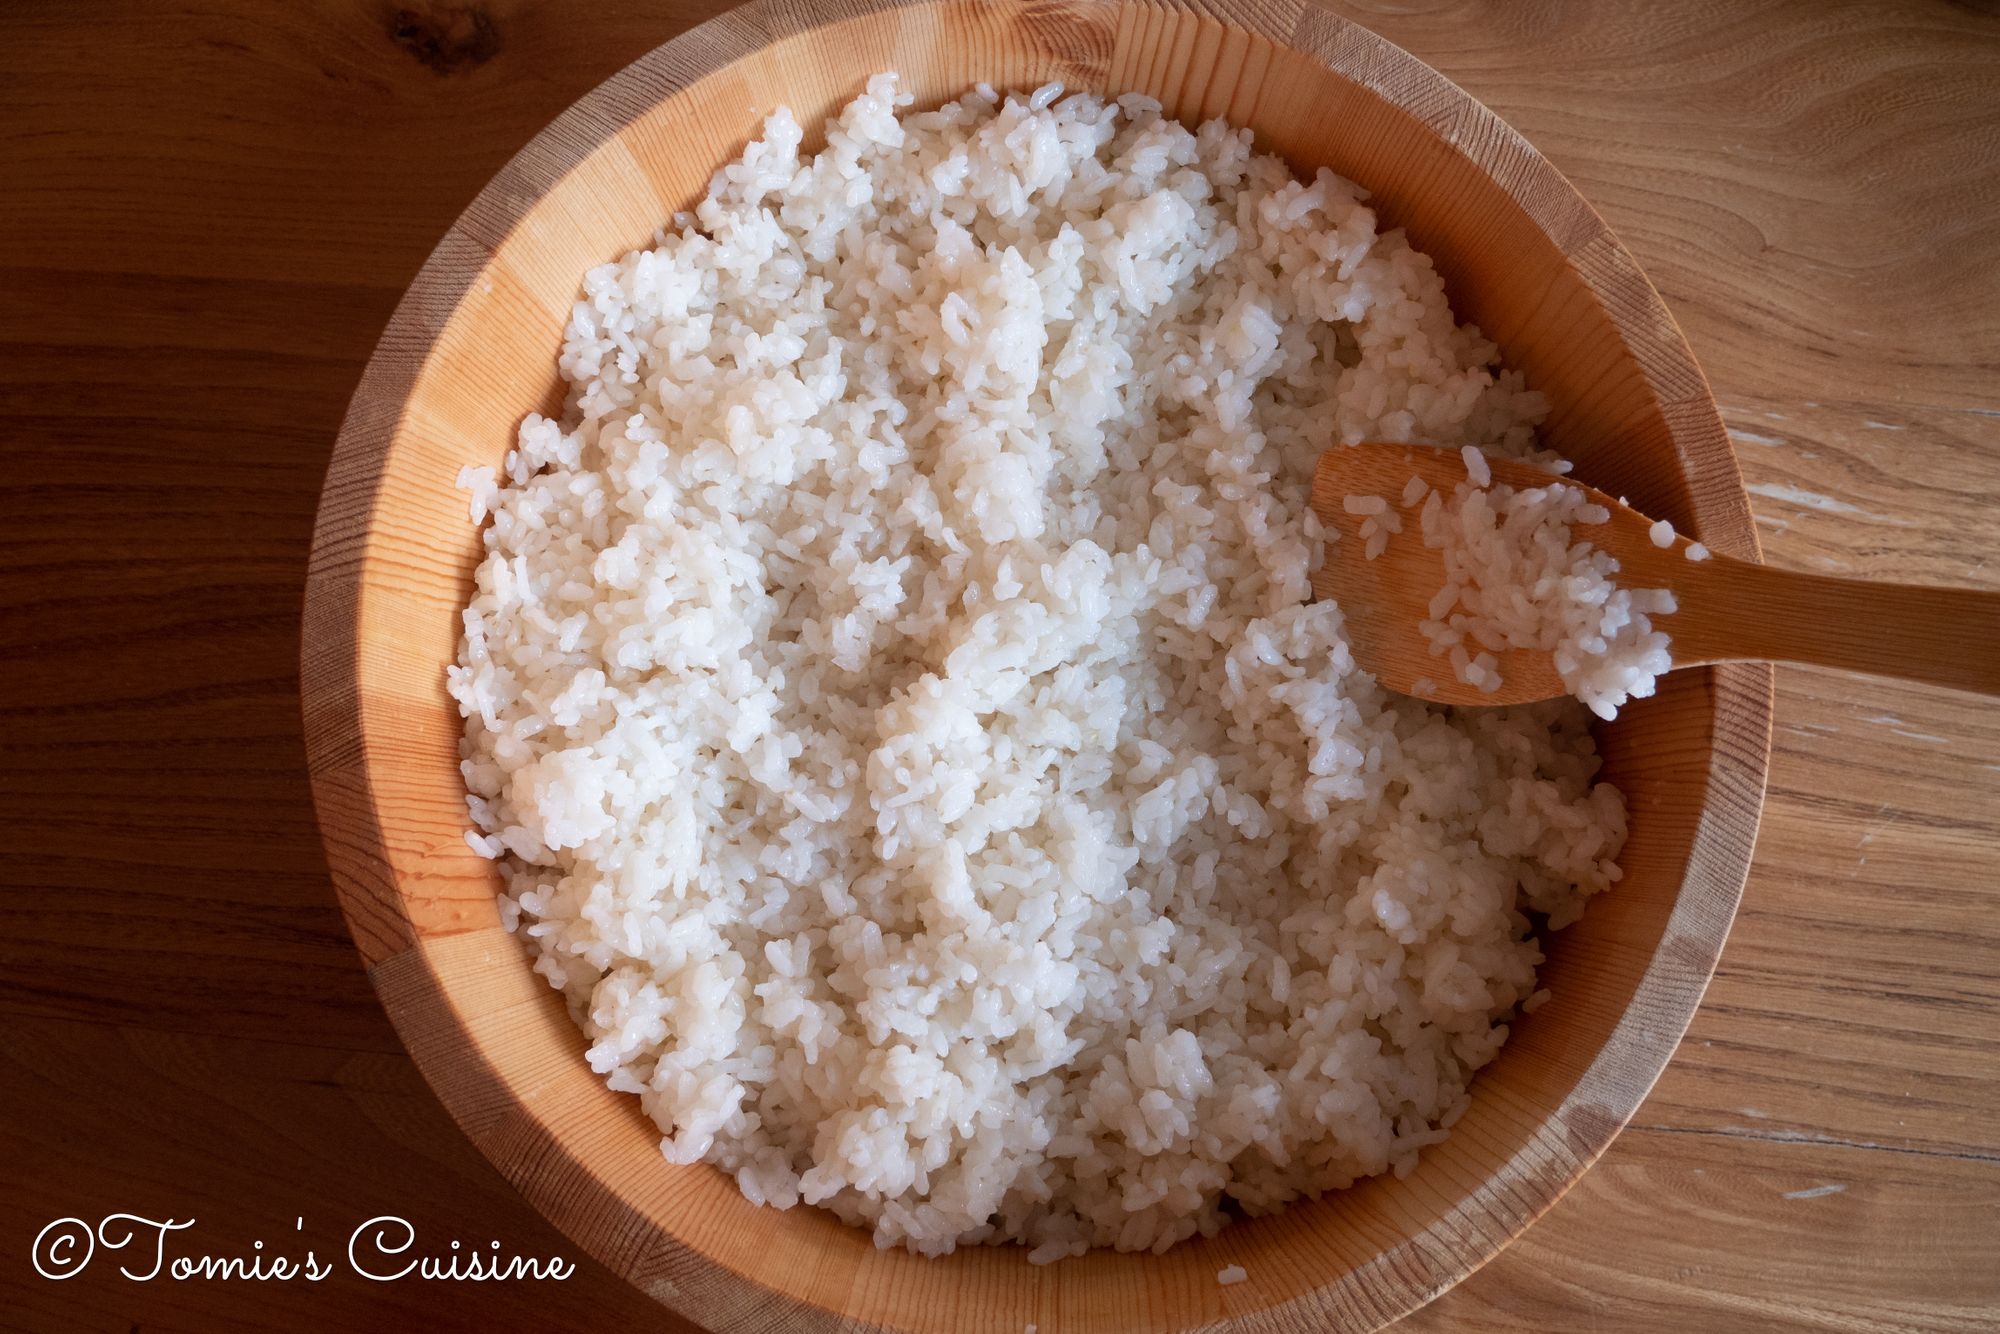
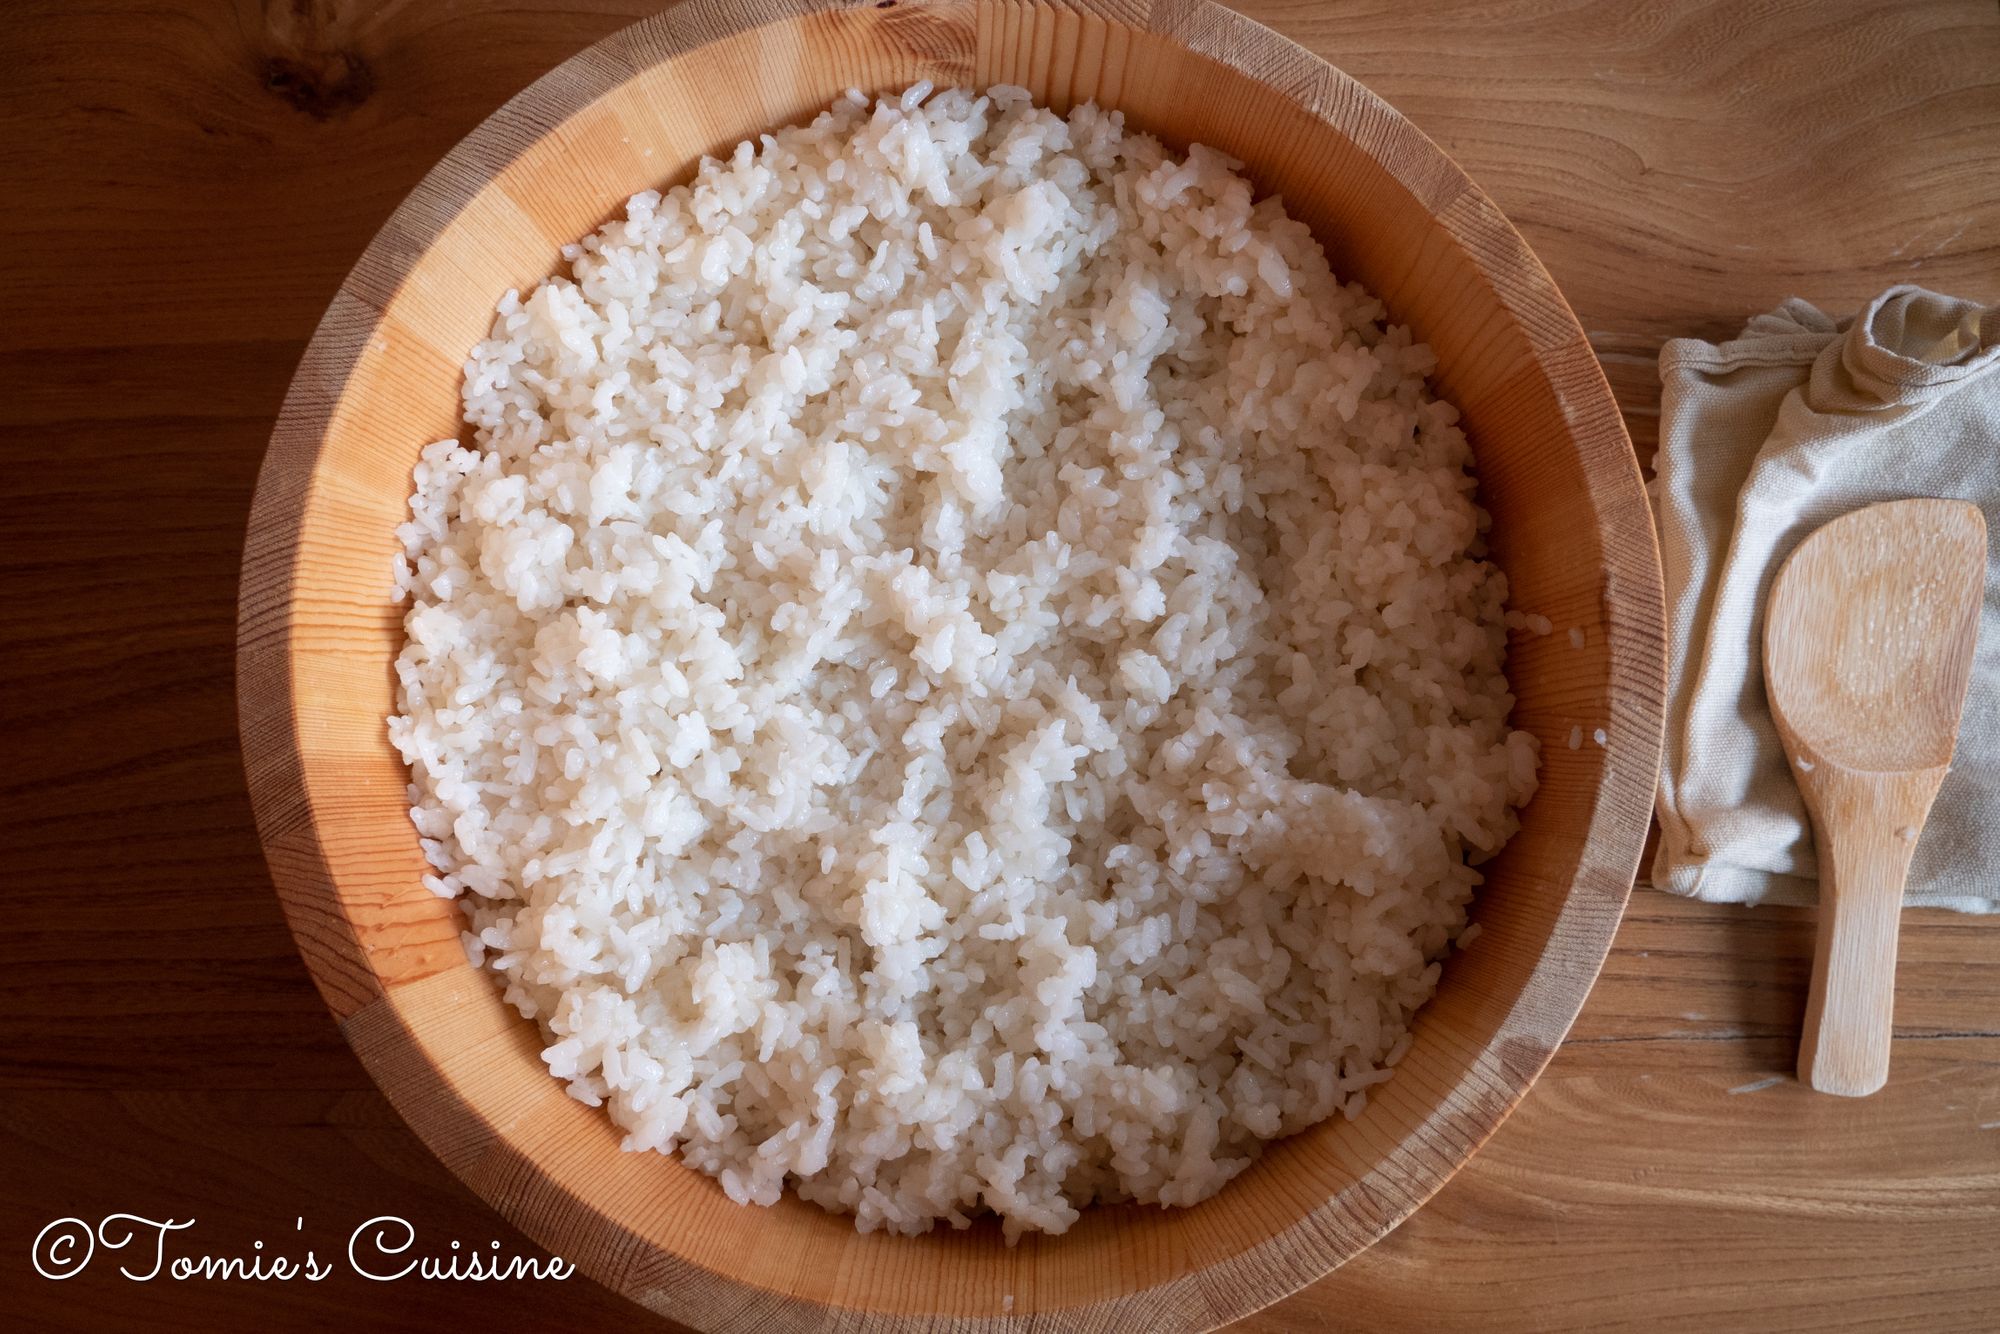
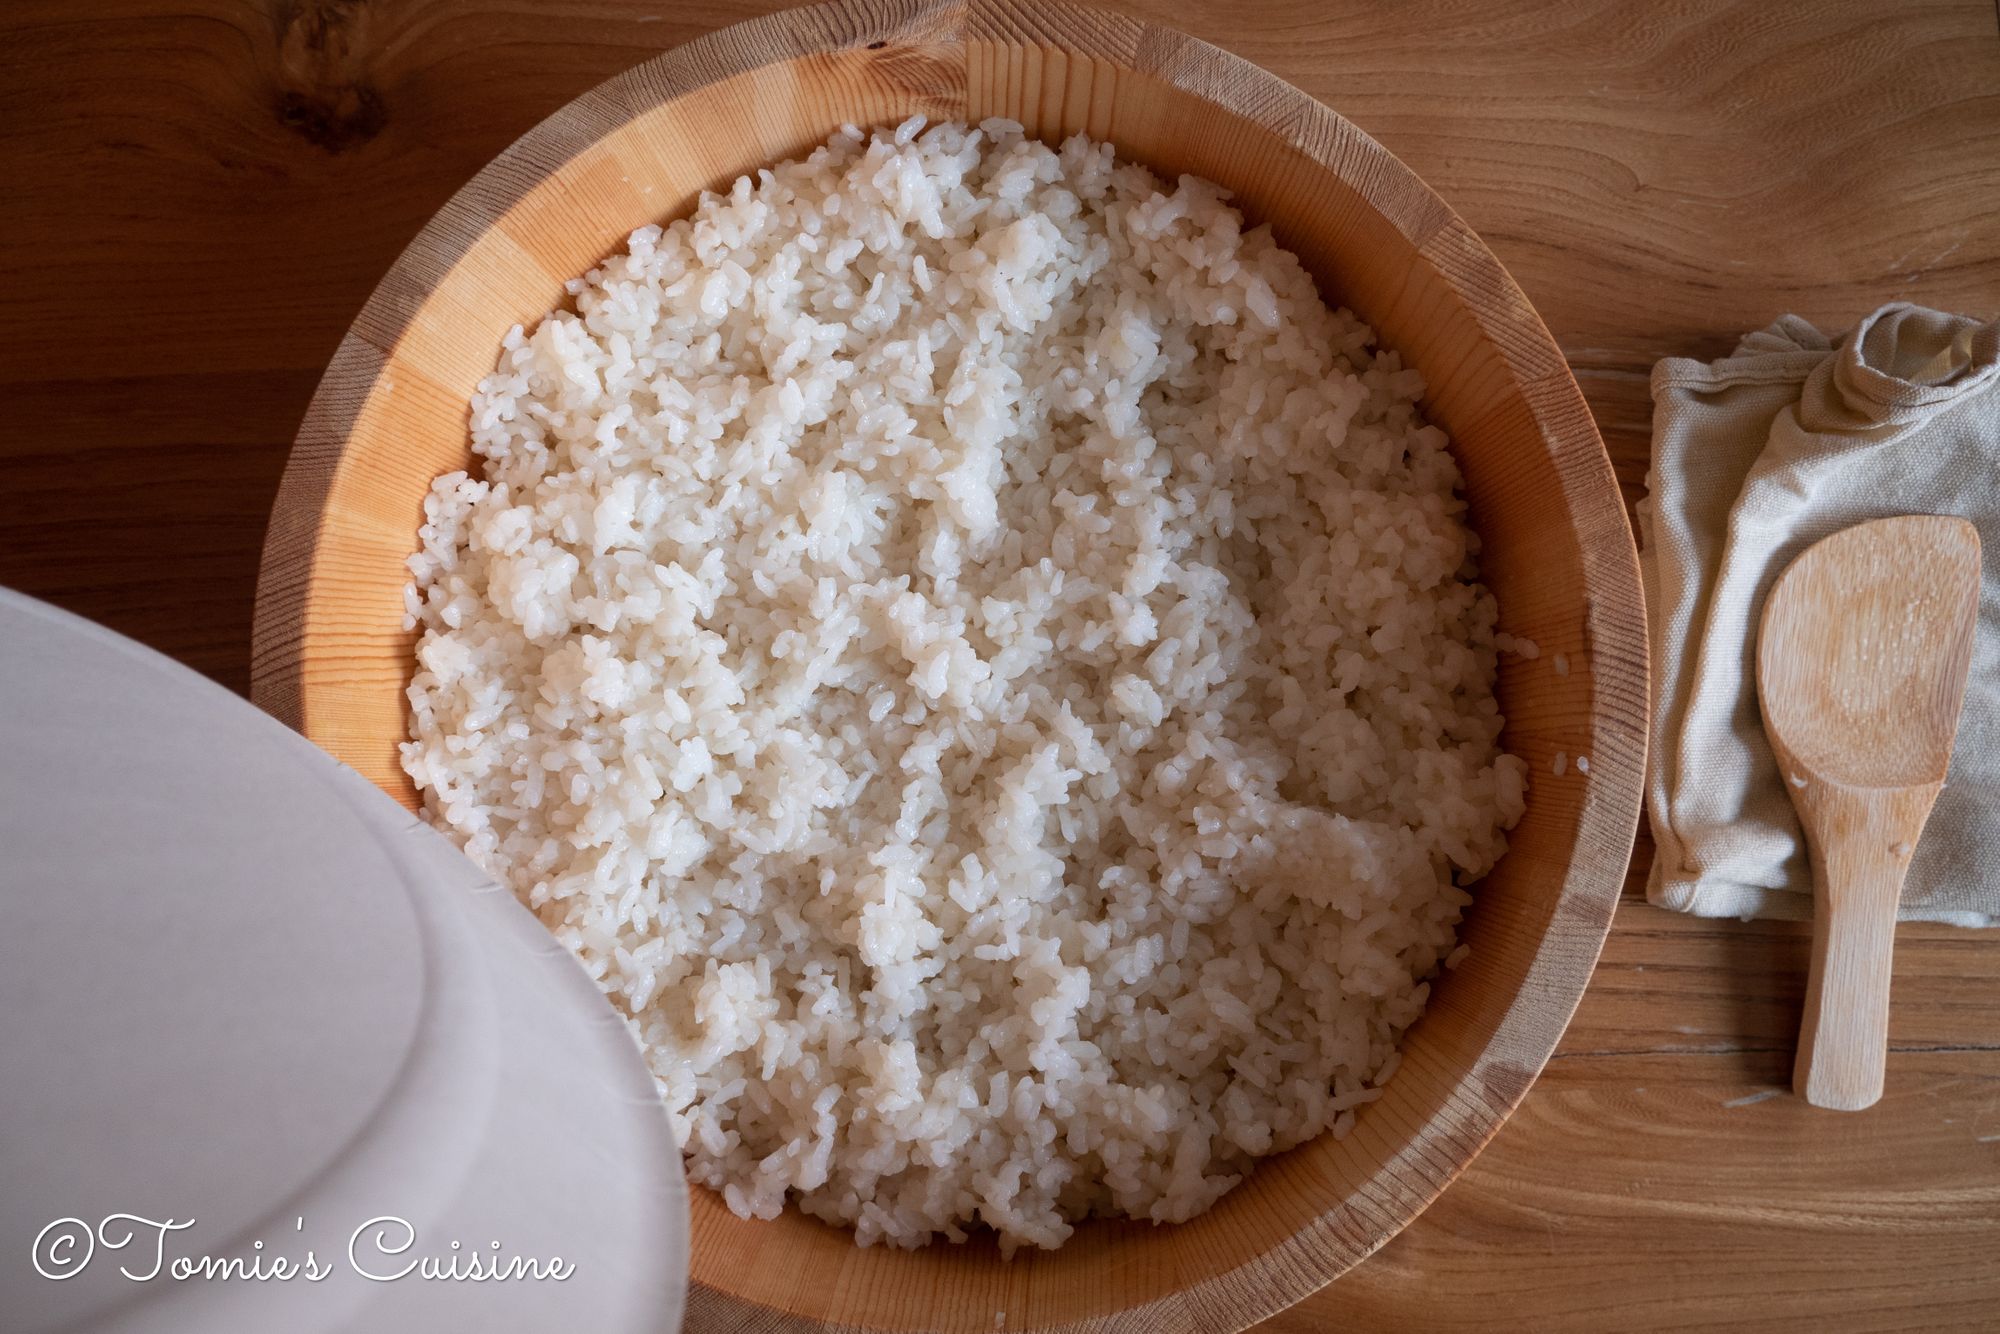
- Flip the rice, make it flat again and fan again. Some people think the sushi rice is cold, but it’s warm when it’s freshly made. So no need to worry even if it’s not completely cooled. It’s better.
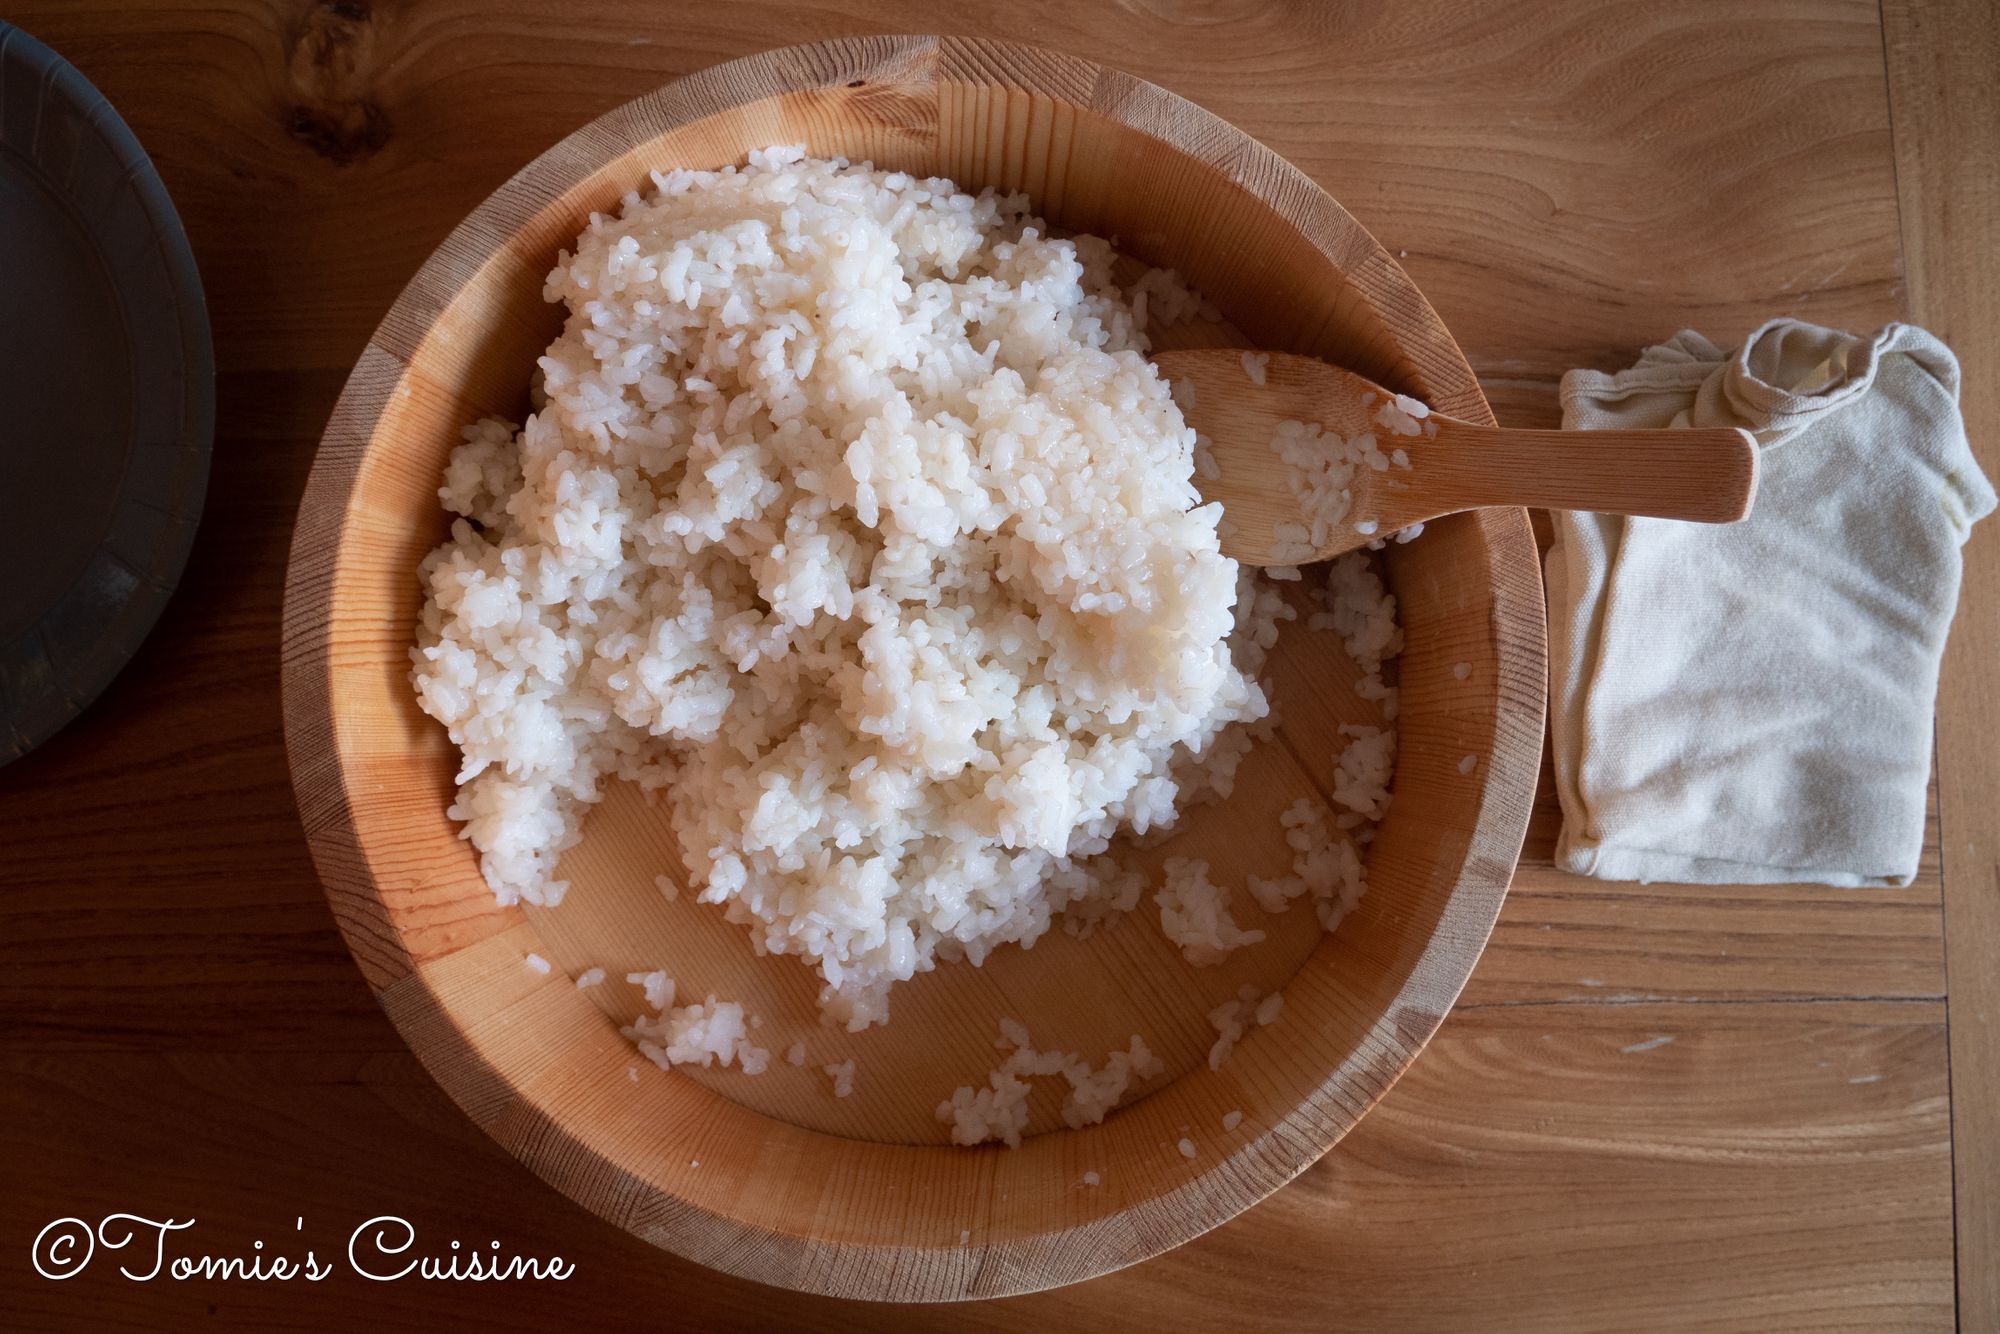
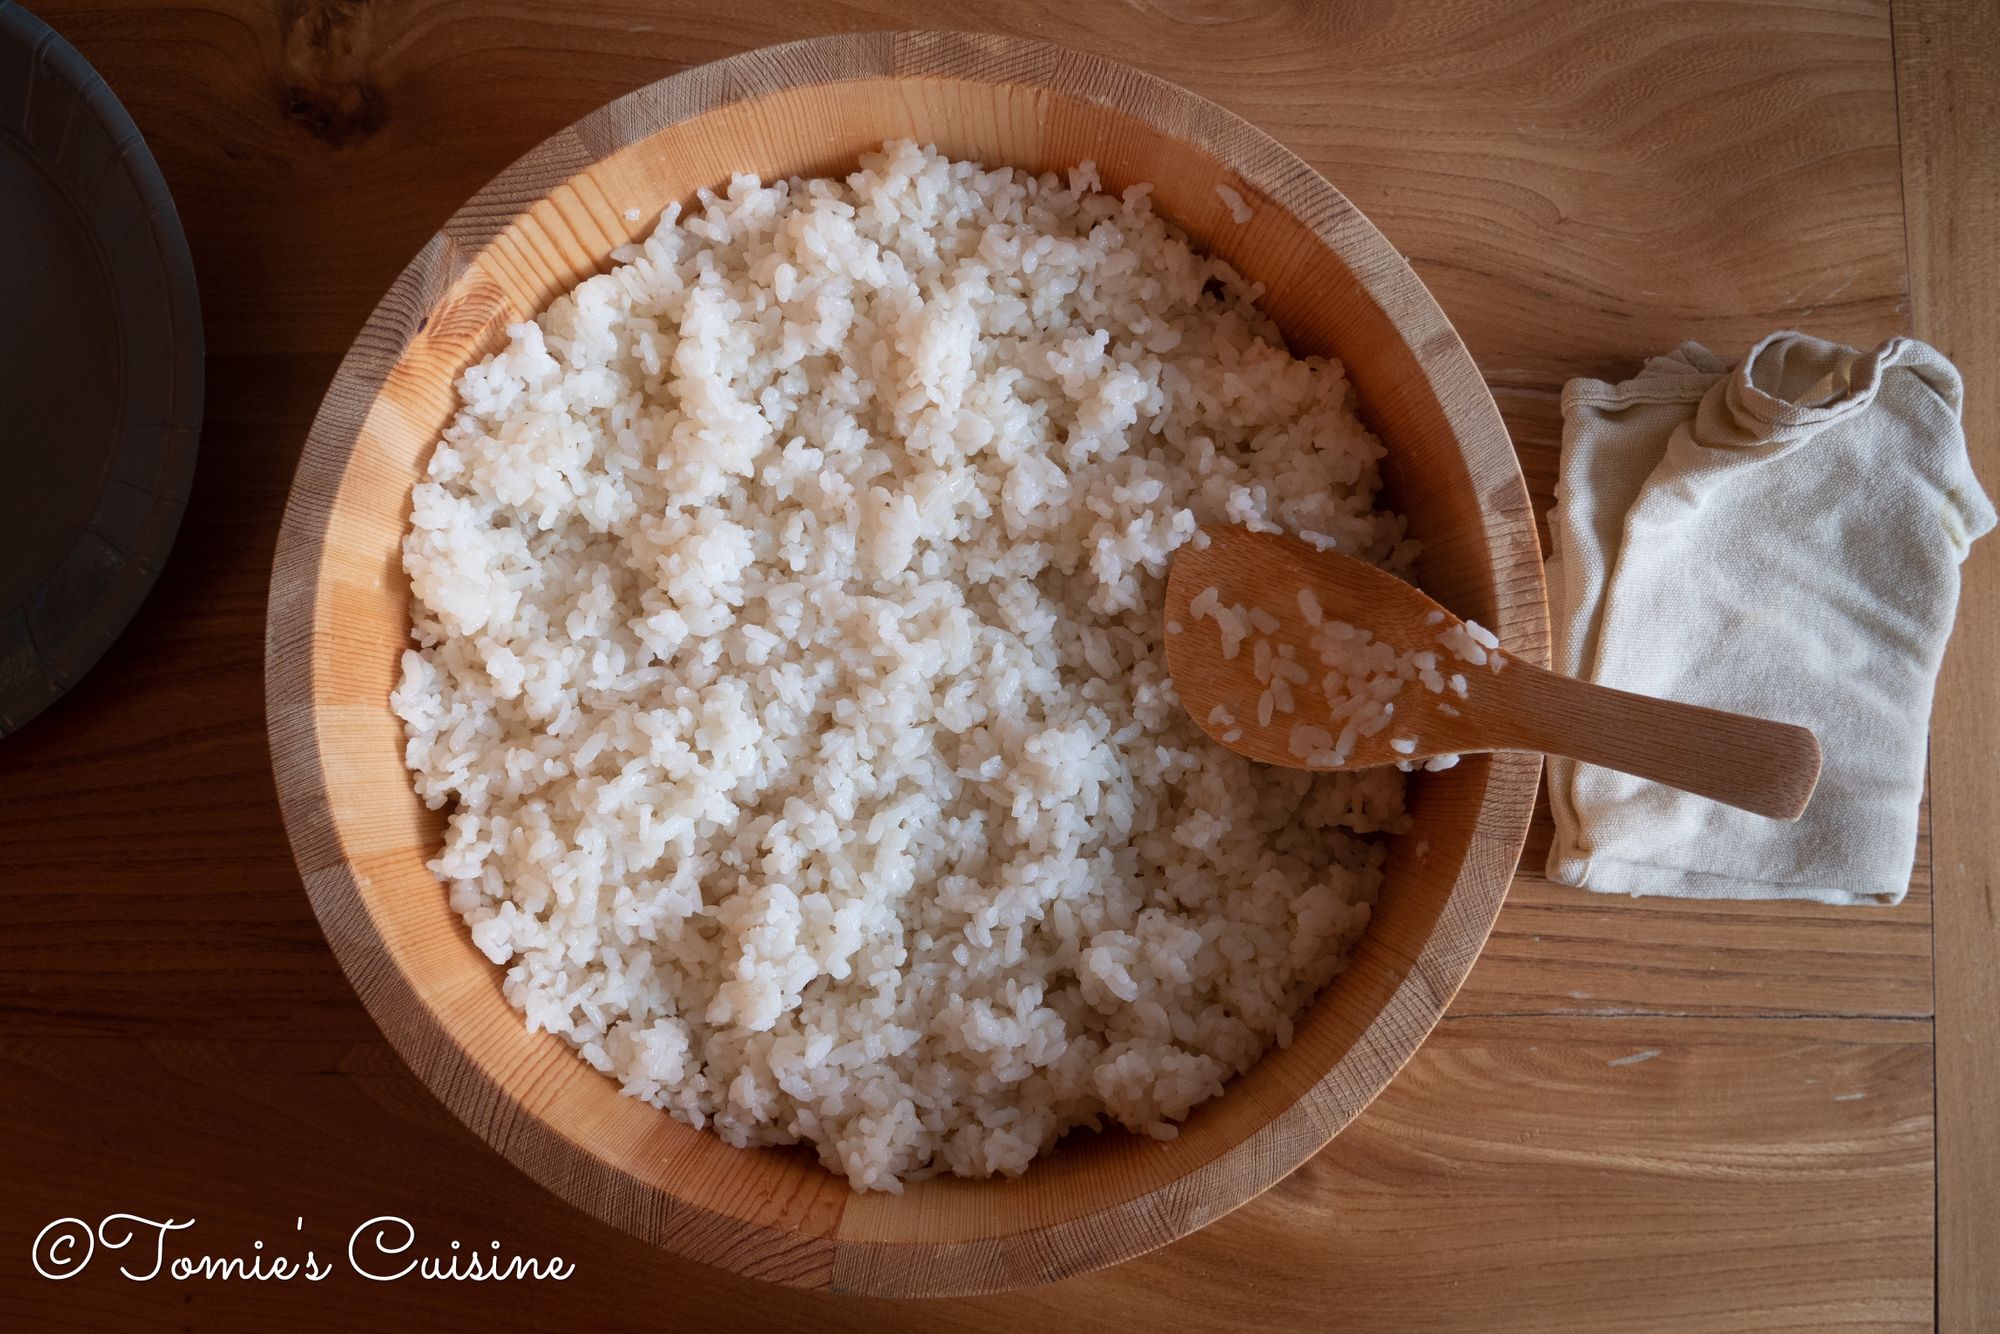
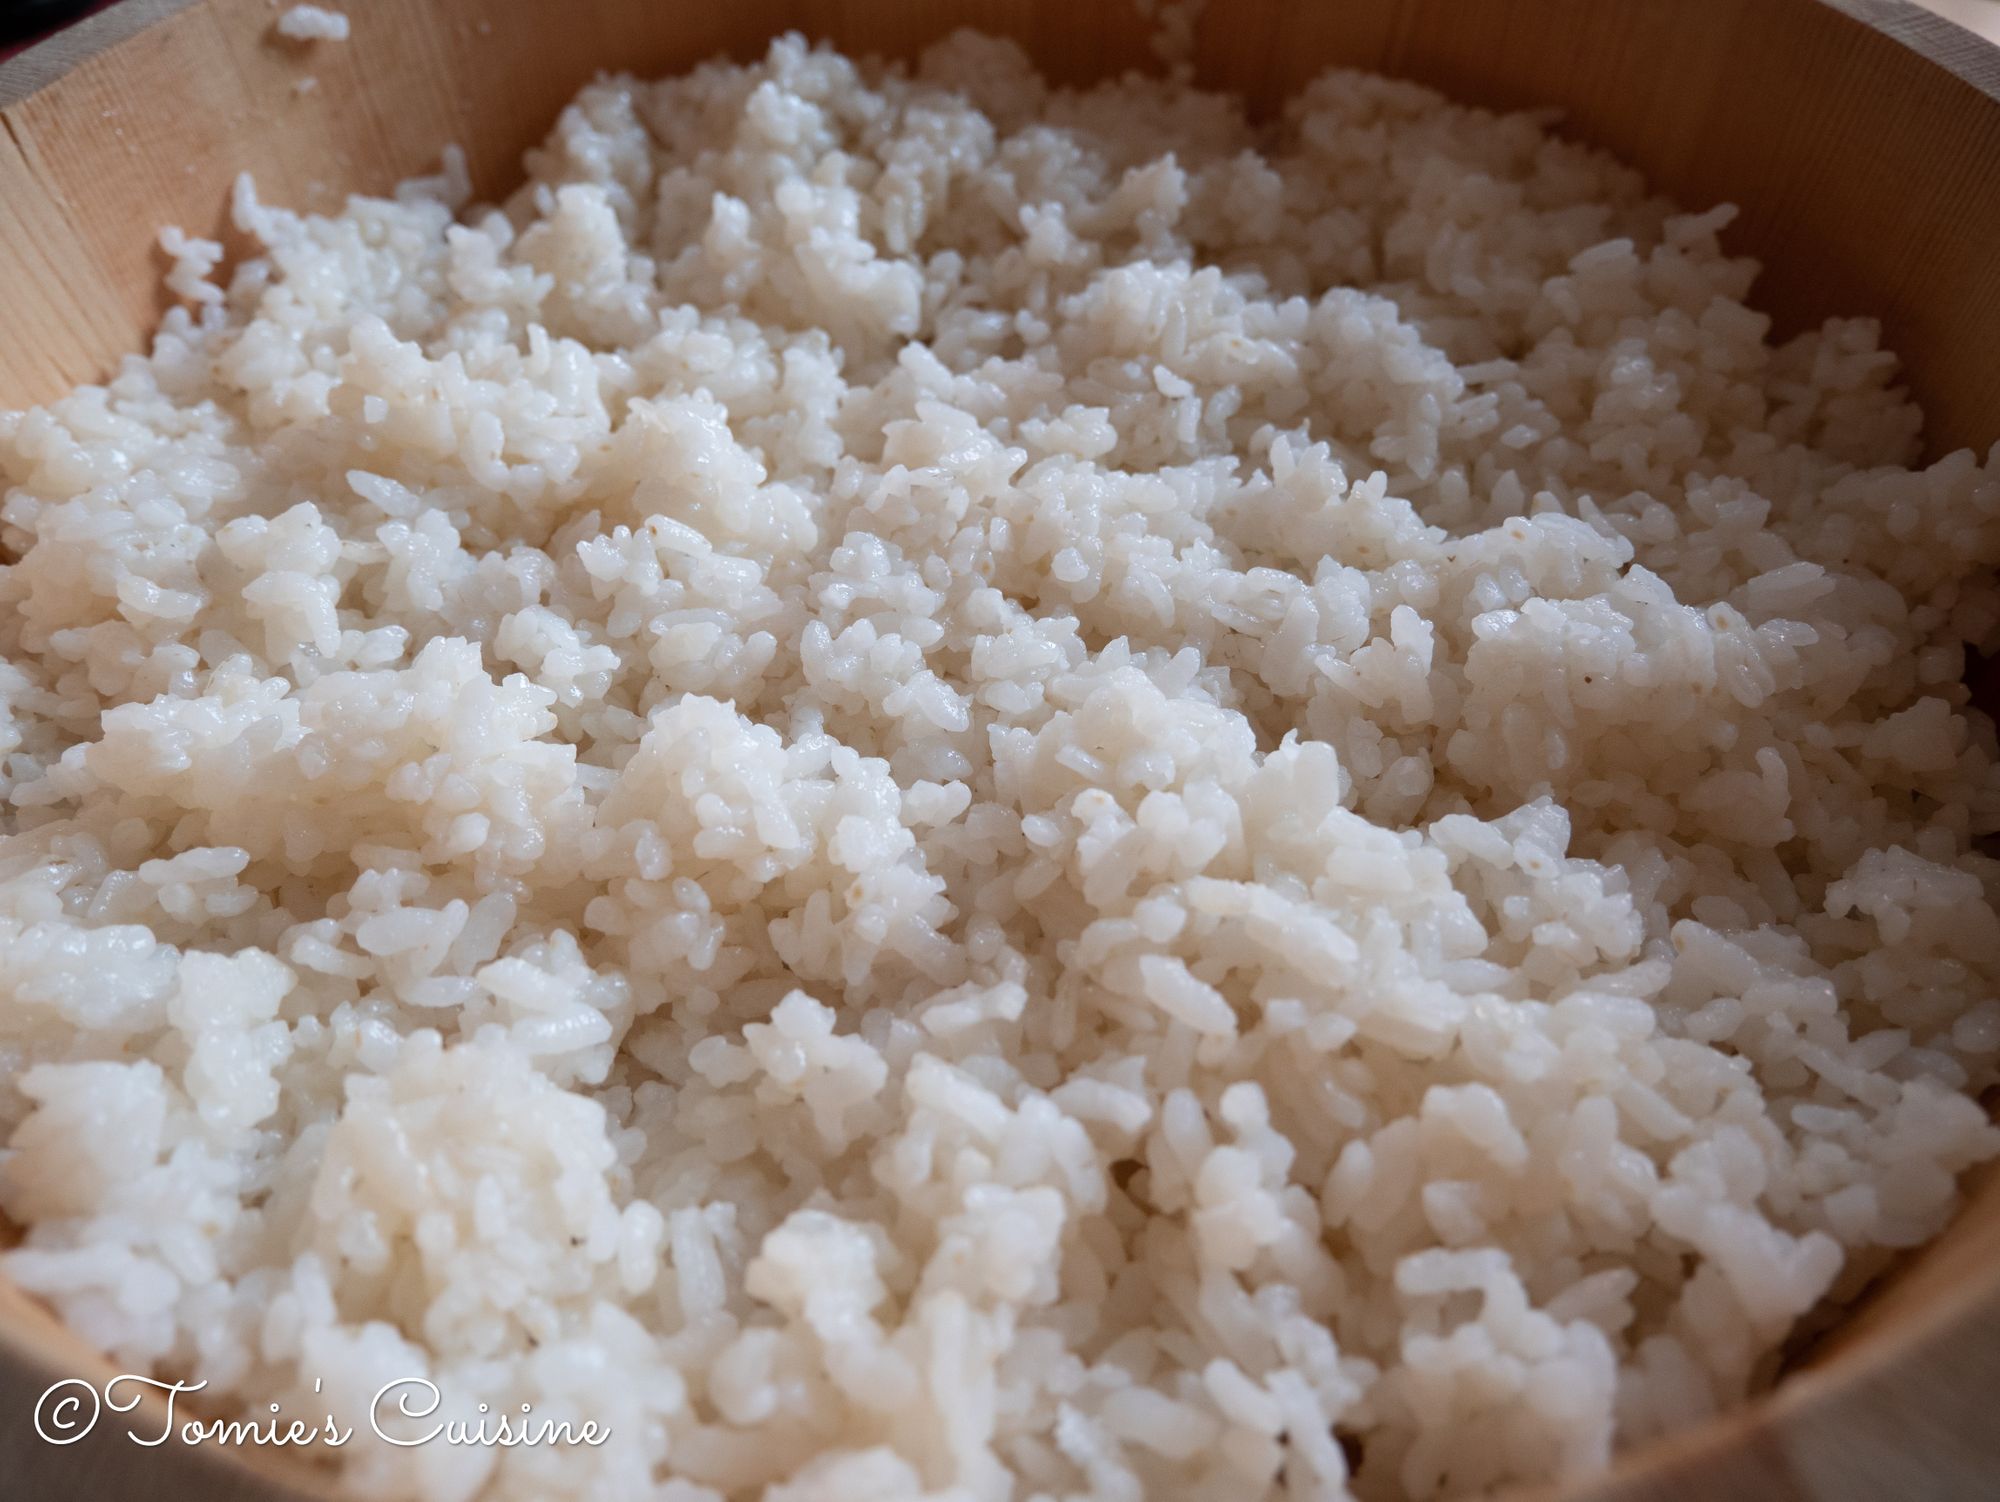
TIP: Prepare a squeezed clean wet cloth (preferably cotton) to wipe the sushi oke. This way, when the rice sticks to the sushi oke or the rice spoon, it’s easier to remove it. A wet cloth is a vital part of making sushi.
Prepare those before you start rolling sushi
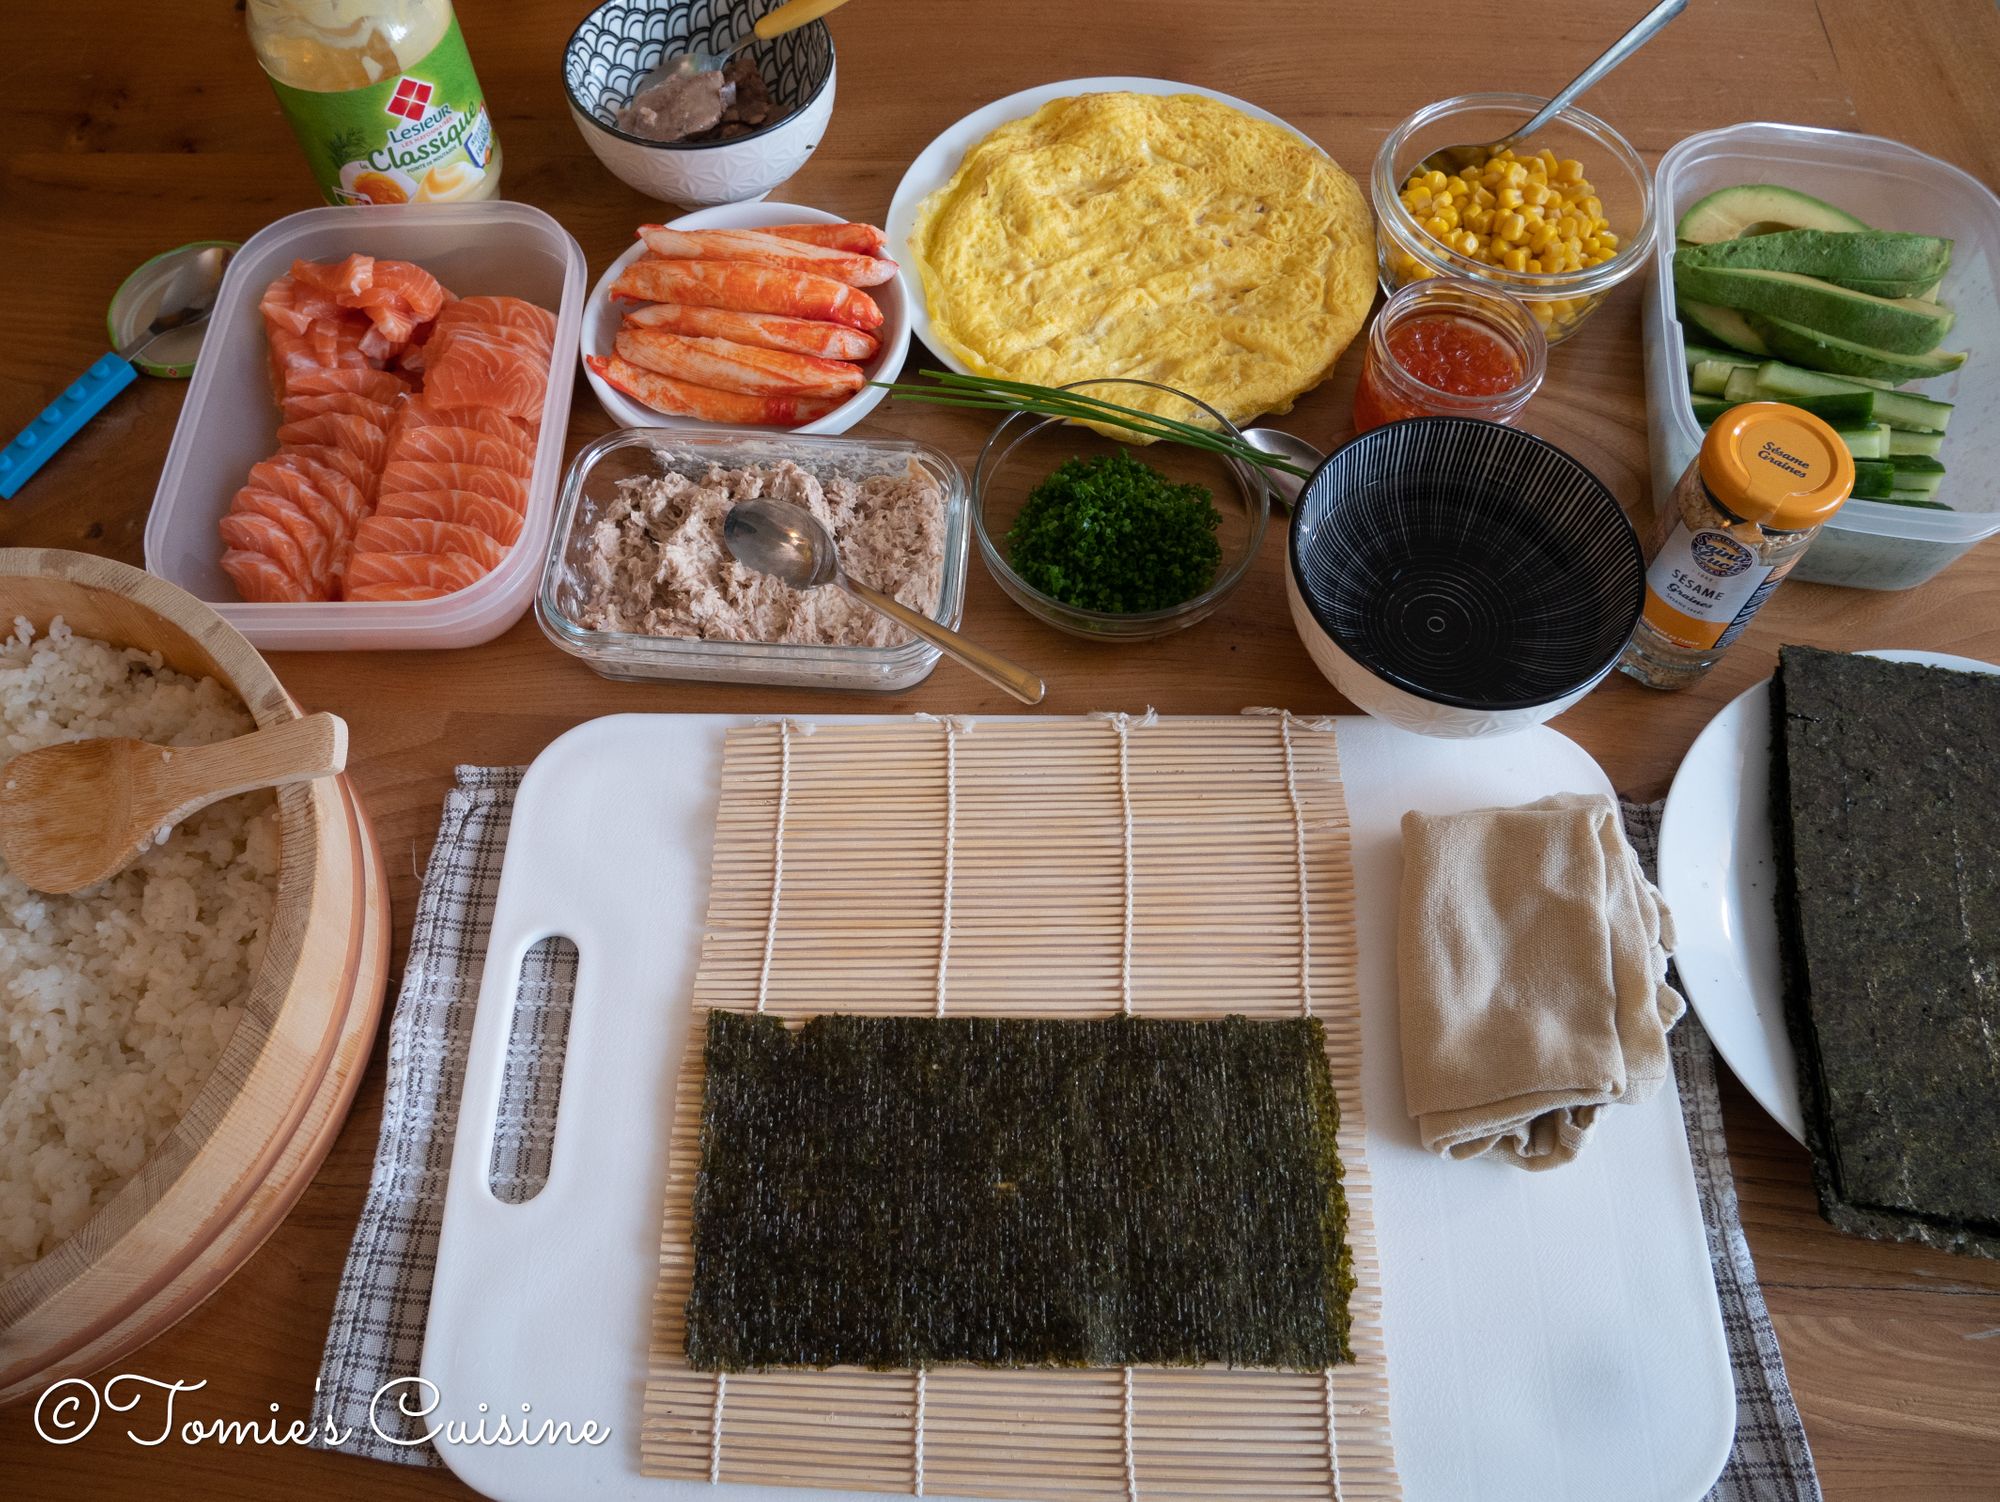
- Clean flat chopping board or a reusable, clean silicone mat with a small chopping board on the side
- Sharp knife (easier to cut without crushing sushi rolls and the fresh fish)
- A small bowl of water with vinegar (to wet your hands)
- Squeezed wet cloth
- Prepare your favourite ingredients (cut, cook, mix)
Closing words
That’s all for today! There are quite a lot of essential points to cover when you are preparing sushi. But knowing them allows you to serve authentic sushi!
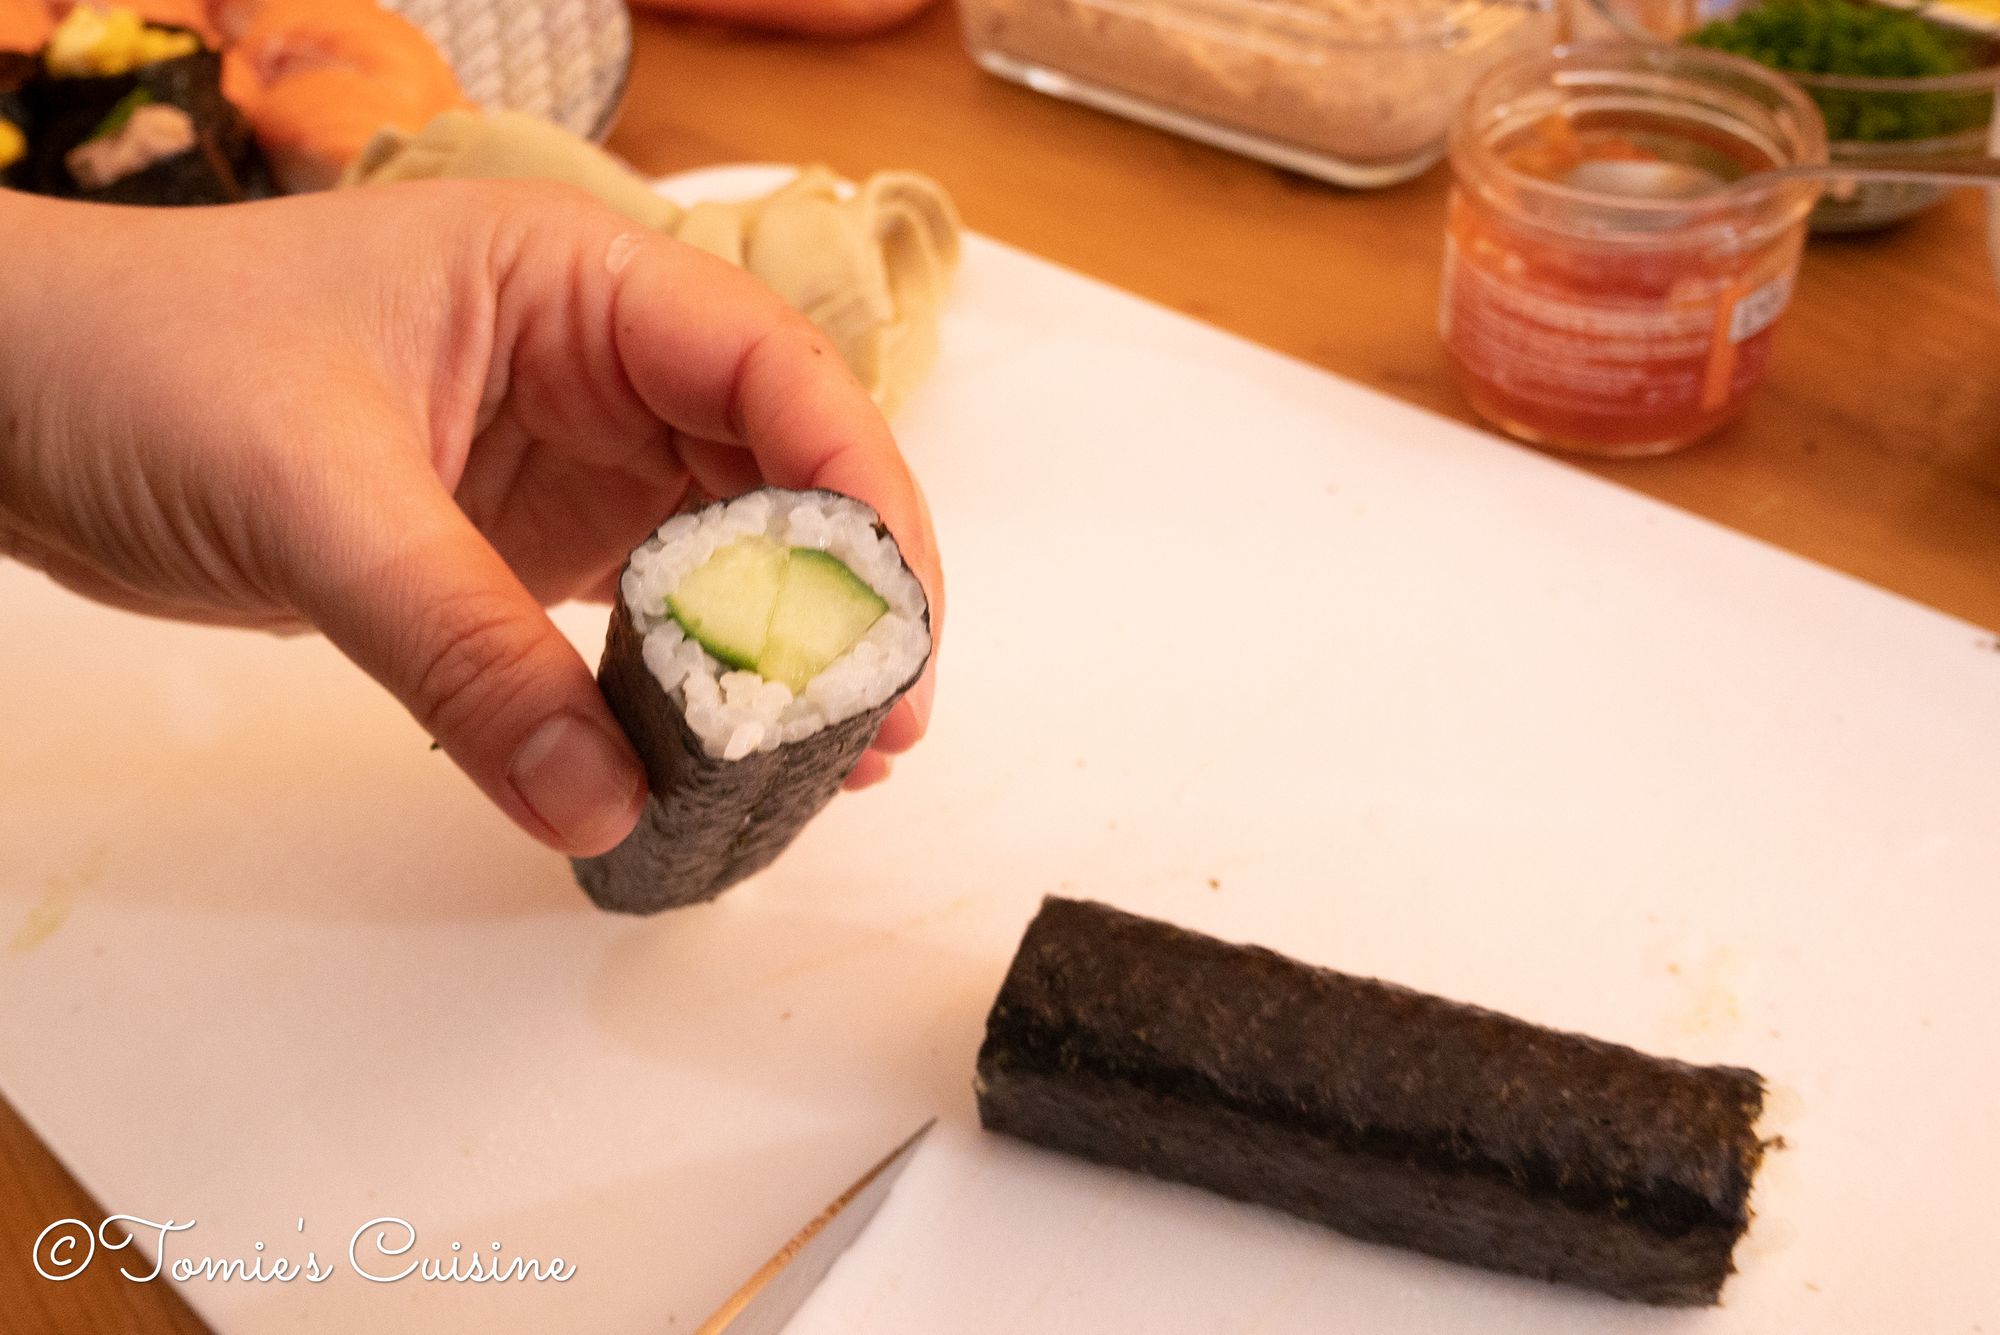
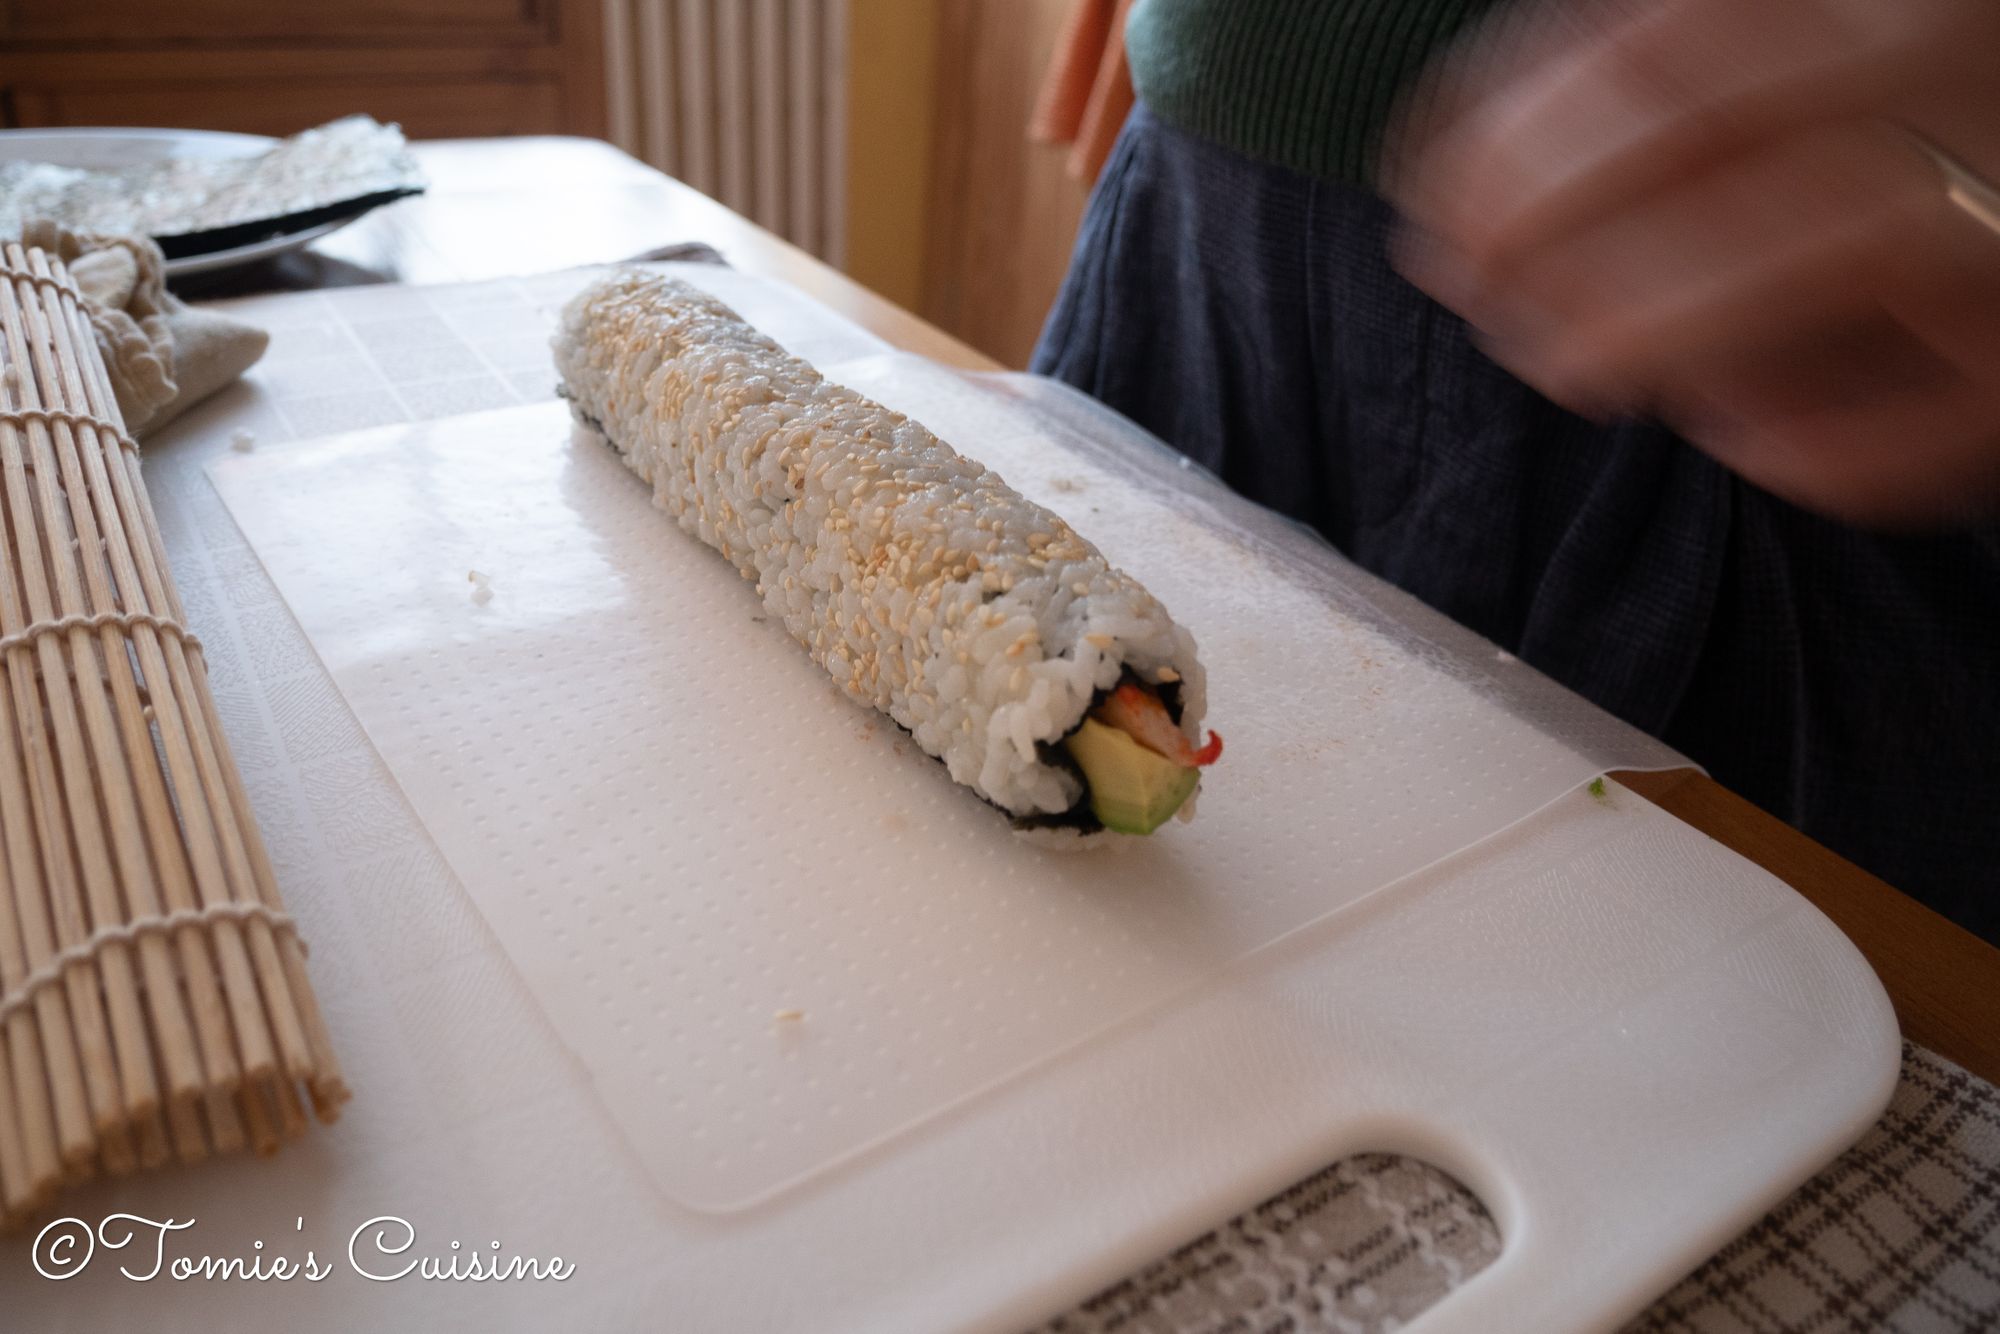
If you have any questions regarding sushi, please let us know on our Instagram, Pinterest, Facebook or email here! We’ll make sure to do a follow-up post!
Don’t forget to subscribe to our email list so that you don’t miss any of our future updates!

