It’s part 2 of our sushi series! This time, I will explain how to make sushi rolls step by step.
If you haven’t read part 1, it’s here. : Basic sushi knowledge and preparation: How to prepare sushi rice. I wrote about cooking sushi rice and the necessary equipment and basic knowledge of making sushi at home, so if you’re just getting started, please read before starting part 2. If you want to make sushi nigiri, we have published this article here: Learn how to make sushi nigiri!
Sushi ingredients that we got this time from supermarkets
I have linked some to Amazon if you can’t find these items at your local supermarket.
- Nori seaweed sheet
- Sesame seed (if you want to make inside out rolls)
- Fresh salmon (sashimi quality. We just asked at the fish counter ;-))
- Seafood sticks
- Salmon roe
- Tinned tuna (drain the water and use it just like that or mix with mayonnaise)
- Eggs (make tamagoyaki (Japanese egg omelette) or kinshi tamago (shredded thin cooked egg)
- Avocado
- Cucumber
- Tinned cod liver
- Tinned sweet corn
- Chives
- Mayonnaise
- Wasabi
I listed the ingredients that we got this time from the supermarket in Brittany, but it’s almost the same as I usually get from supermarkets in London.
Usually, I buy fresh salmon from either a Korean shop near my house selling salmon for sashimi or a French fishmonger called “La petit poissonnerie” near Chalk Farm tube station. A Japanese lady works there, and every Saturday, they sell Japanese delicacies, including sashimi. A limited amount is available, and she is always busy with her customers, so I always send an email in advance to ask her to keep some fish for me. It’s a French fishmonger, so they have some french products that include some dairy products such as butter, cheese, and yoghurt, so it’s always fun to go there.
One day I needed fresh salmon urgently to make sushi for my friend and couldn’t go to either of them. I ended up going to a local fishmonger I had never been to. But since they always display their fish on ice, I gave it a try. I asked the fishmonger if I could get the salmon to eat raw. Luckily, the salmon arrived there just the day before, so they told me it’s very fresh. I made sushi with it, and there was no problem.
So if you have any trusted fishmonger nearby, that is an advantage!
Let’s roll!
I wrote “Prepare those before you start rolling sushi” in part one. Please ensure you have these at hand before you start rolling sushi!
Order the equipment online
- The rice cooker I use while in France: Russell Hobbs 19750 Rice Cooker and Steamer, 1.8 Litre, Silver
- Our rice cooker in London: TIGER Outside of Japan for IH jar rice cooker Far red kettle three-layer Cooked (5.5gouCook) JKW-A10W(S)/220V
- My dream rice cooker: STAUB 16cm Round Cast Iron Rice Cocotte Black
- Serving tray (which you can use as a sushi oke): Olympia GM240 Enamel Serving Tray 45x320mm Steel Platter Restaurant Commercial, White
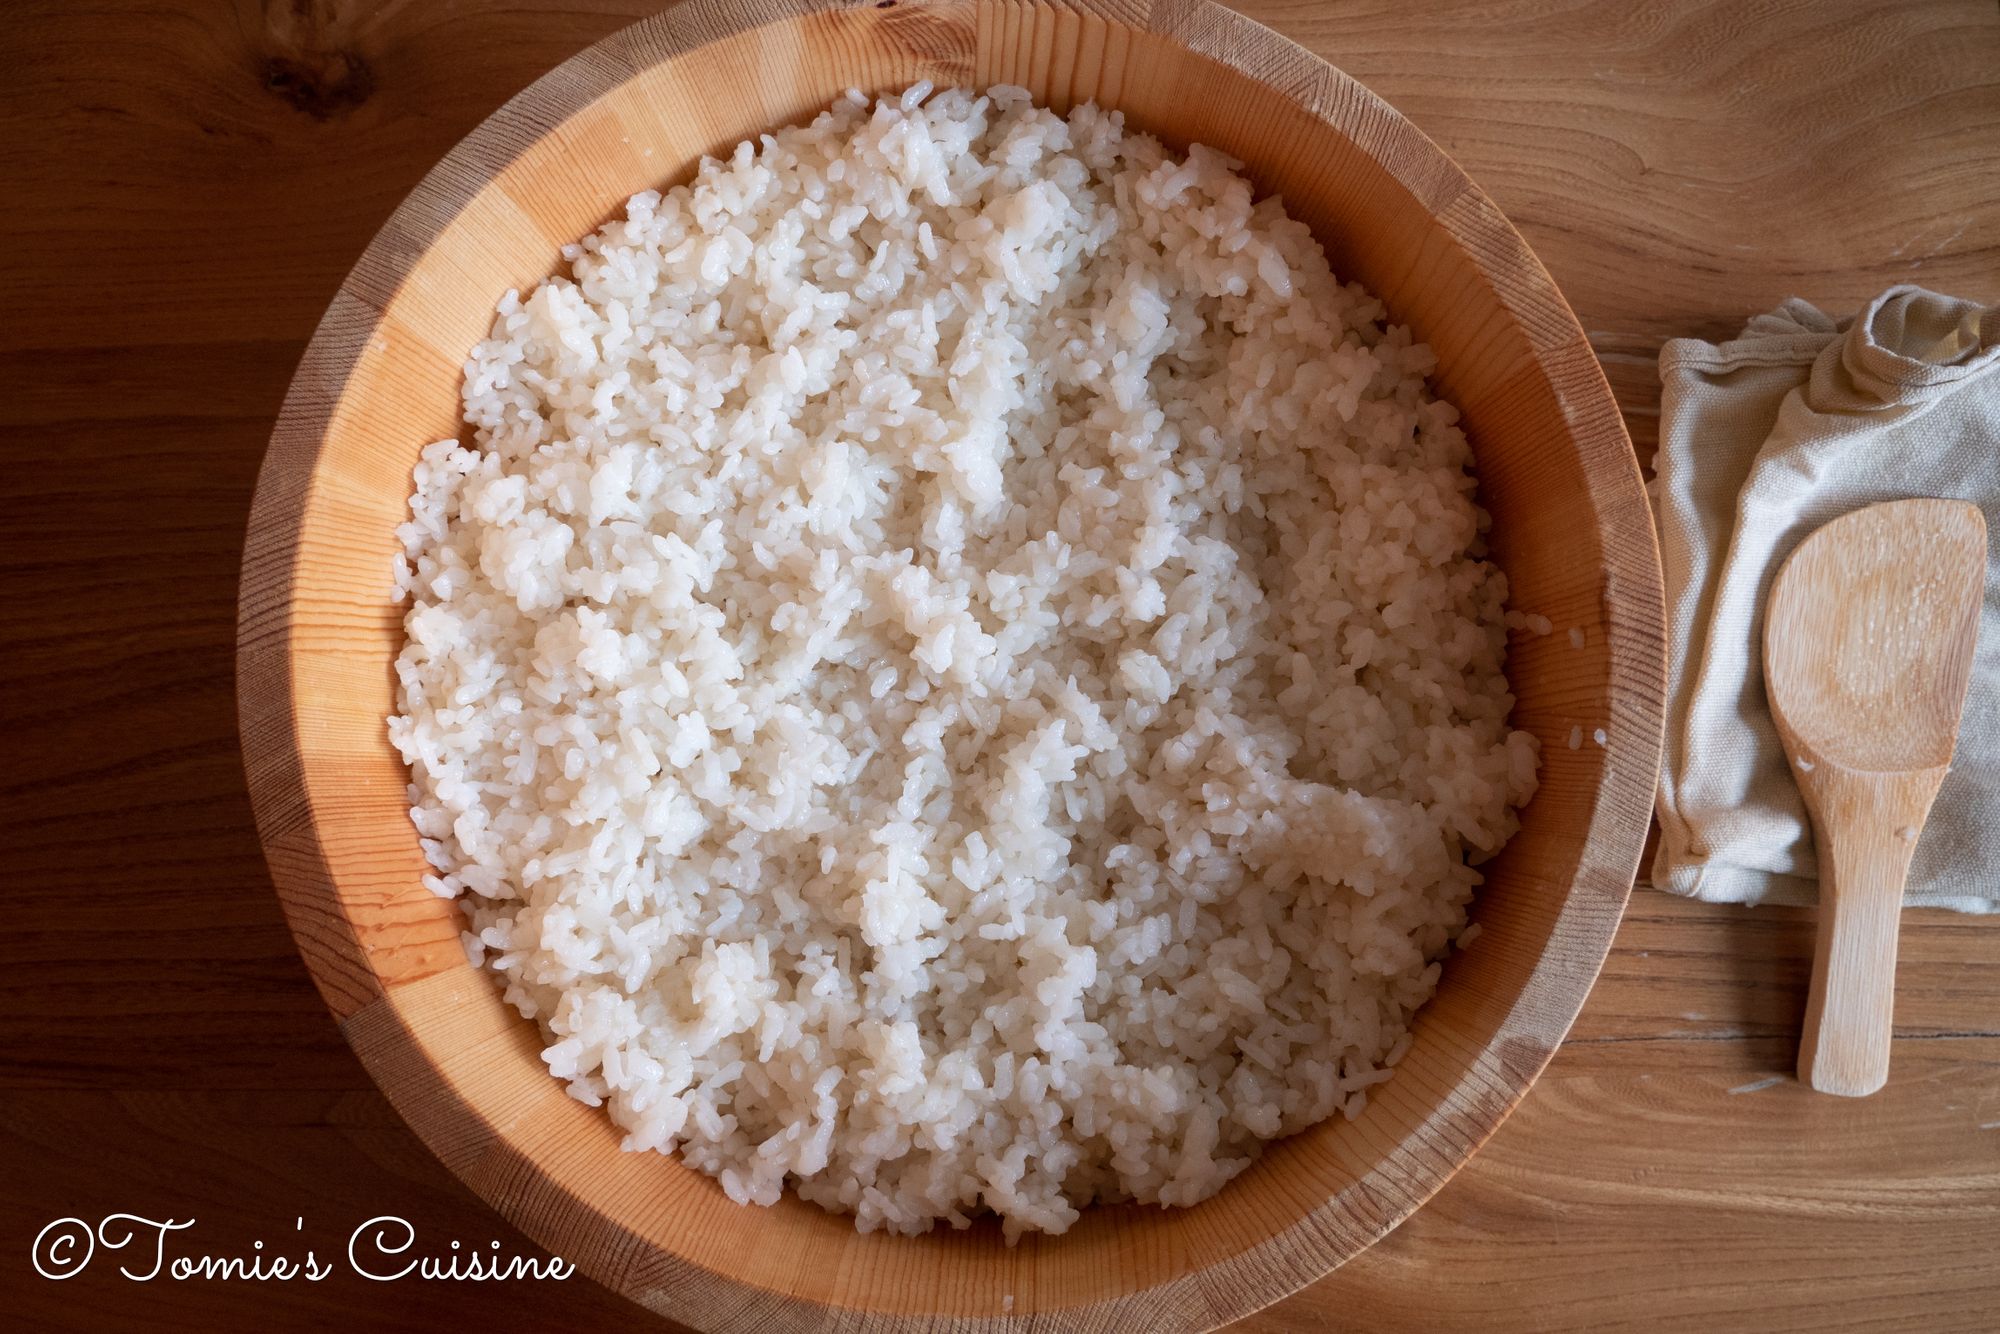
- Traditional sushi oke (wooden rice mixing bowl): 36cm/14" Wooden Sushi Rice Bowl/Hangiri/Sushi Oke/Handai w/Sushi Rolling Mat
- Sushi kit: MUDEELA Bamboo Sushi Rolling Mat, Carbonized Sushi Making Kit 9 pcs, Beginner Sushi Mat, Includes 2 Rolling Mats, 5 Pairs Chopsticks, Paddle, Spreader, Beginner's Guide (PDF), Roll on
- Makisu: 3 Sets of 2 Natural Sushi Rolling Mats
- Chopping board: Organic Bamboo Chopping Board
Hosomaki (rolls) step-by-step recipe
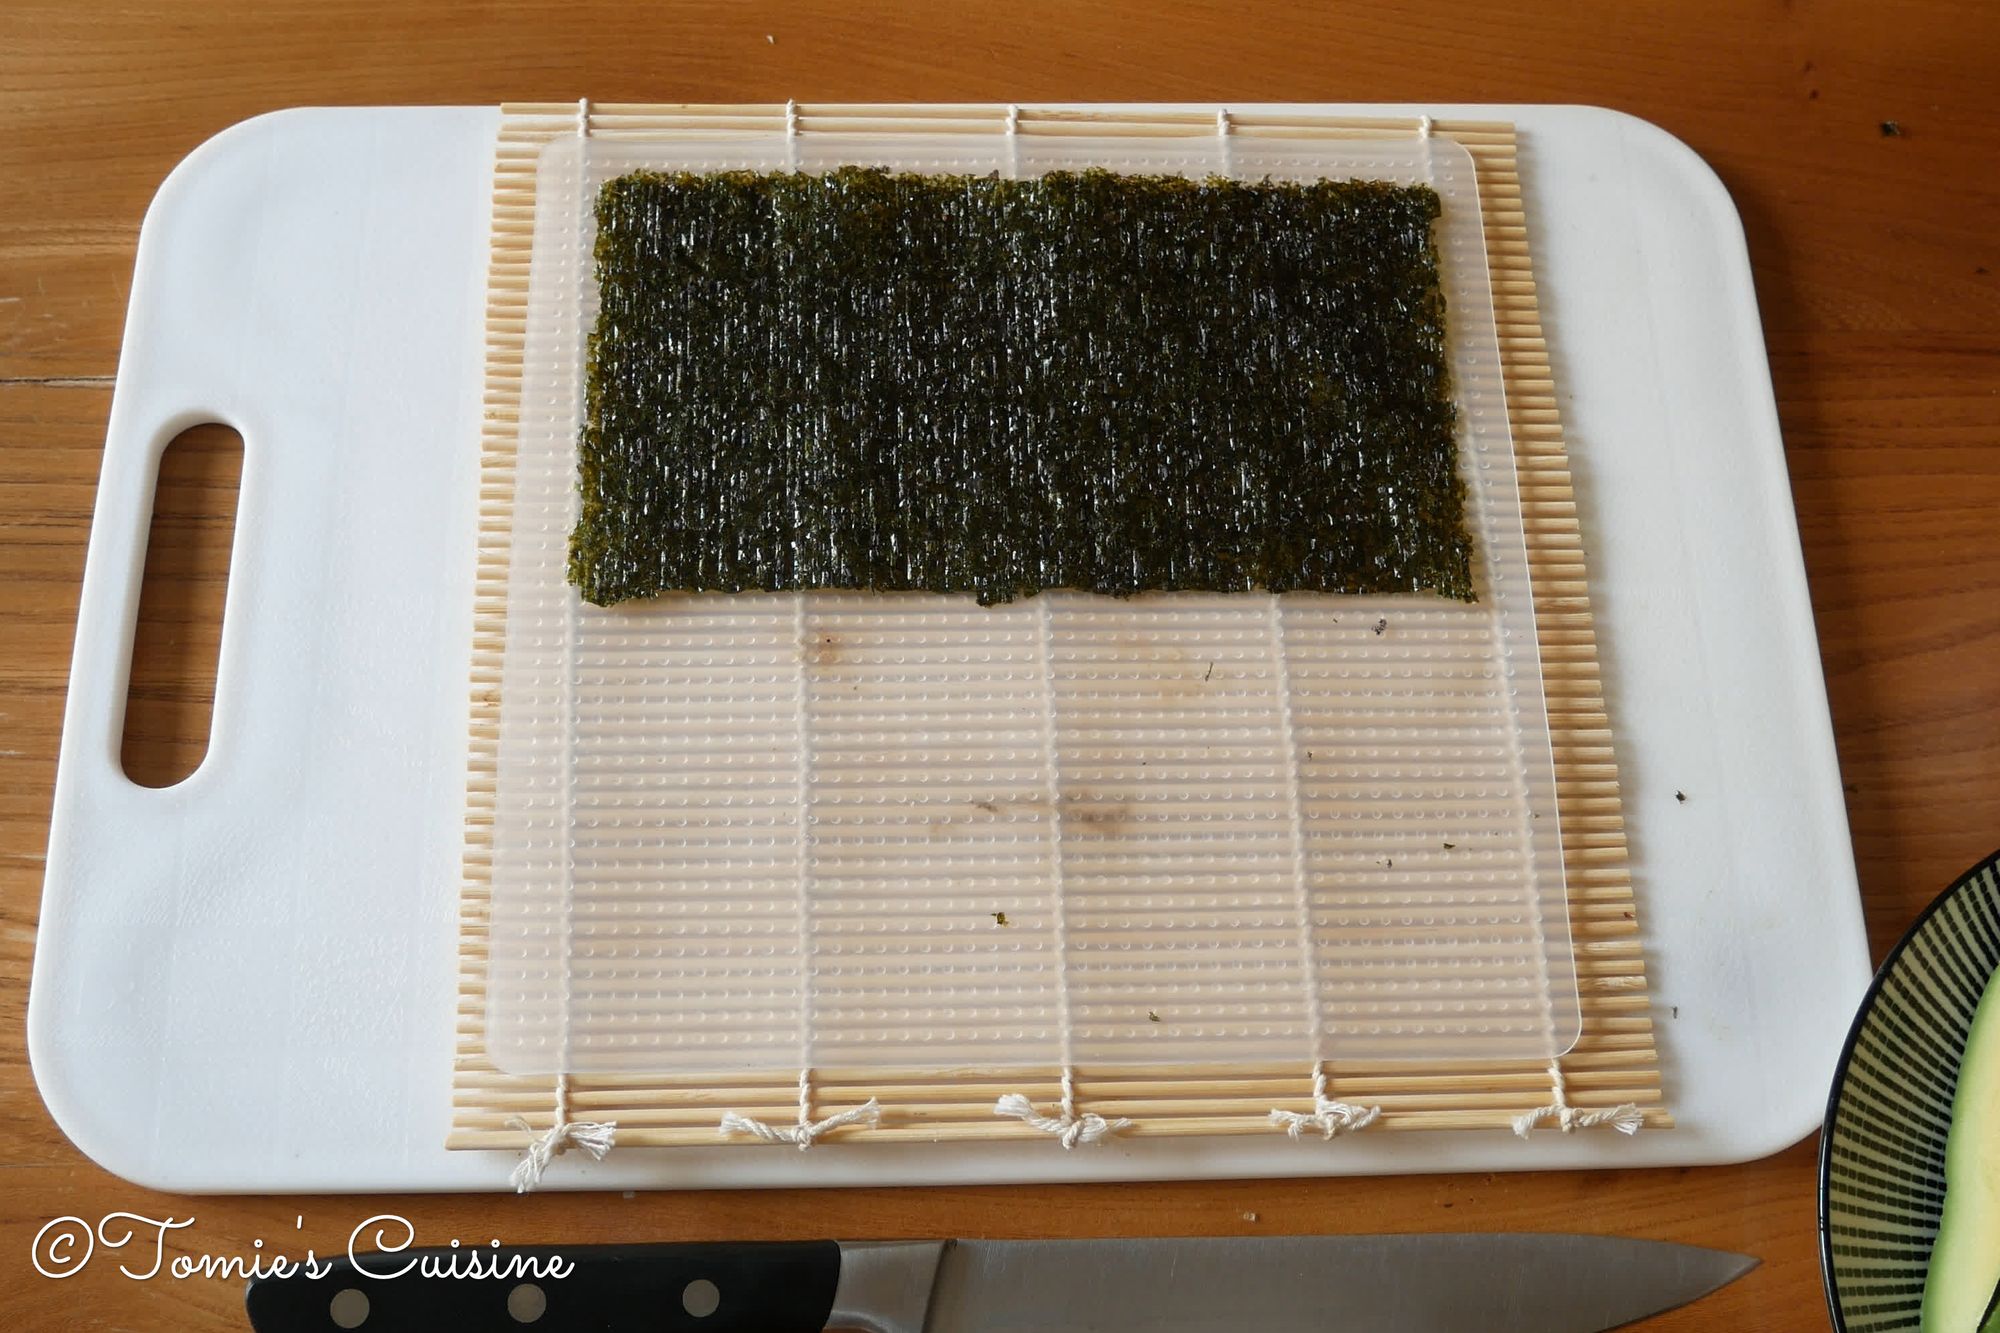
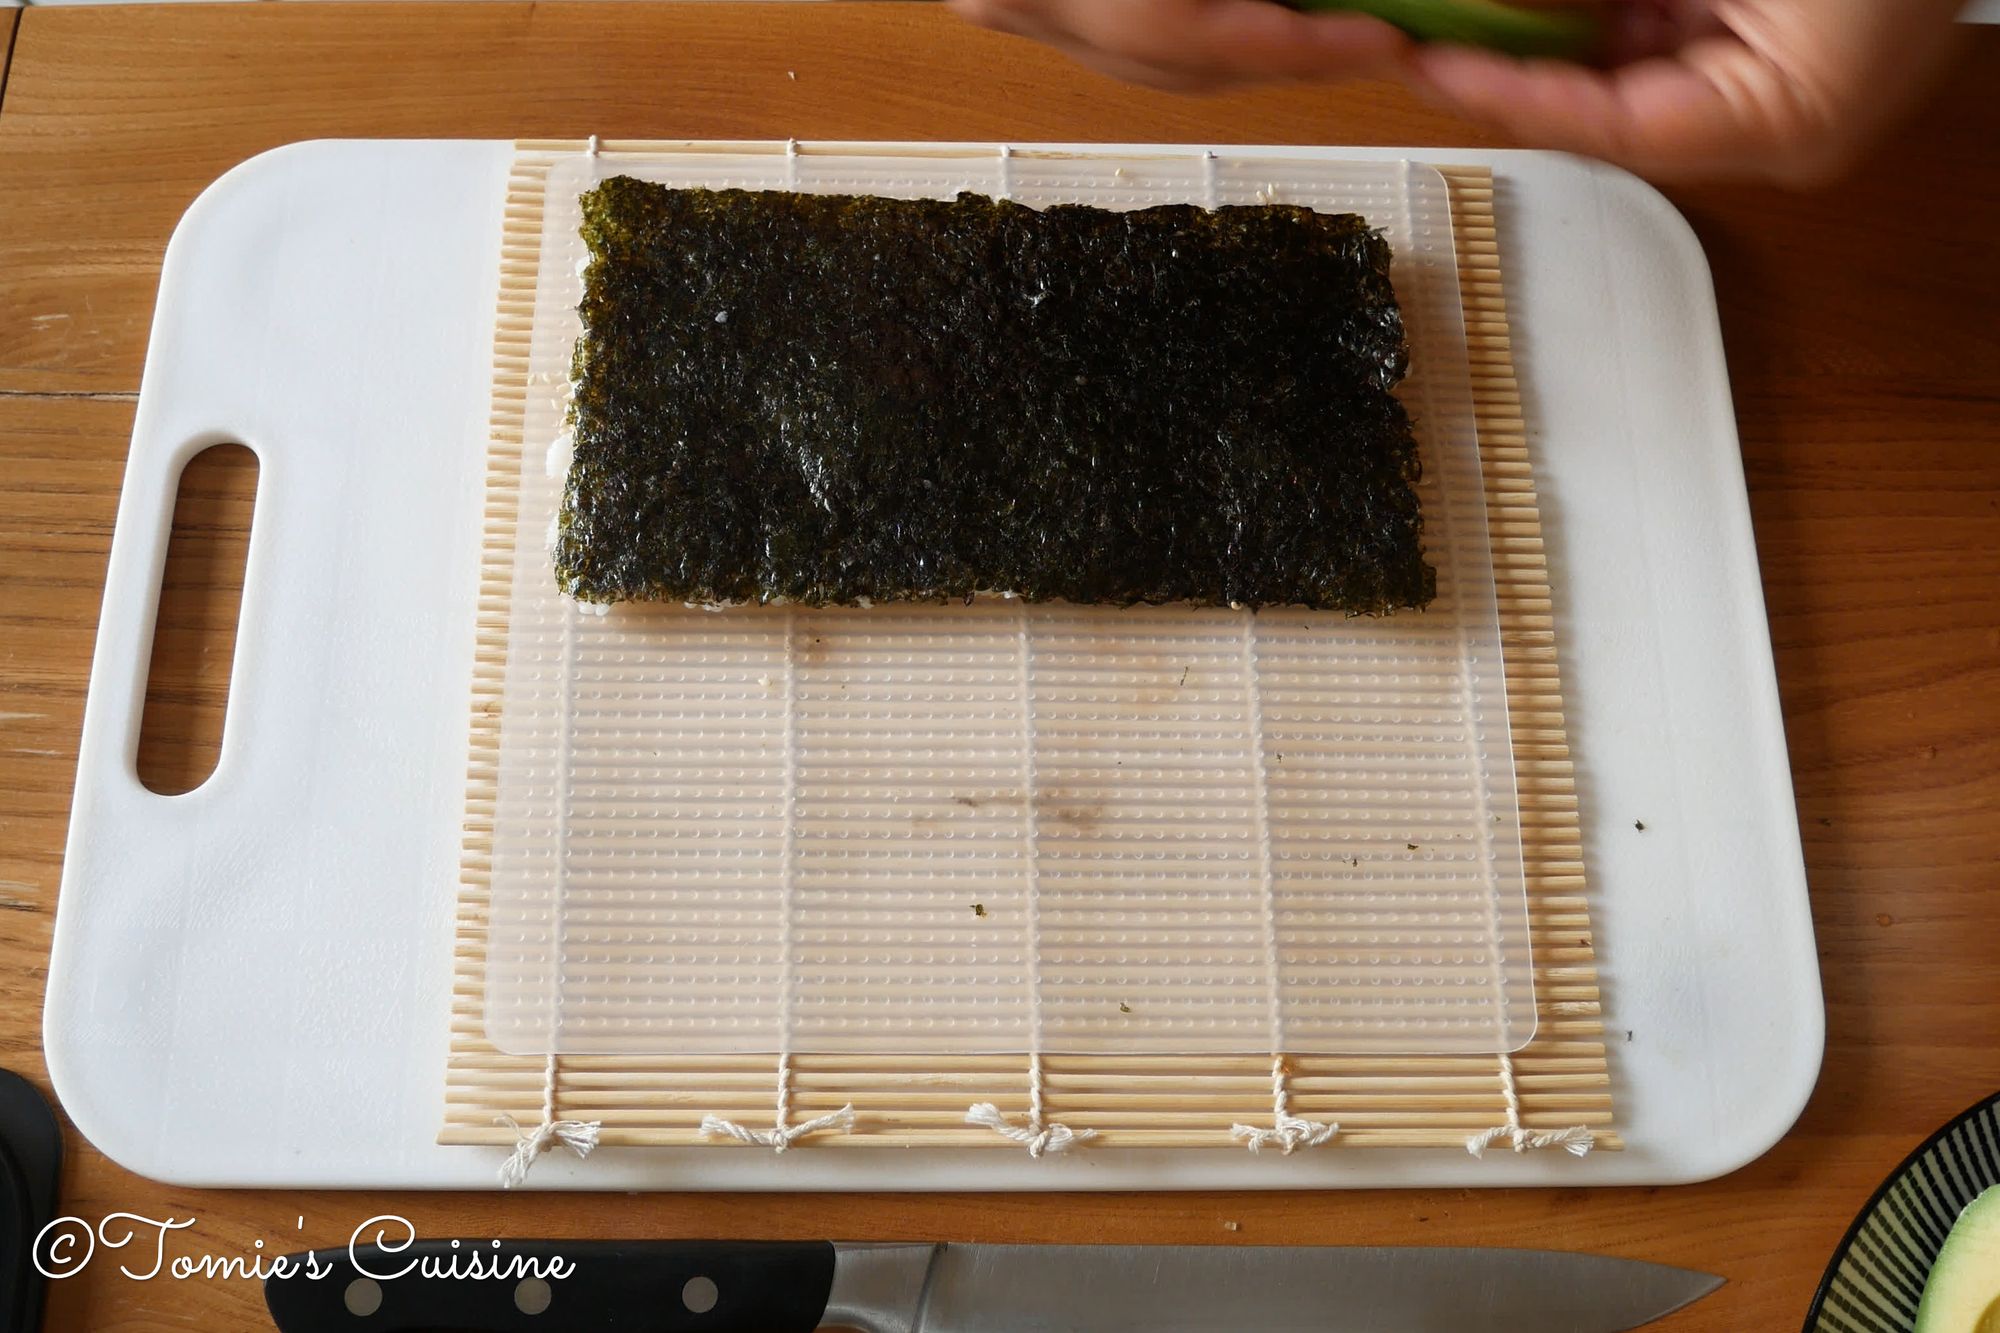
- Place a makisu (mat woven from bamboo and cotton string) on your clean work surface. (chopping board)
- Place half a nori seaweed on the makisu. (shiny side facing the makisu, so away from you)
- Wet your hand slightly, but not too much. Otherwise, the rice won’t stick, and the taste/ texture won’t be good.
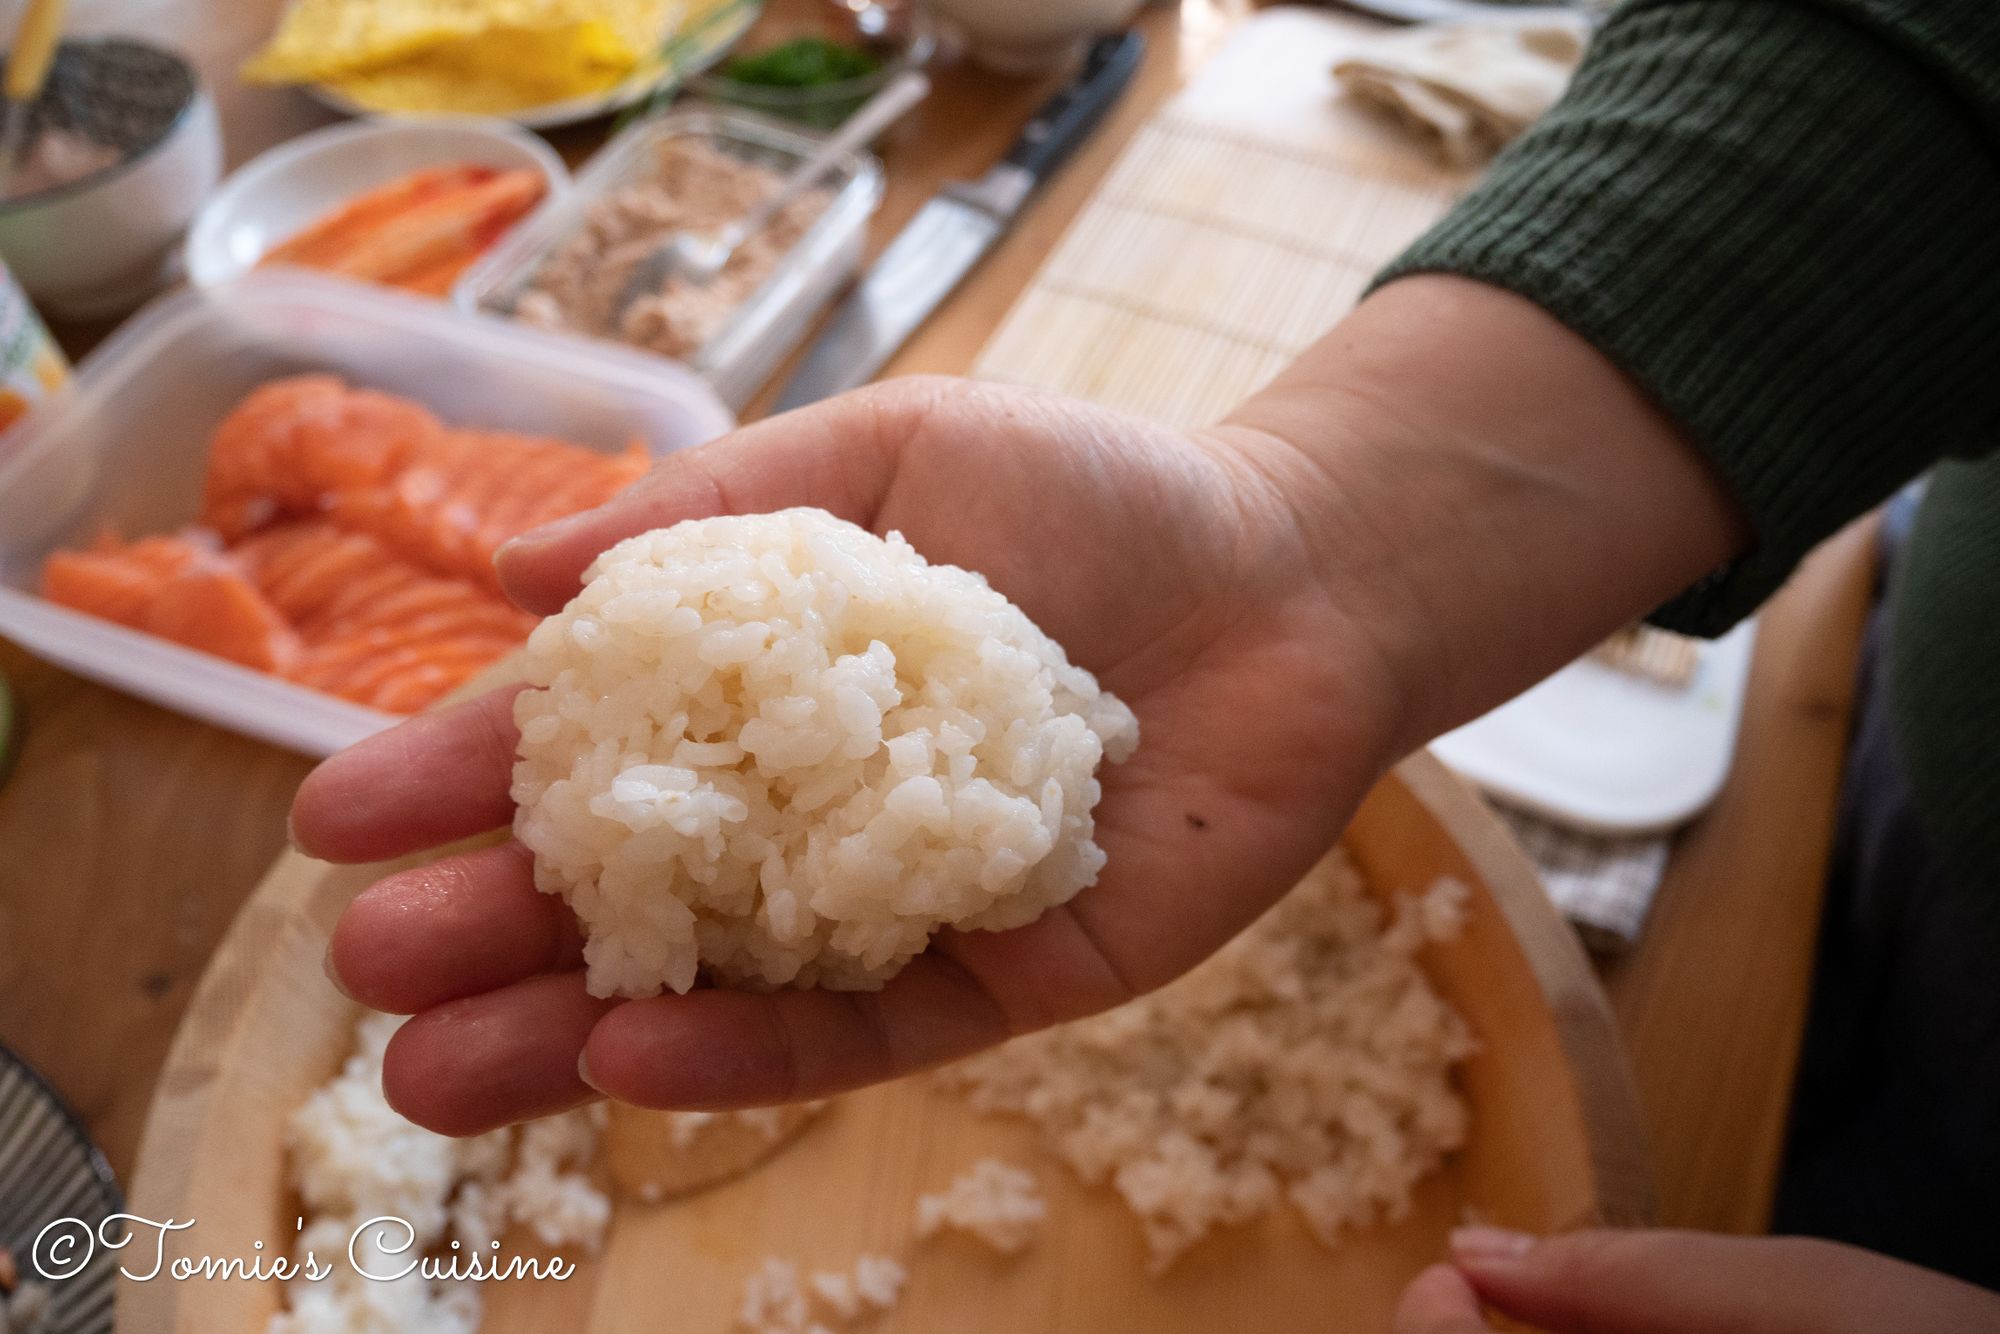
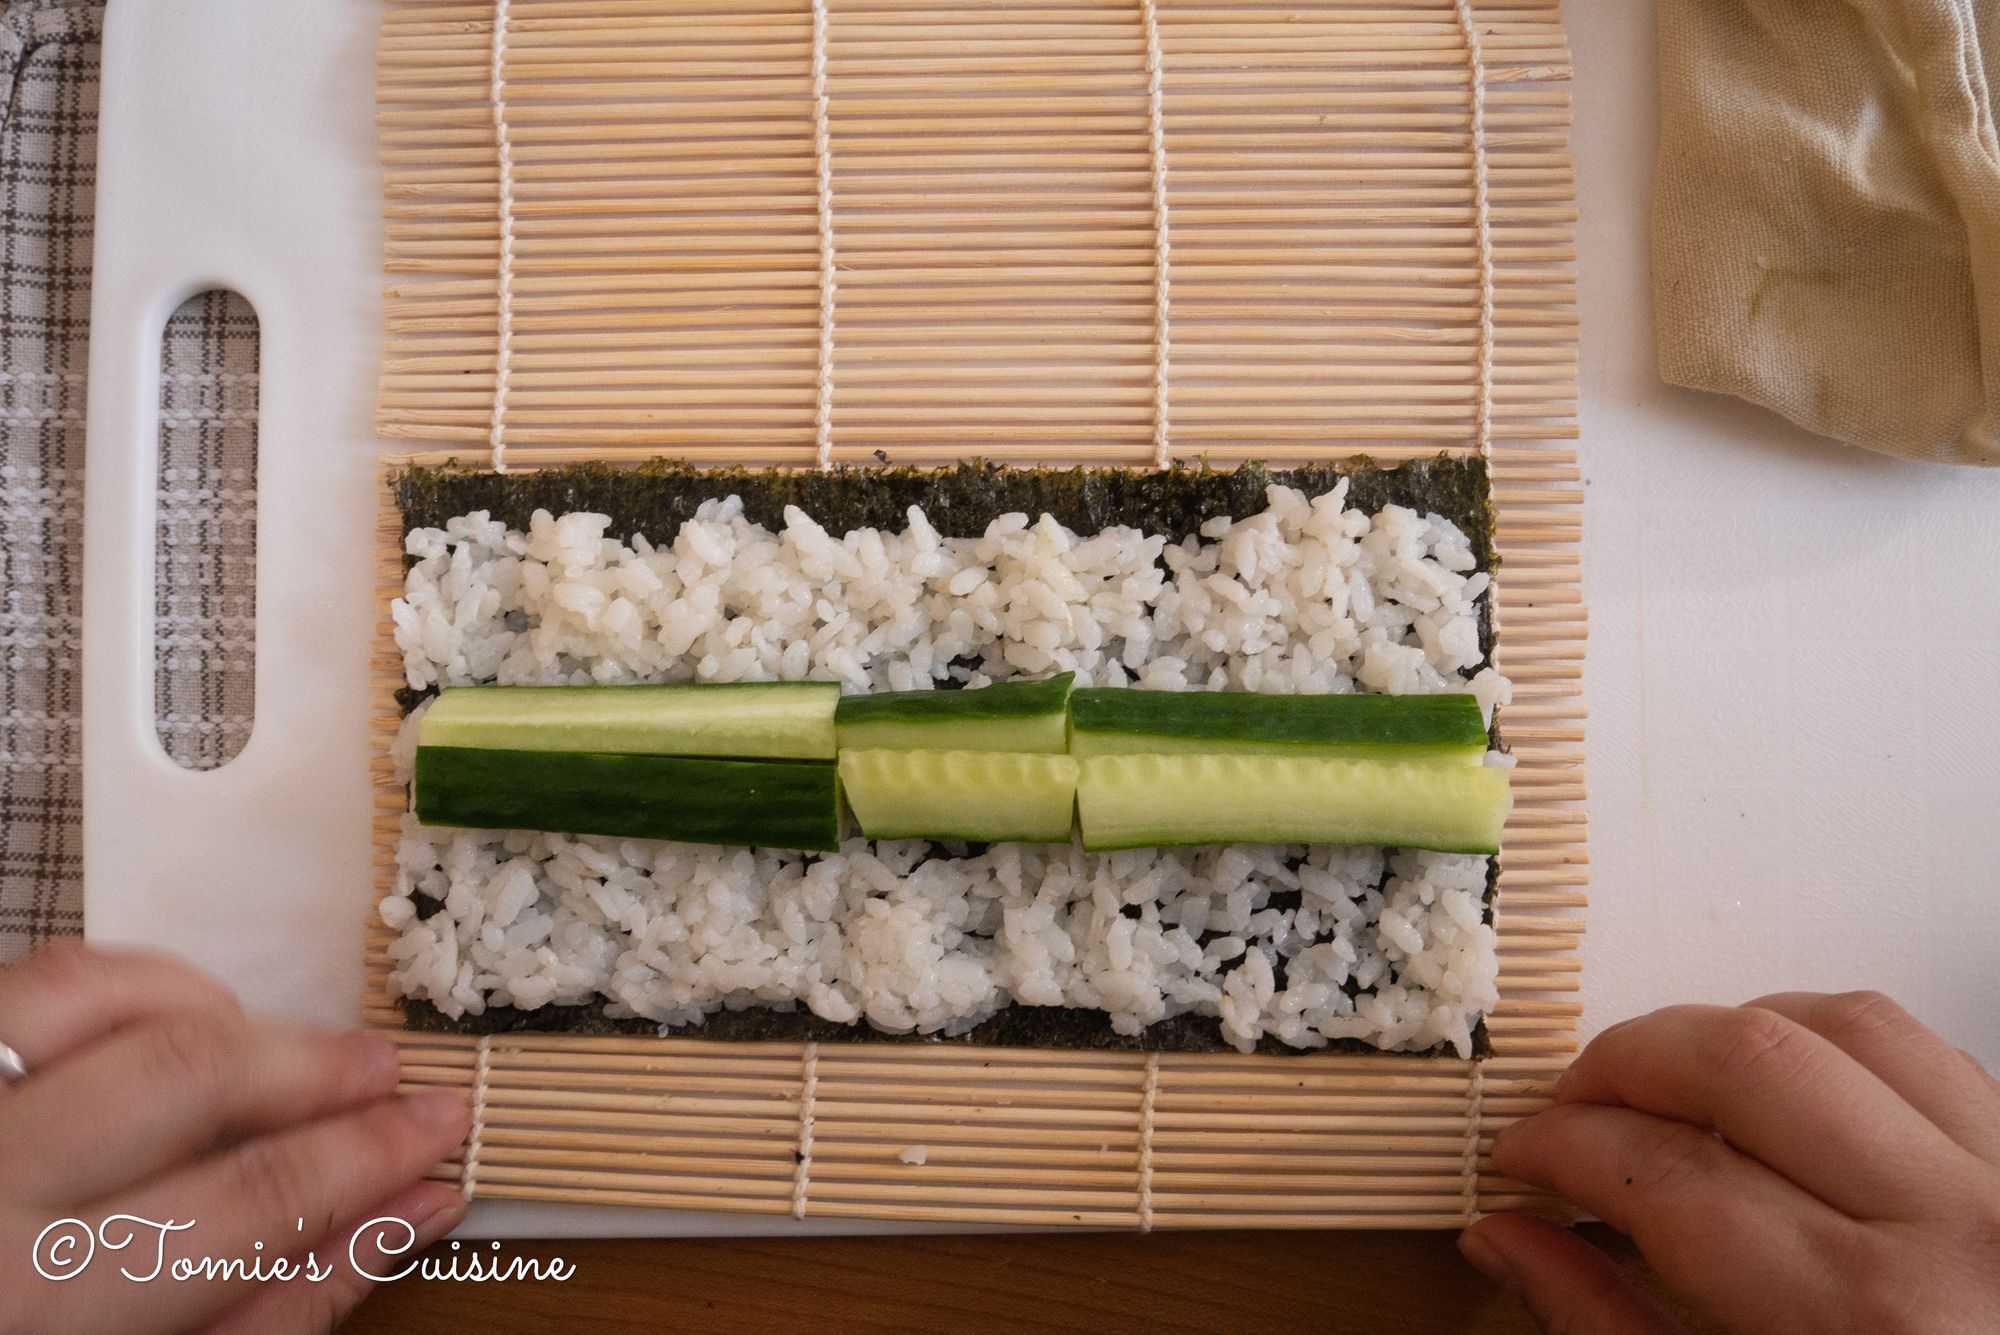
- Grab about a large egg size of rice and place its stick shape at about 1cm below the top side of the seaweed.
- Gently slide down the rice. Do not mush the grains. Put some water on your hand if you need it.
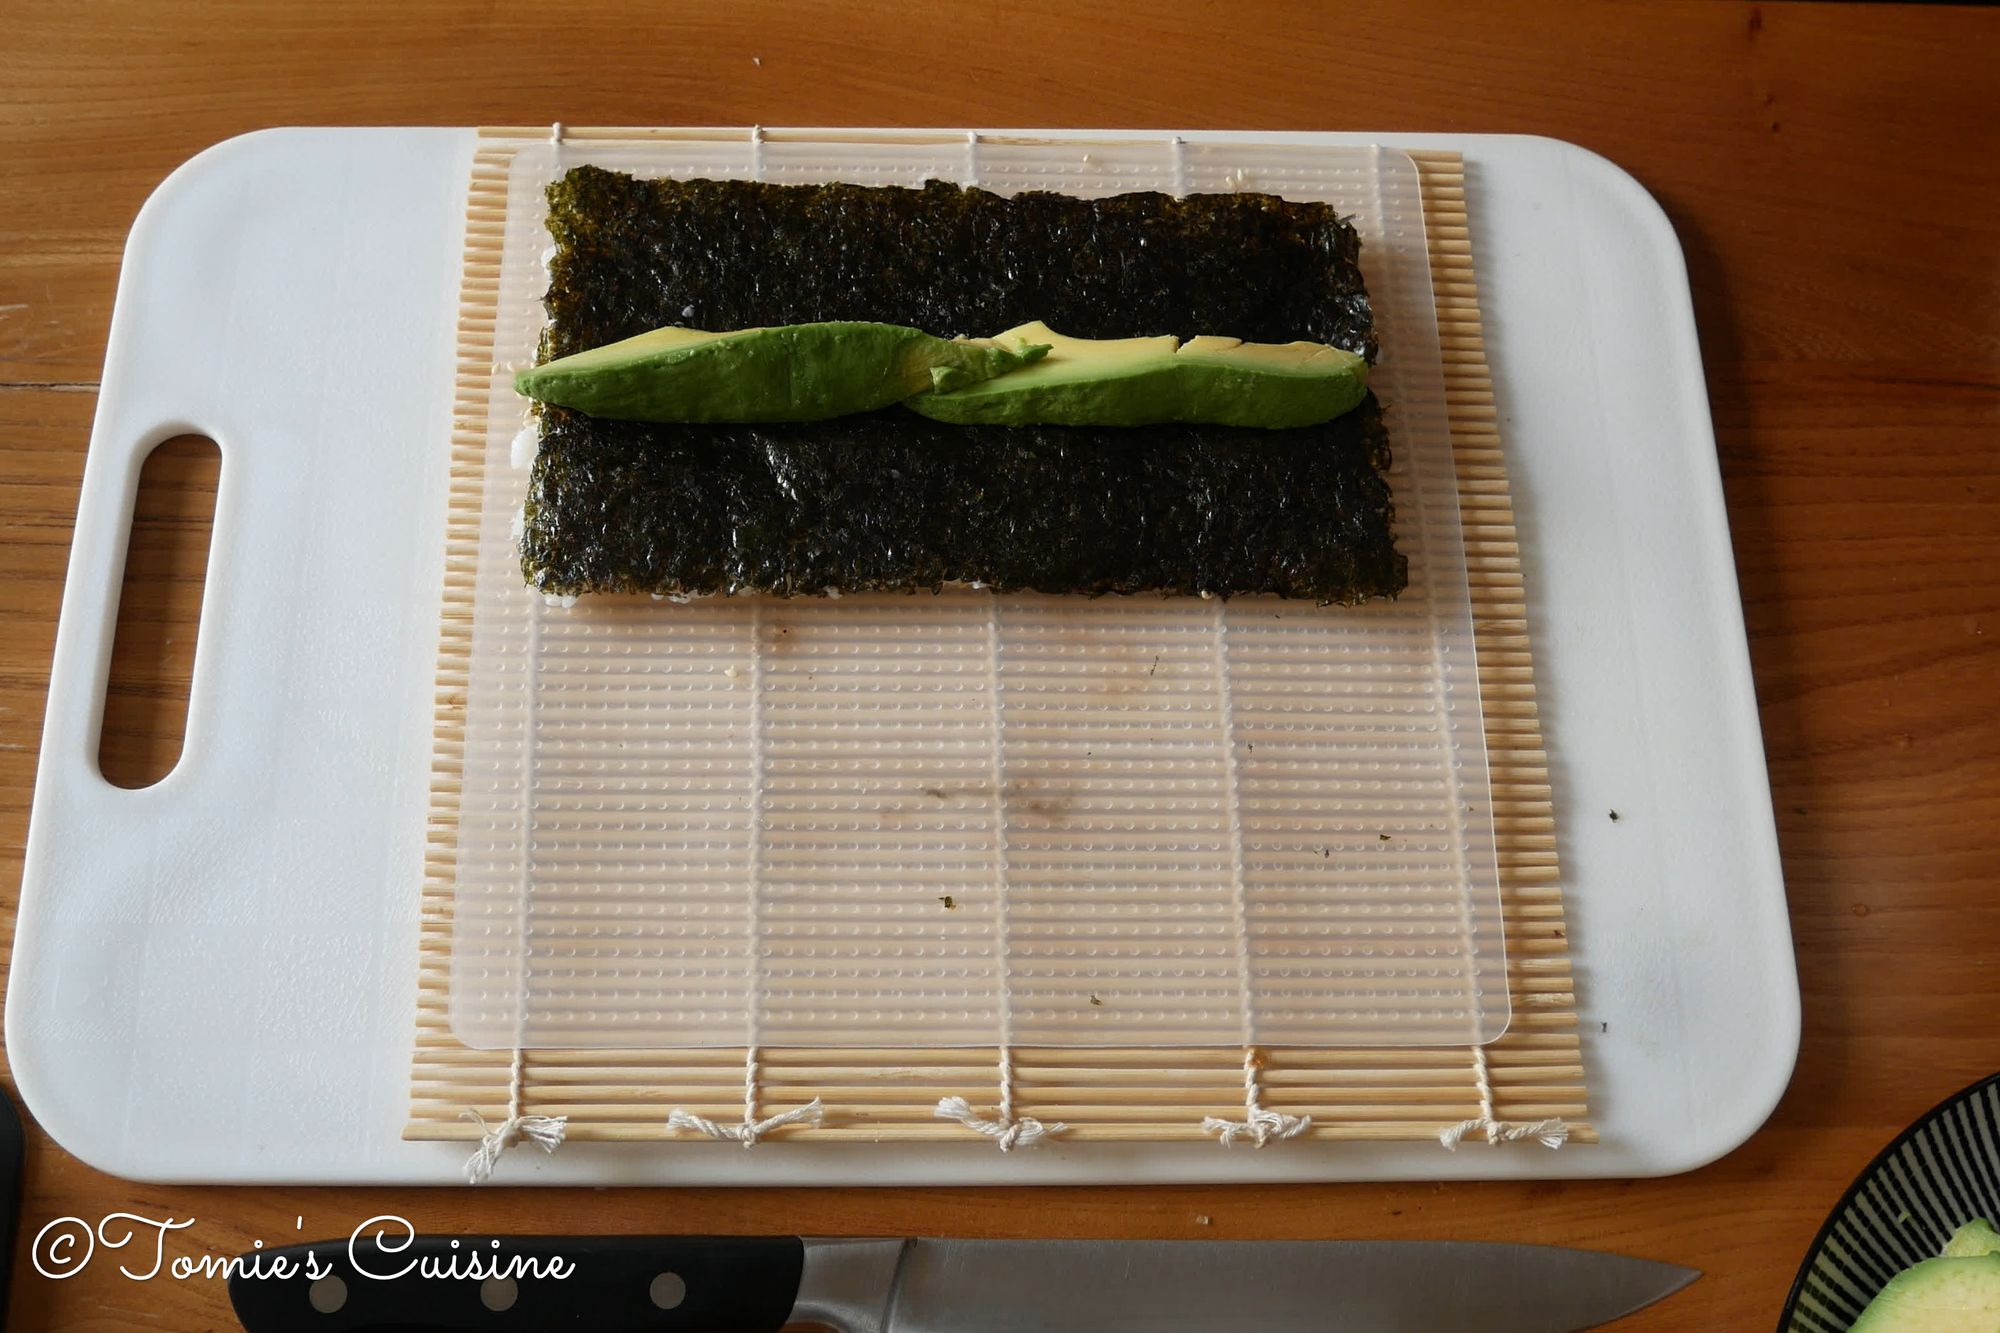
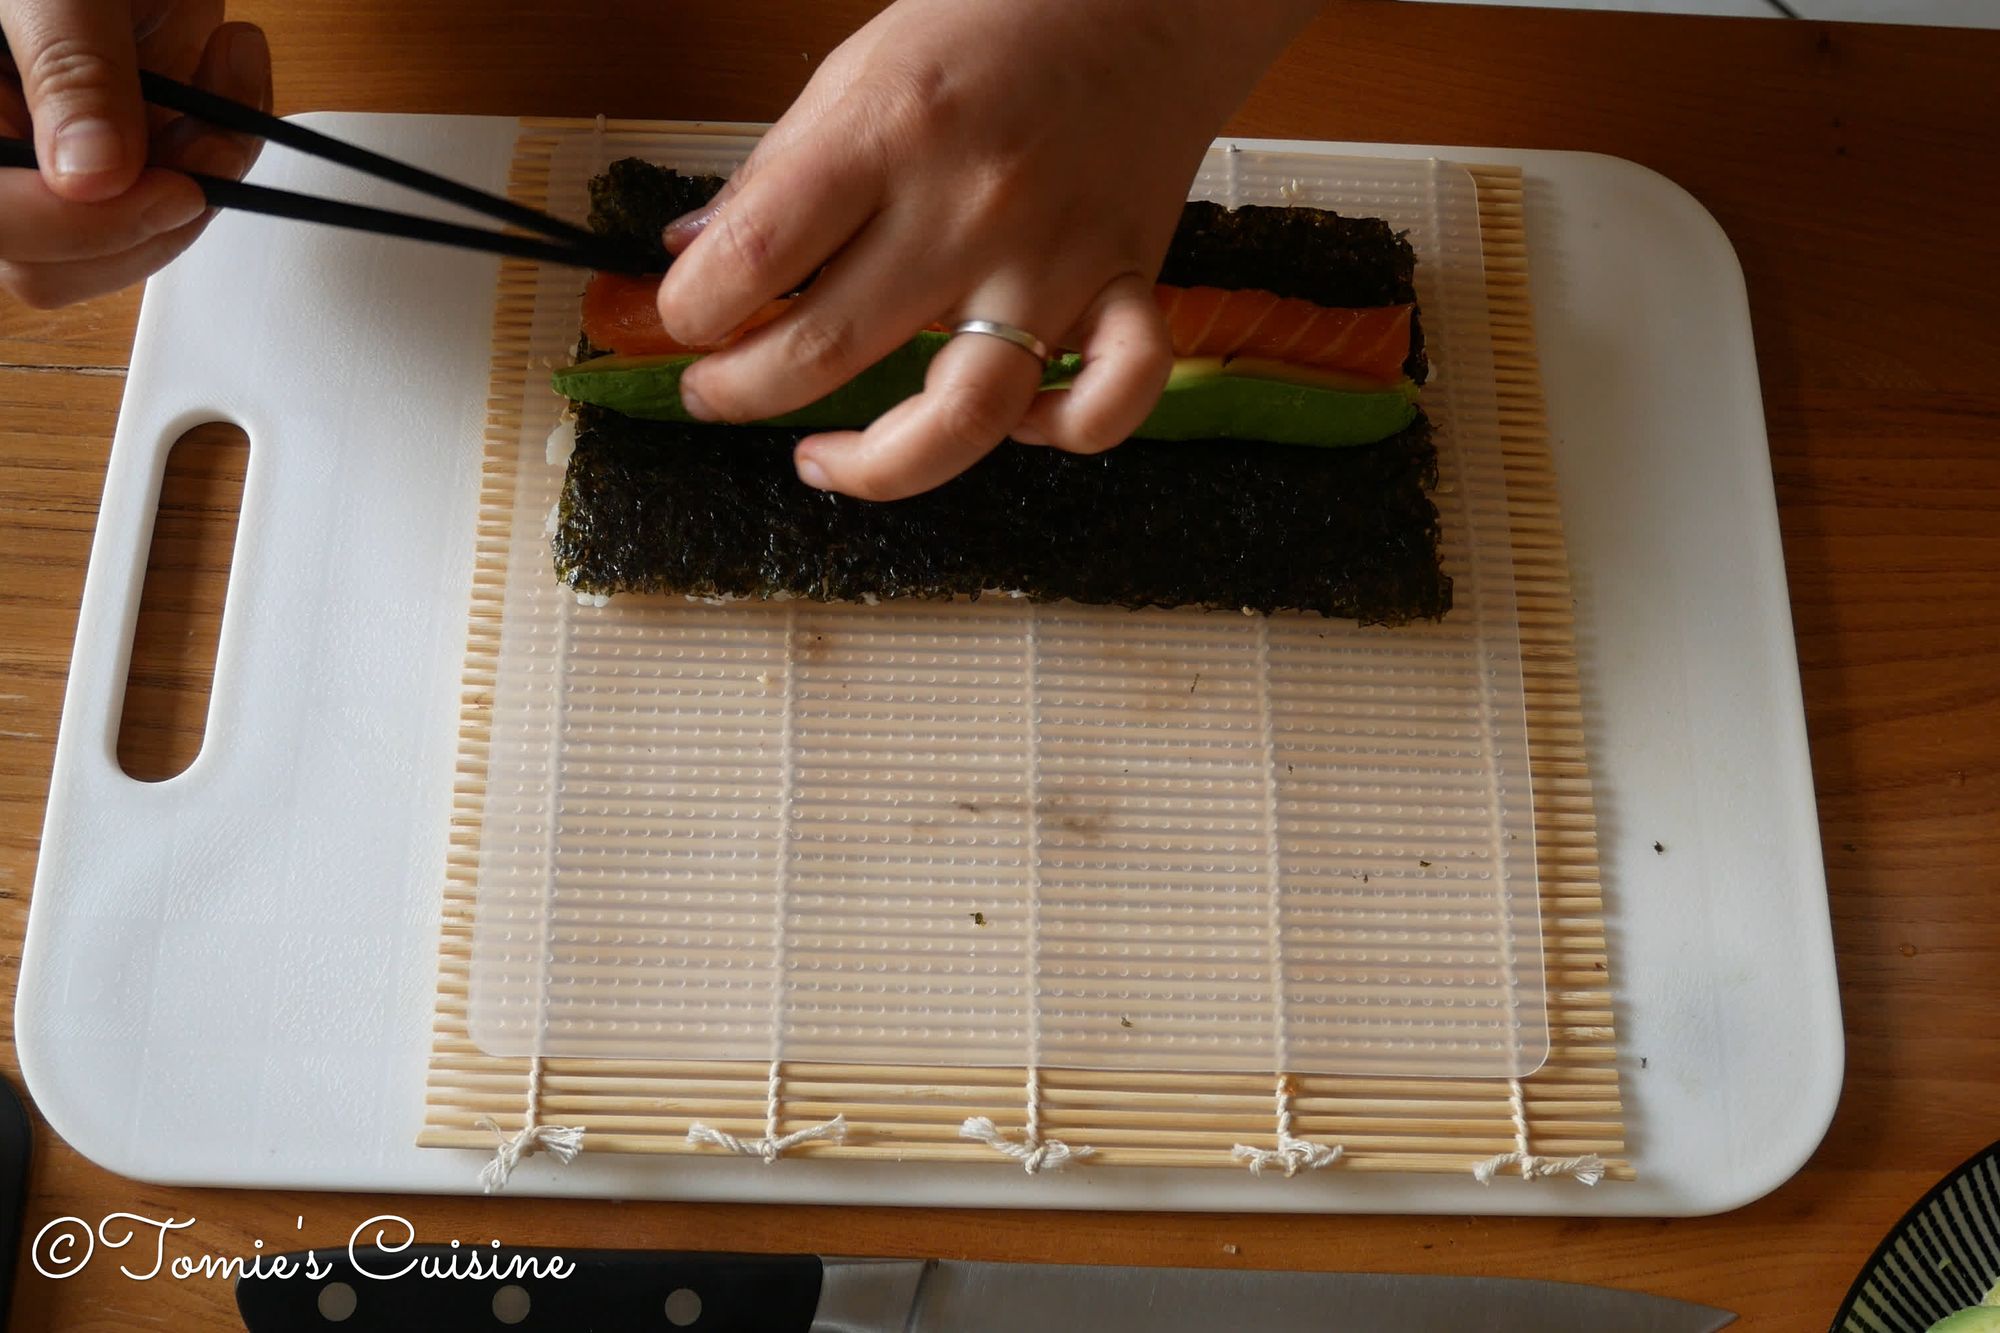
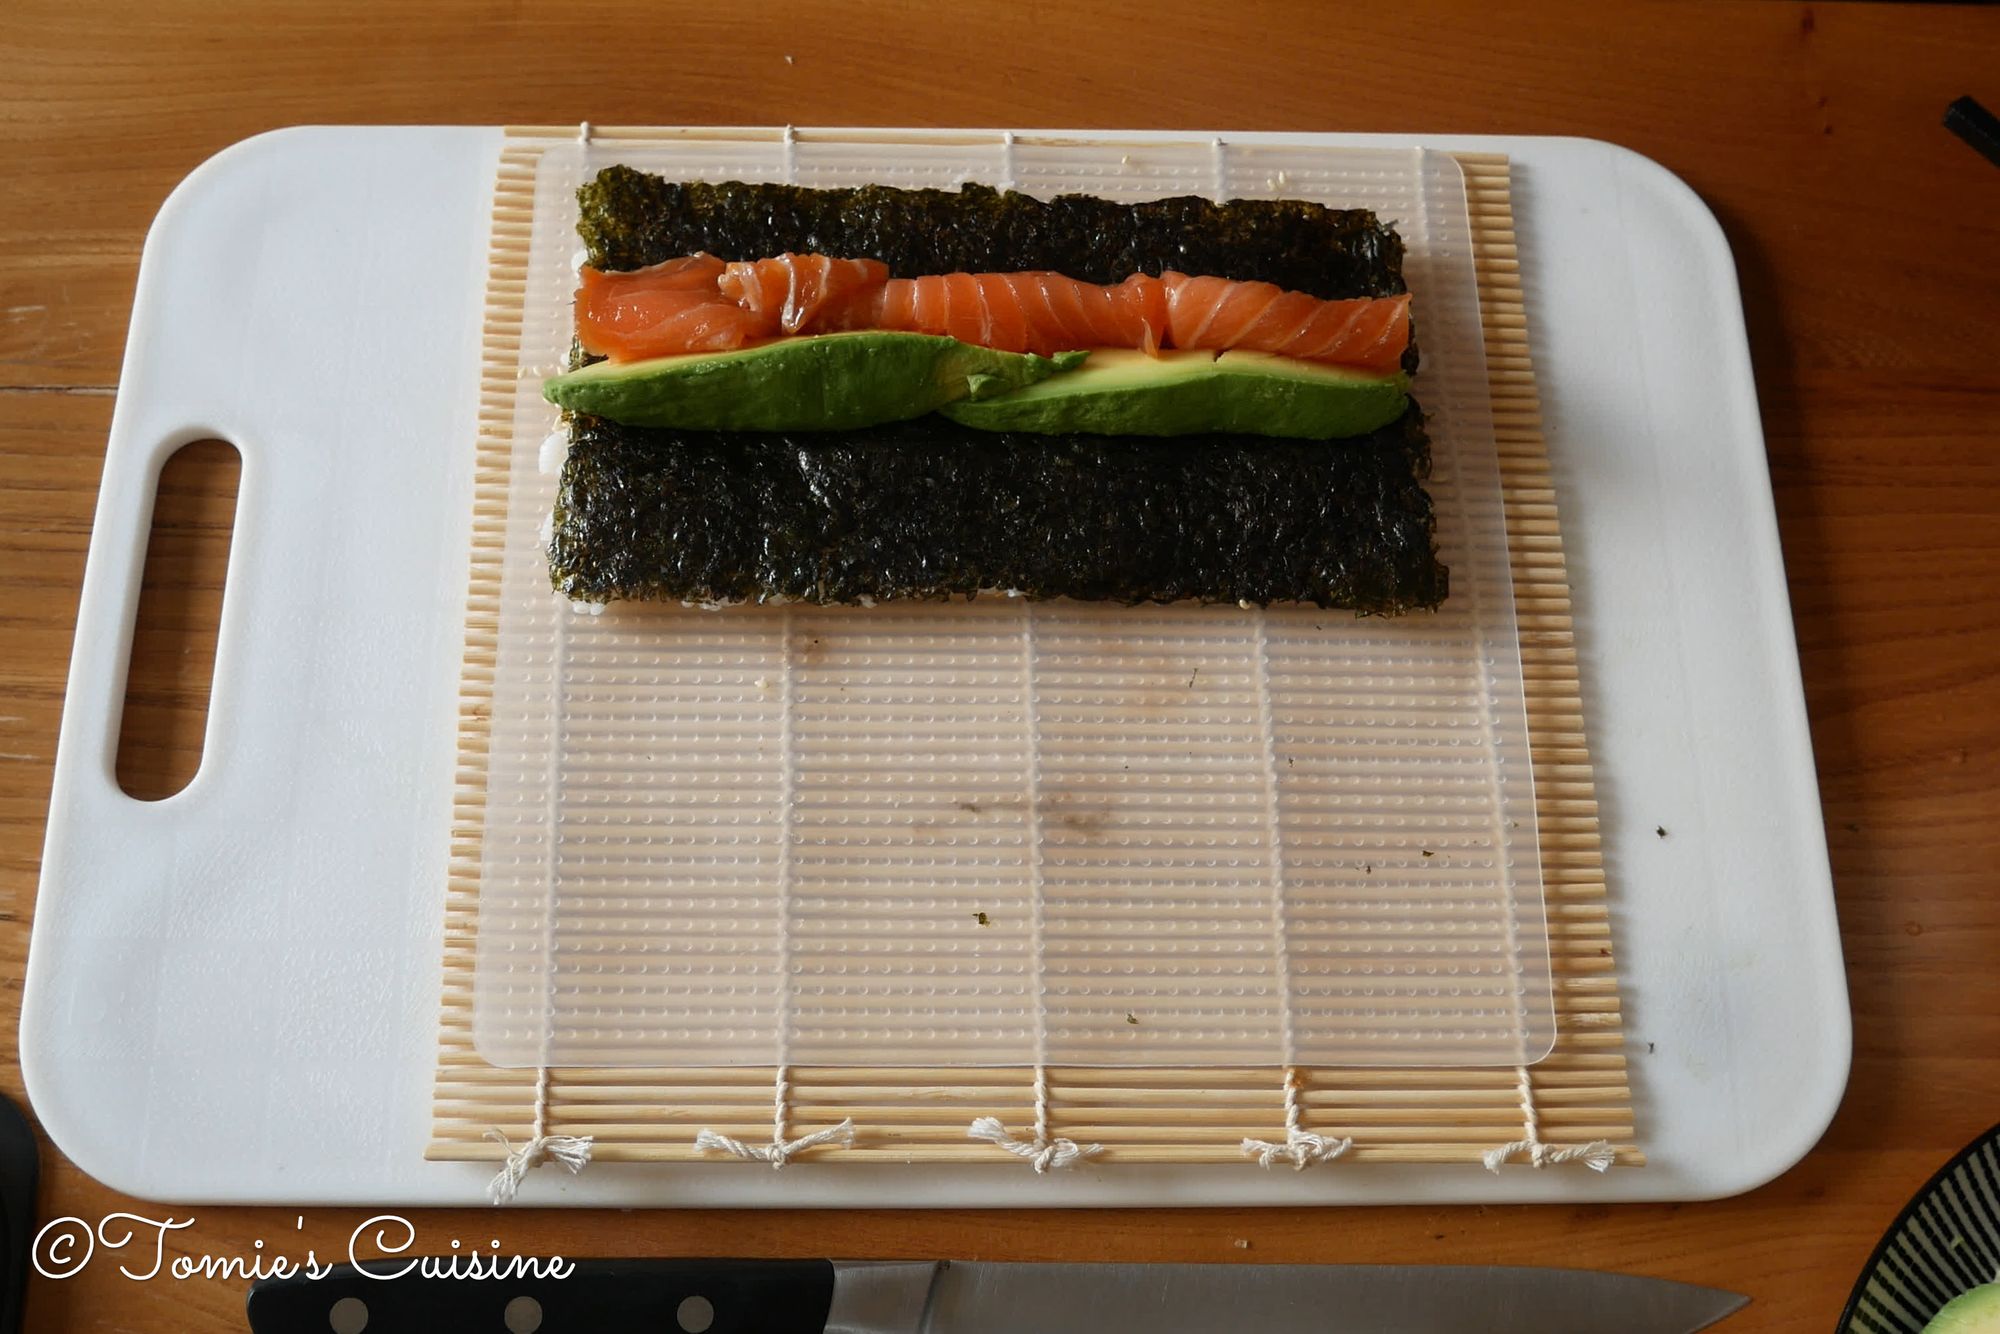
- Add your favourite ingredients inside. (See the next section for some ideas)
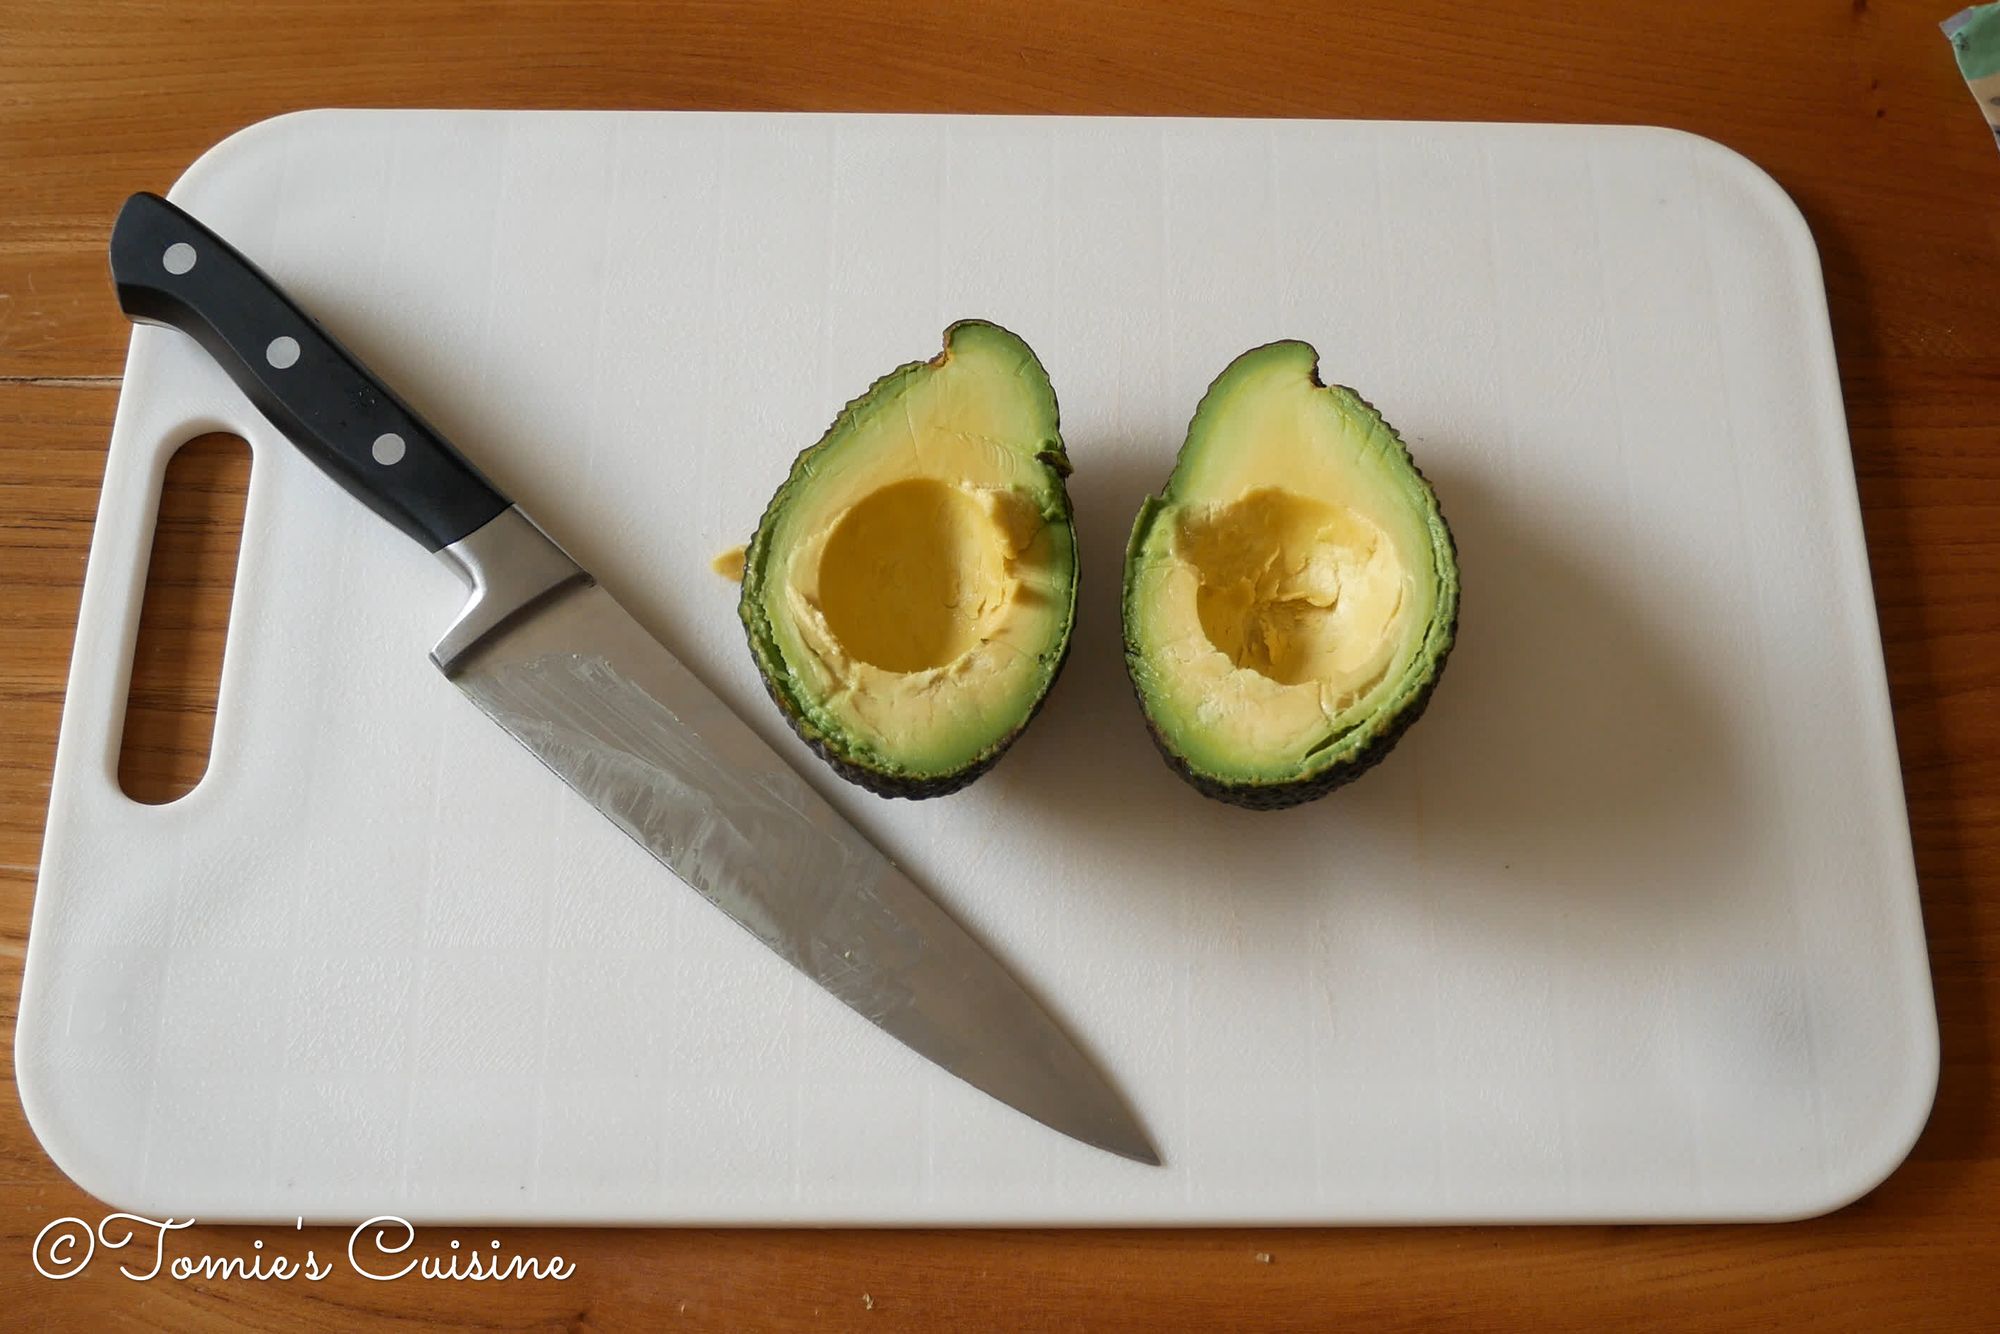
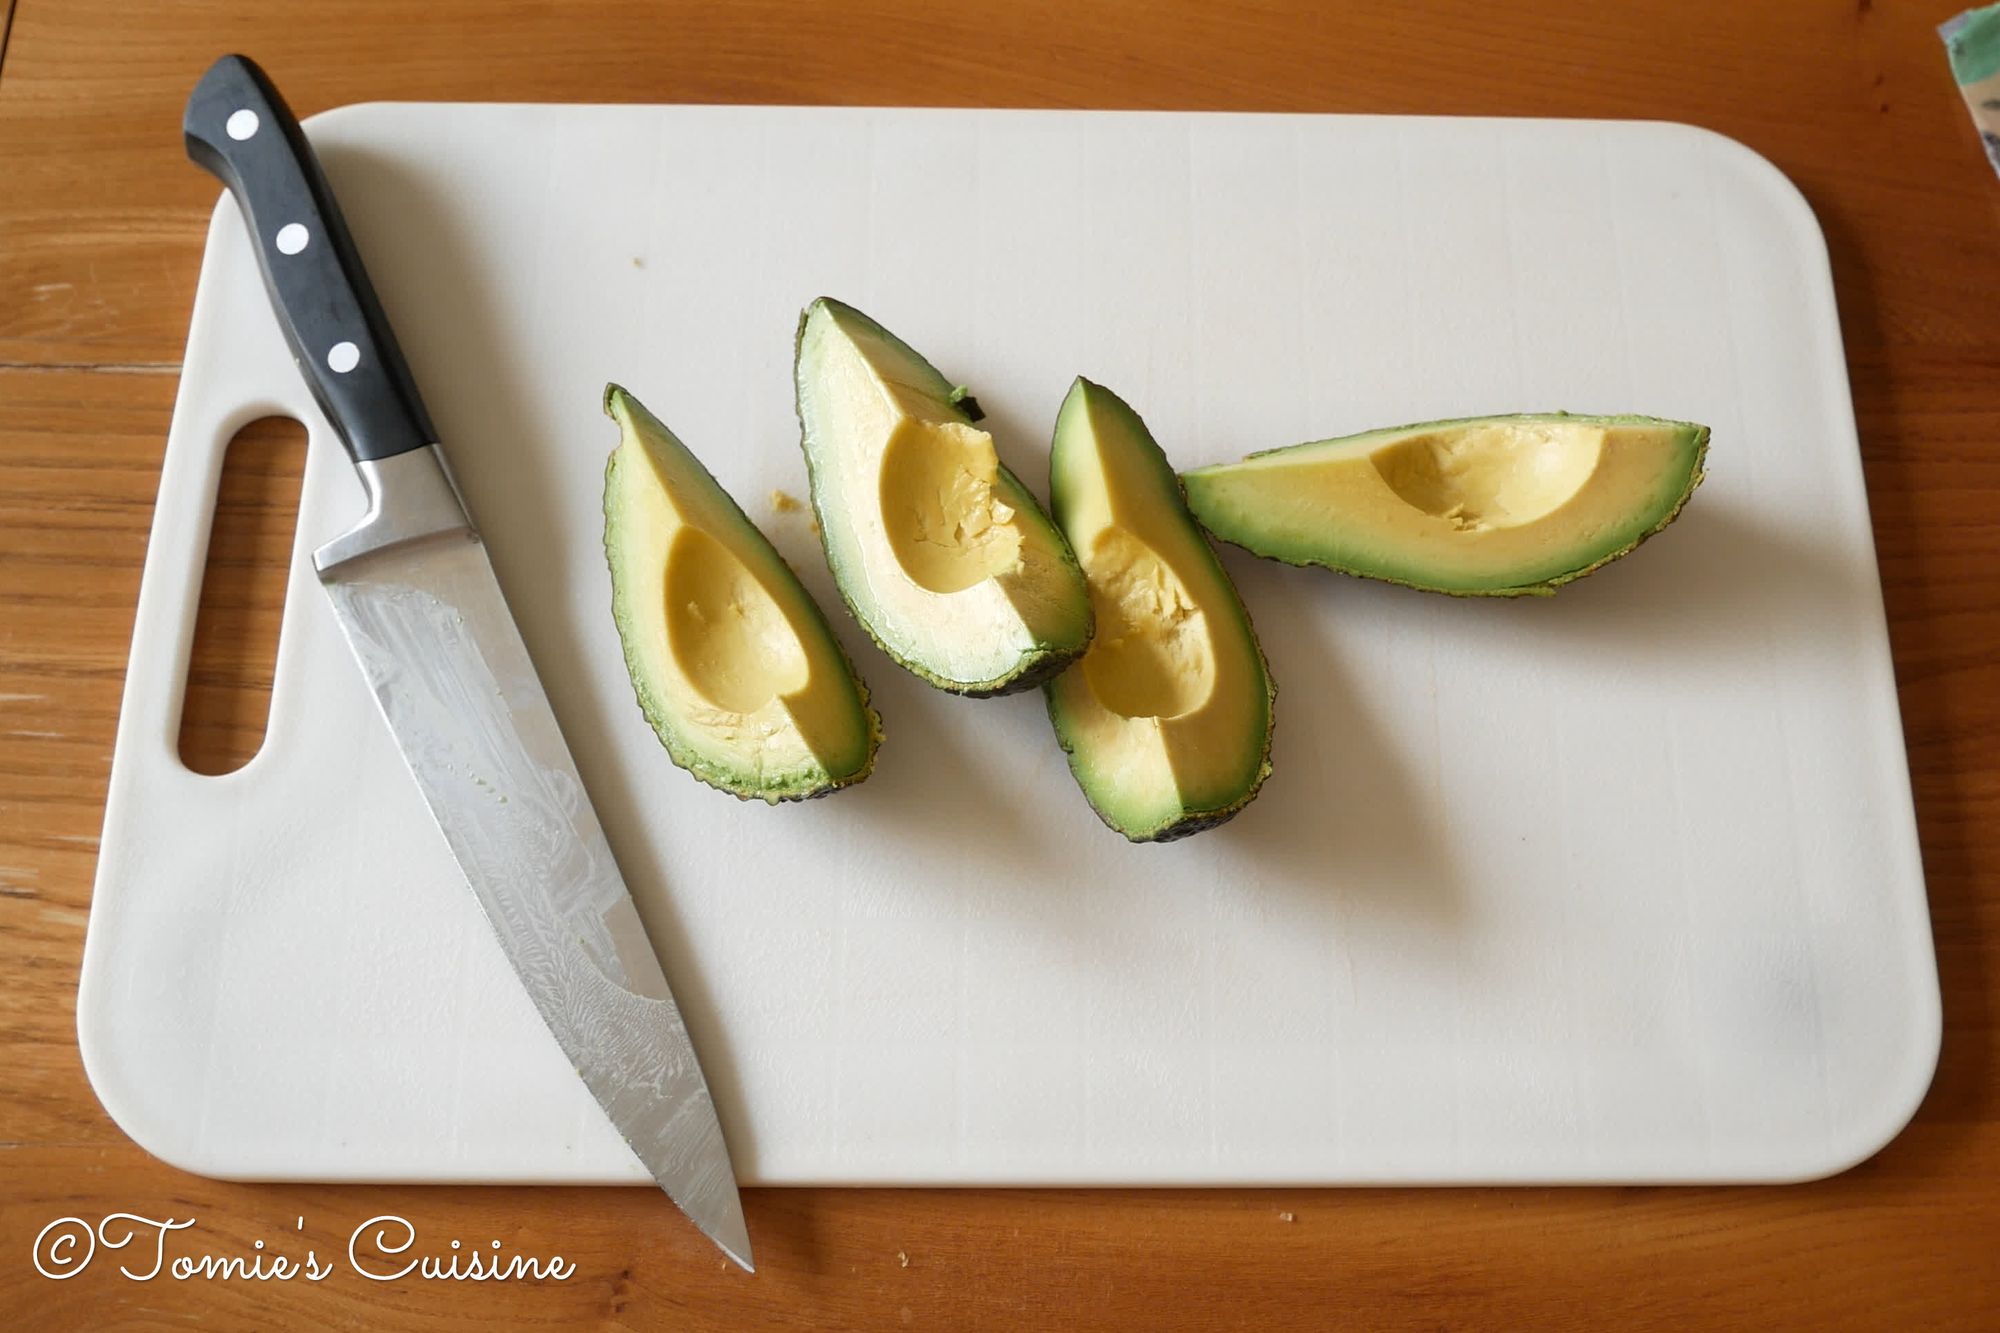
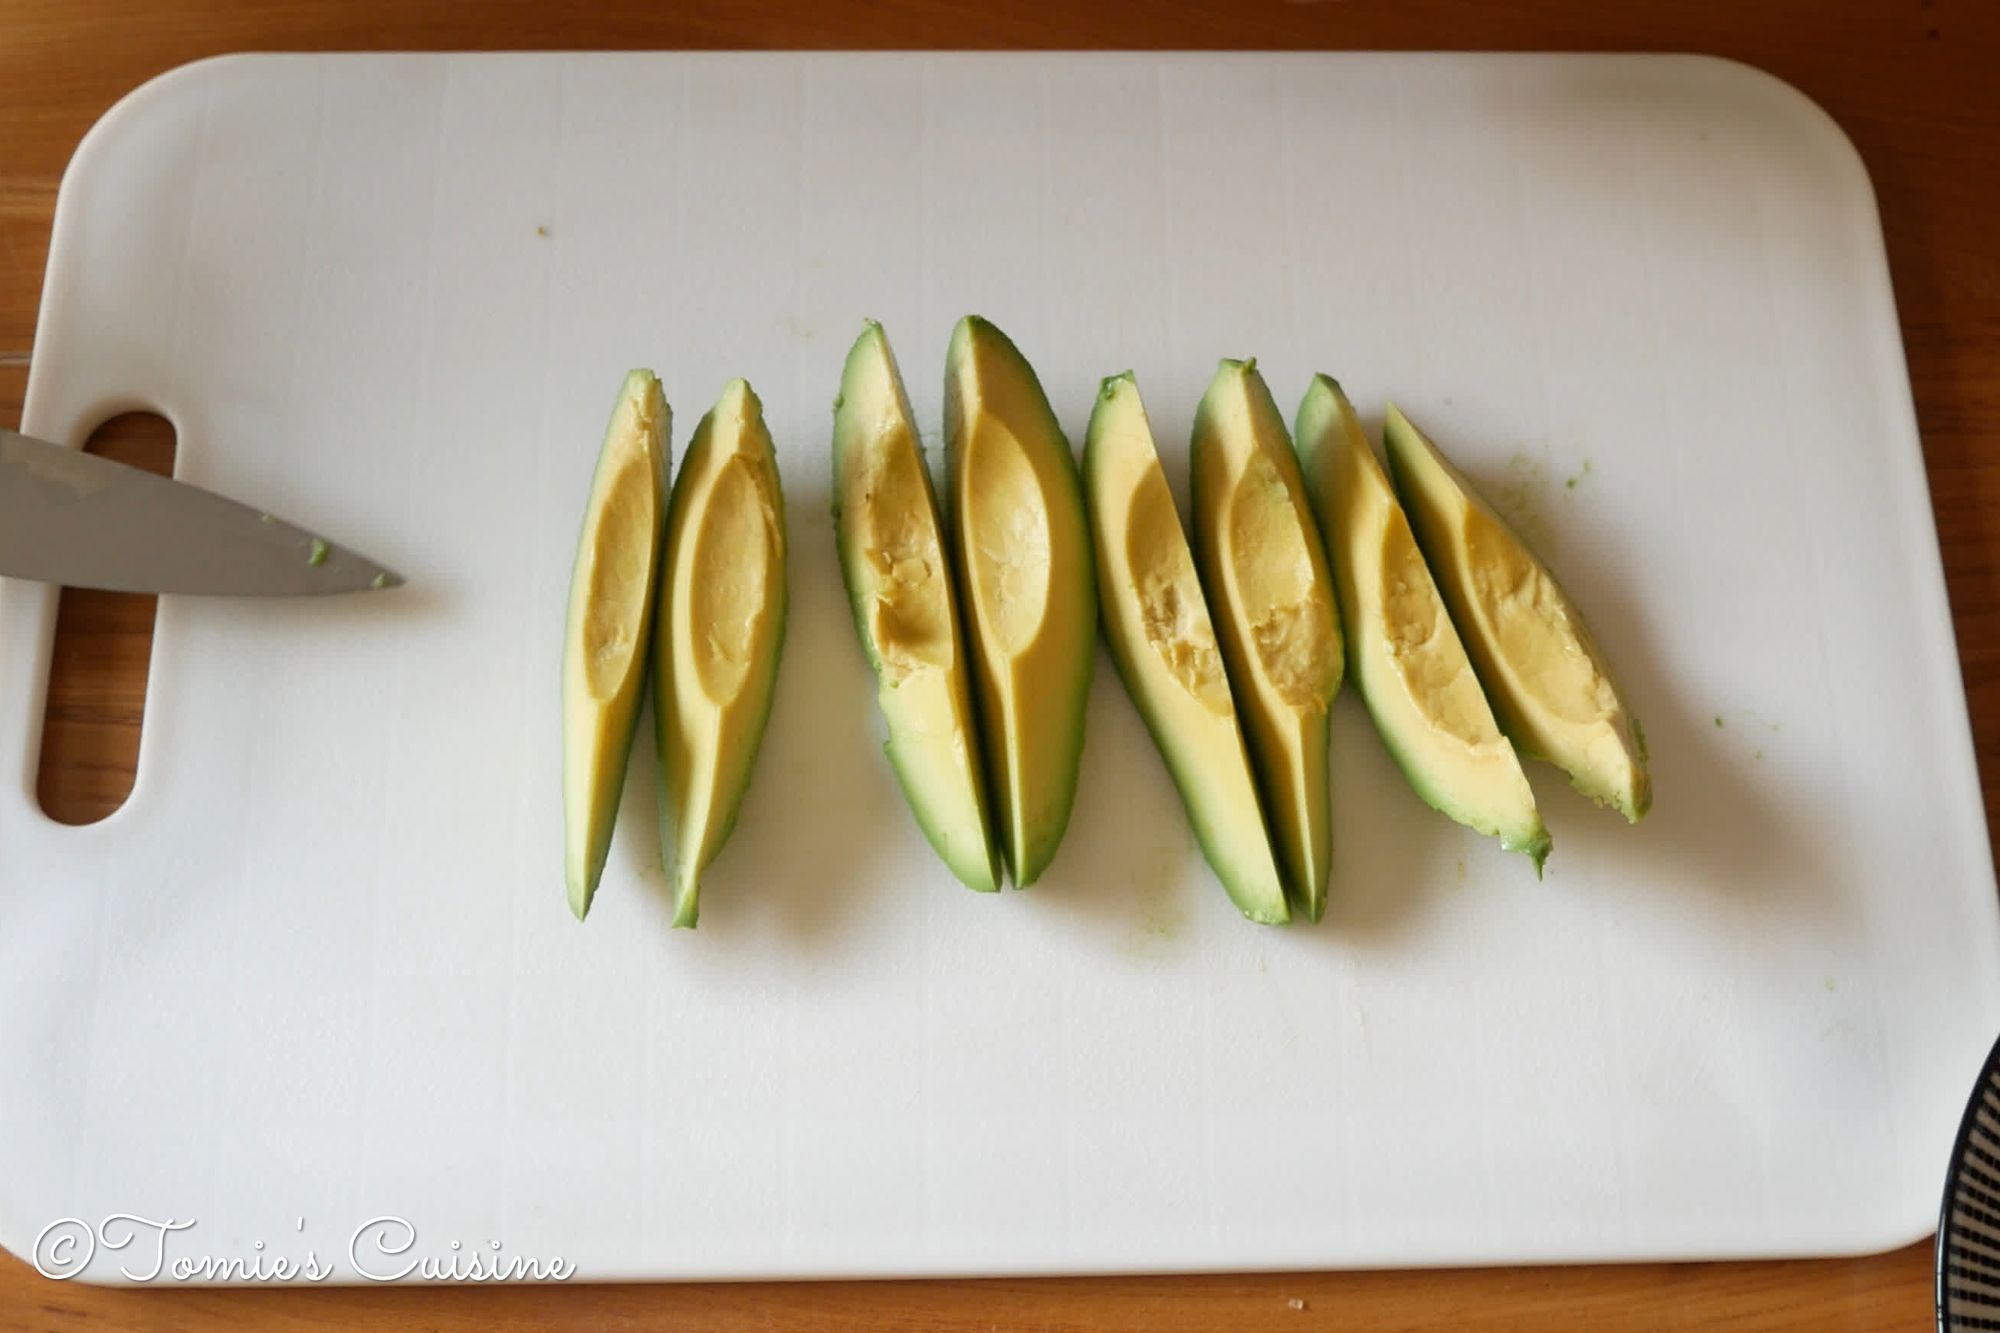
- Amount example: I cut an avocado into a quarter, then cut the quarter avocado into half. It depends on the size of it, but usually, put 2 in a row.)
- If you are not sure, start putting less inside to see how much you can place.
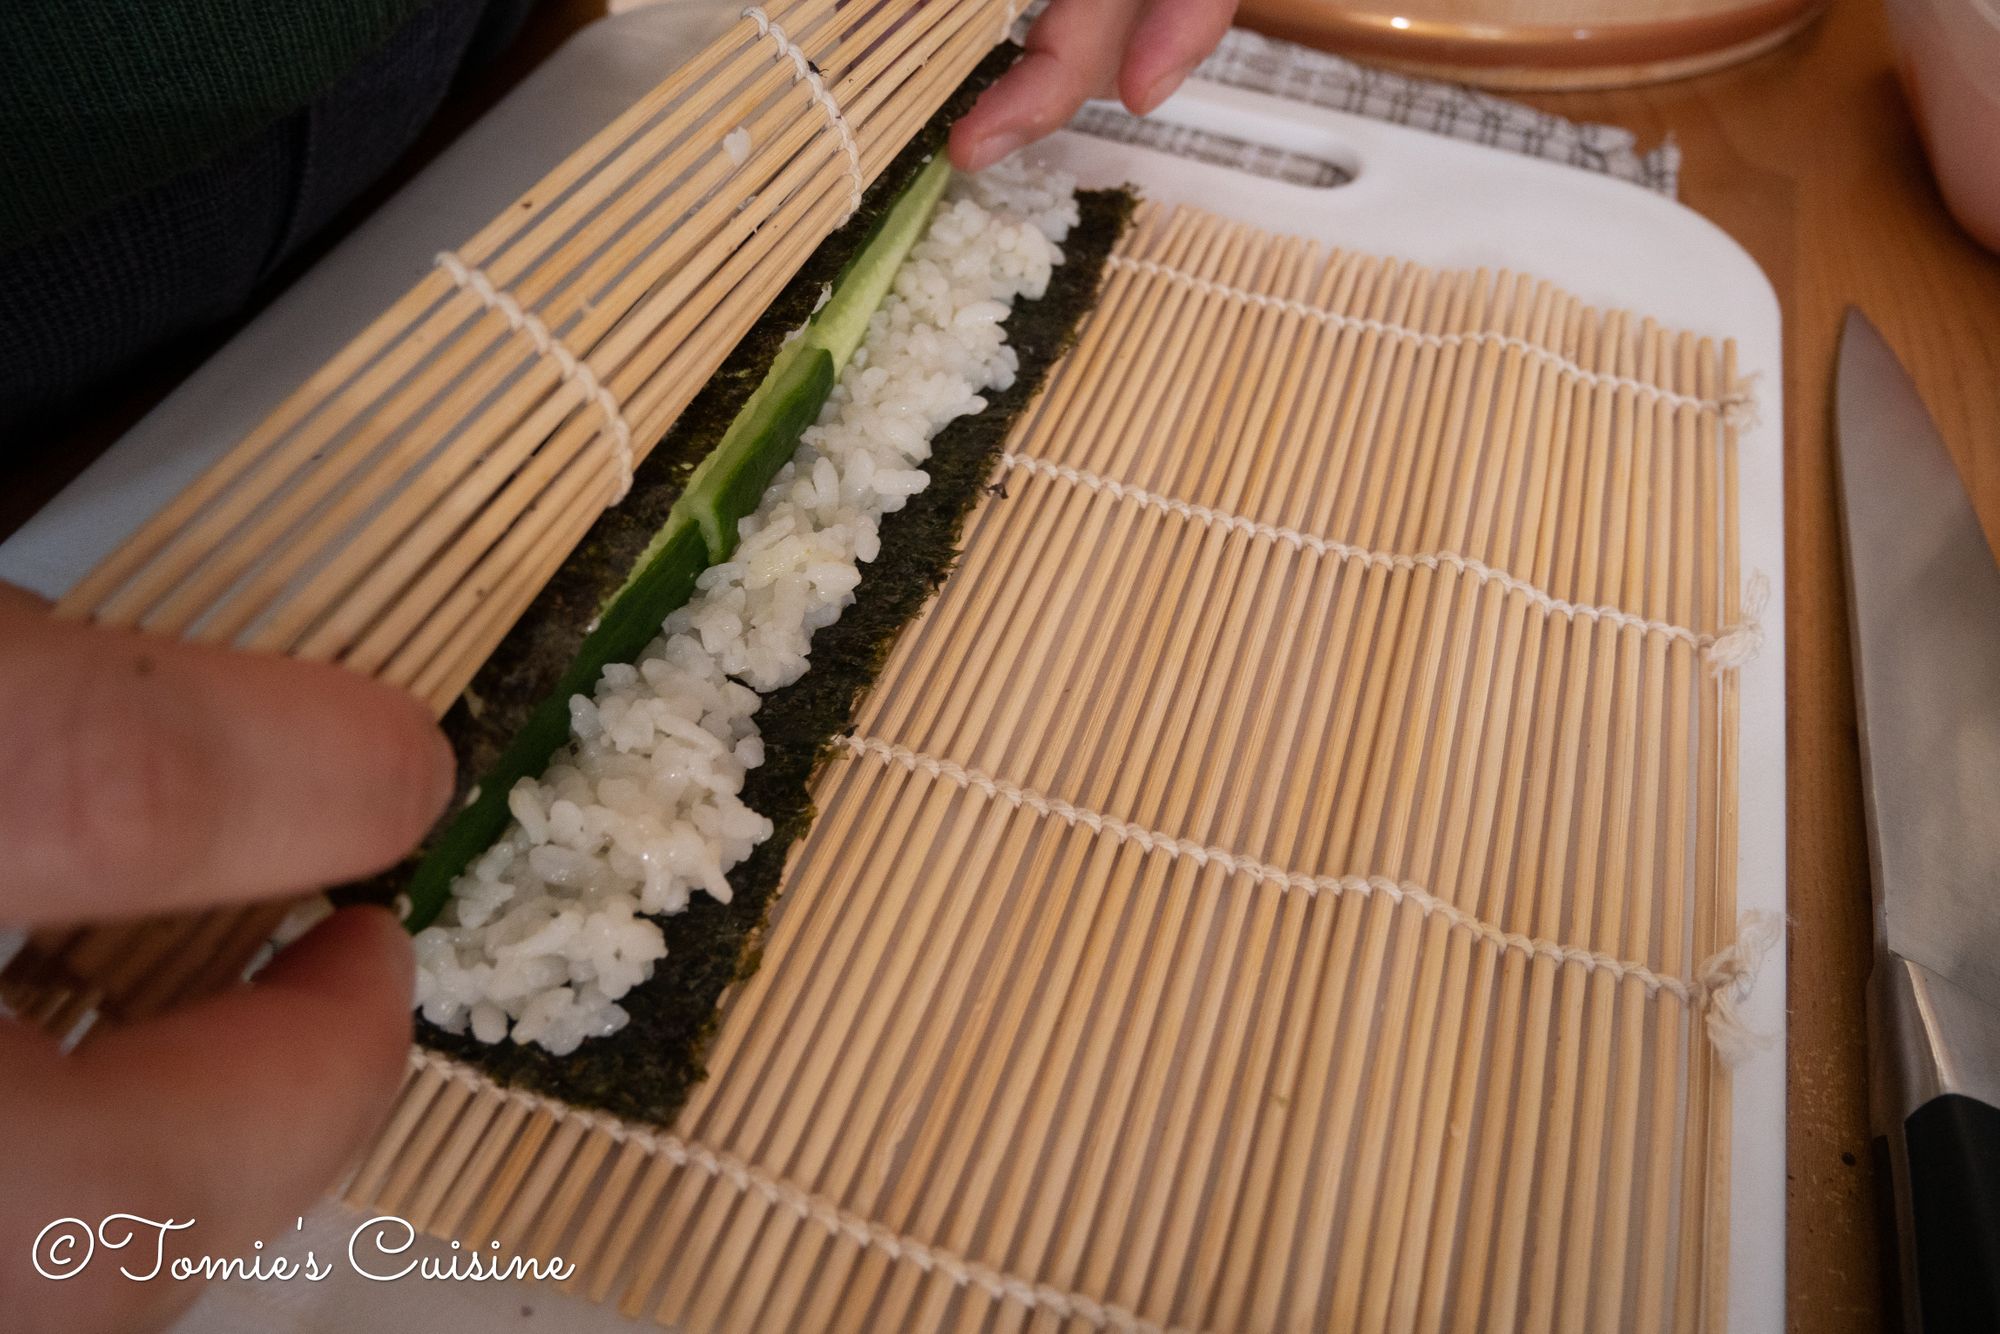
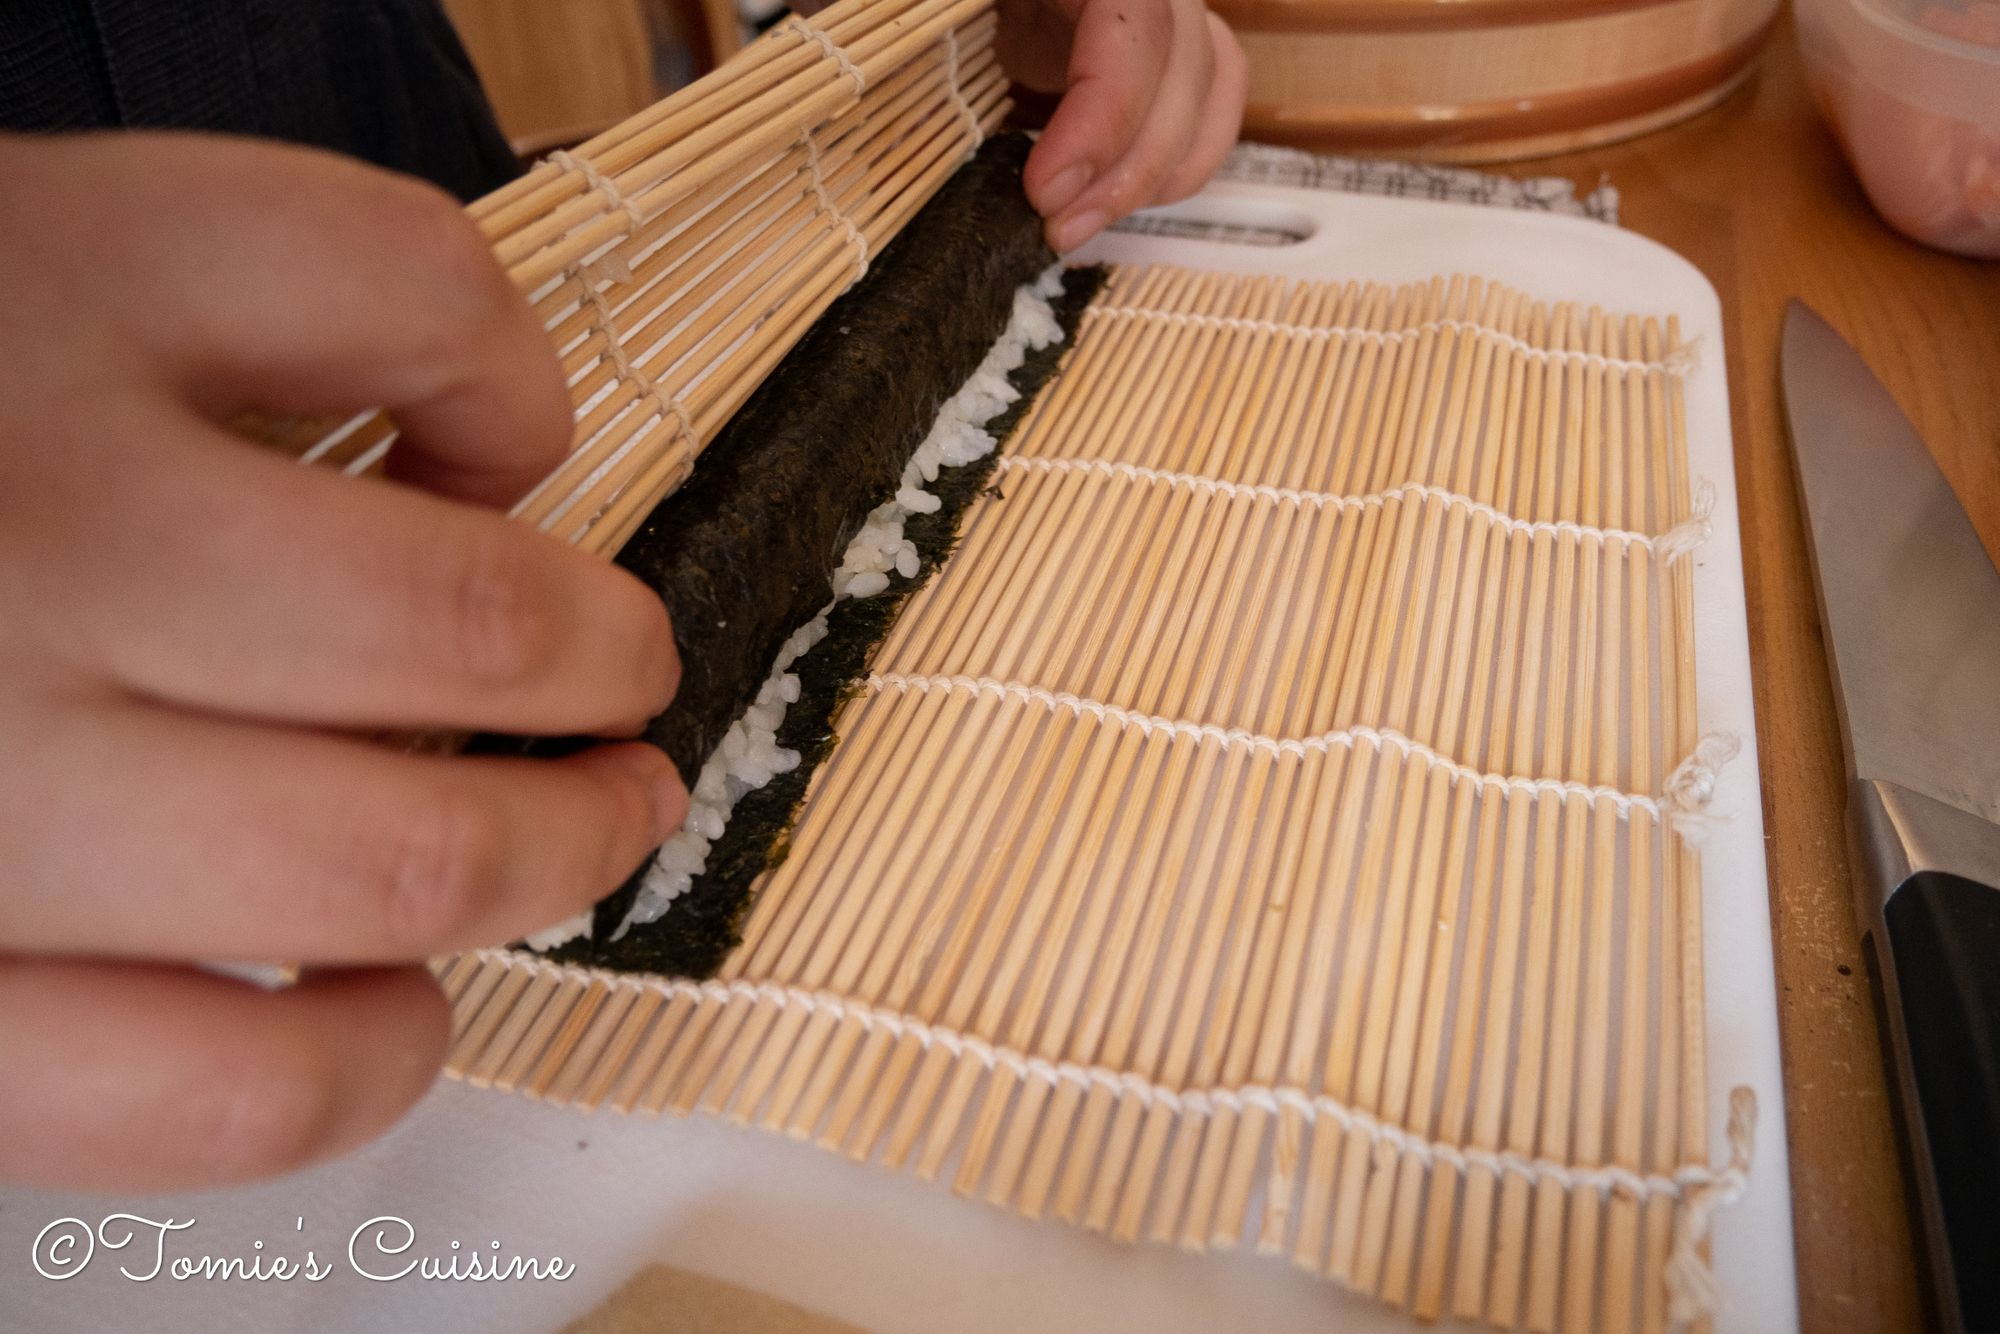

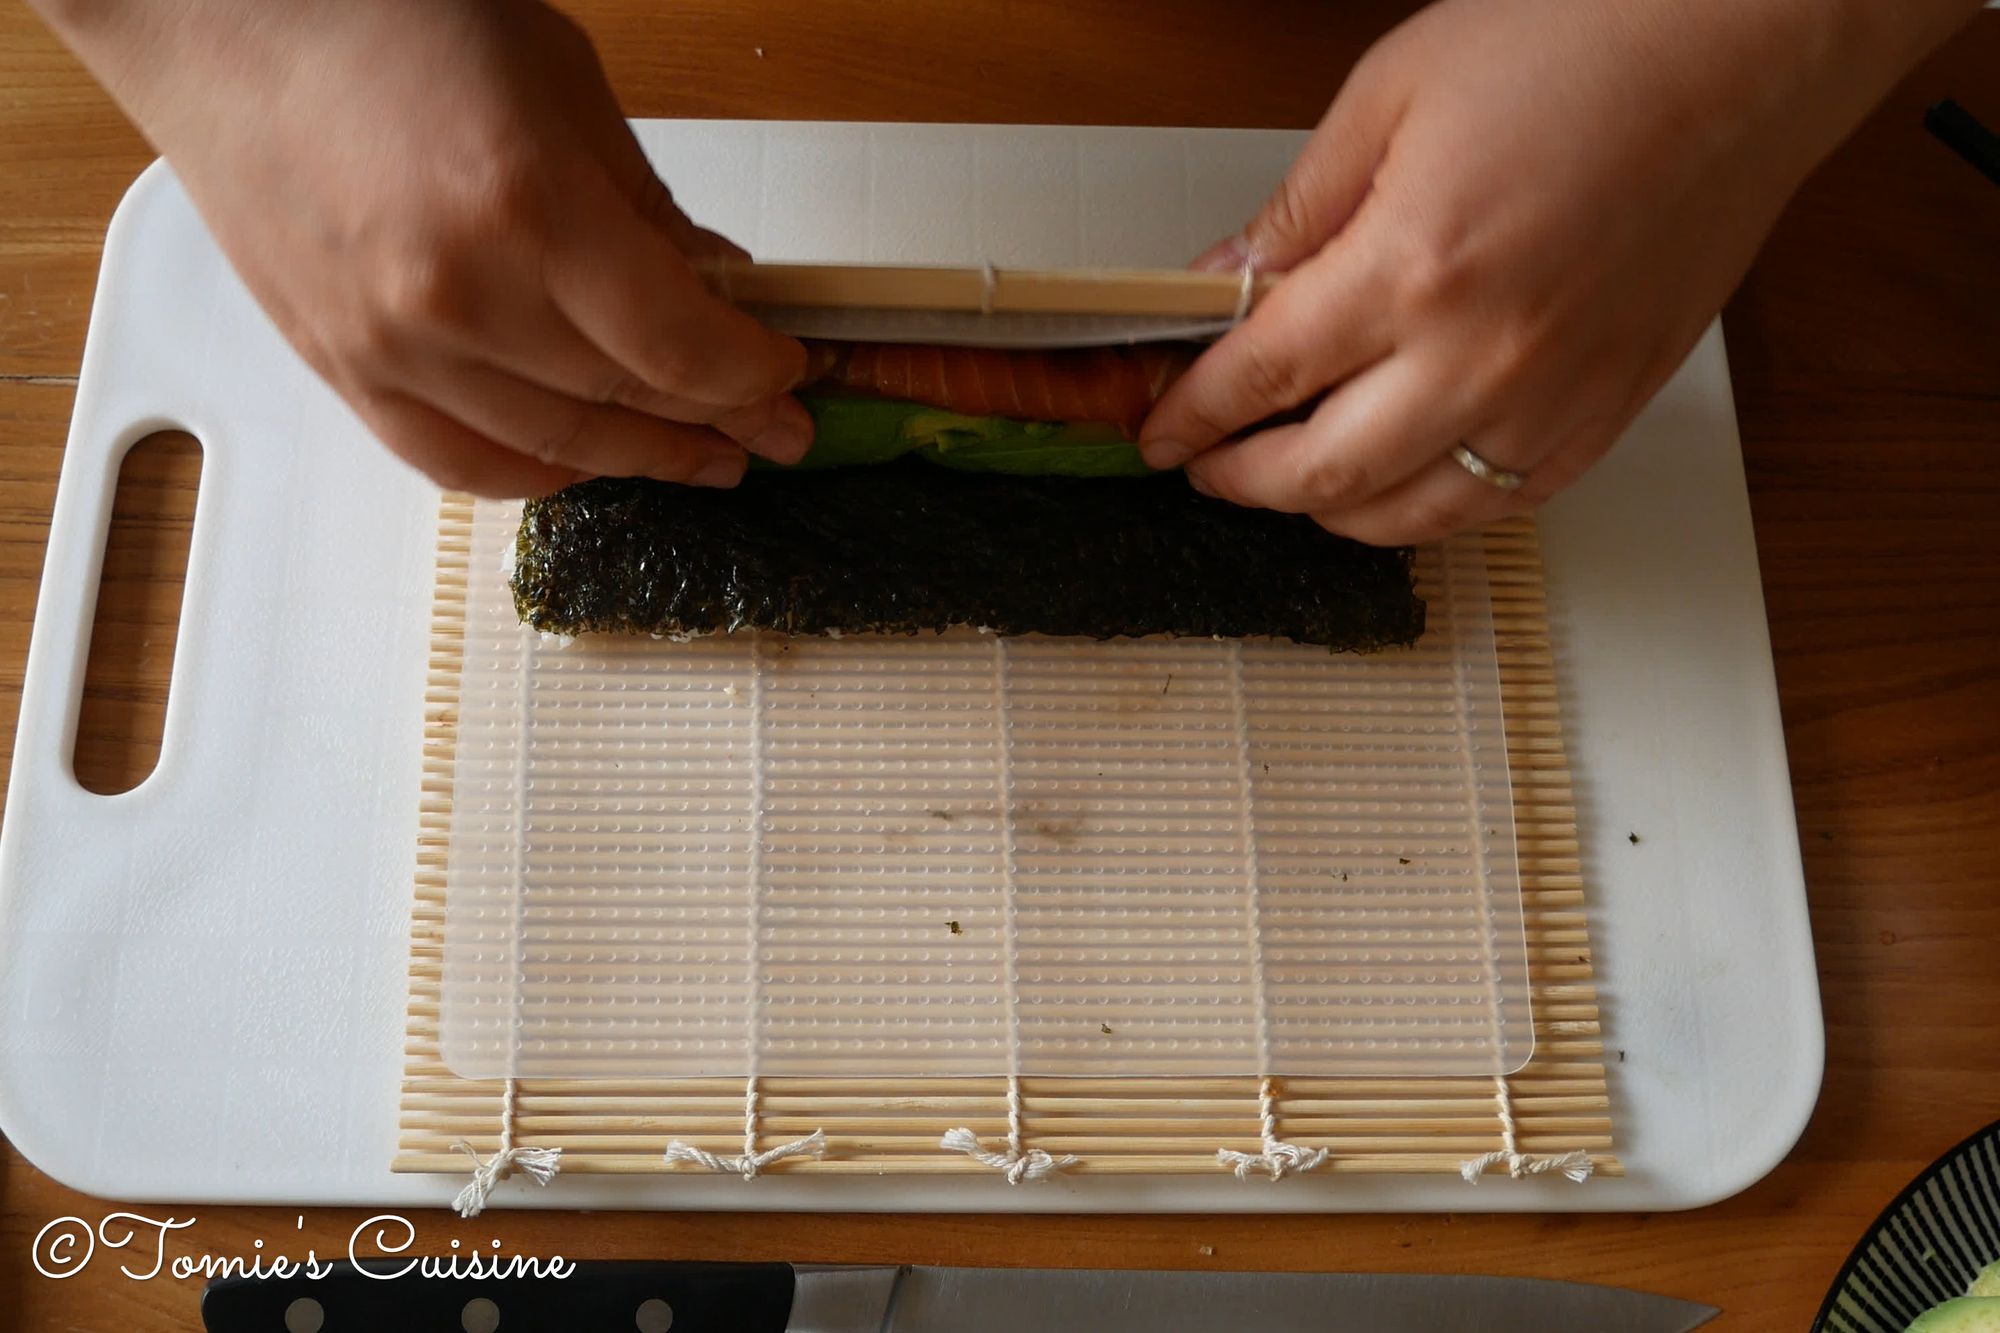
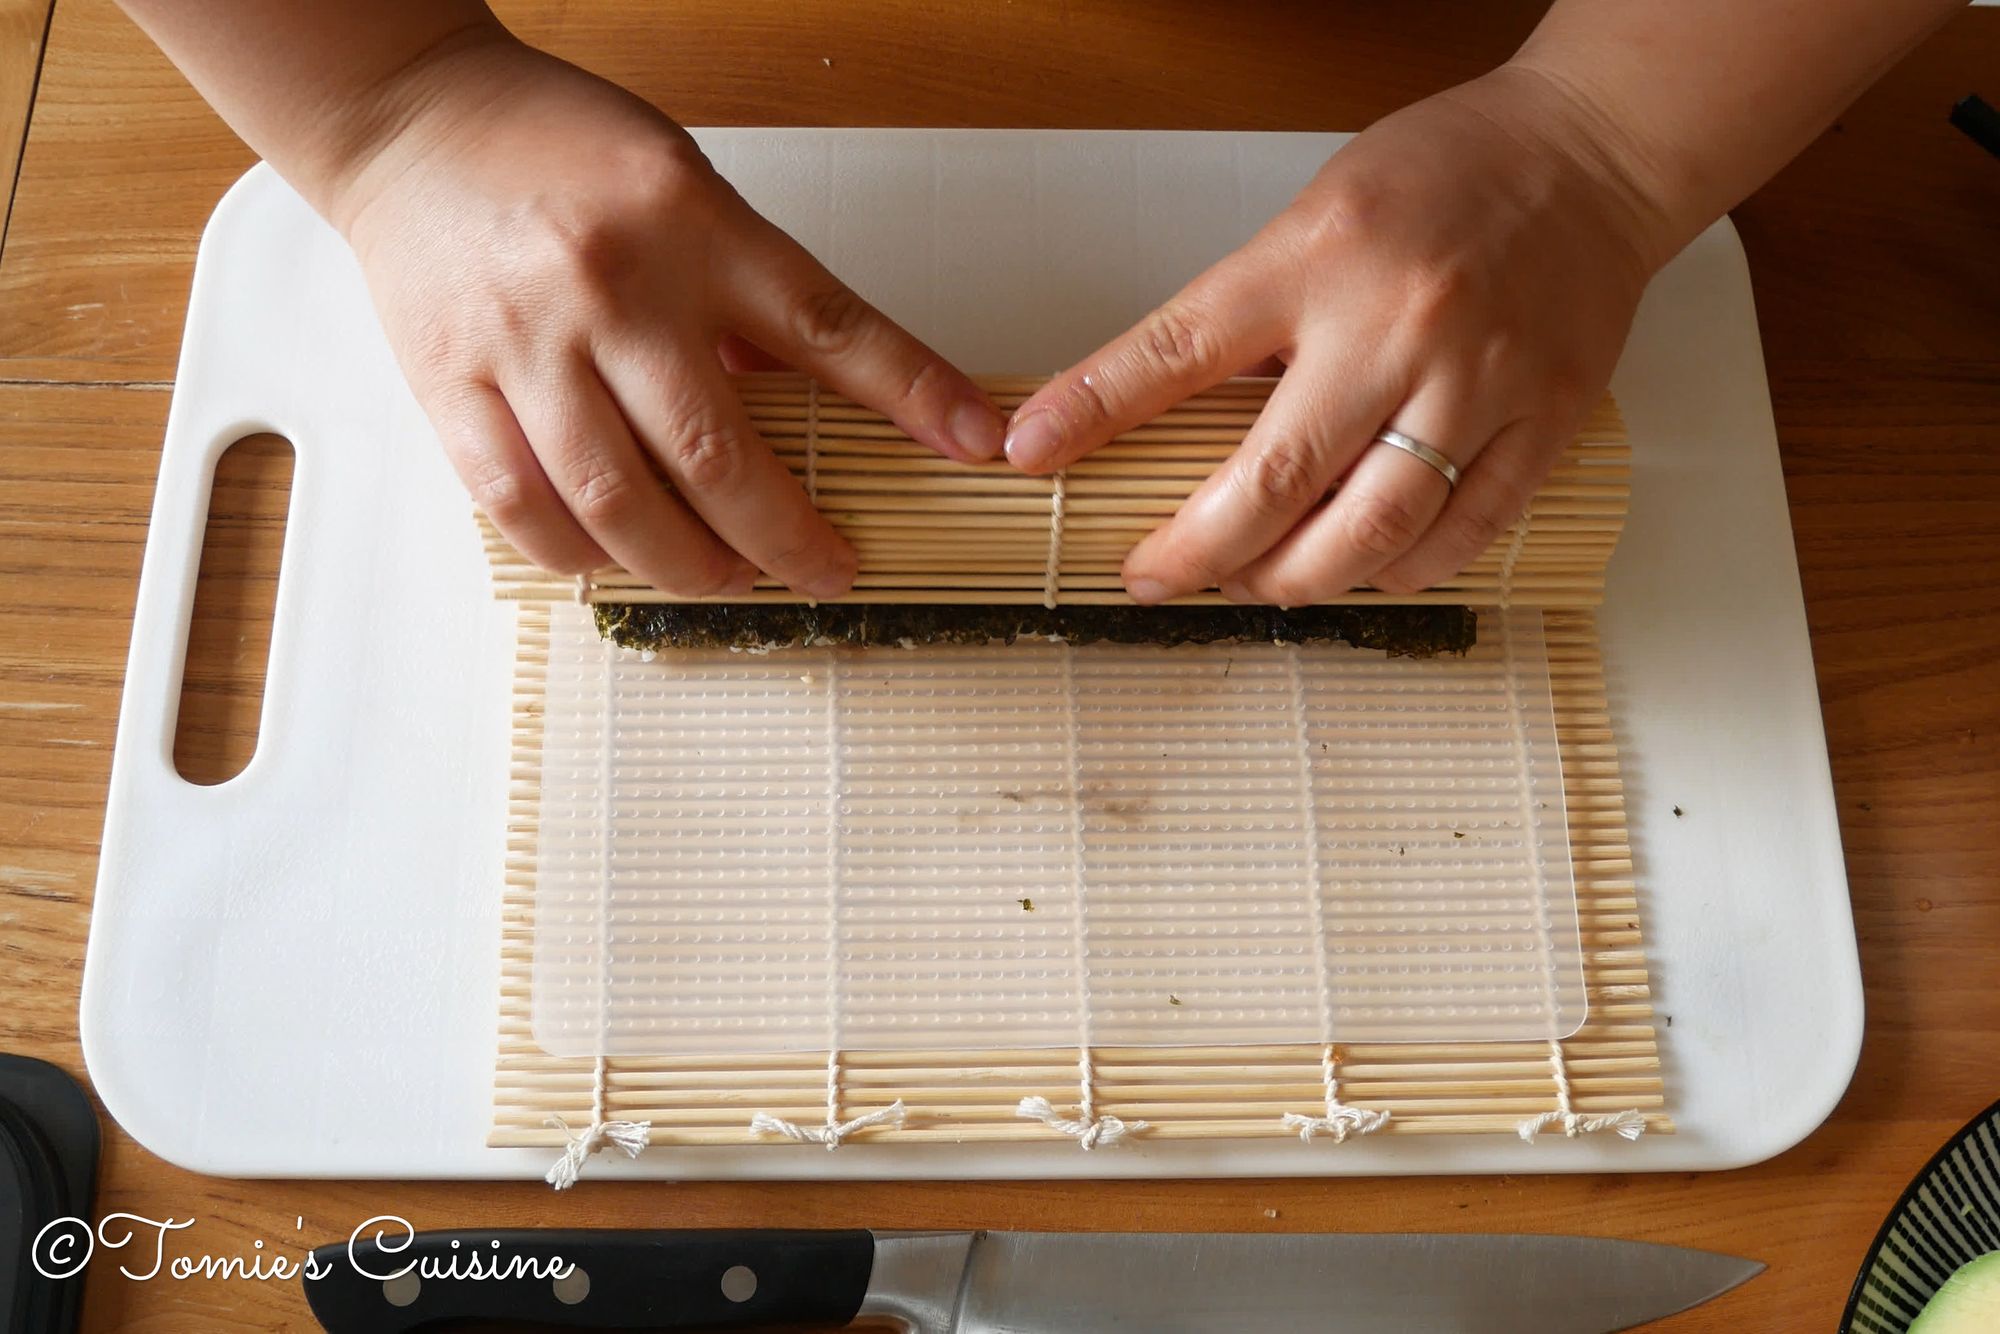
- Start rolling it from your side to forward. The end of the seaweed lands right back of the ingredients inside and press gently to stick together.
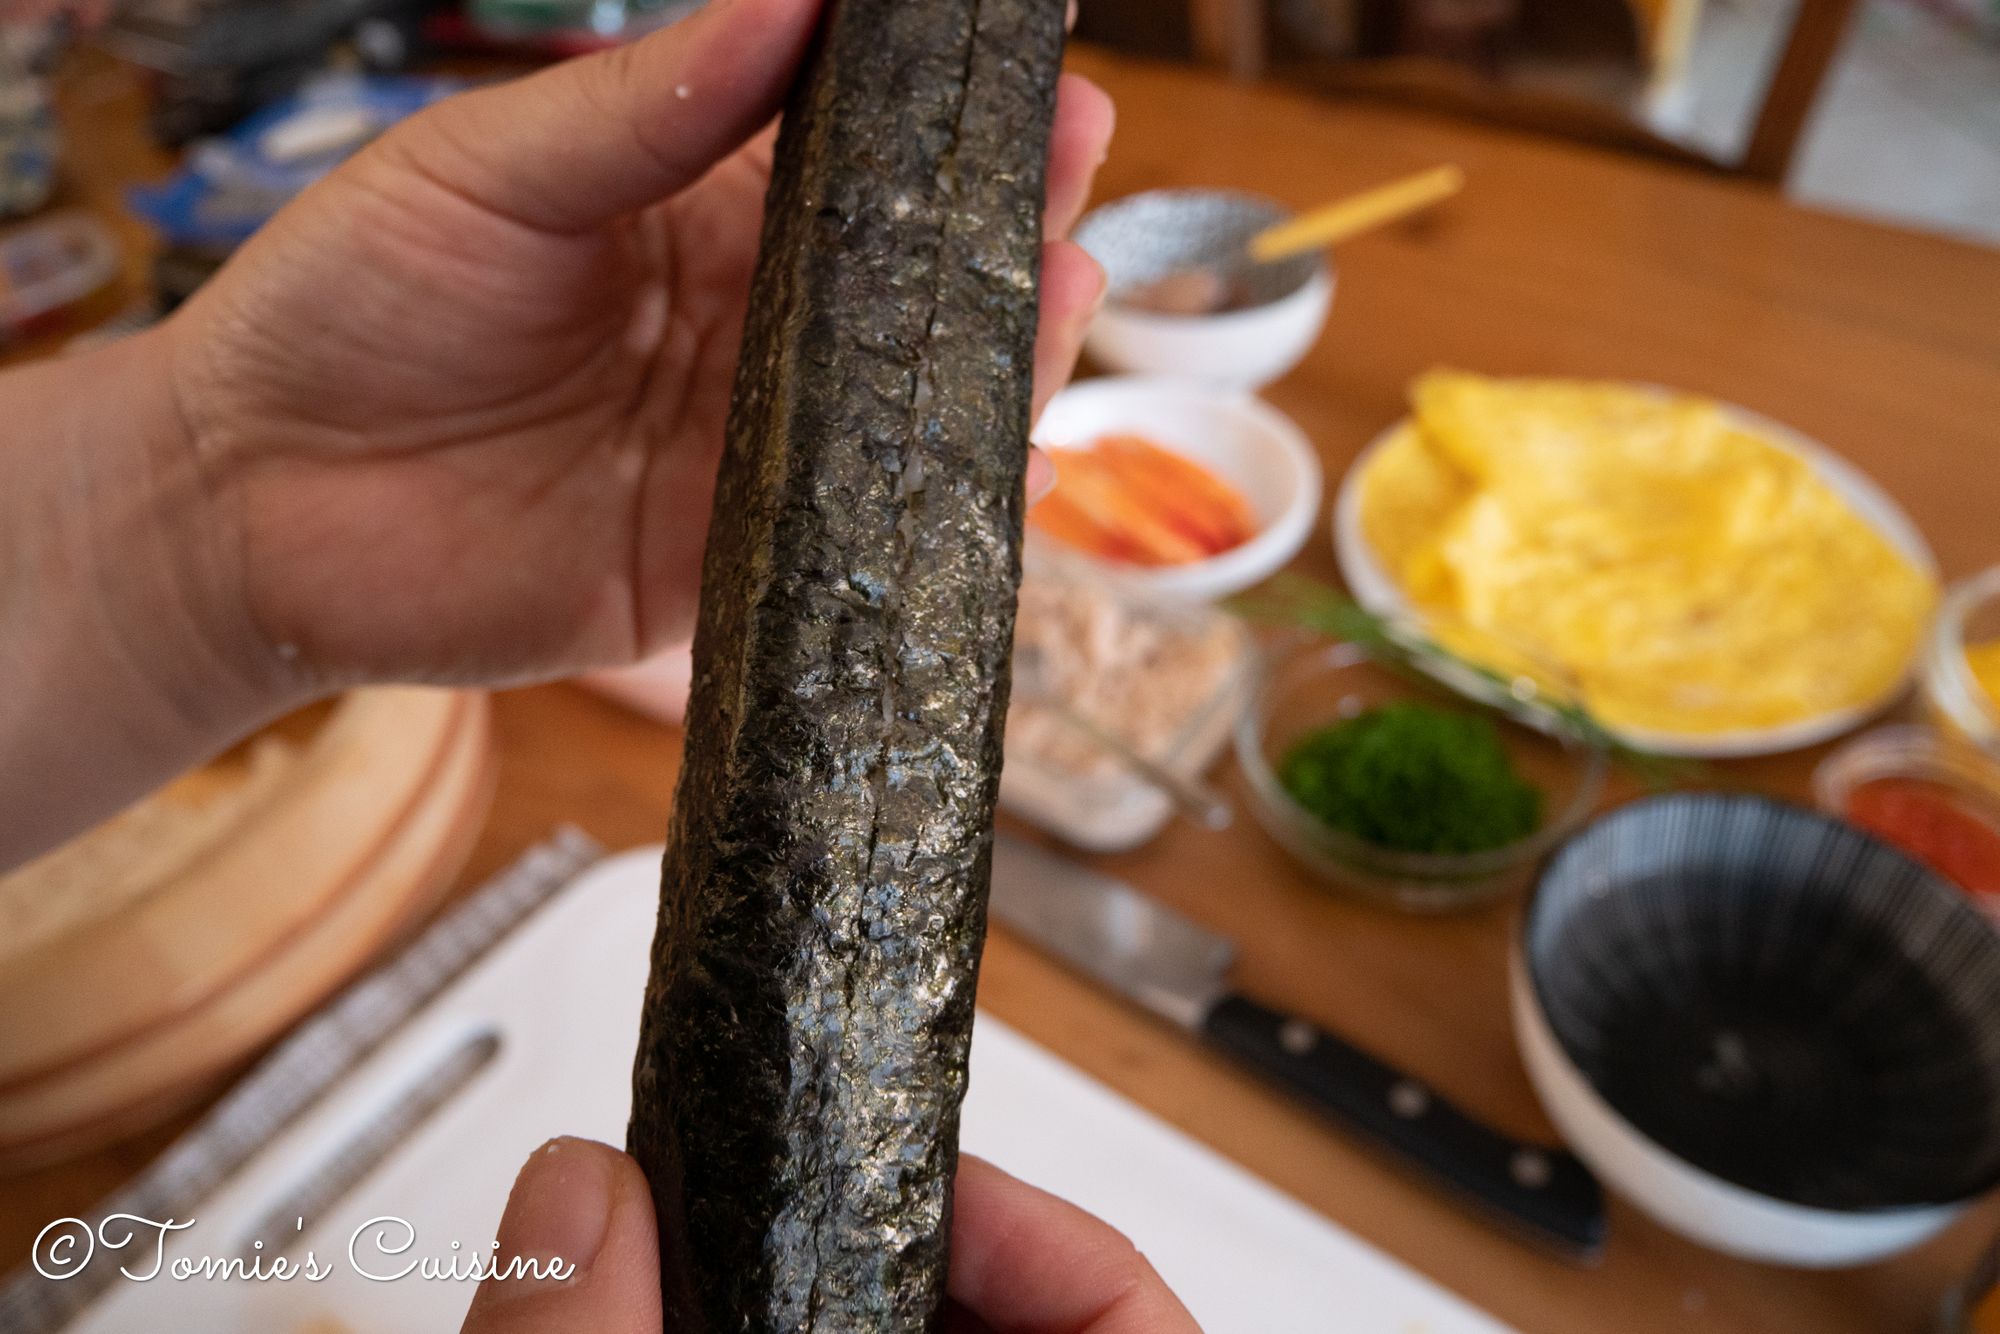
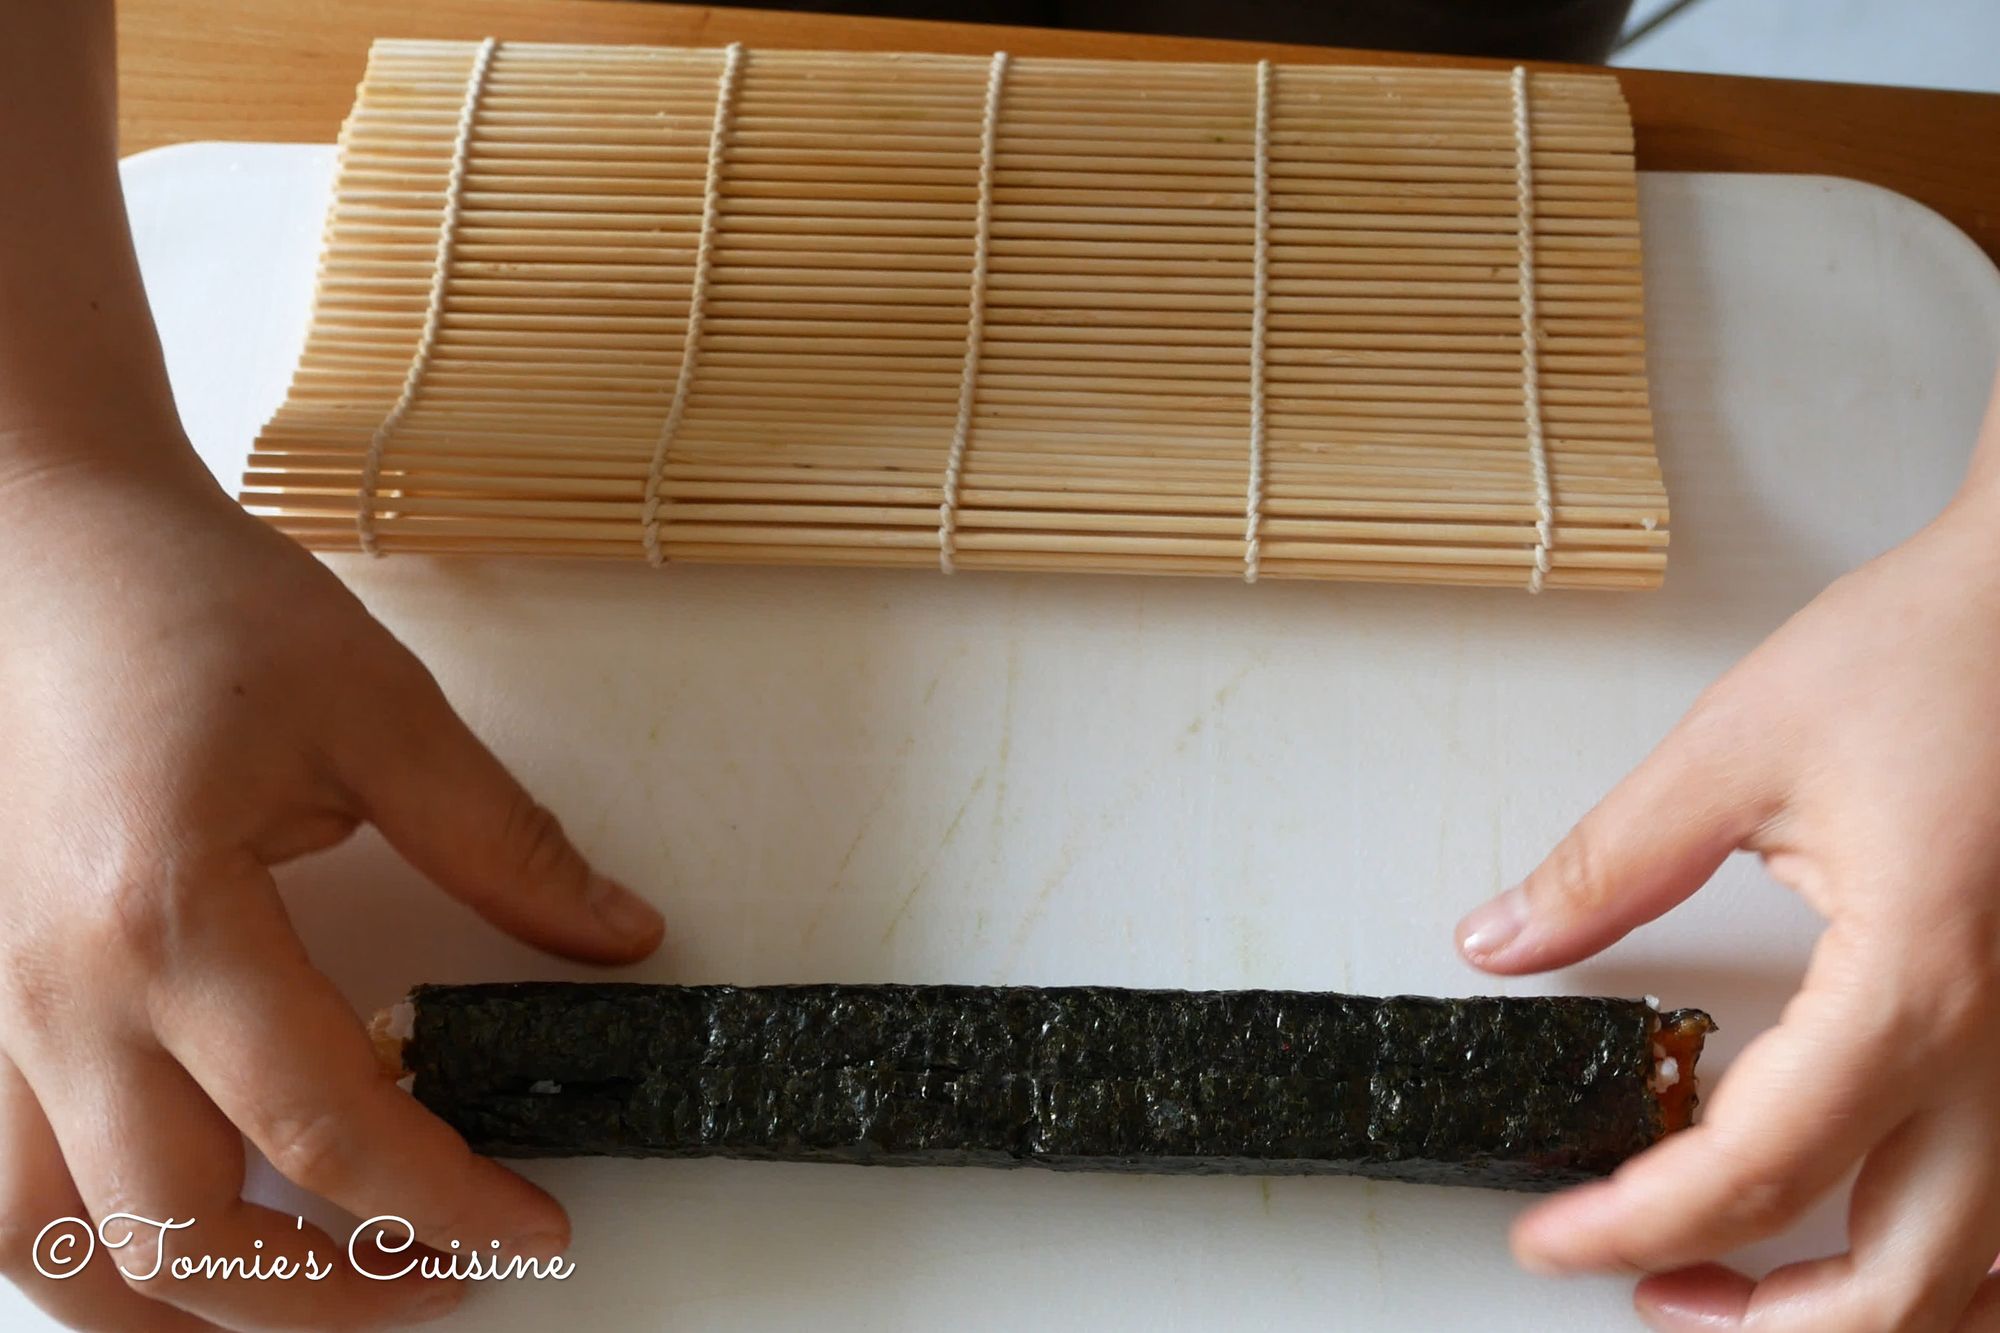
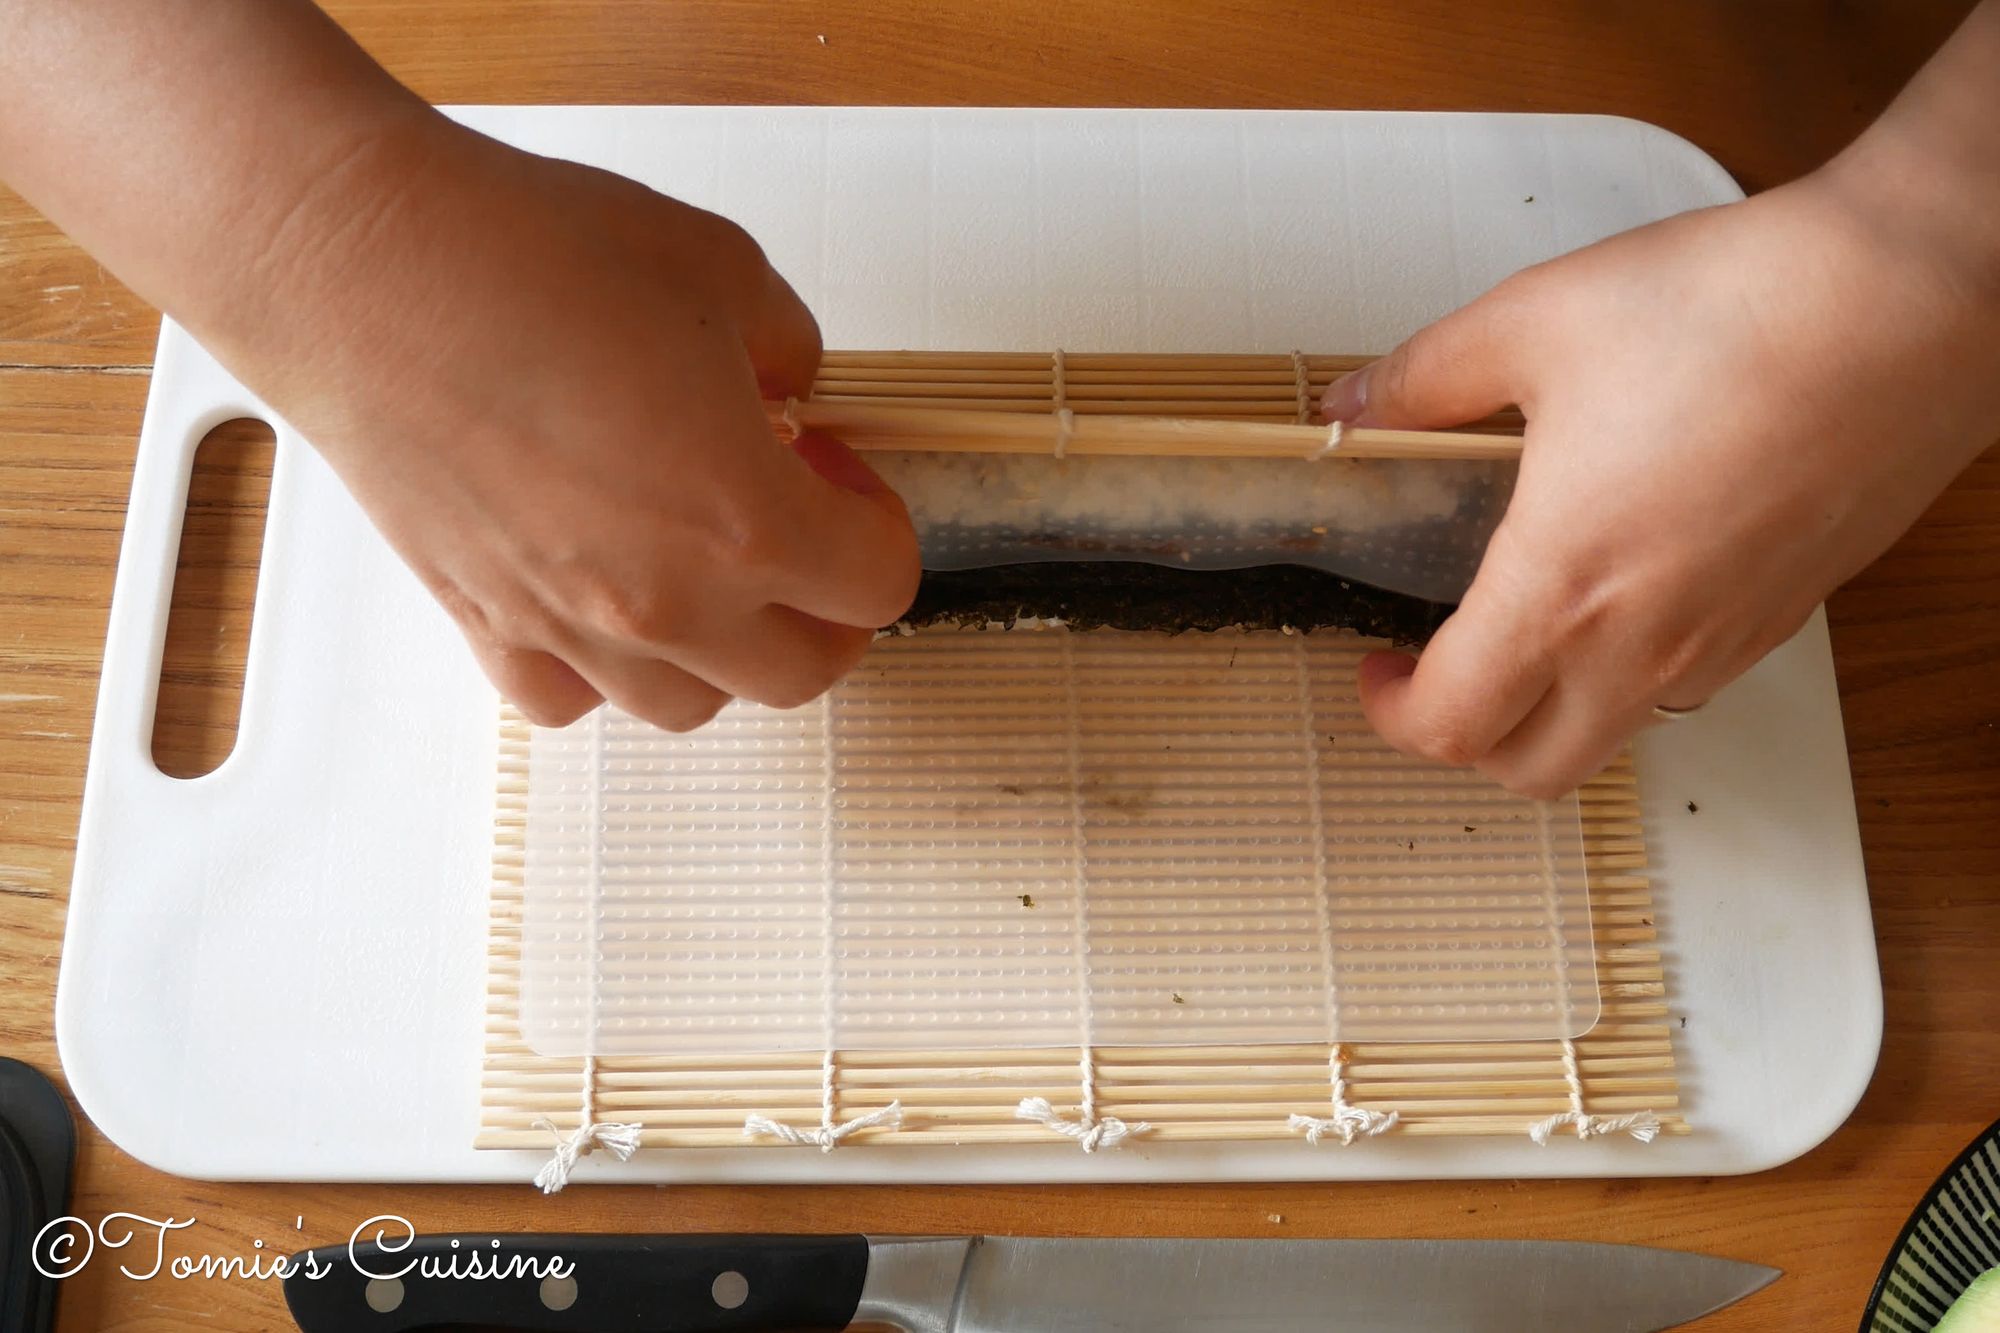
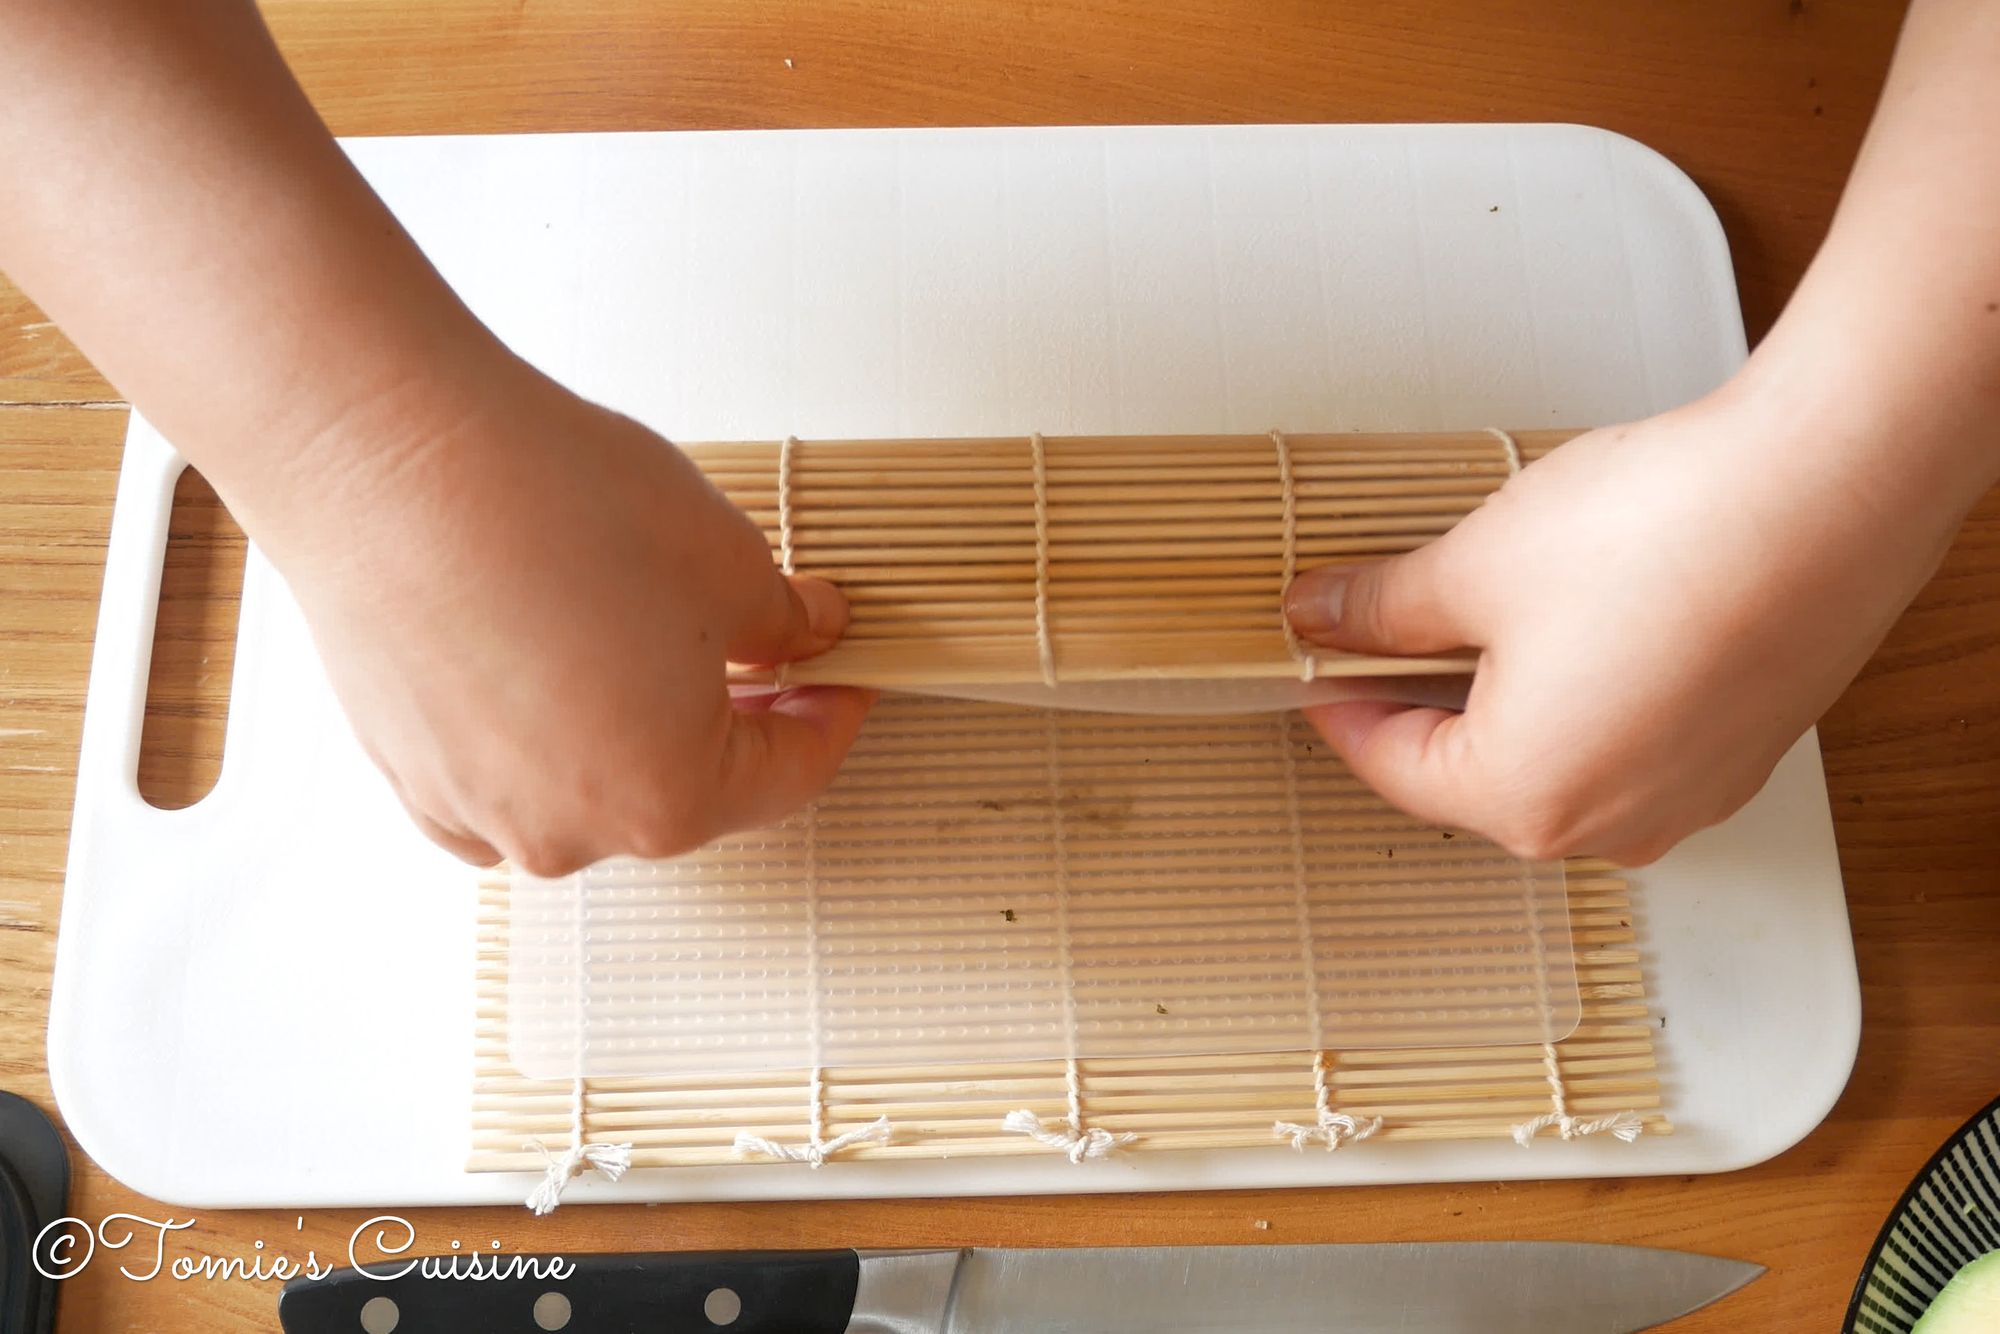
- Rollover to the end. Put the end part of the seaweed to the bottom and press gently to make a square shape.
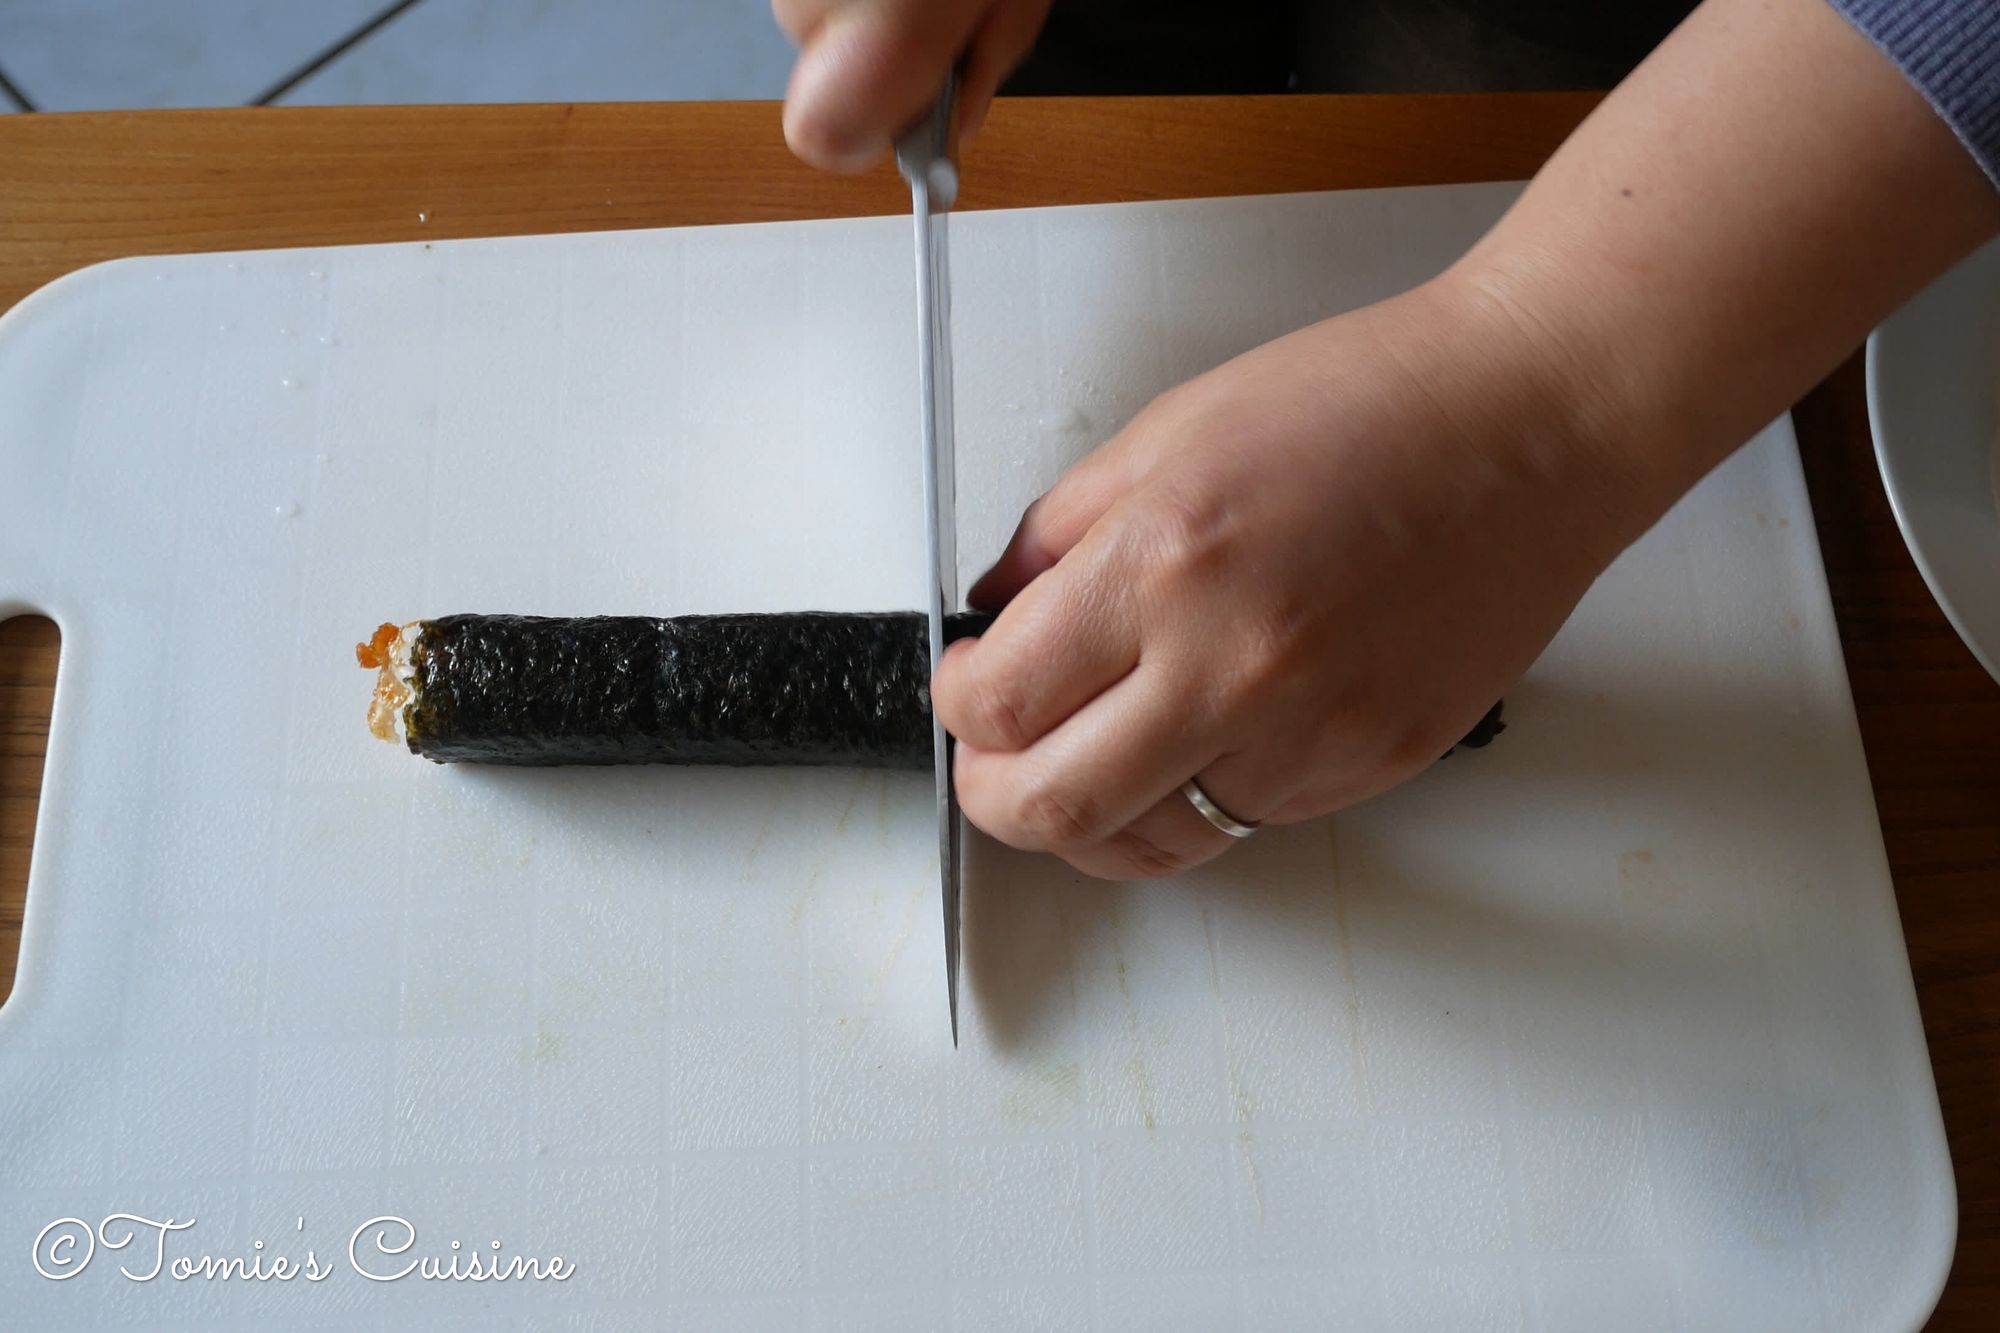

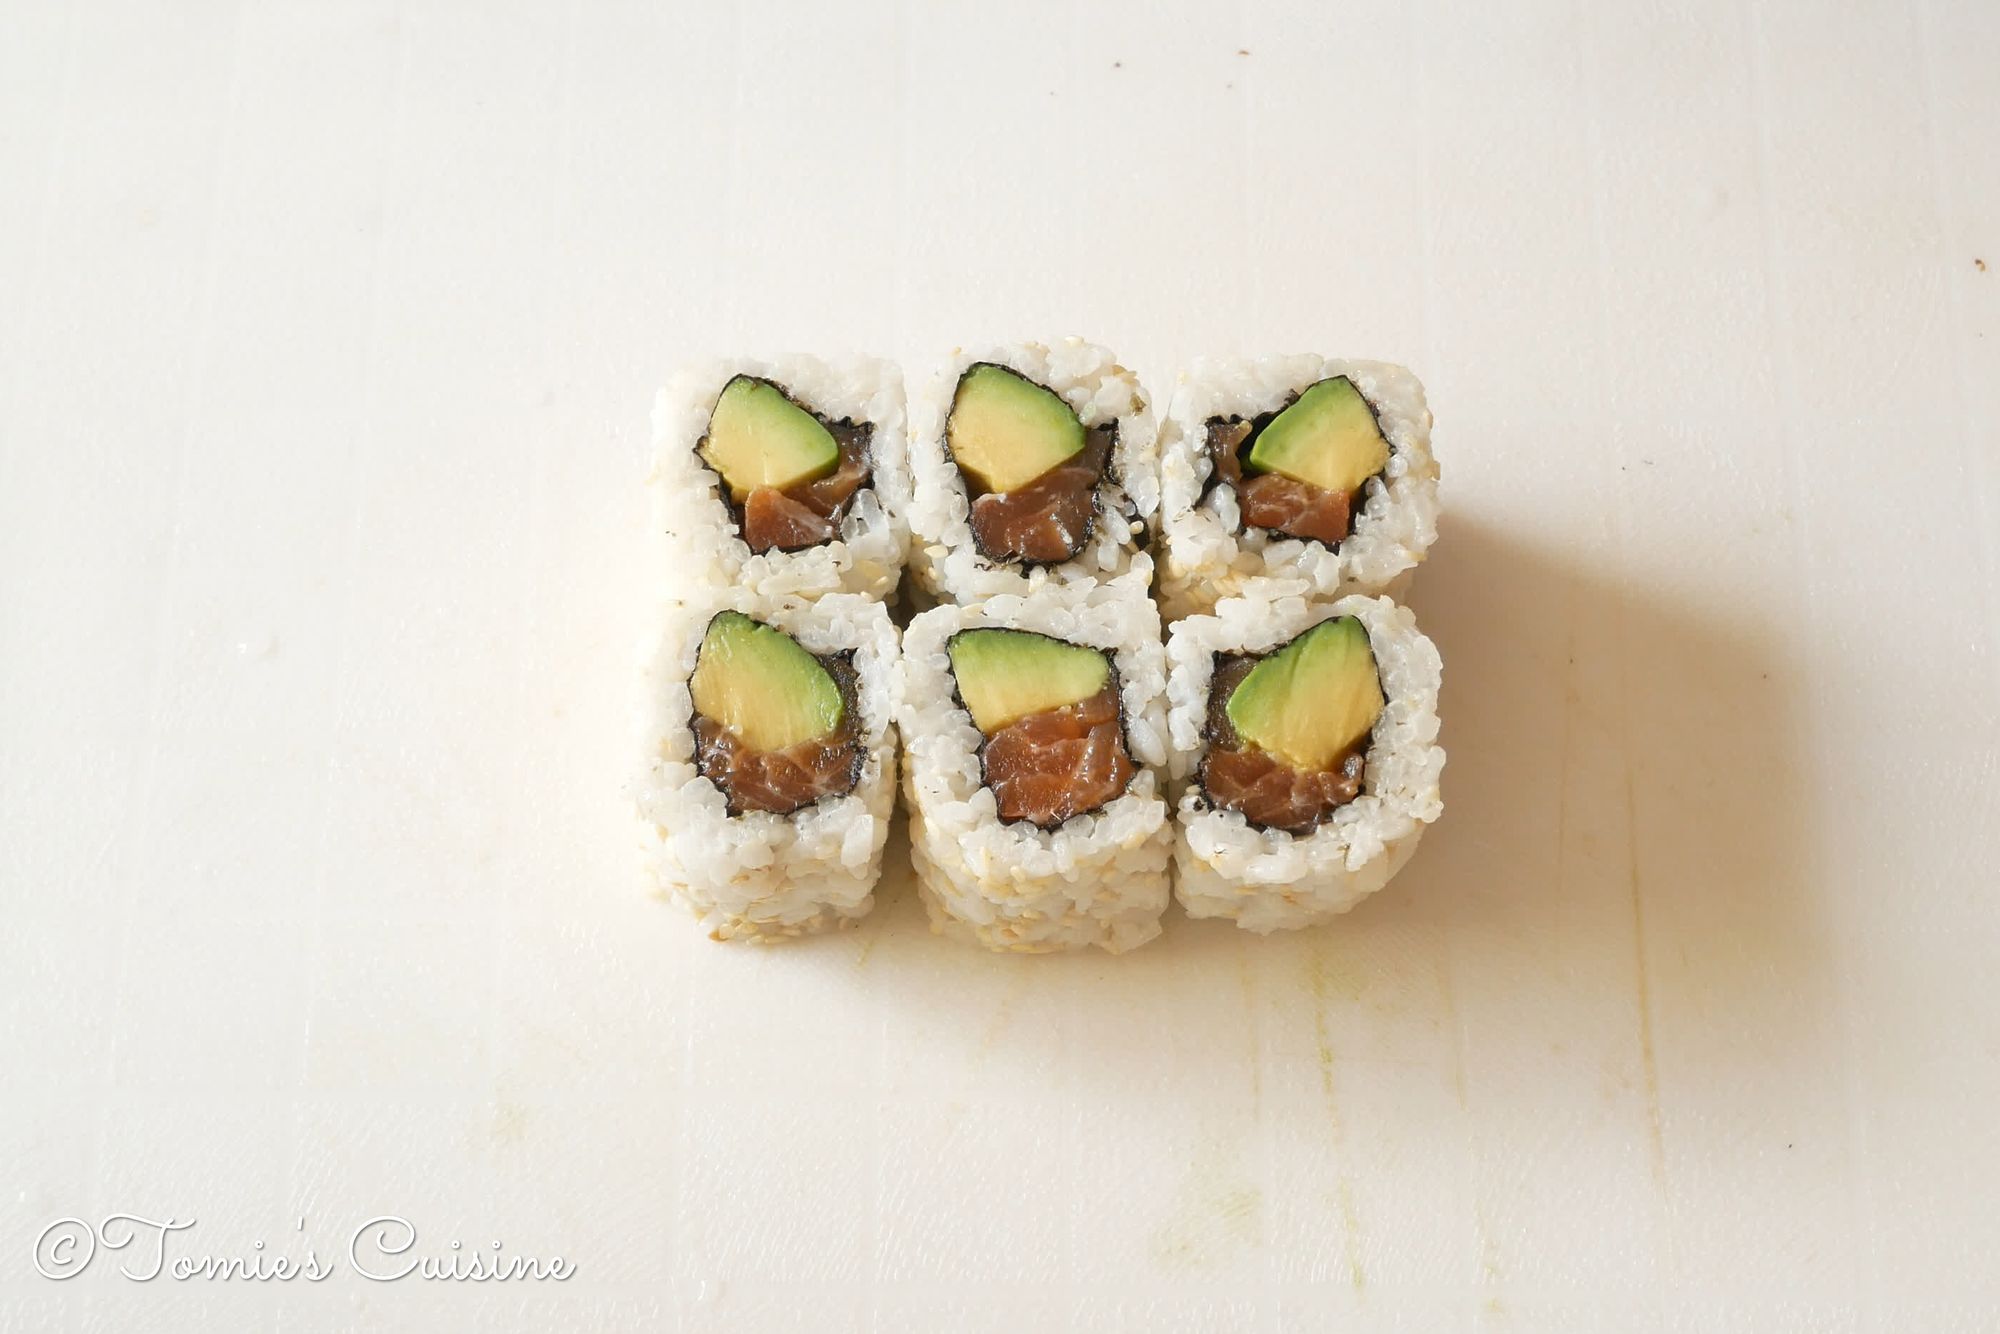
- Wet your sharp knife, cut the roll in half, then cut the half into 3. You can get six pieces from a roll. Don't forget to wipe your knife with the wet cloth after cutting the roll.
Uramaki (inside out rolls) without using cling film step-by-step recipe
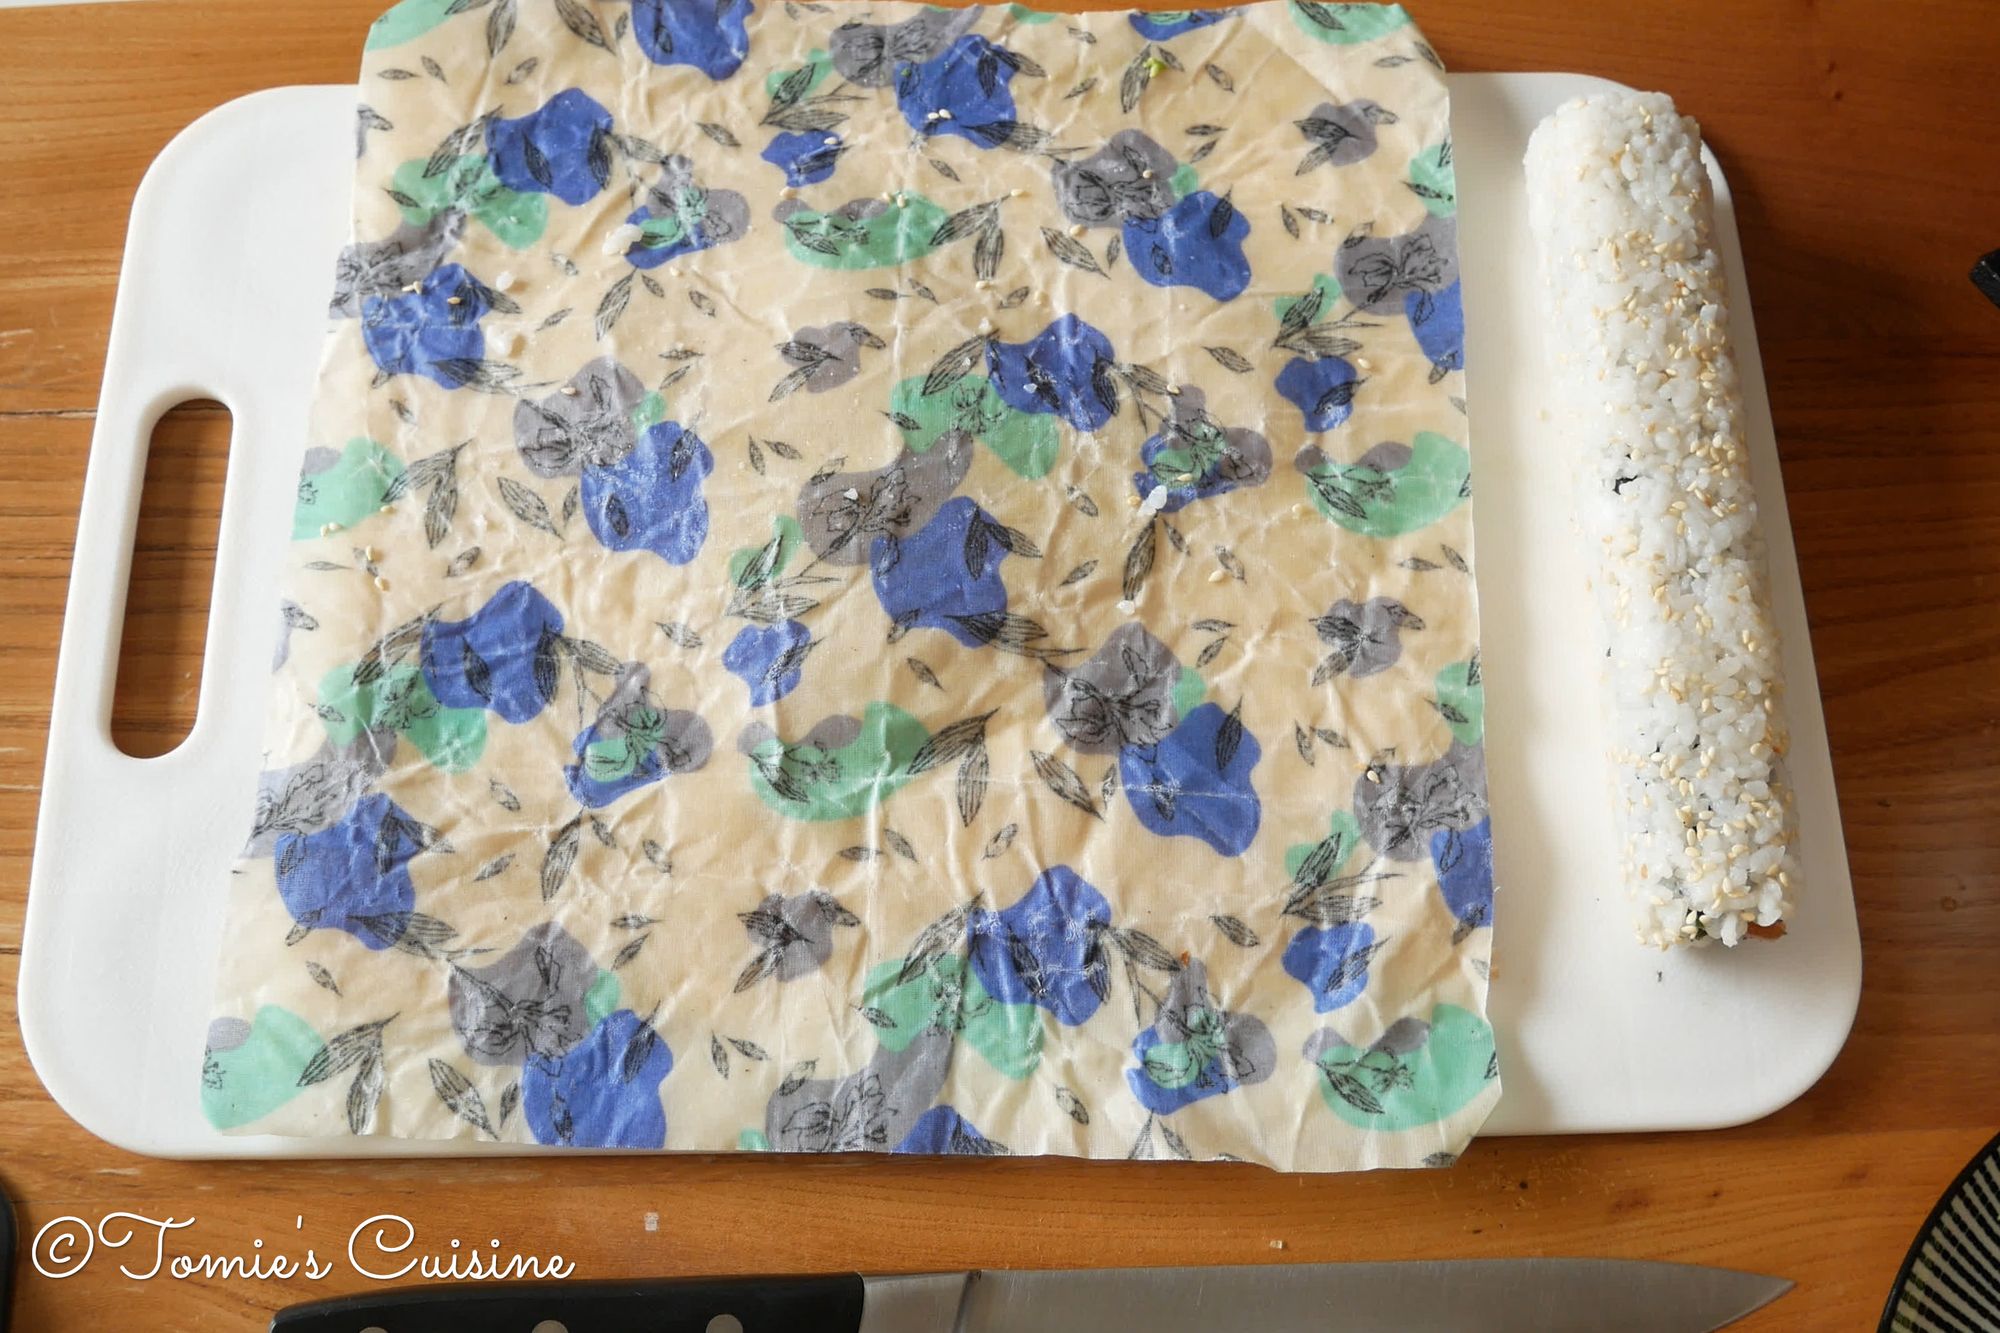
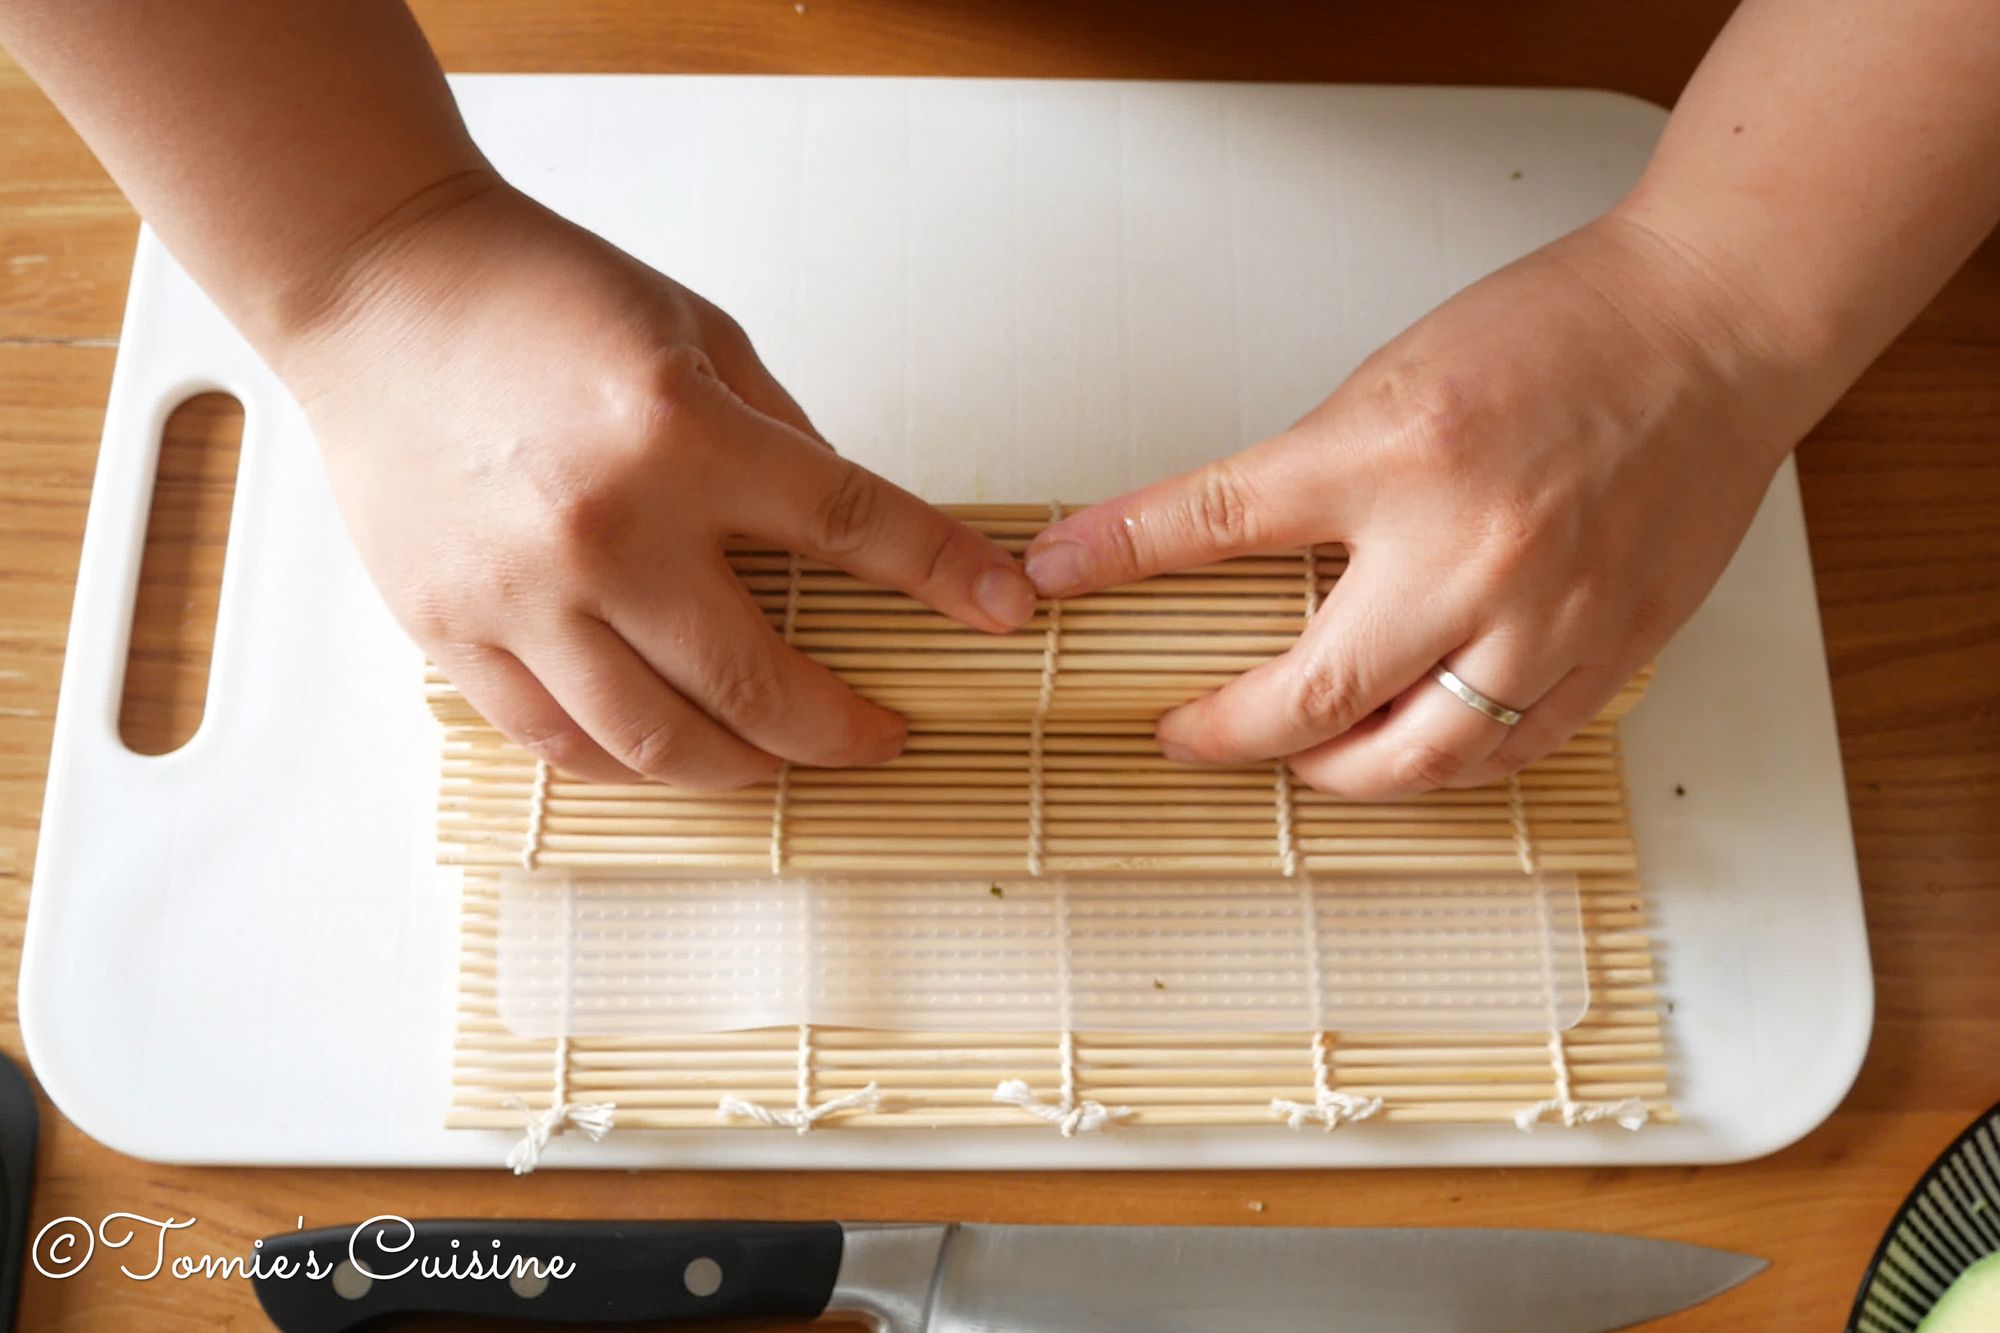
- Place the makisu and reusable silicone sheet on the top. (It also works with beeswax!)
- Place half nori seaweed on the makisu. (shiny side facing the makisu, so away from you)
- Wet your hand slightly, but not too much. Otherwise, the rice won’t stick, and the taste/ texture won’t be good.
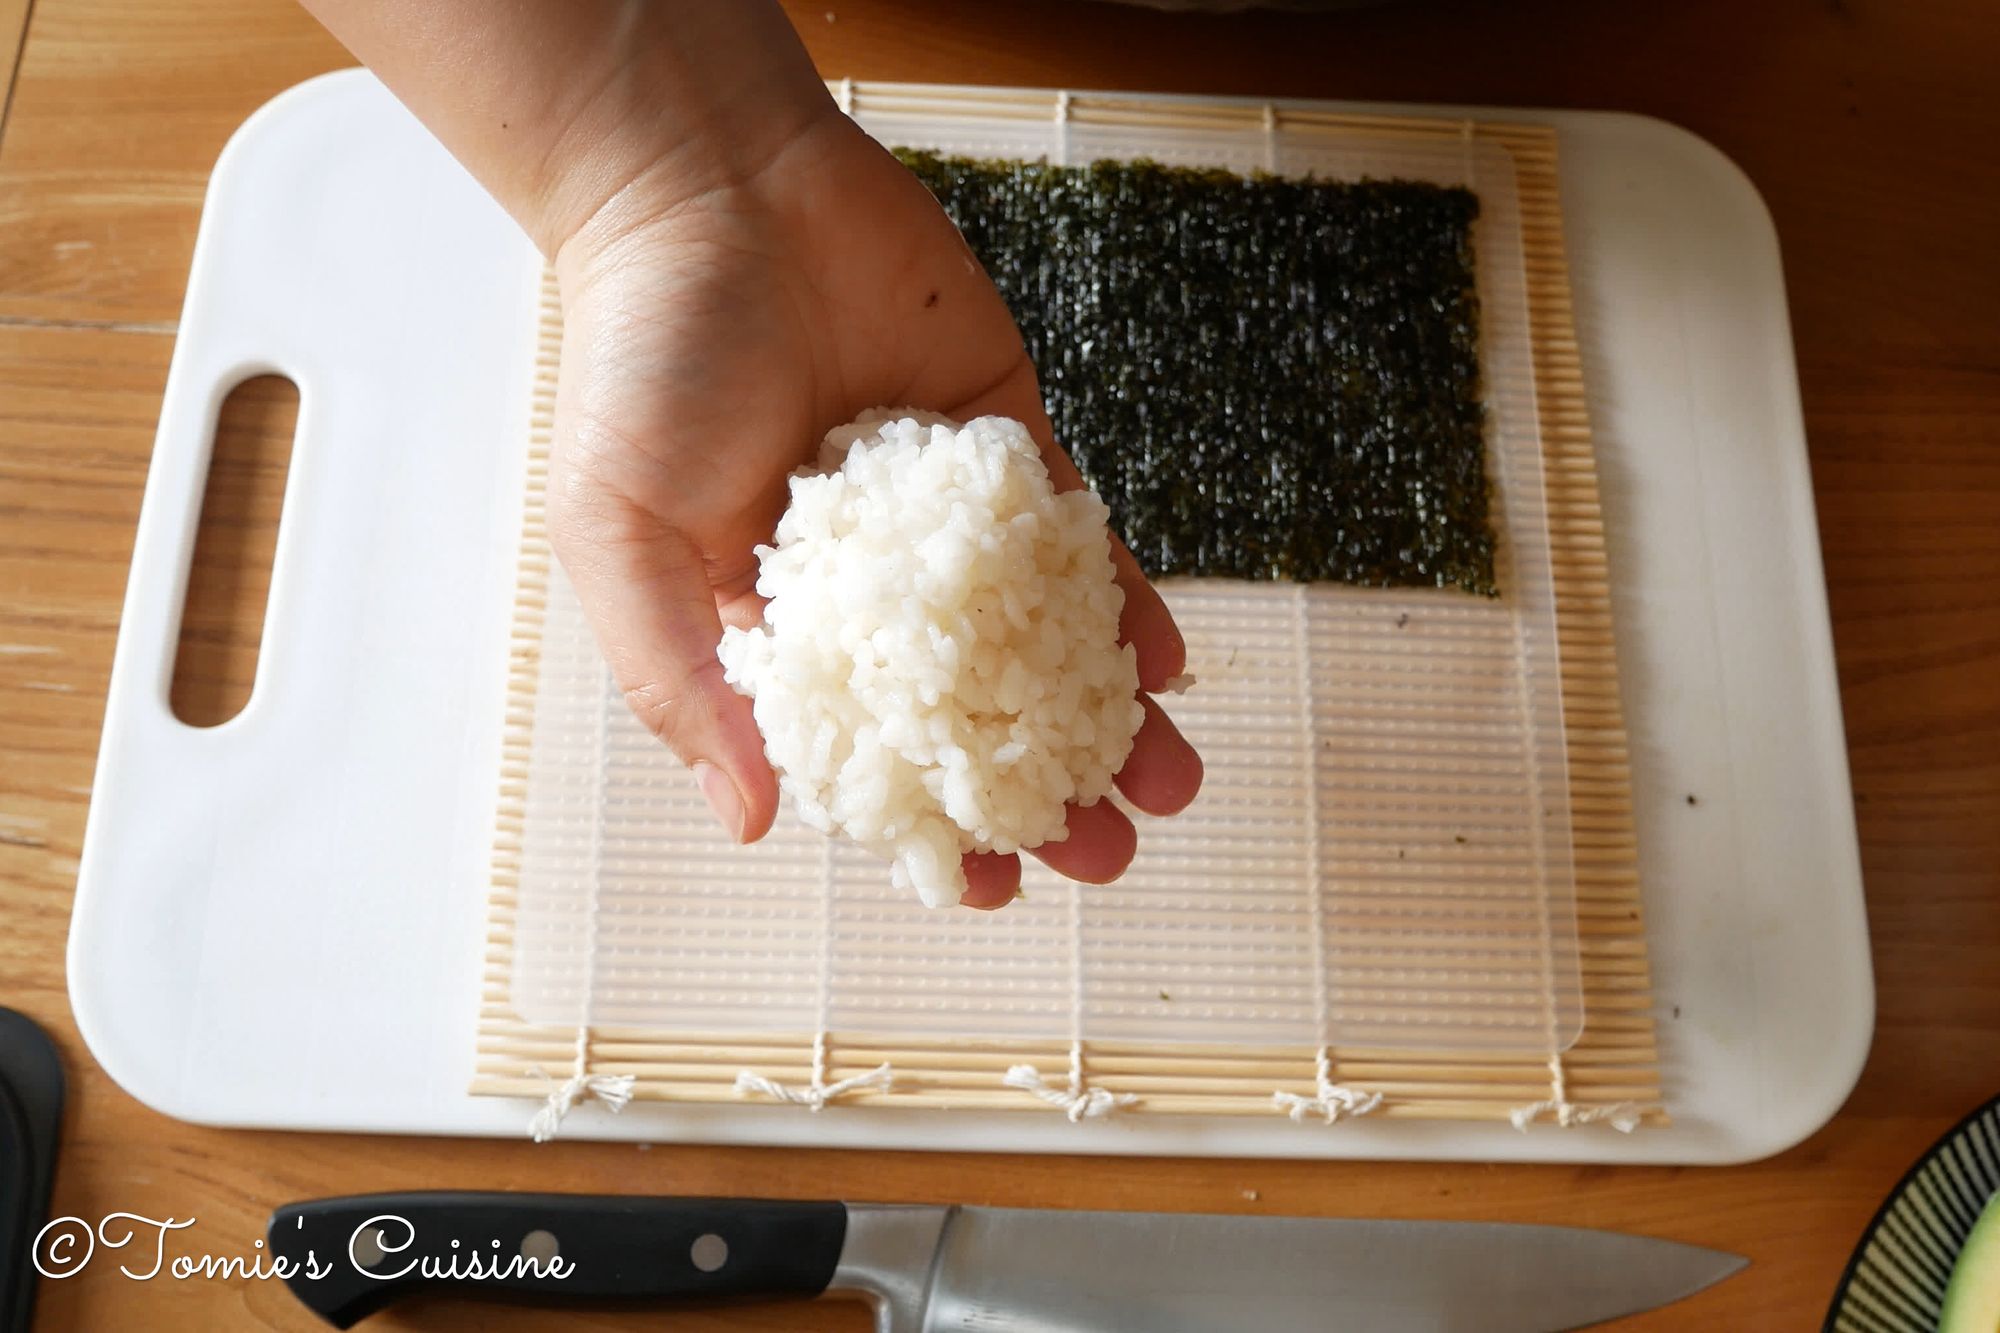
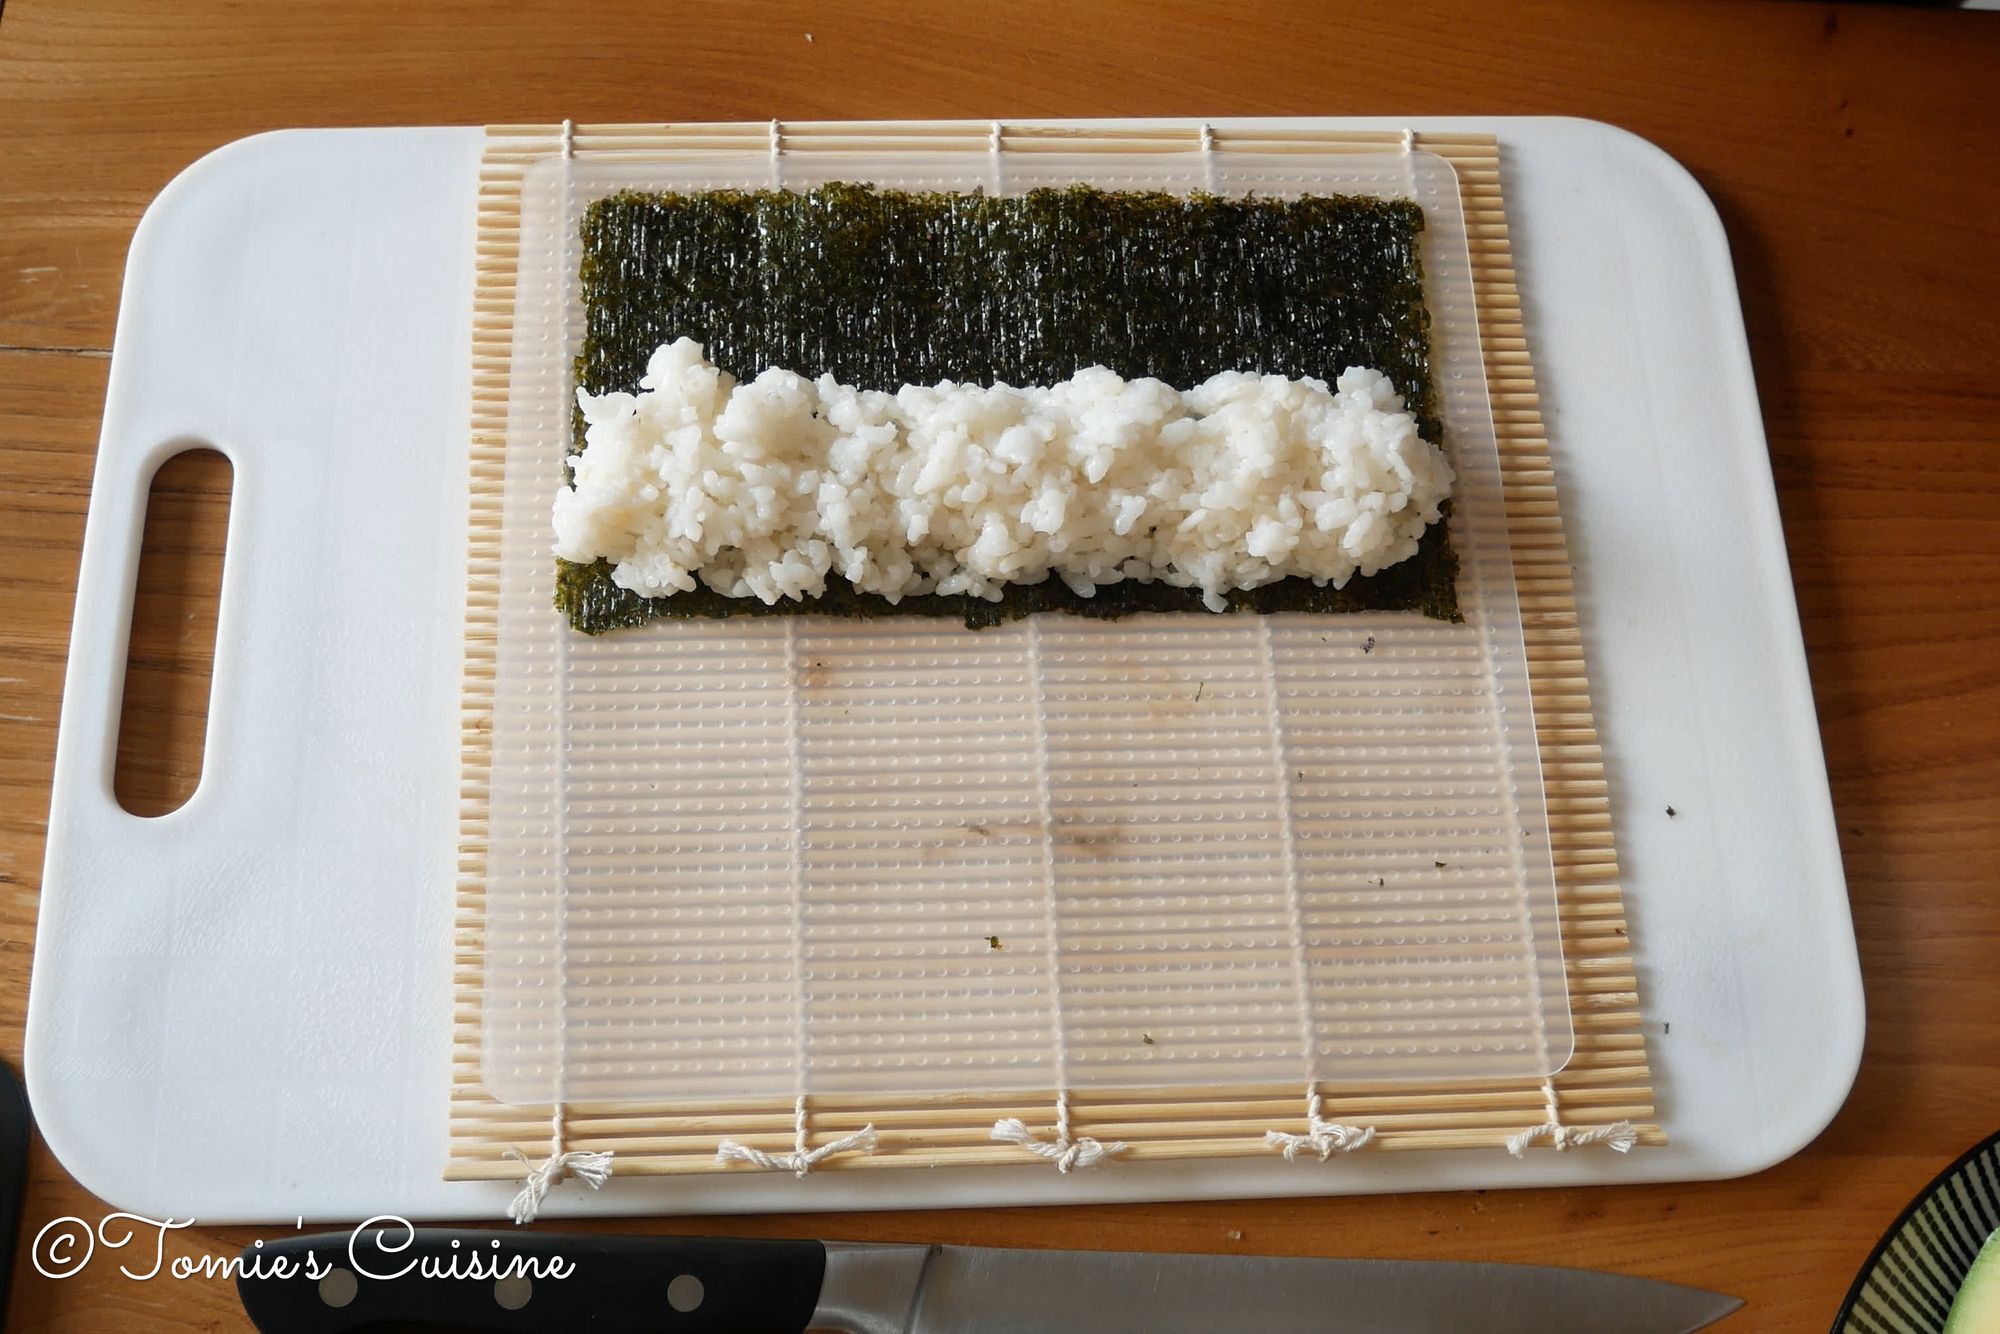
- Grab about 100g of rice (more than the hosomaki) and place its stick shape on the top side of the seaweed.
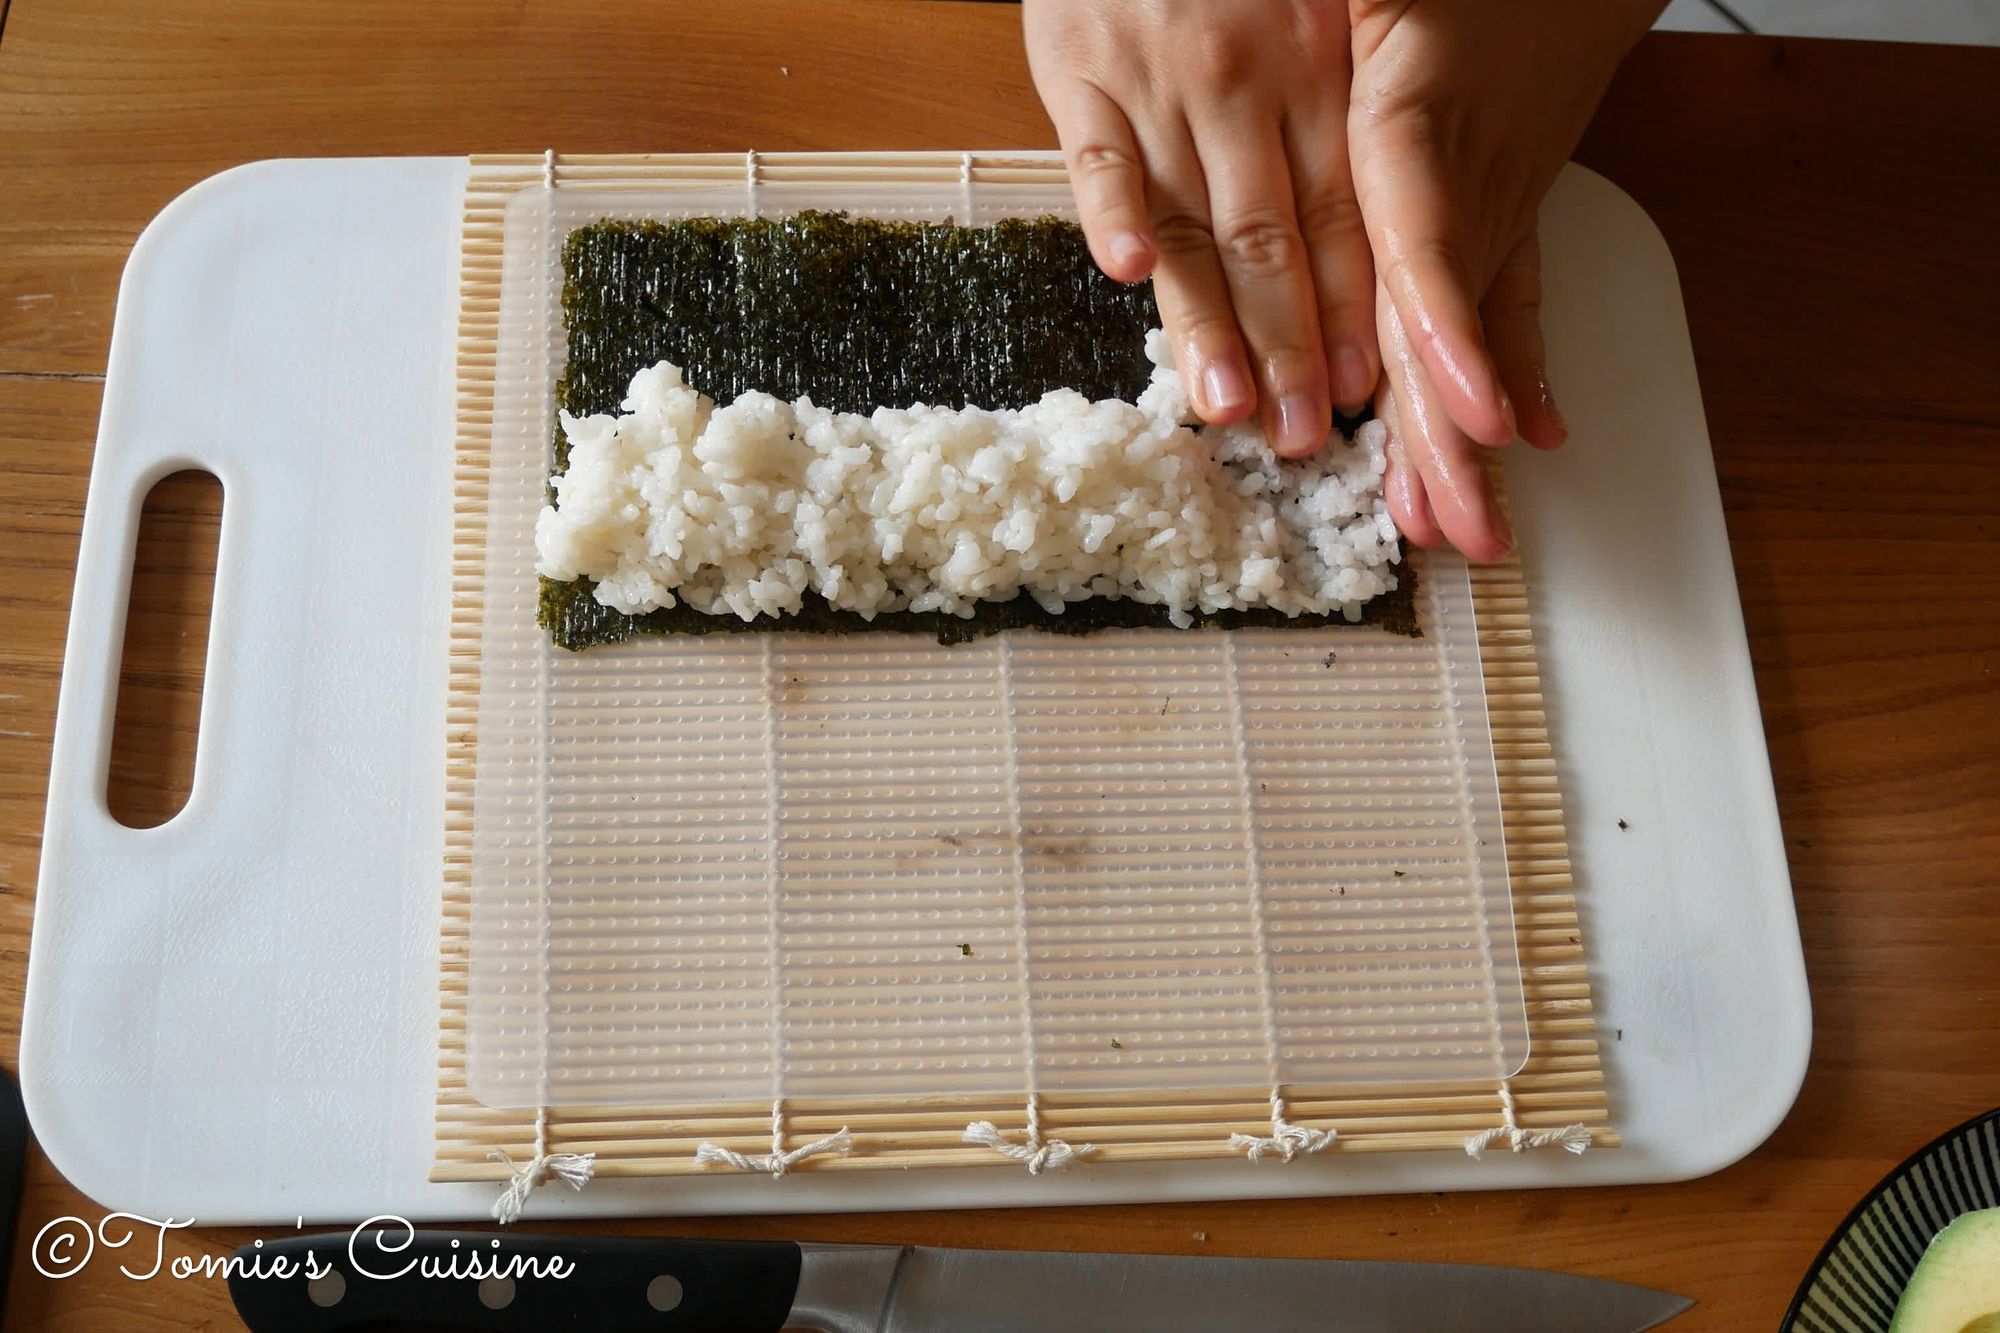
- Gently slide down the rice. Do not mush the grains. Put some water on your hand if you need it.
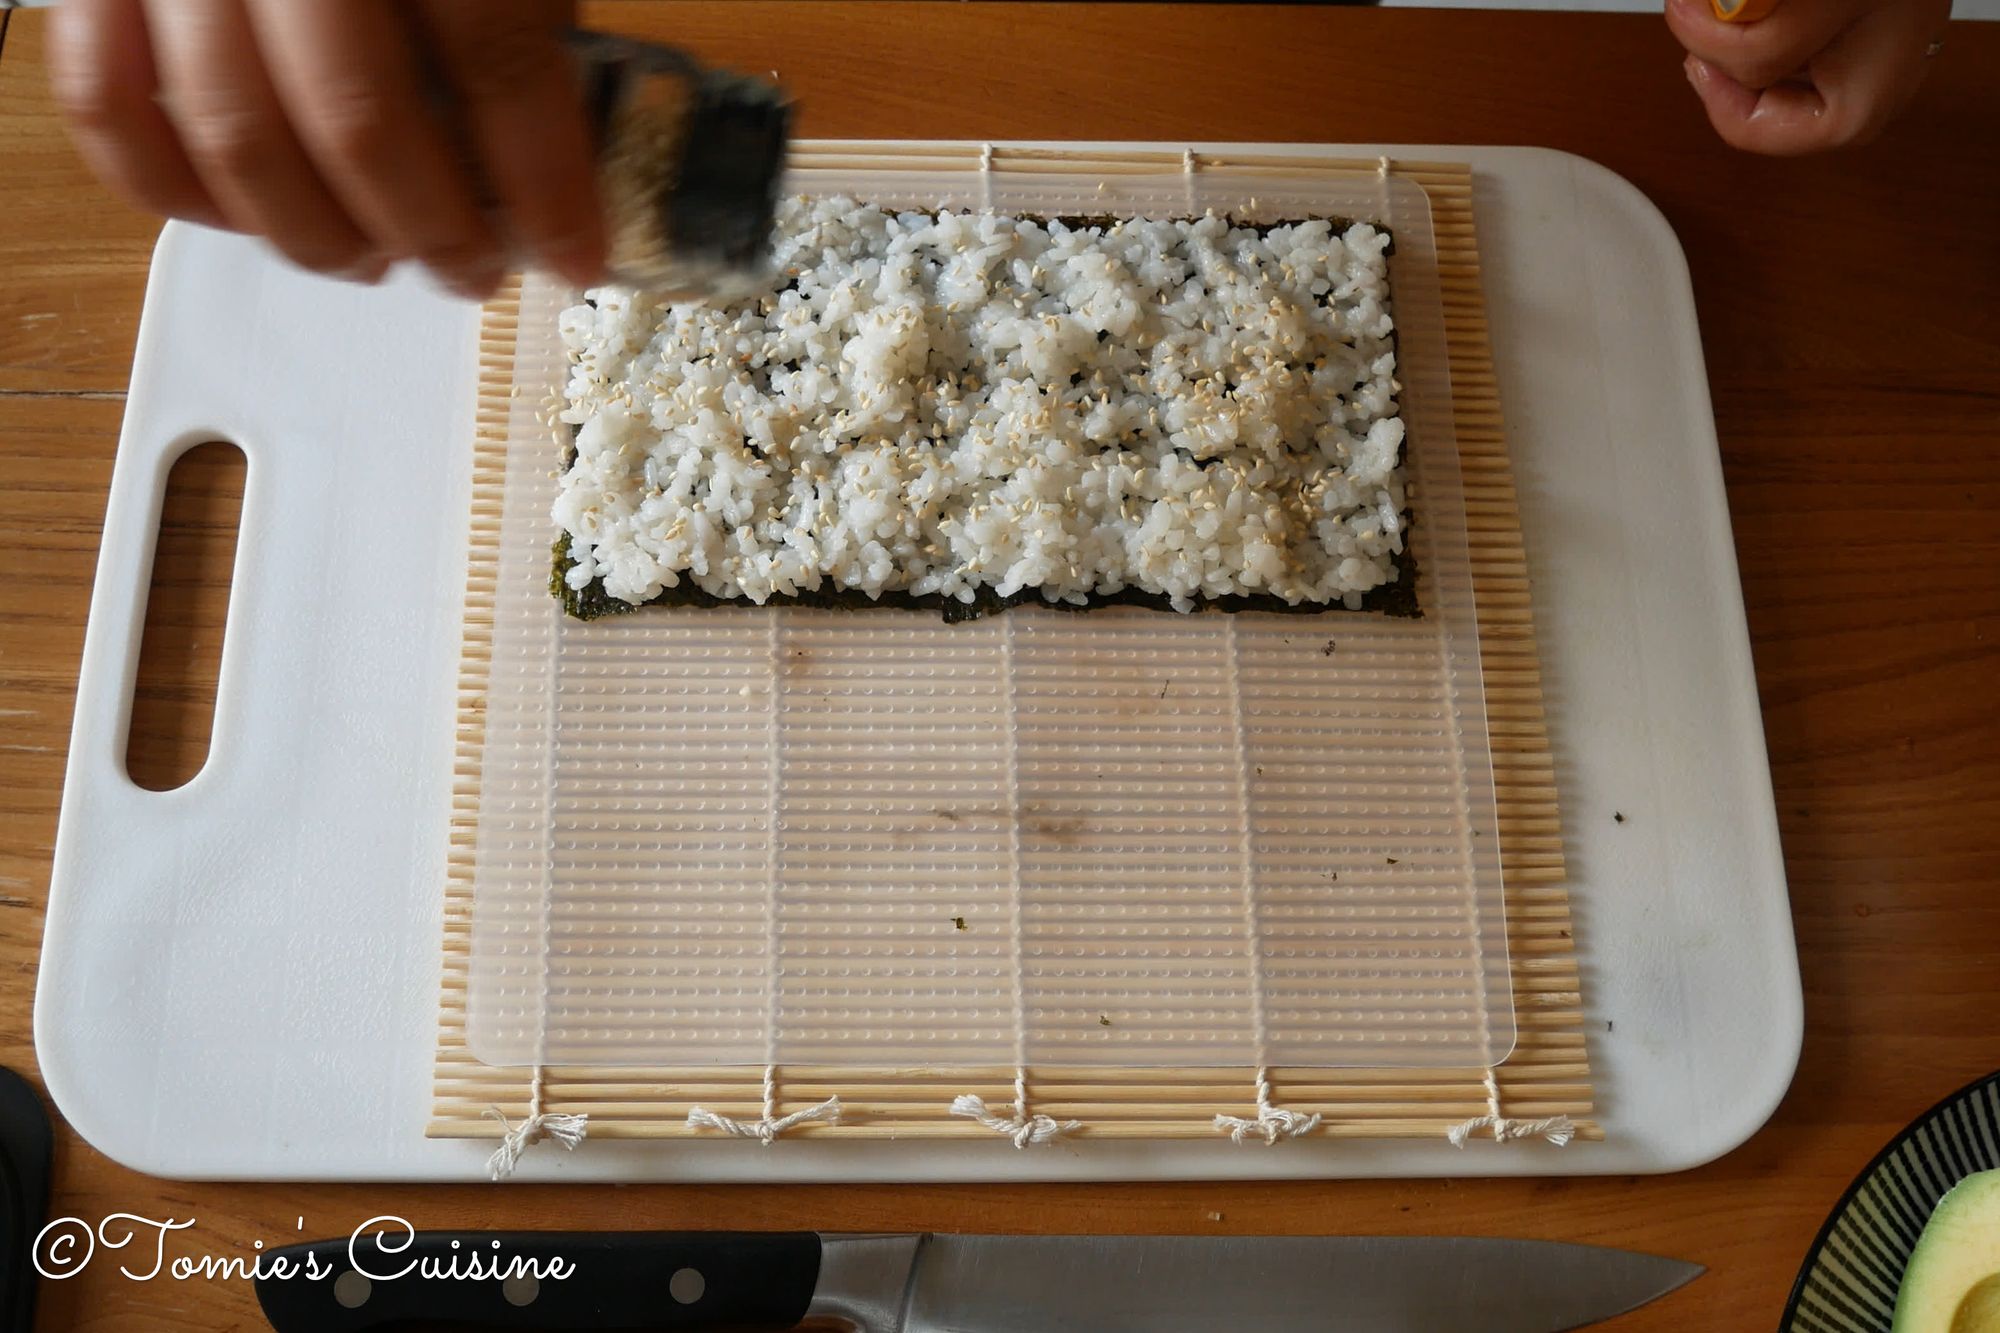
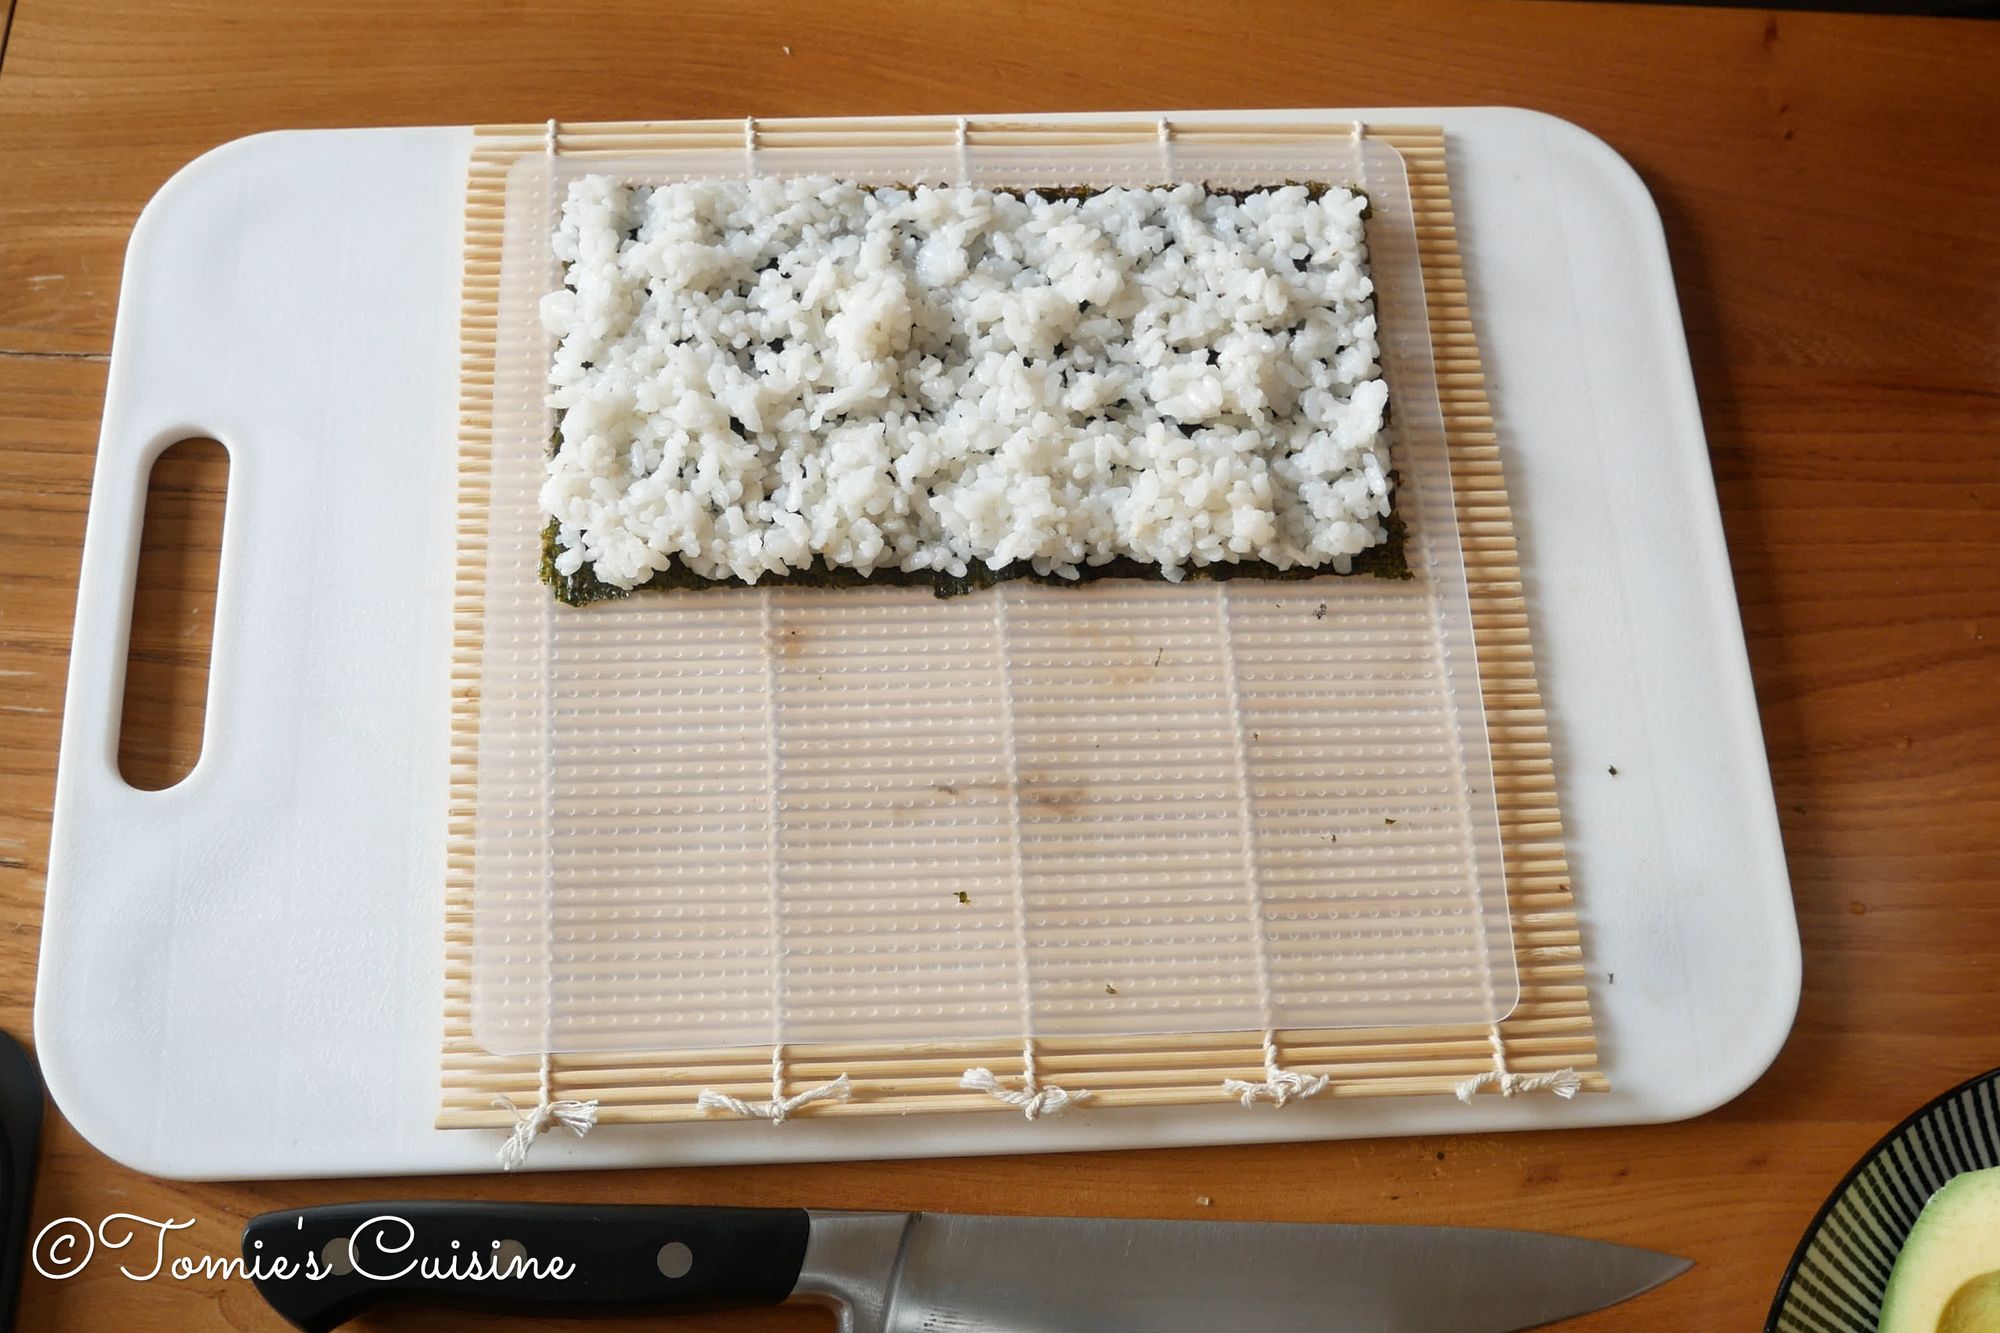
- Sprinkle roasted sesame seed evenly on top of the rice
- Flip the rice and nori so that the rice side is now facing down and nori up.
- Add your favourite combination of ingredients! (See the next section for some ideas)
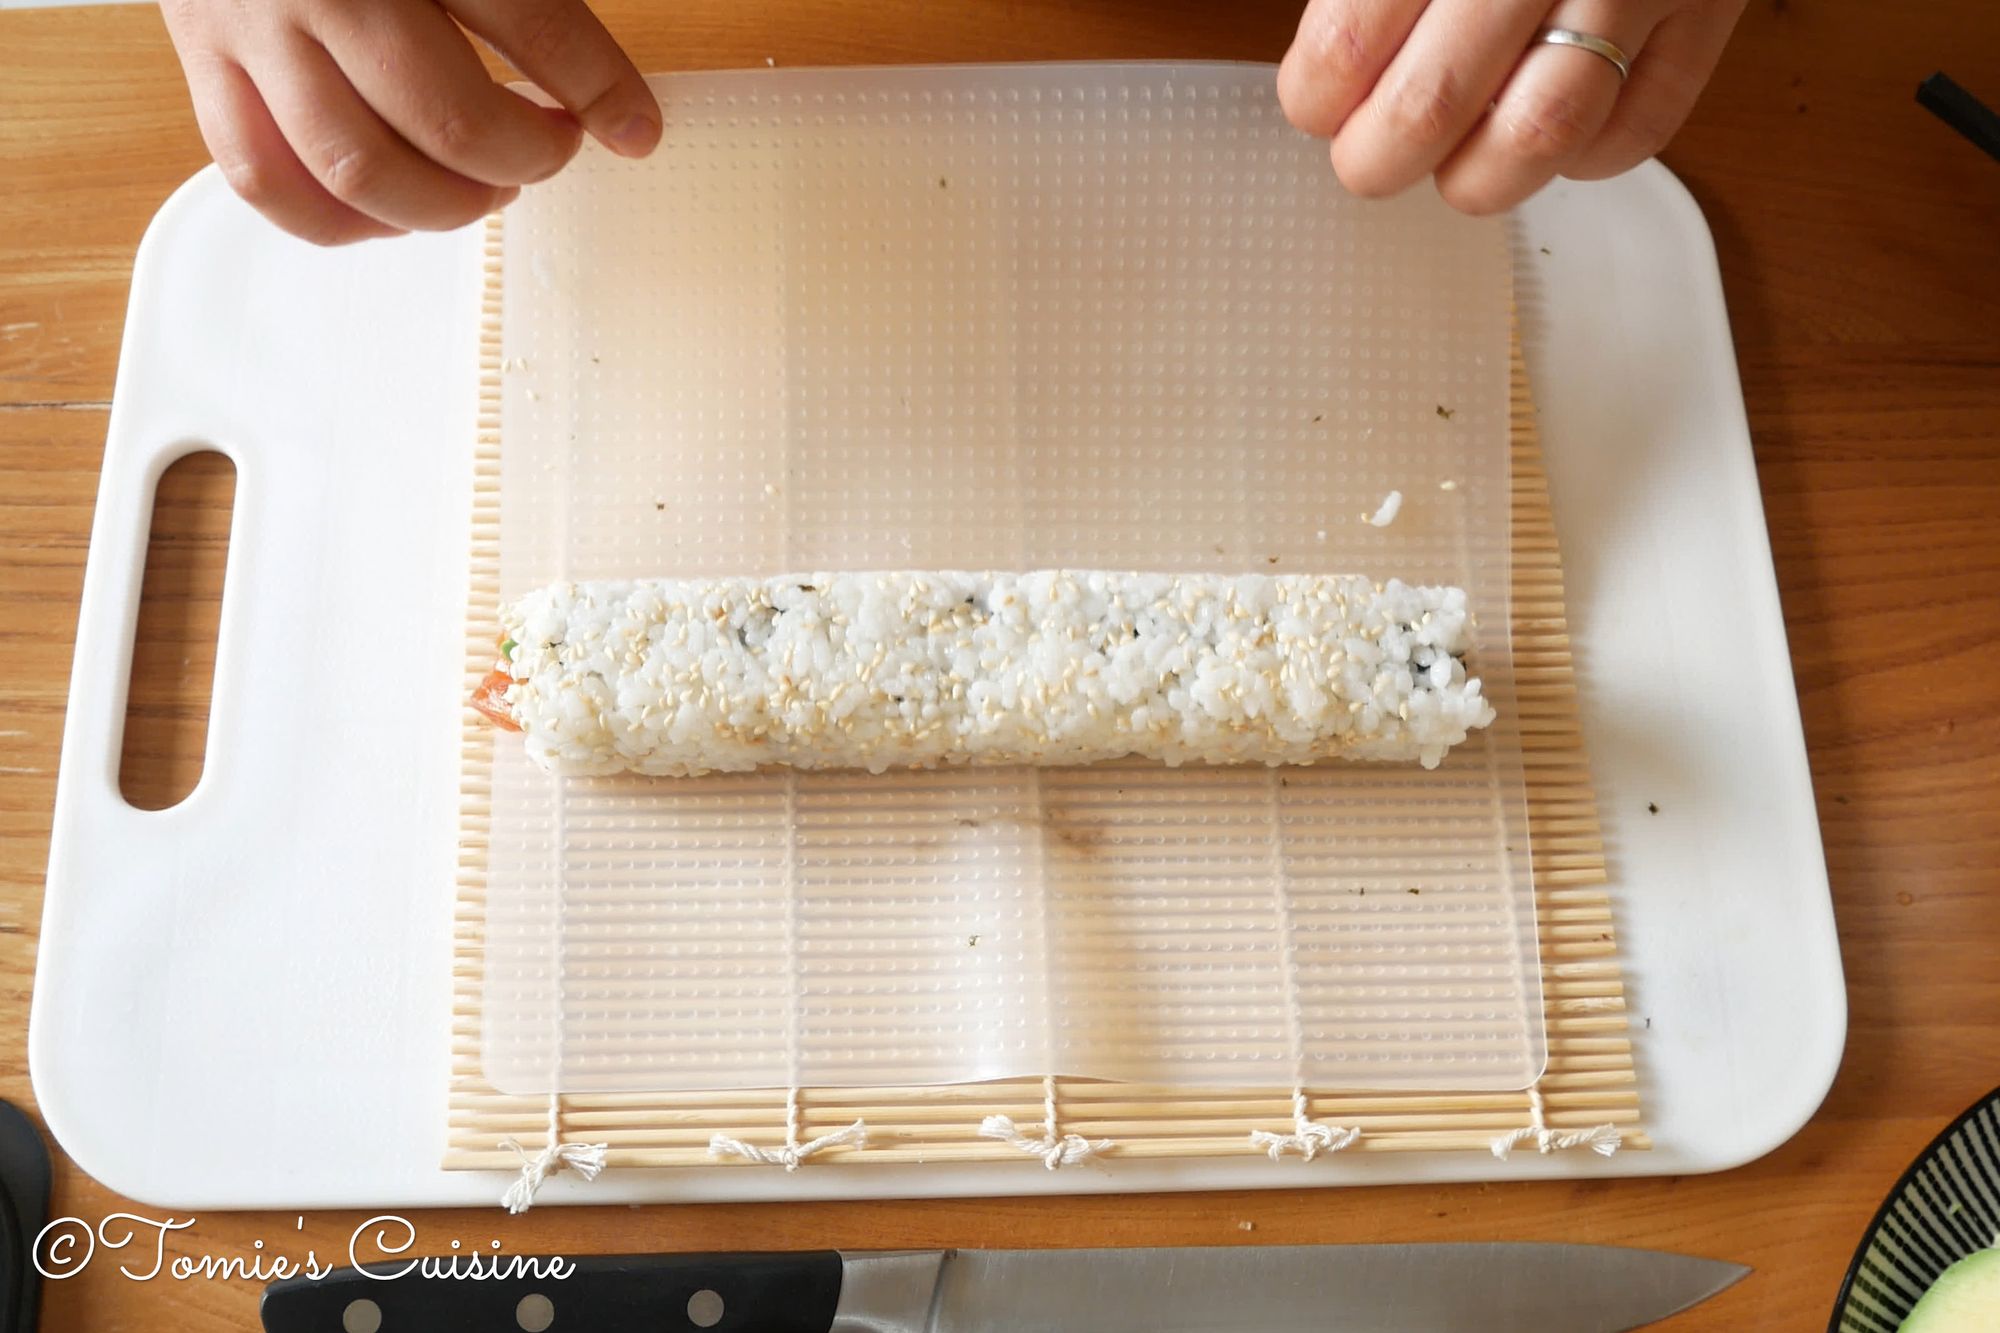
- Start rolling it from your side. The end of the seaweed lands right back of the ingredients inside. Press the roll gently so that it sticks together.
- Rollover to the end. Put the end part of the seaweed at the bottom and press gently to make a square shape.
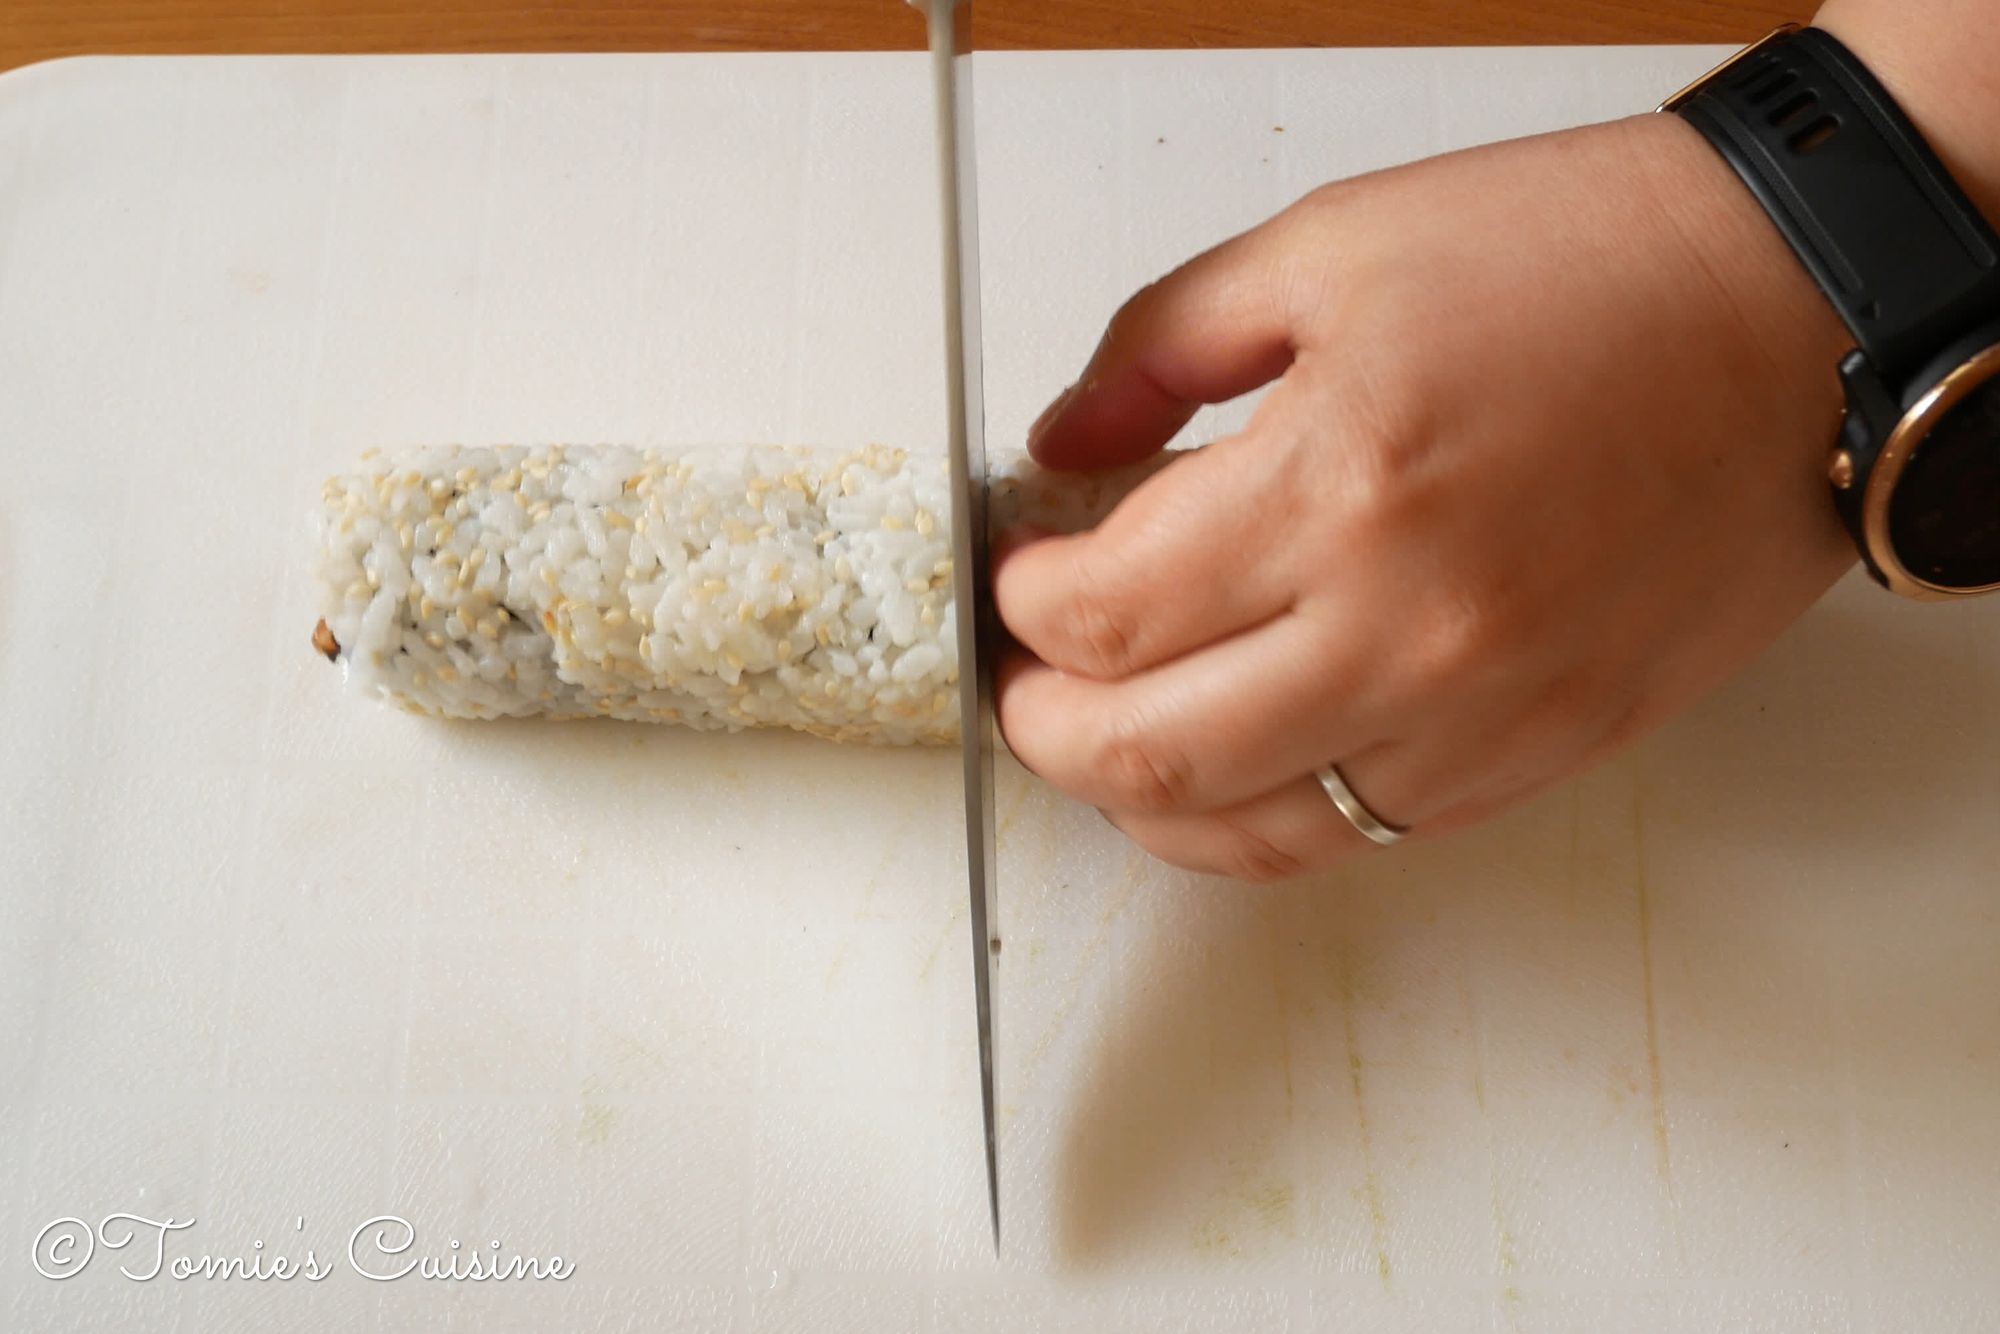
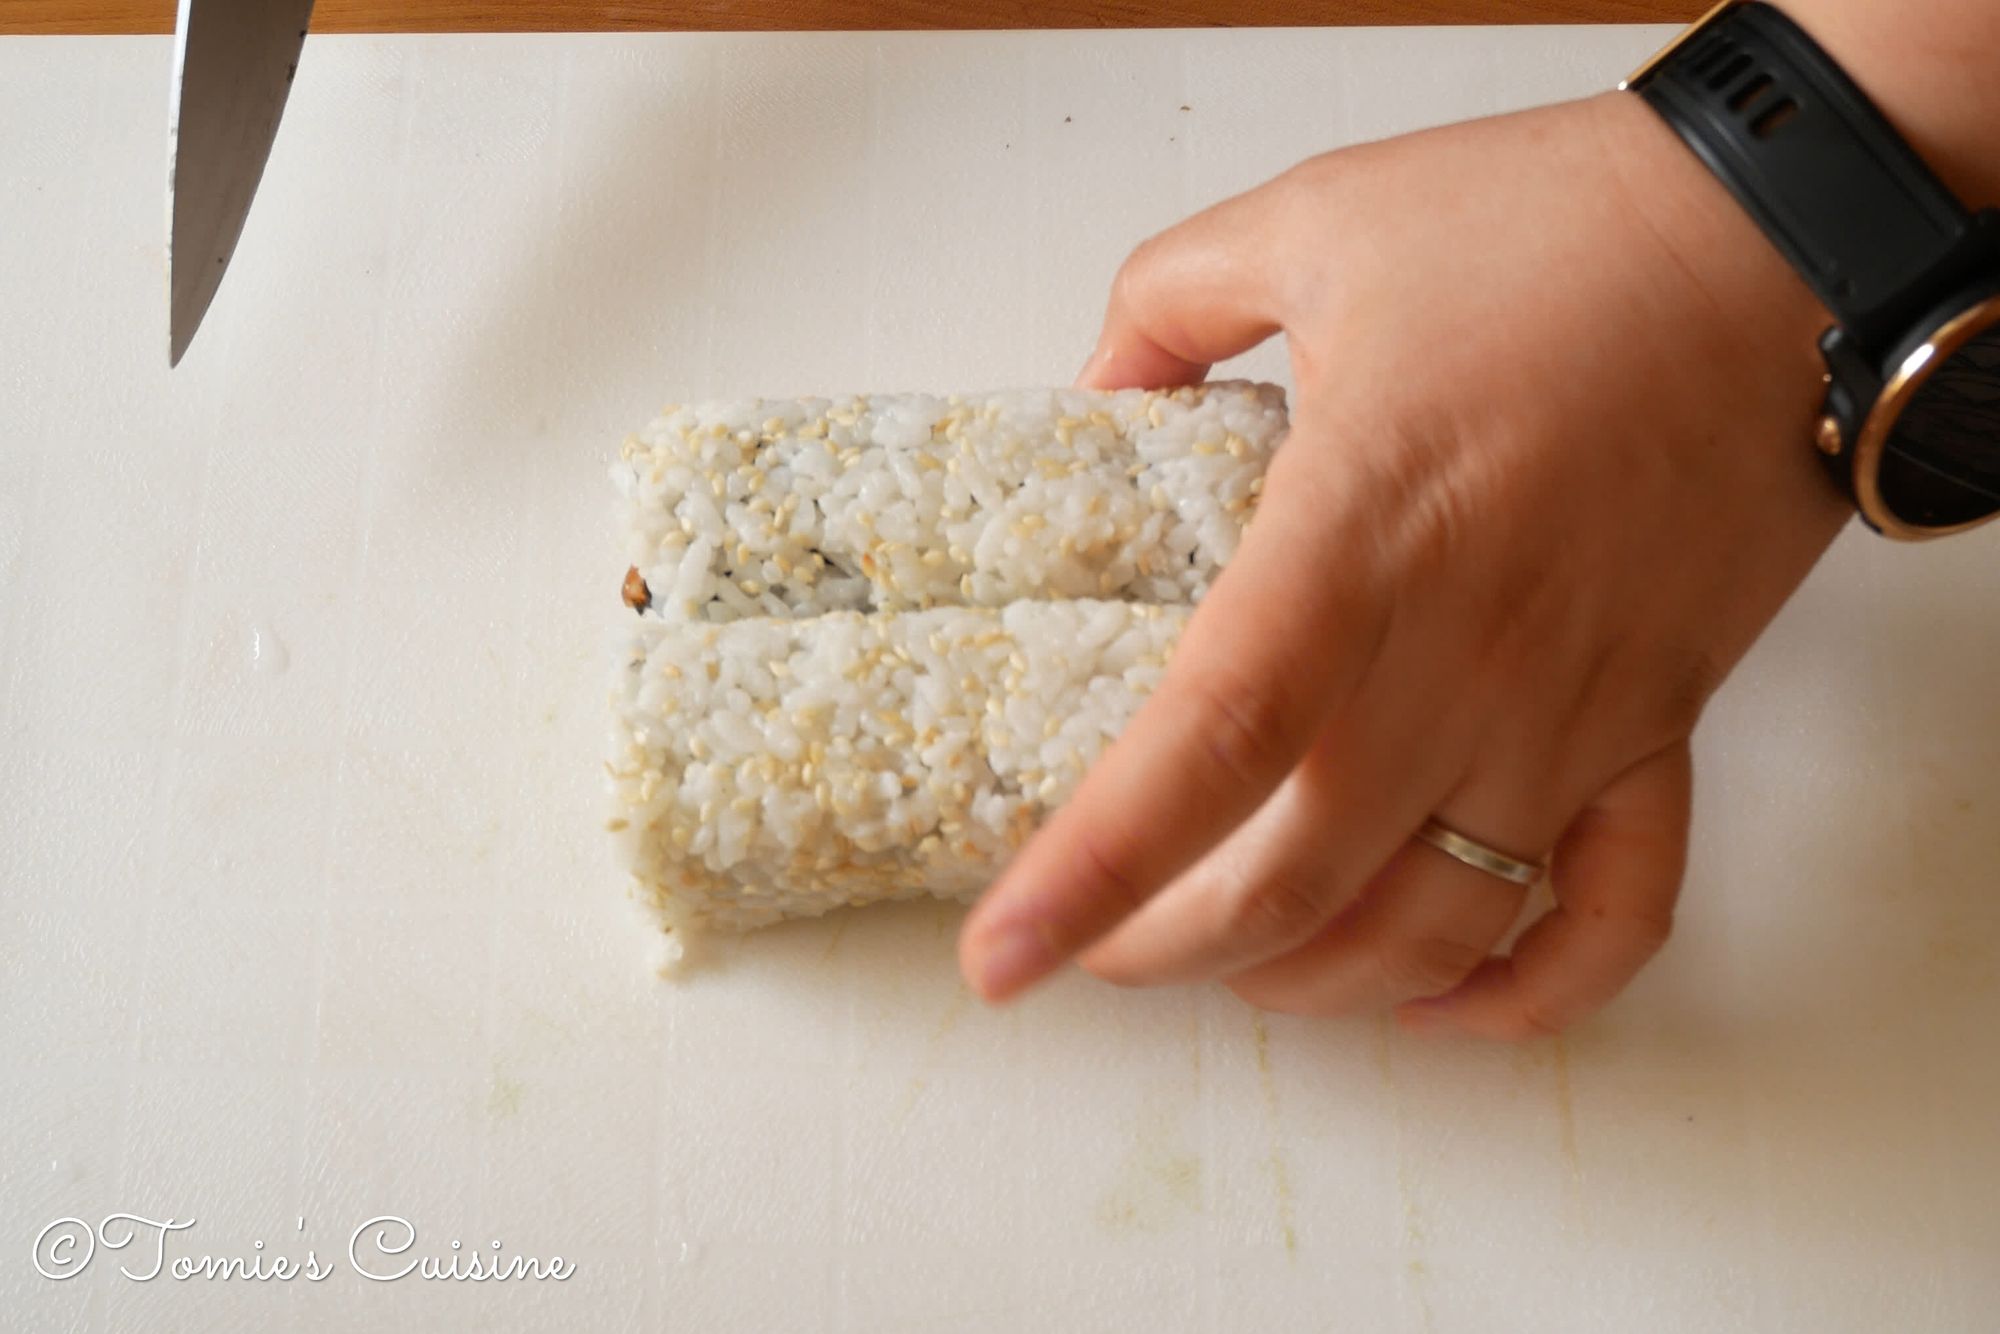
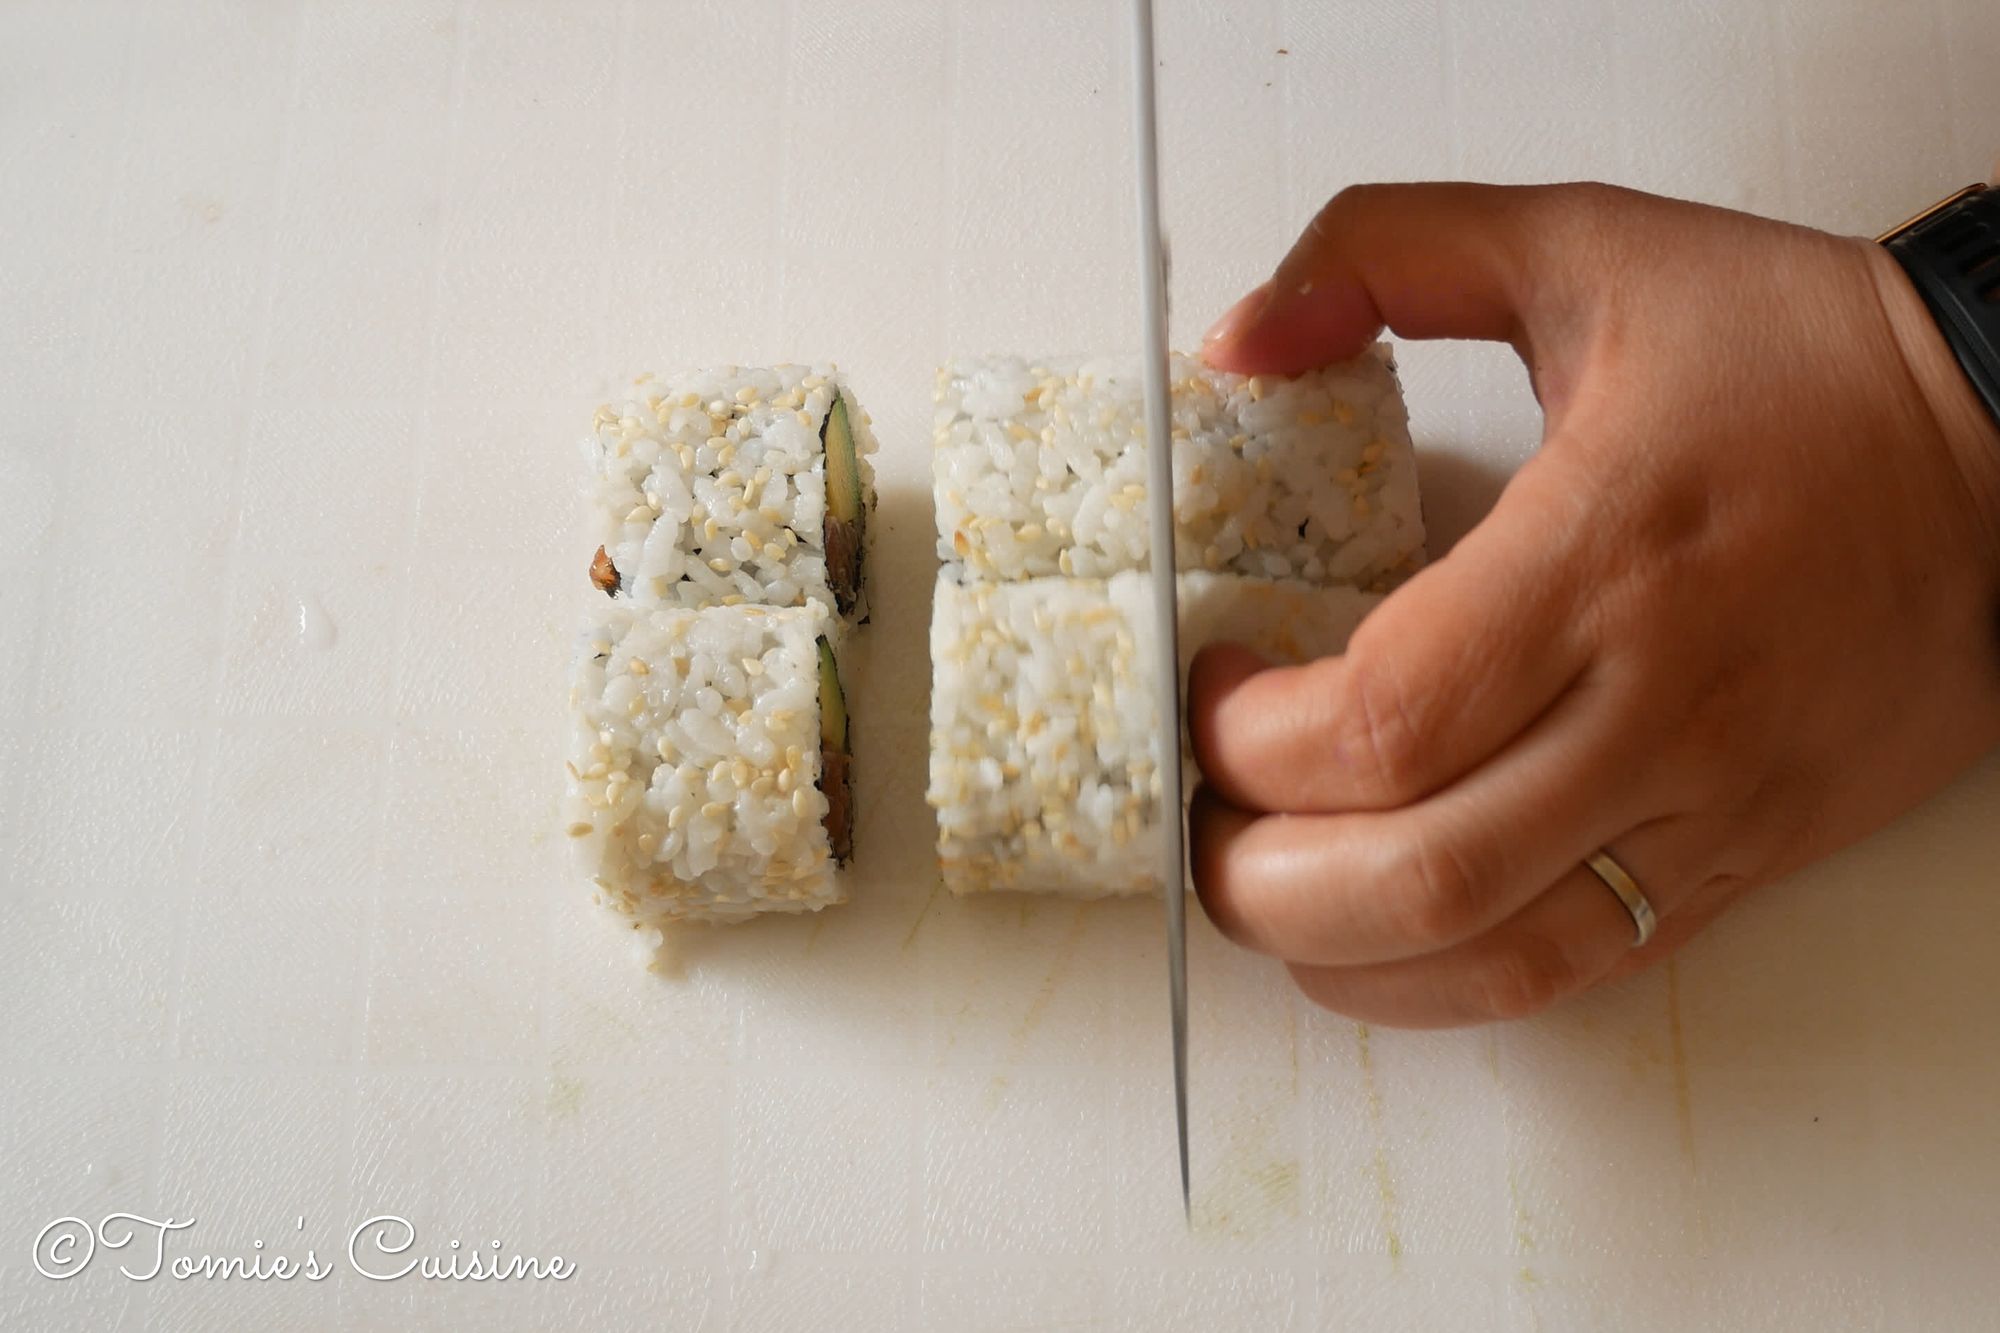
- Wet your sharp knife, cut the roll in half, then cut the half into 3. You can get six pieces from a roll. Don't forget to wipe your knife with the wet cloth after cutting the roll.
Tip: if you are allergic to sesame seeds, you can also use tobiko fish roe or poppy seeds instead.
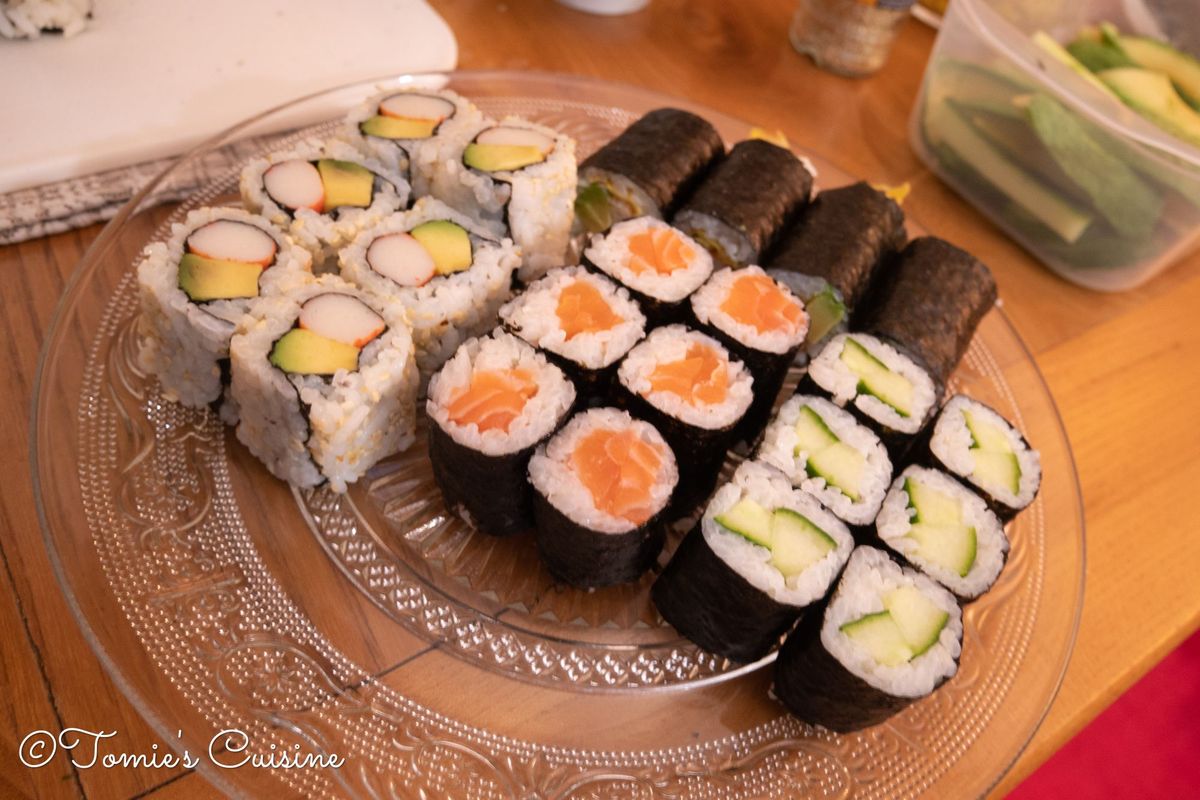
What to put in your sushi rolls
- Avocado, cucumber and seafood stick
- Salmon and avocado
- Tuna mayo and cucumber
- Pan-fried salmon skin teriyaki
- Shrimp
Vegan options
- Cucumber
- Carrot
- Avocado
- Tofu
- Tempeh
- Fried asparagus
- Caramelised onion
Uramaki (inside-out roll) is easier to make!
Yes, uramaki looks a bit more complicated than hosomaki because there are lots of stuff in it.
However, I would say we need more practice to master hosomaki. My sushi sensei (teacher) trained me to make the perfect sushi rolls, and he was very strict. He was happy with the quality of my uramaki after a few months, but for hosomaki, he finally told me that my rolls were excellent roughly a year and a half later.
So I suggest that if you never made sushi before, you can practice with the inside-out rolls first, then start practising hosomaki.
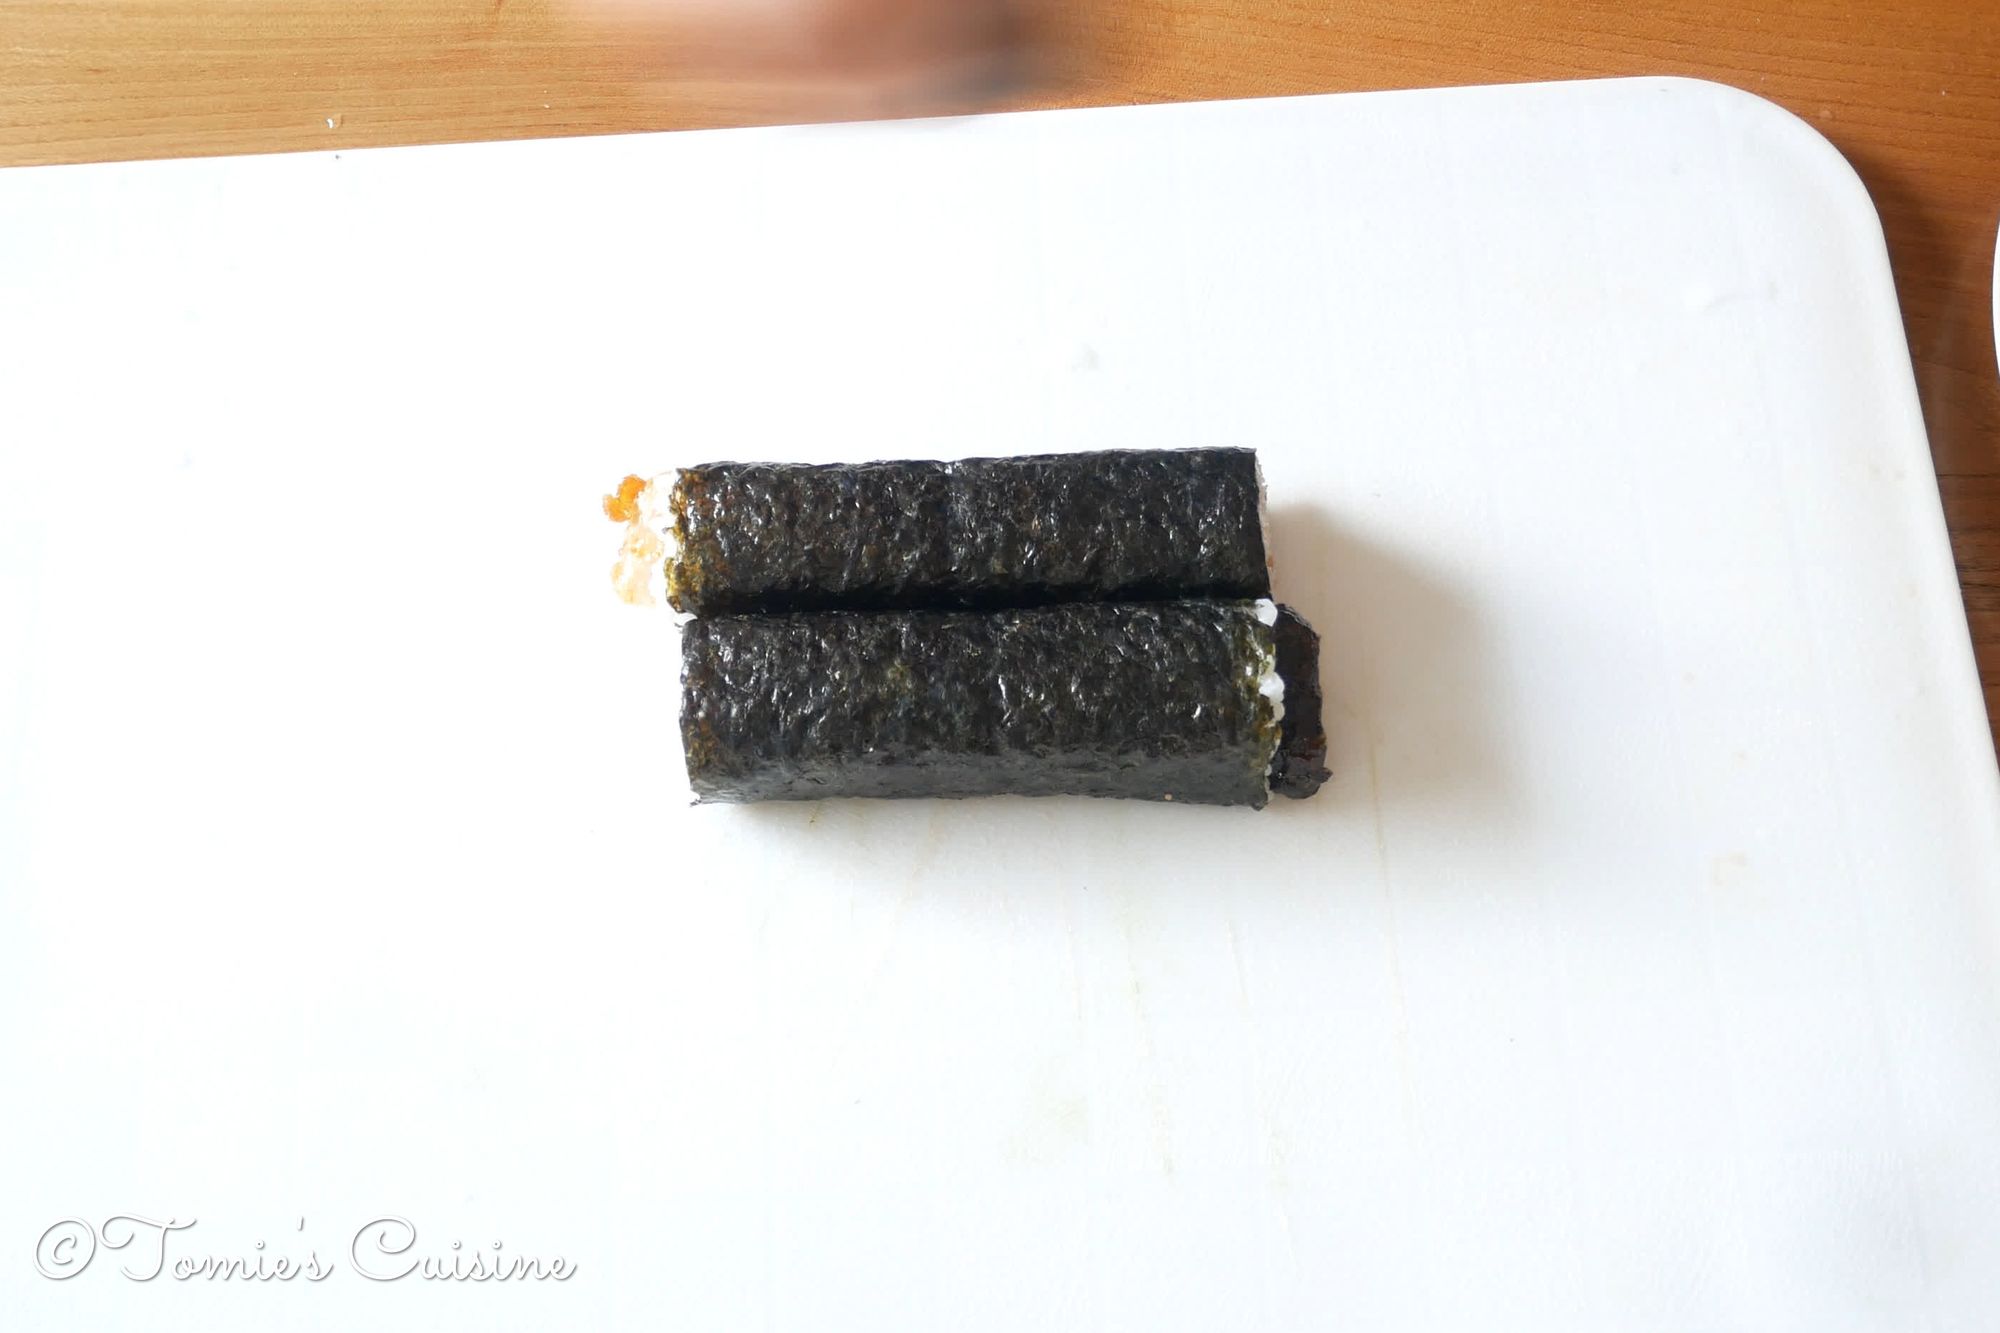
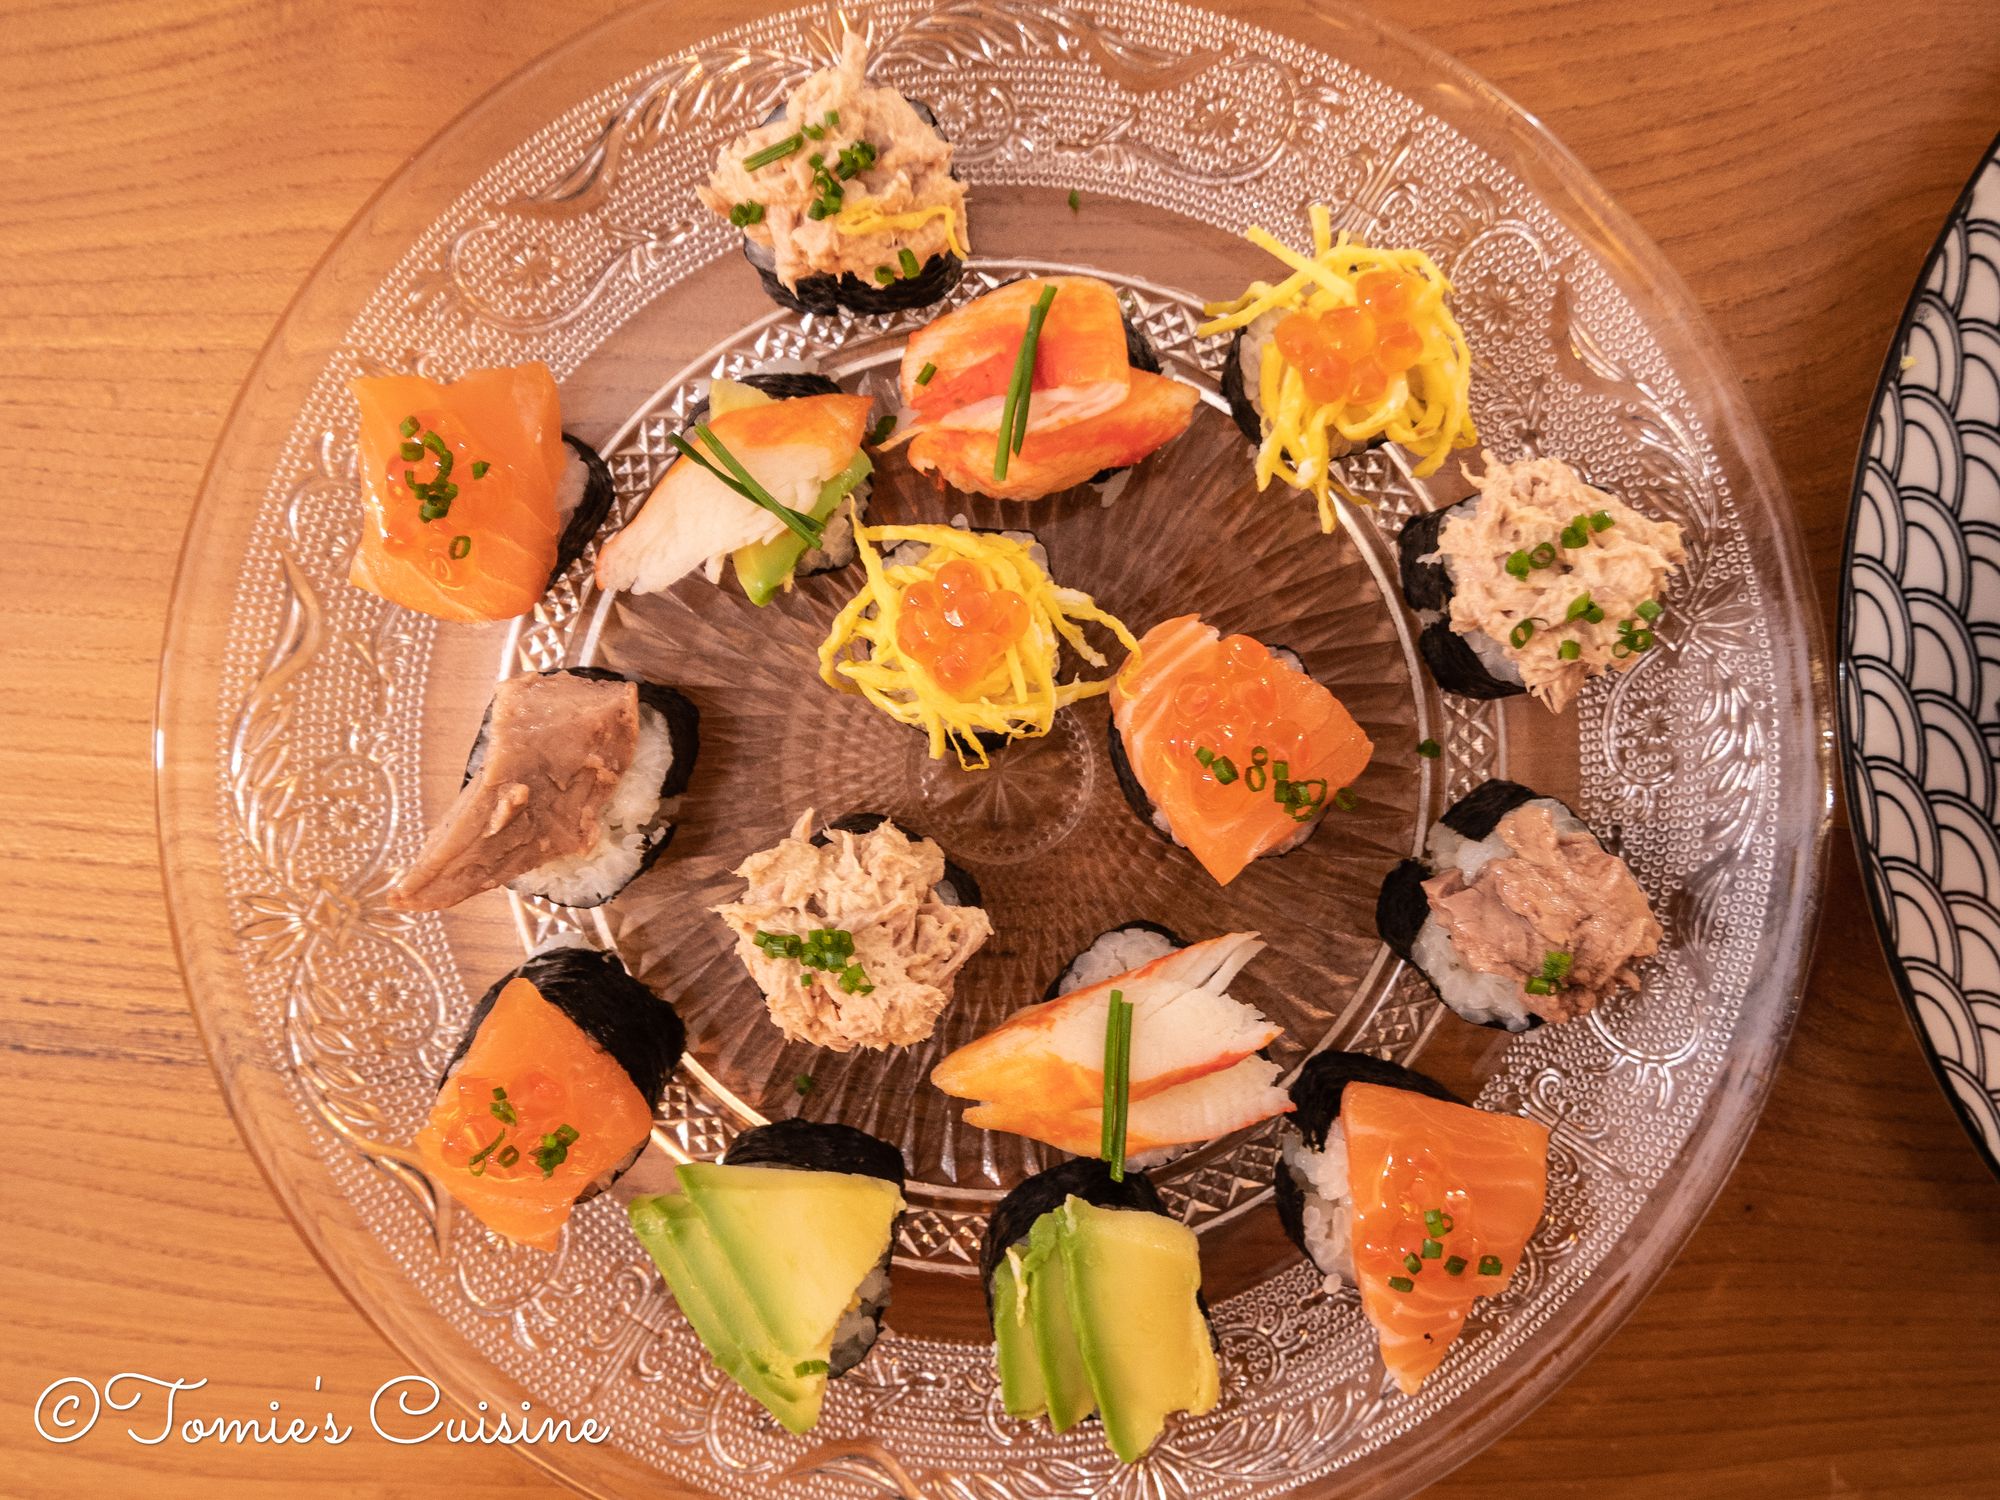
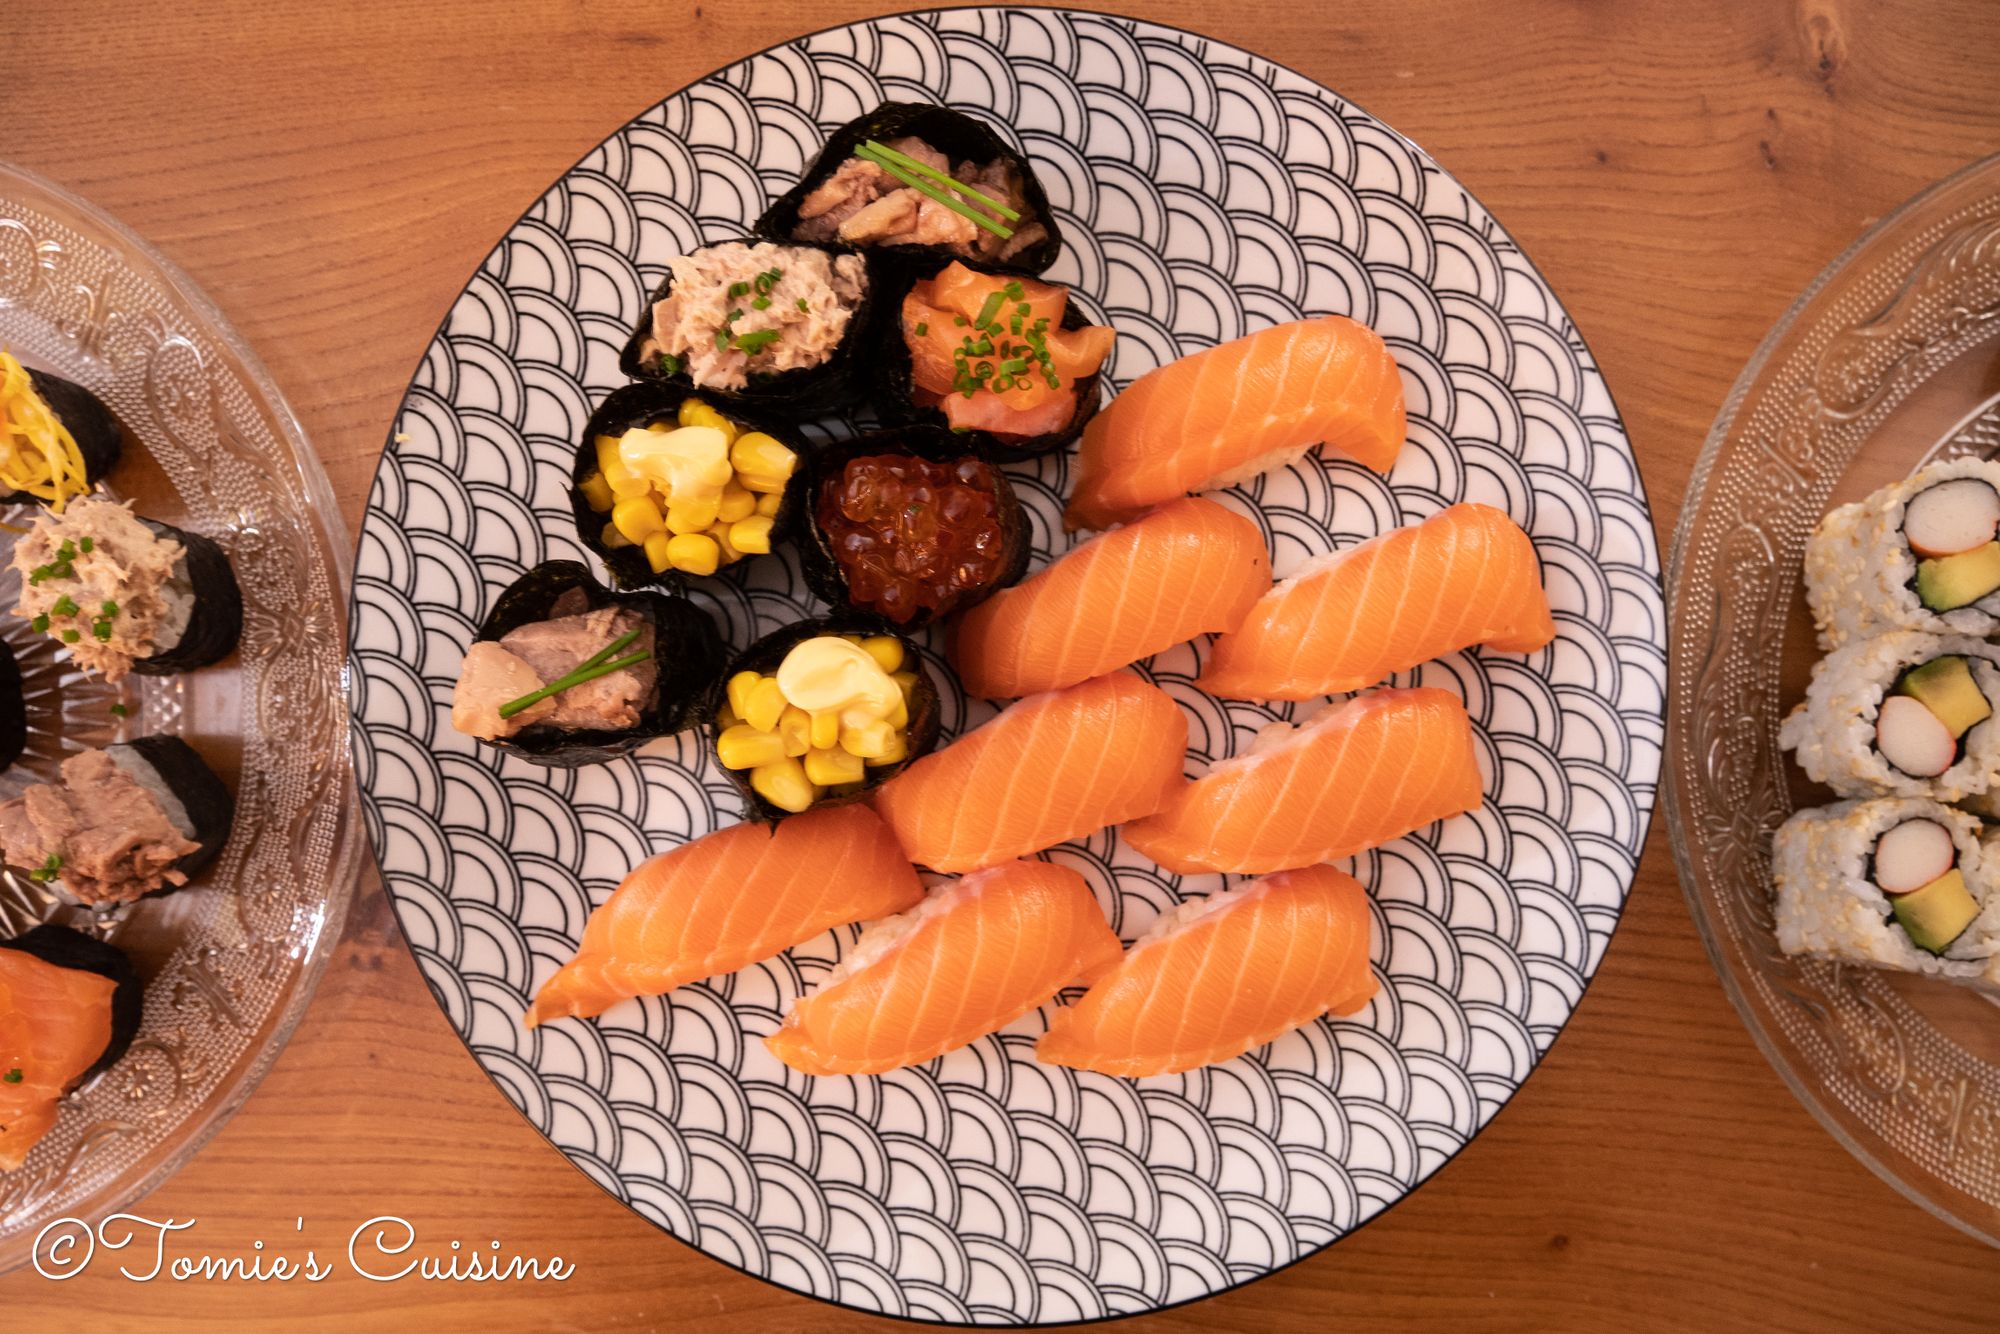
Making something different today
A while ago, I browsed some Japanese articles and found a new style of sushi to make at home. It looked a bit like a canape (finger food), and I thought my family would like it, so I gave it a try!
How I made this sushi canape
It’s straightforward and uses the same technique as hosomaki.
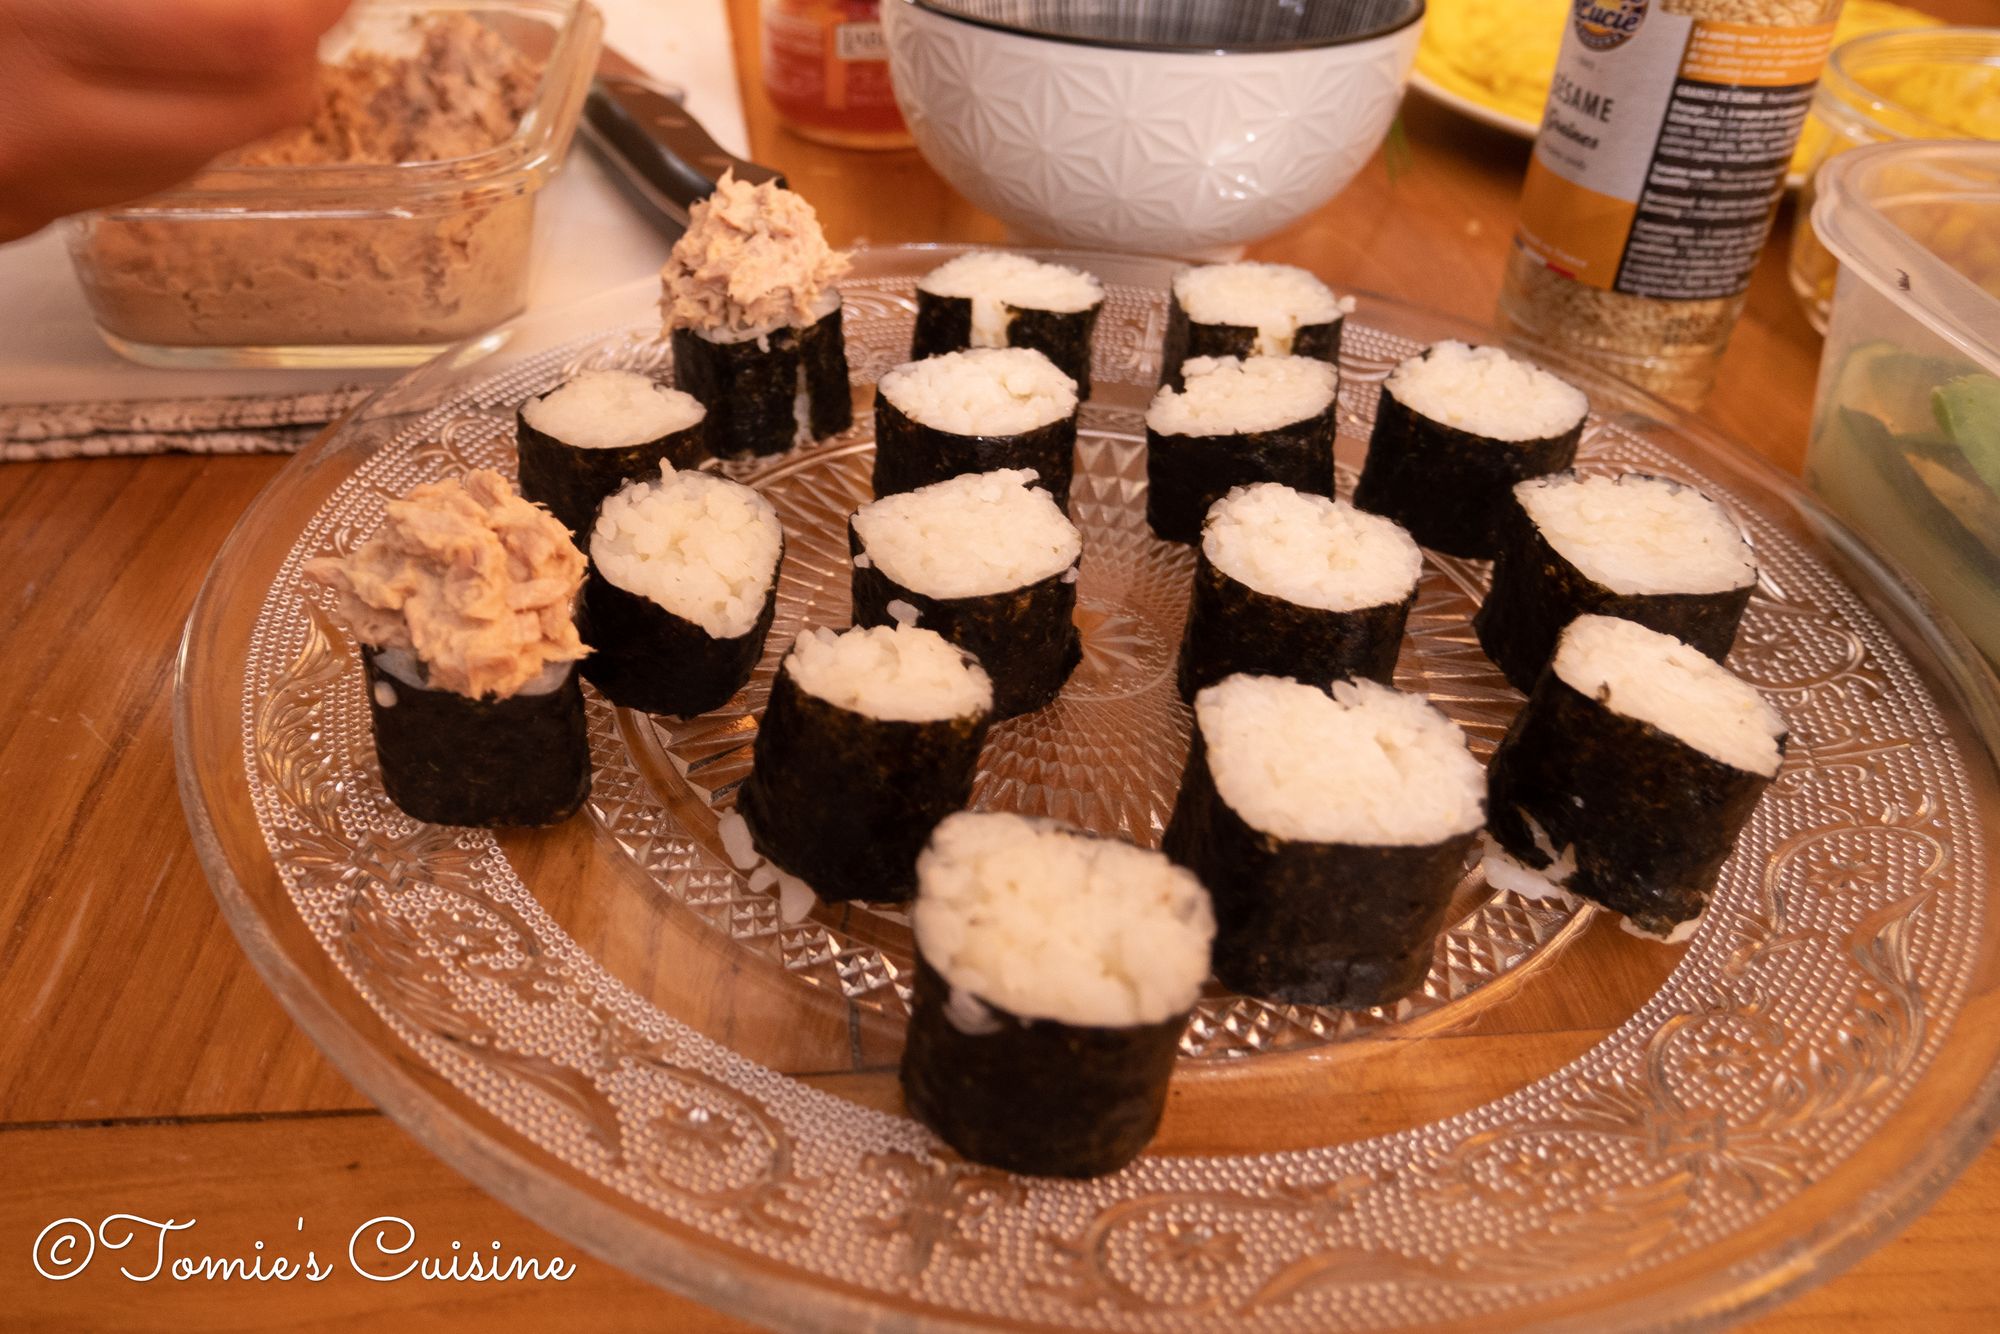
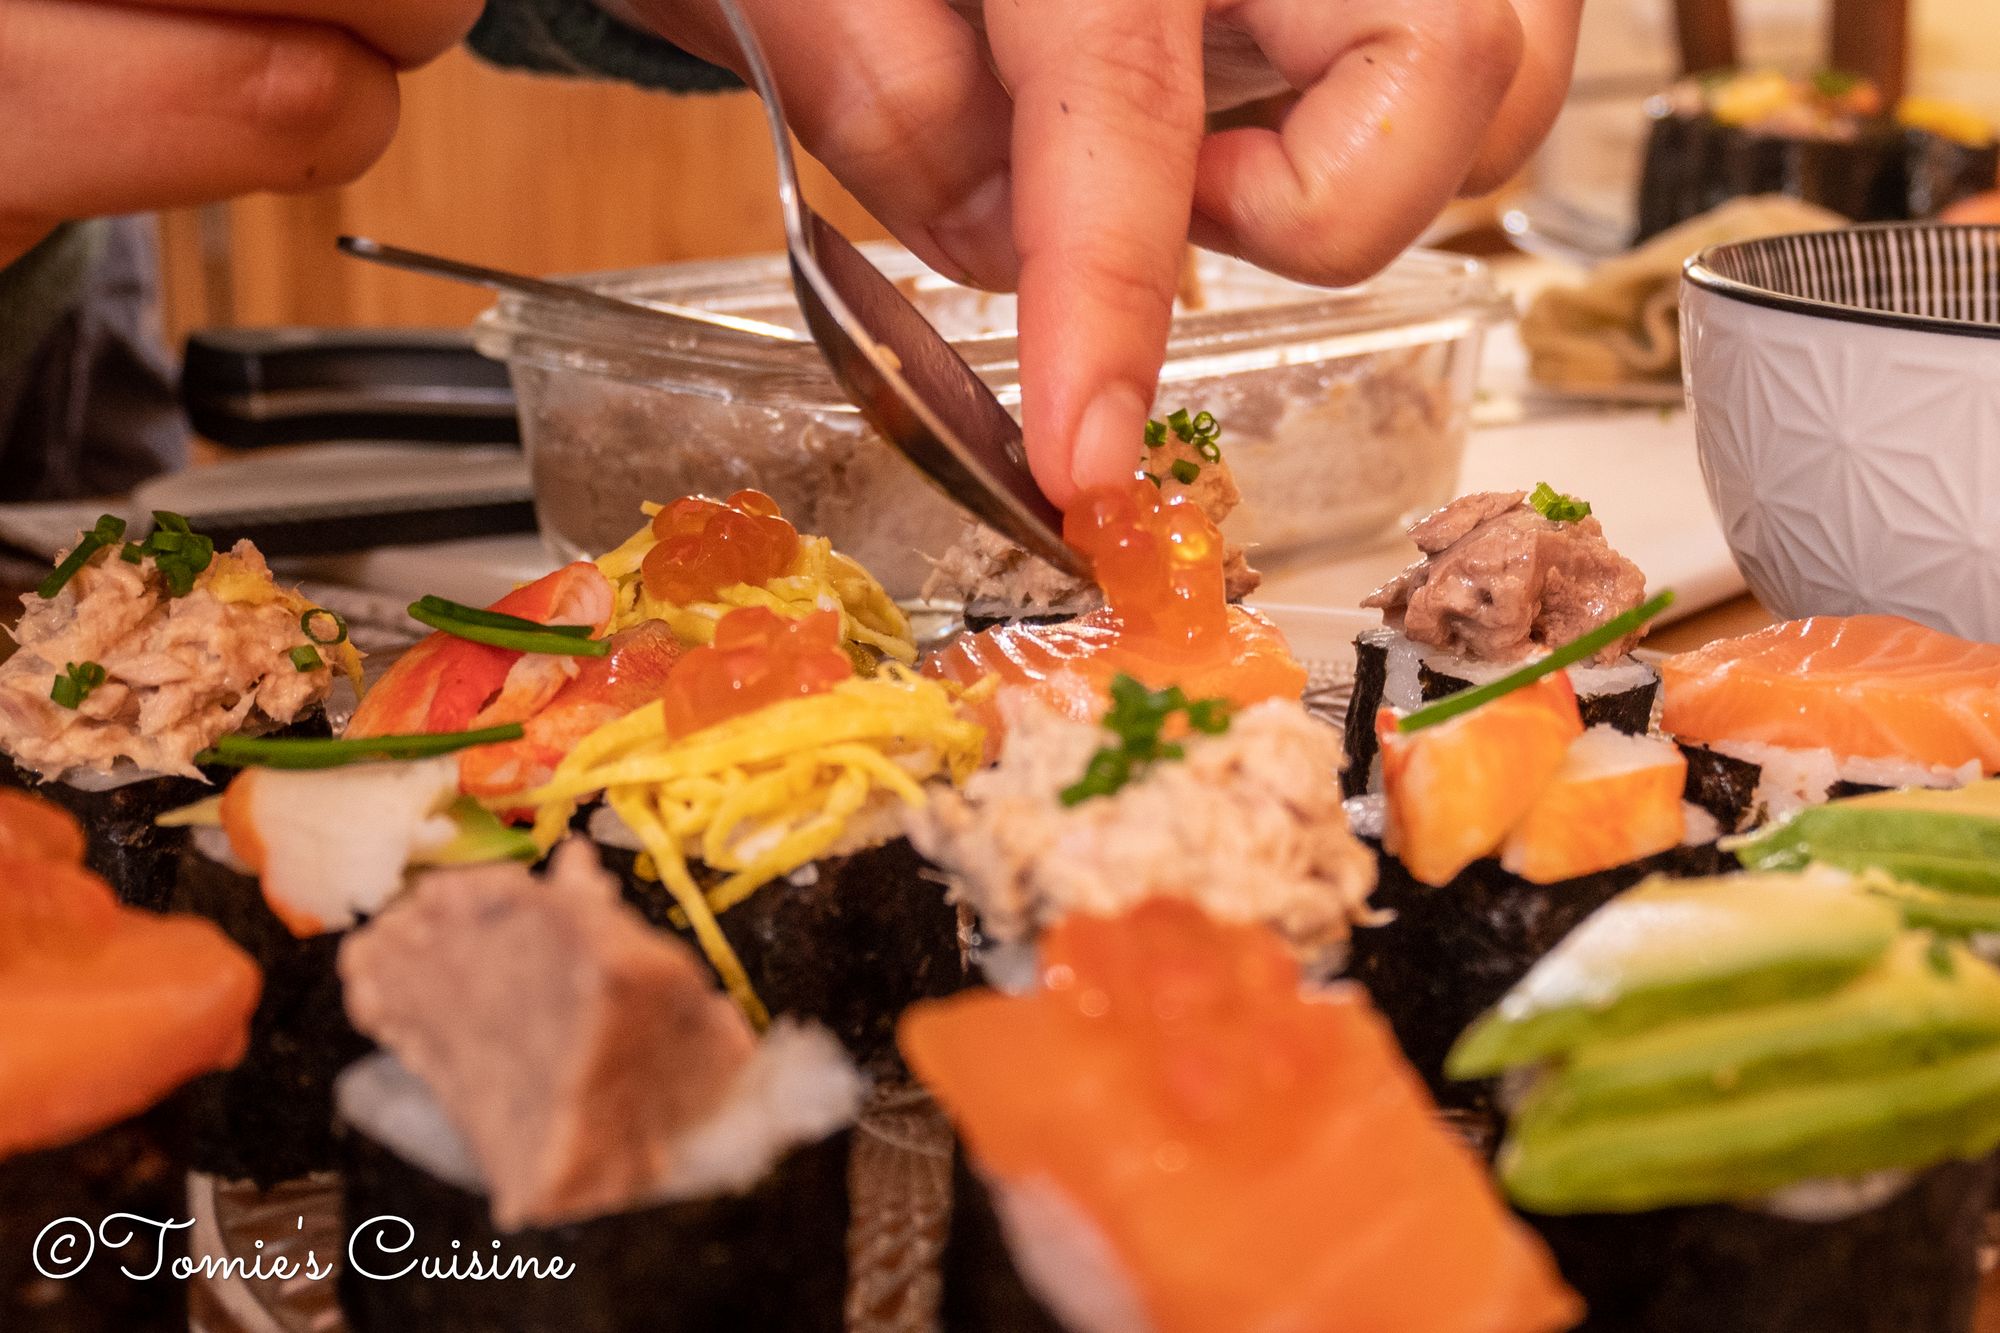
- Just fill the rolls with sushi rice instead of vegetables and seafood.
- Cut in 8 pieces.
- Put them on a plate,
- Put your favourite garnish on the top of the rice side.
- That’s it!
It’s a great option to serve as a canape. You can also use a larger seaweed to make a broader base.
Closing words
I showed you how to make two different types of sushi rolls today. The next sushi series is sushi Nigiri! So keep an eye on this blog by subscribing to our newsletter to be a sushi chef at home!
Here are our other Sushi articles:
If you try to make sushi with your own ingredients combinations, be sure to post them on Instagram, Pinterest or Facebook with the hashtag #tomiescuisine; we’d love to see what you come up with! If you’ve got any questions, we’d be happy to answer them there too.