Finally, it's part 3 of the sushi series! If you haven’t read them, you can always read part 1 on preparing rice and part 2 on the sushi rolls before reading this post.
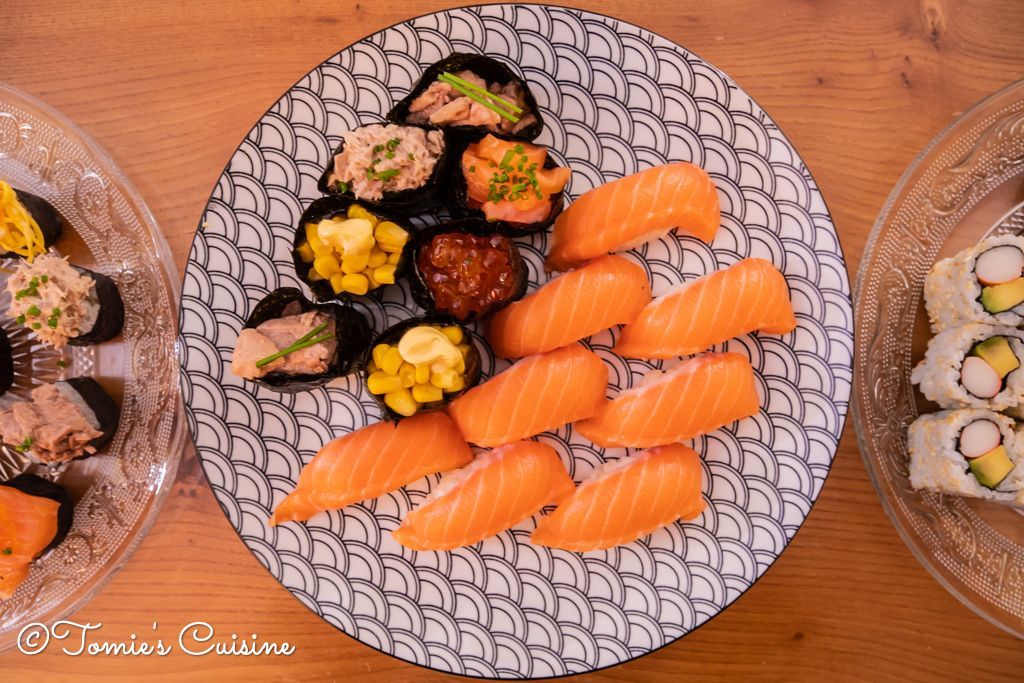
This time, we will look at how to make sushi nigiri. Nigiri sushi means hand-pressed sushi, so getting it right is more challenging, but I will explain it simply. So I hope you can make them at home!
What you need to prepare before start making nigiri
Ingredients
- Sushi rice (see Part 1)
- Rice vinegar or ready-made sushi vinegar (see Part 1)
- Nori seaweed sheet (cut it for the Gunkan*)
- Sesame seed (optional)
- Wasabi
- Sliced sashimi-grade fish of your choice
- Prepare ingredients for Gunkan* maki. For example:
- Salmon roe
- Sea urchin
- Sweet corn
- Finely chopped fresh fish with spring onion
*Gunkan means “war boat”, this sushi gets this name from how the main ingredient is held in place on top of the sushi rice, giving it a boat shape.
Equipment
- Wet cloth
- A small bowl of water and a little bit of vinegar mixed
- The rice cooker I used while in France
- Our rice cooker in London
- My dream rice cooker
- Serving tray (which you can use as a sushi oke)
- Traditional sushi oke (wooden rice mixing bowl)
- Wooden serving tray for nigiri
- Porcelain serving platter
- Sushi kit
- Organic bamboo chopping board
Let’s start!
The amount of rice
When working with a sushi chef, he told me that he changes the amount of rice for each nigiri based on the customers. He meant that if the customer is a lady, she might not want to open her mouth too much to eat sushi, so he makes the rice shape slightly smaller.
Since then, when I make sushi, I consider who will eat my sushi nigiri and decide the amount of rice. For example, when I made them in France, it was evenly split between boys and girls, so I made them not too big but not too small. However, if I ever prepare nigiri only for boys, I will make the rice a little larger.
Basic technique
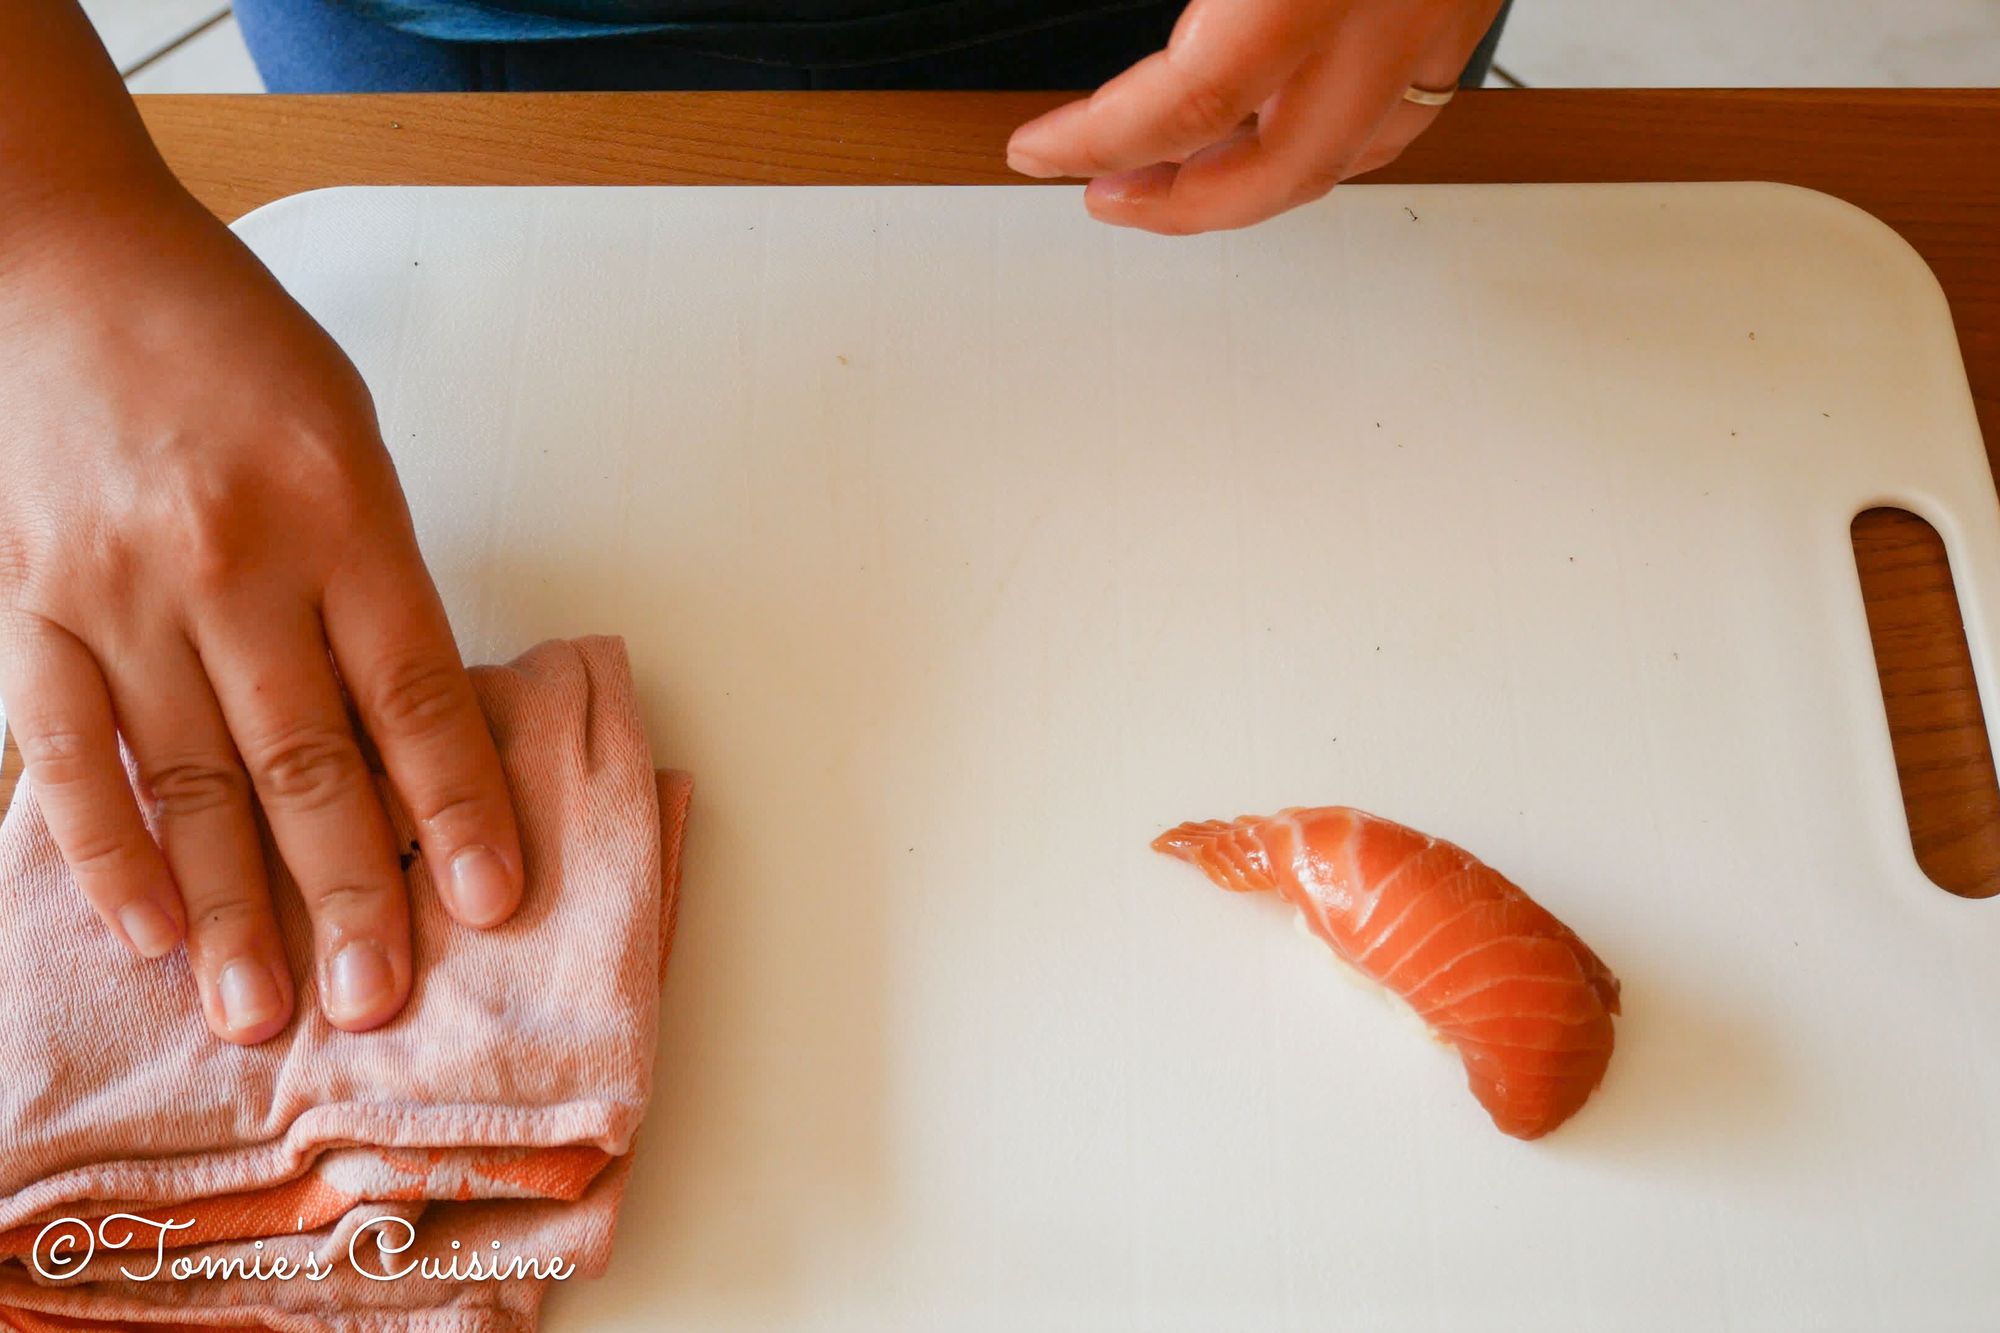
- Wet your hands and remove excess water lightly with a wet cloth on the side.
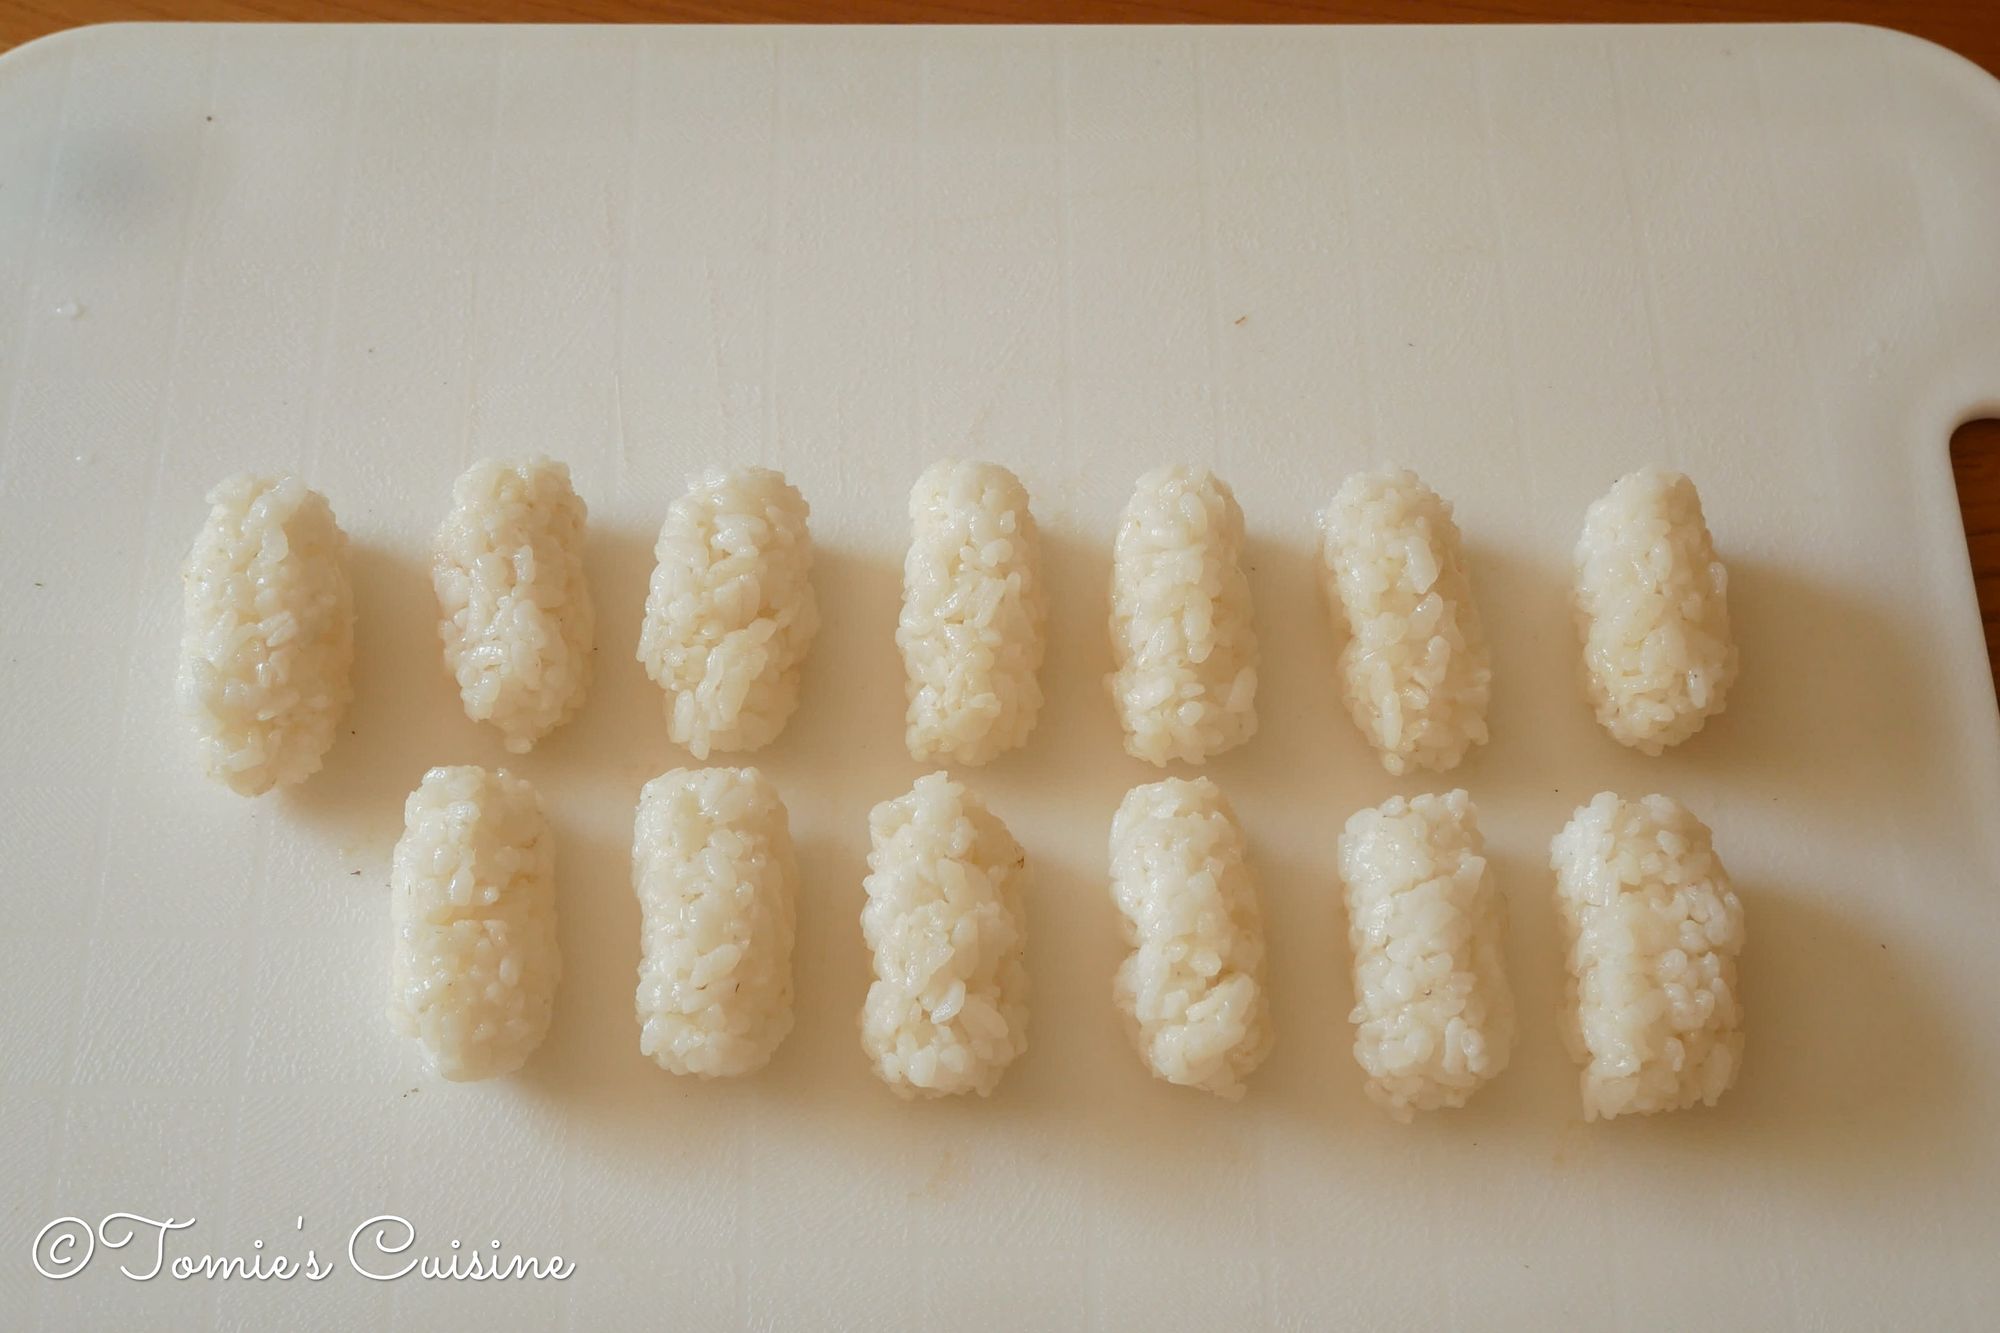
- Take a small amount of rice with your right hand (or your dominant hand), roughly about 12g (again, it depends on your preference, so don't overthink it).
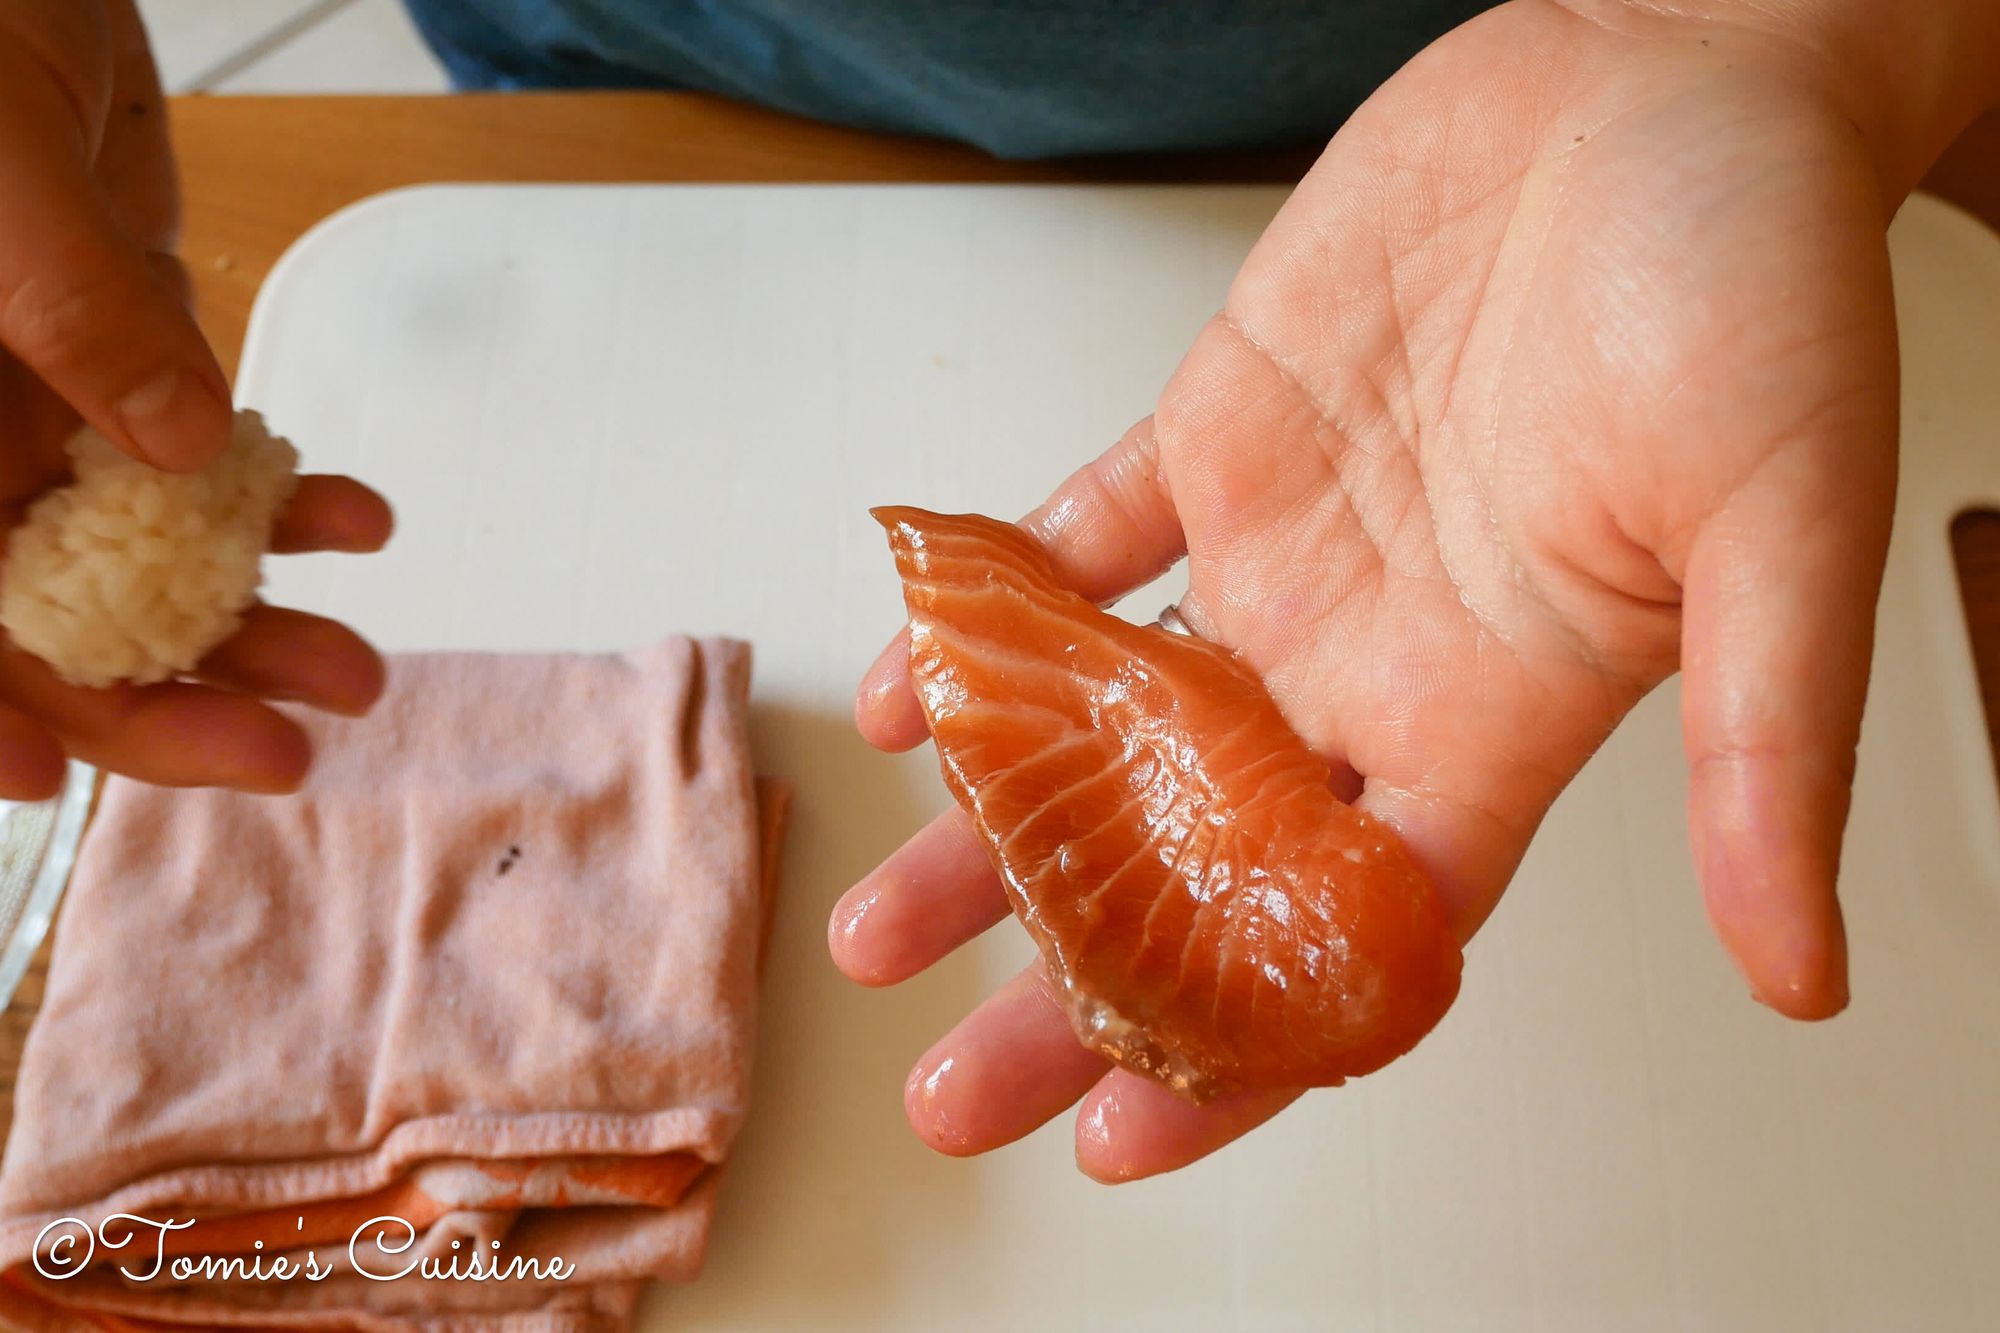
- Take a slice of fish of your choice with the left hand, place it on your palm and hold it with your thumb.
- Put a small amount of wasabi on the fish with your index finger holding the rice.
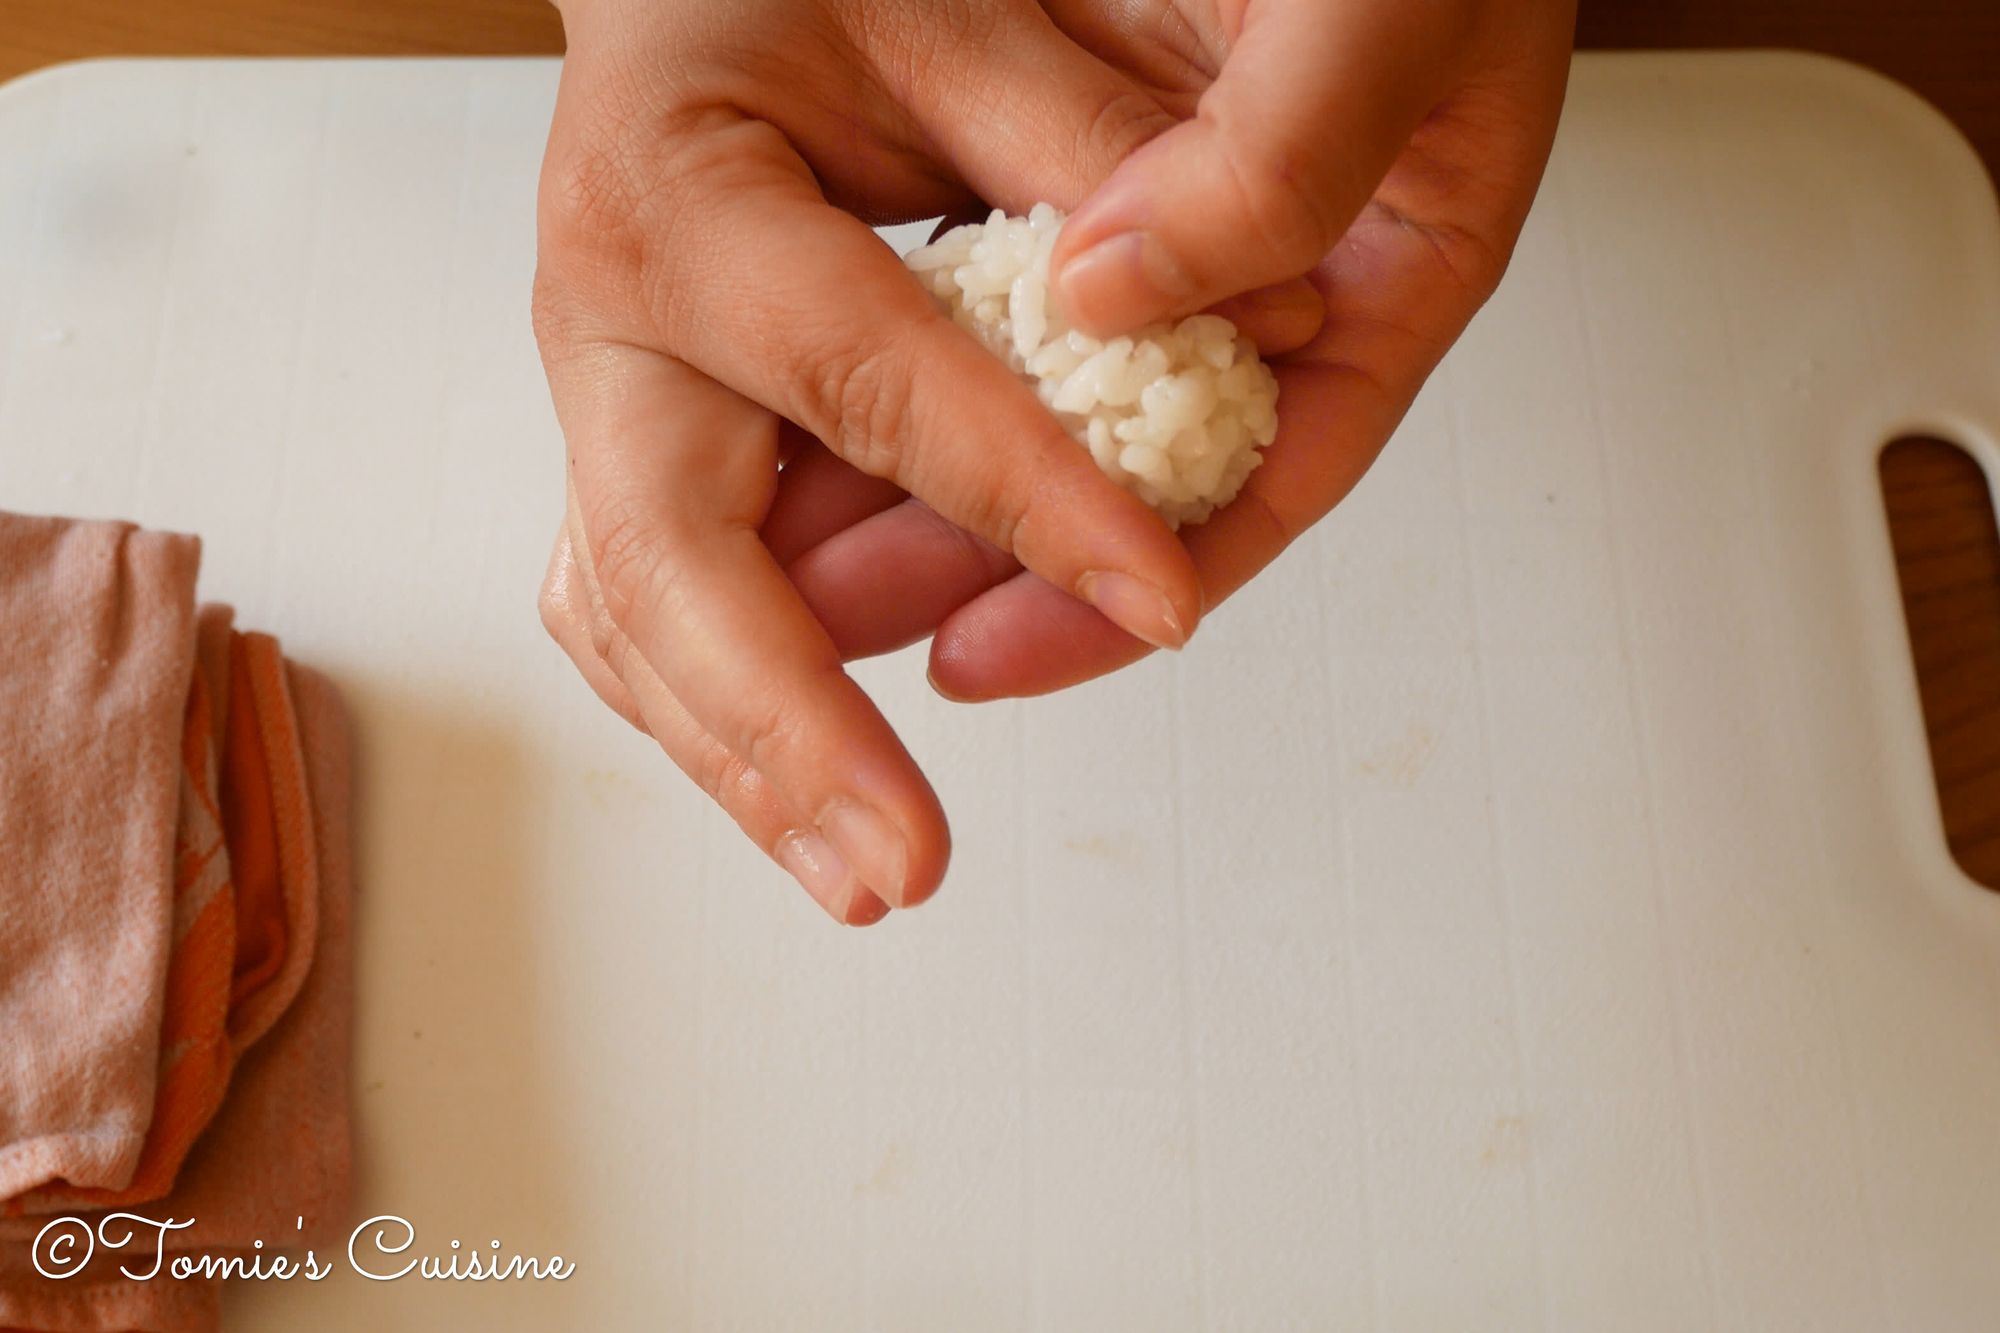
- Now we are going to start the nigiri (remember, nigiri means hand-pressed)
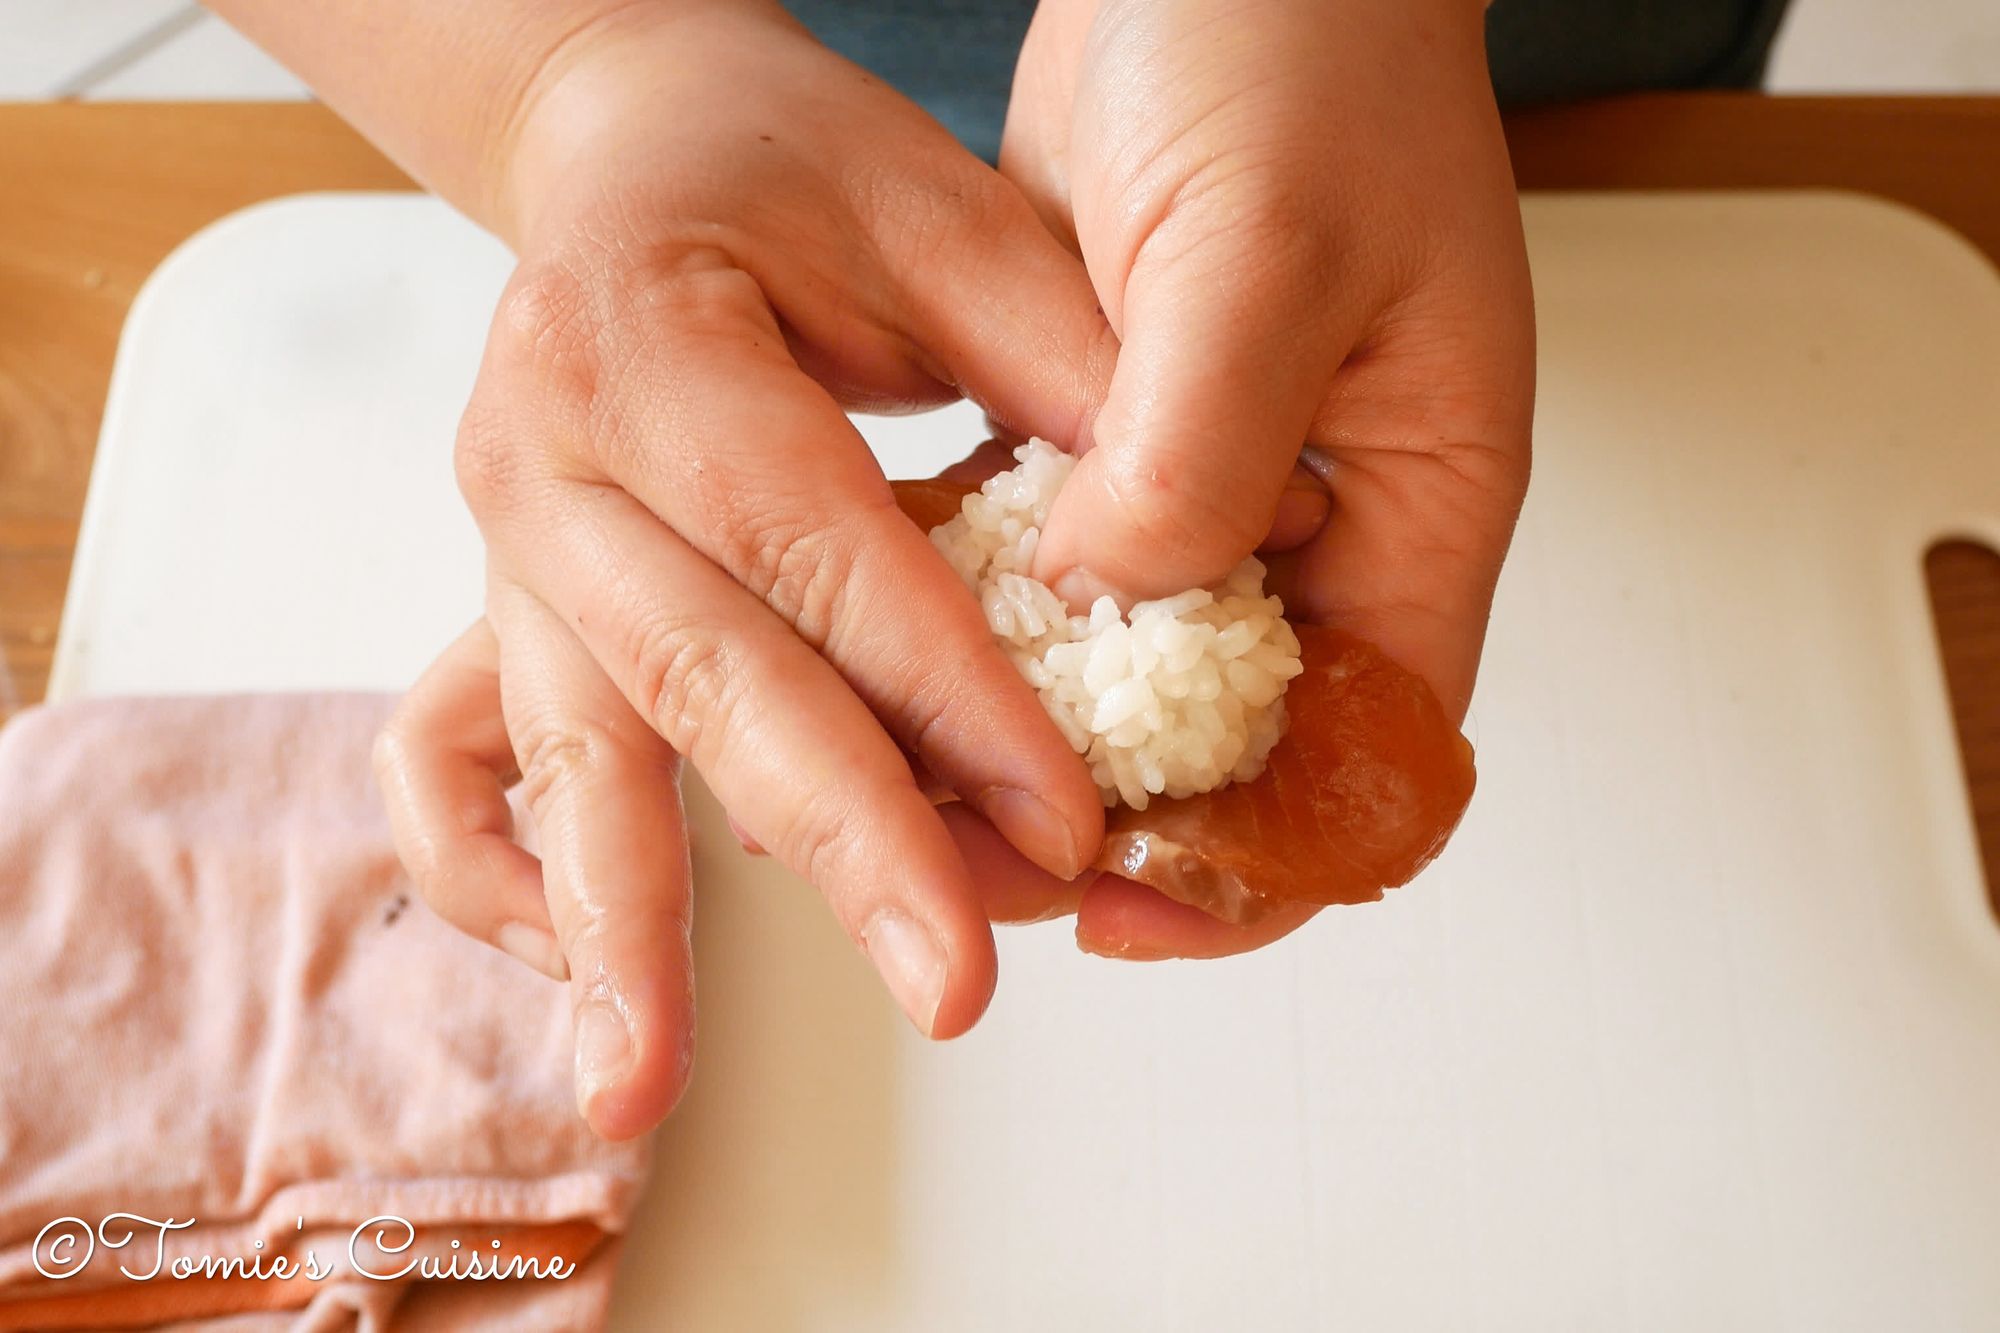
- Put the rice on the sliced fish and make a small bump with the left thumb. This bump will be at the bottom of the nigiri.
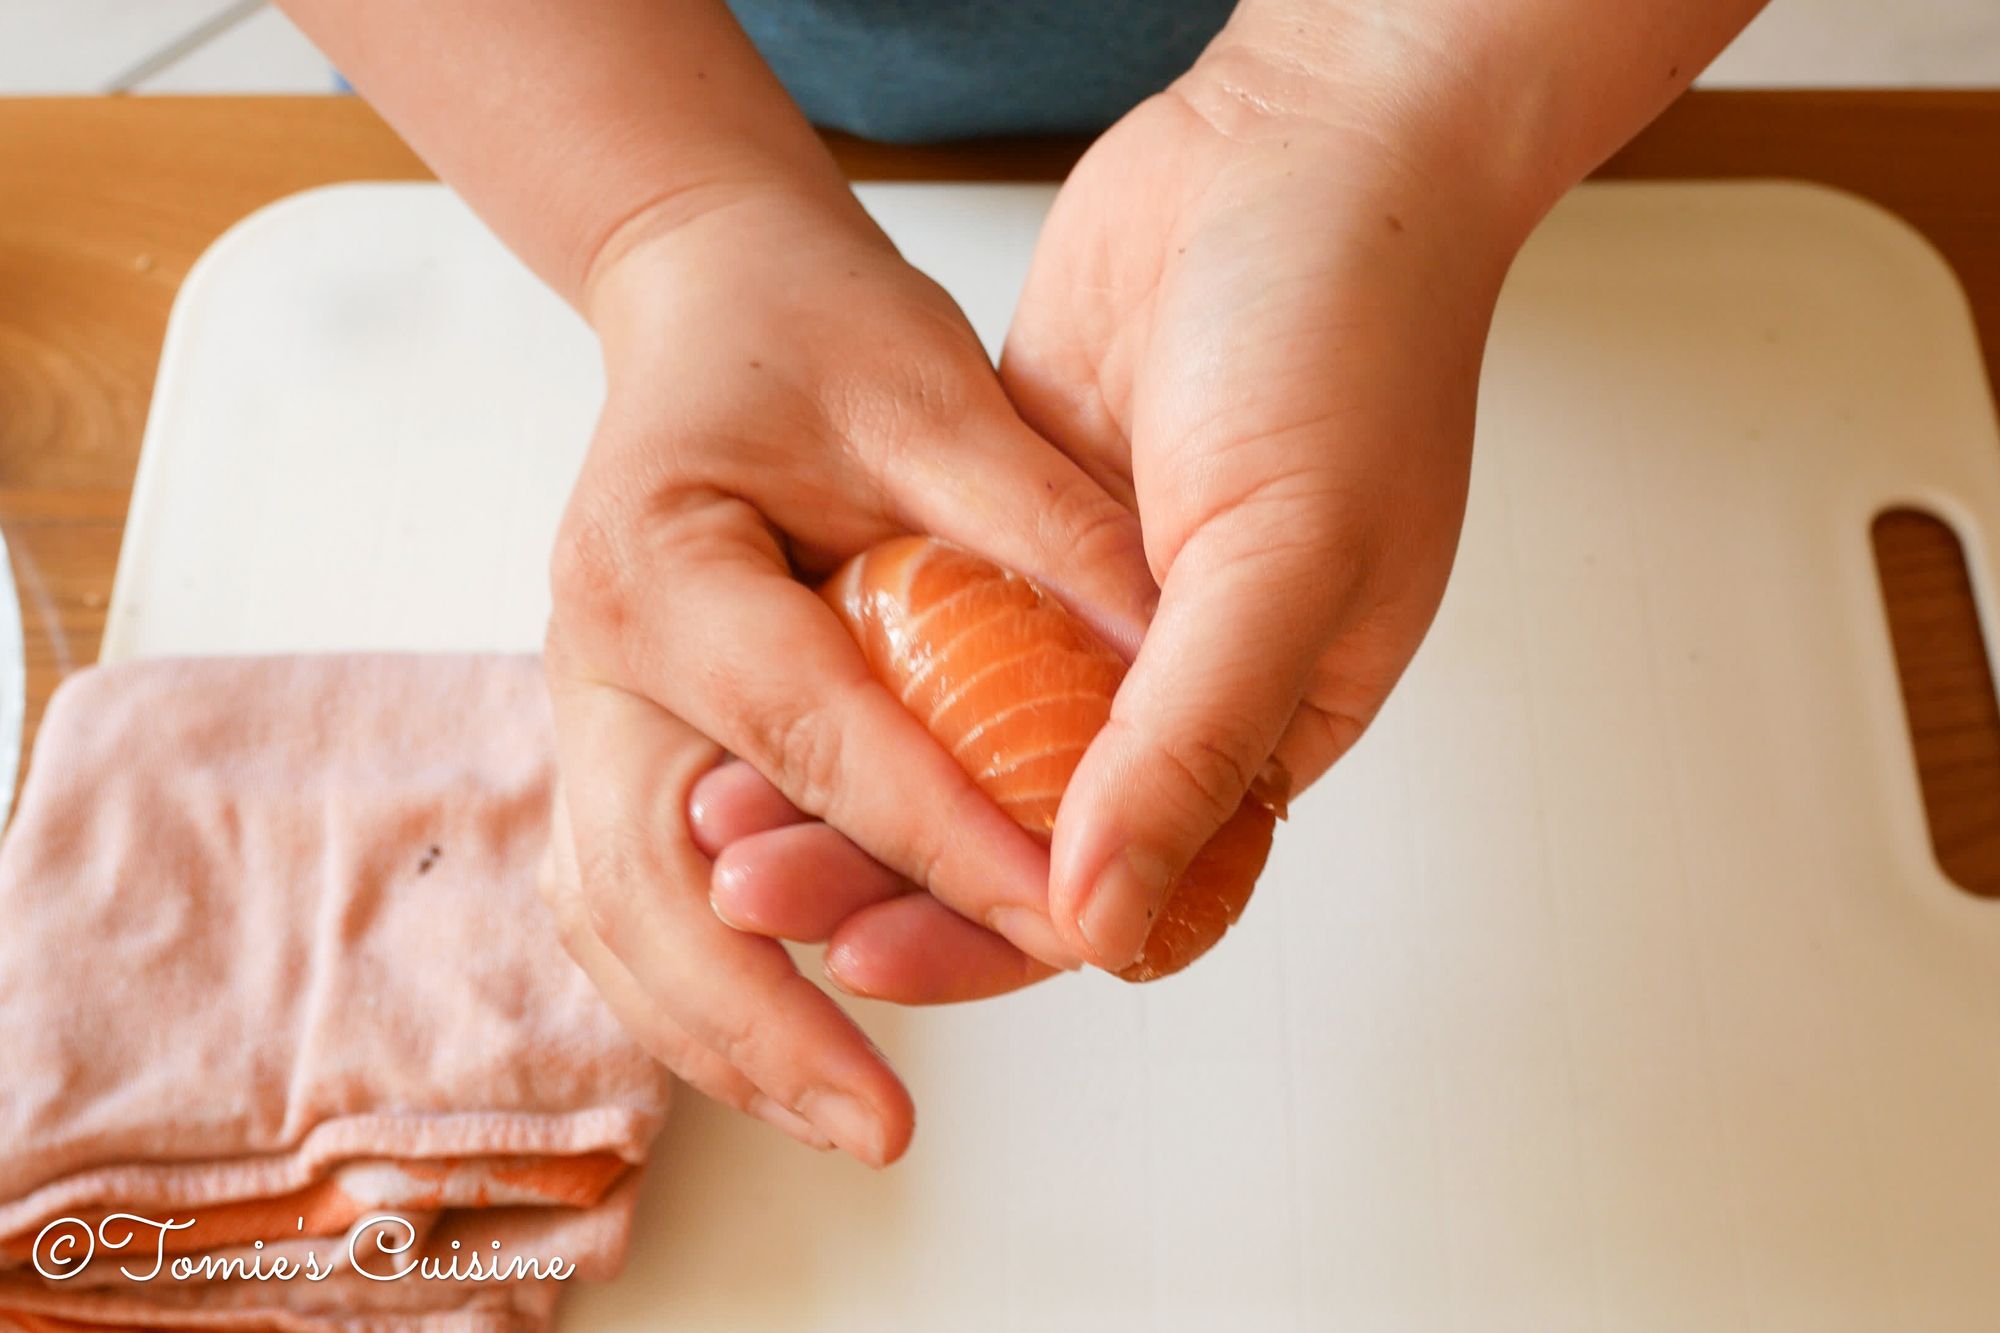
- Turn the nigiri so that the fish side is up.
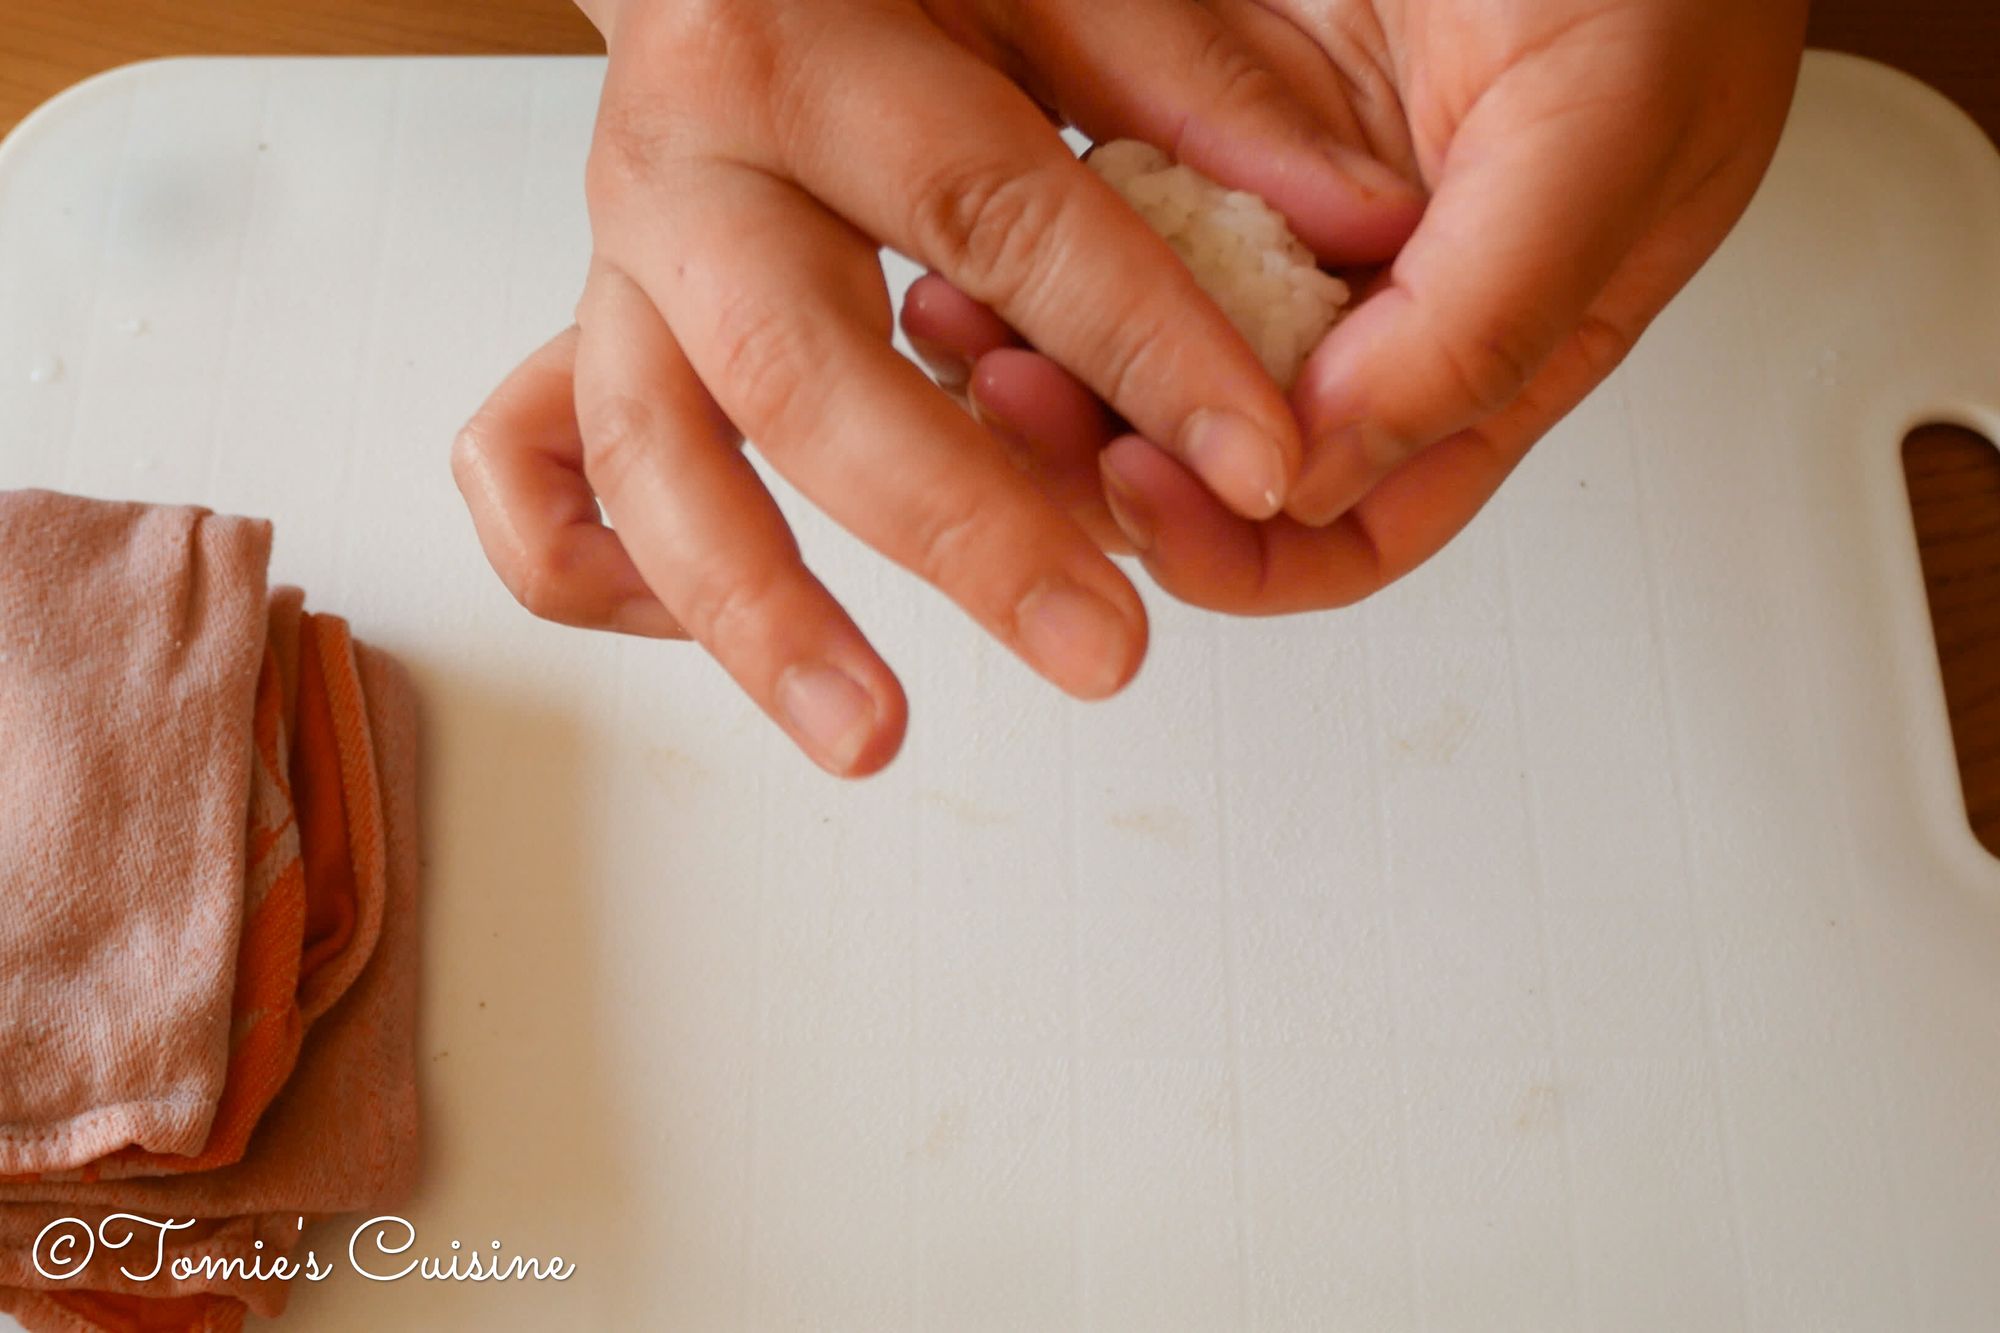
- With your right thumb and index finger, gently press the sides of the nigiri and avoid overpressing with your left thumb. Doing this keeps the shape of the nigiri tidy.
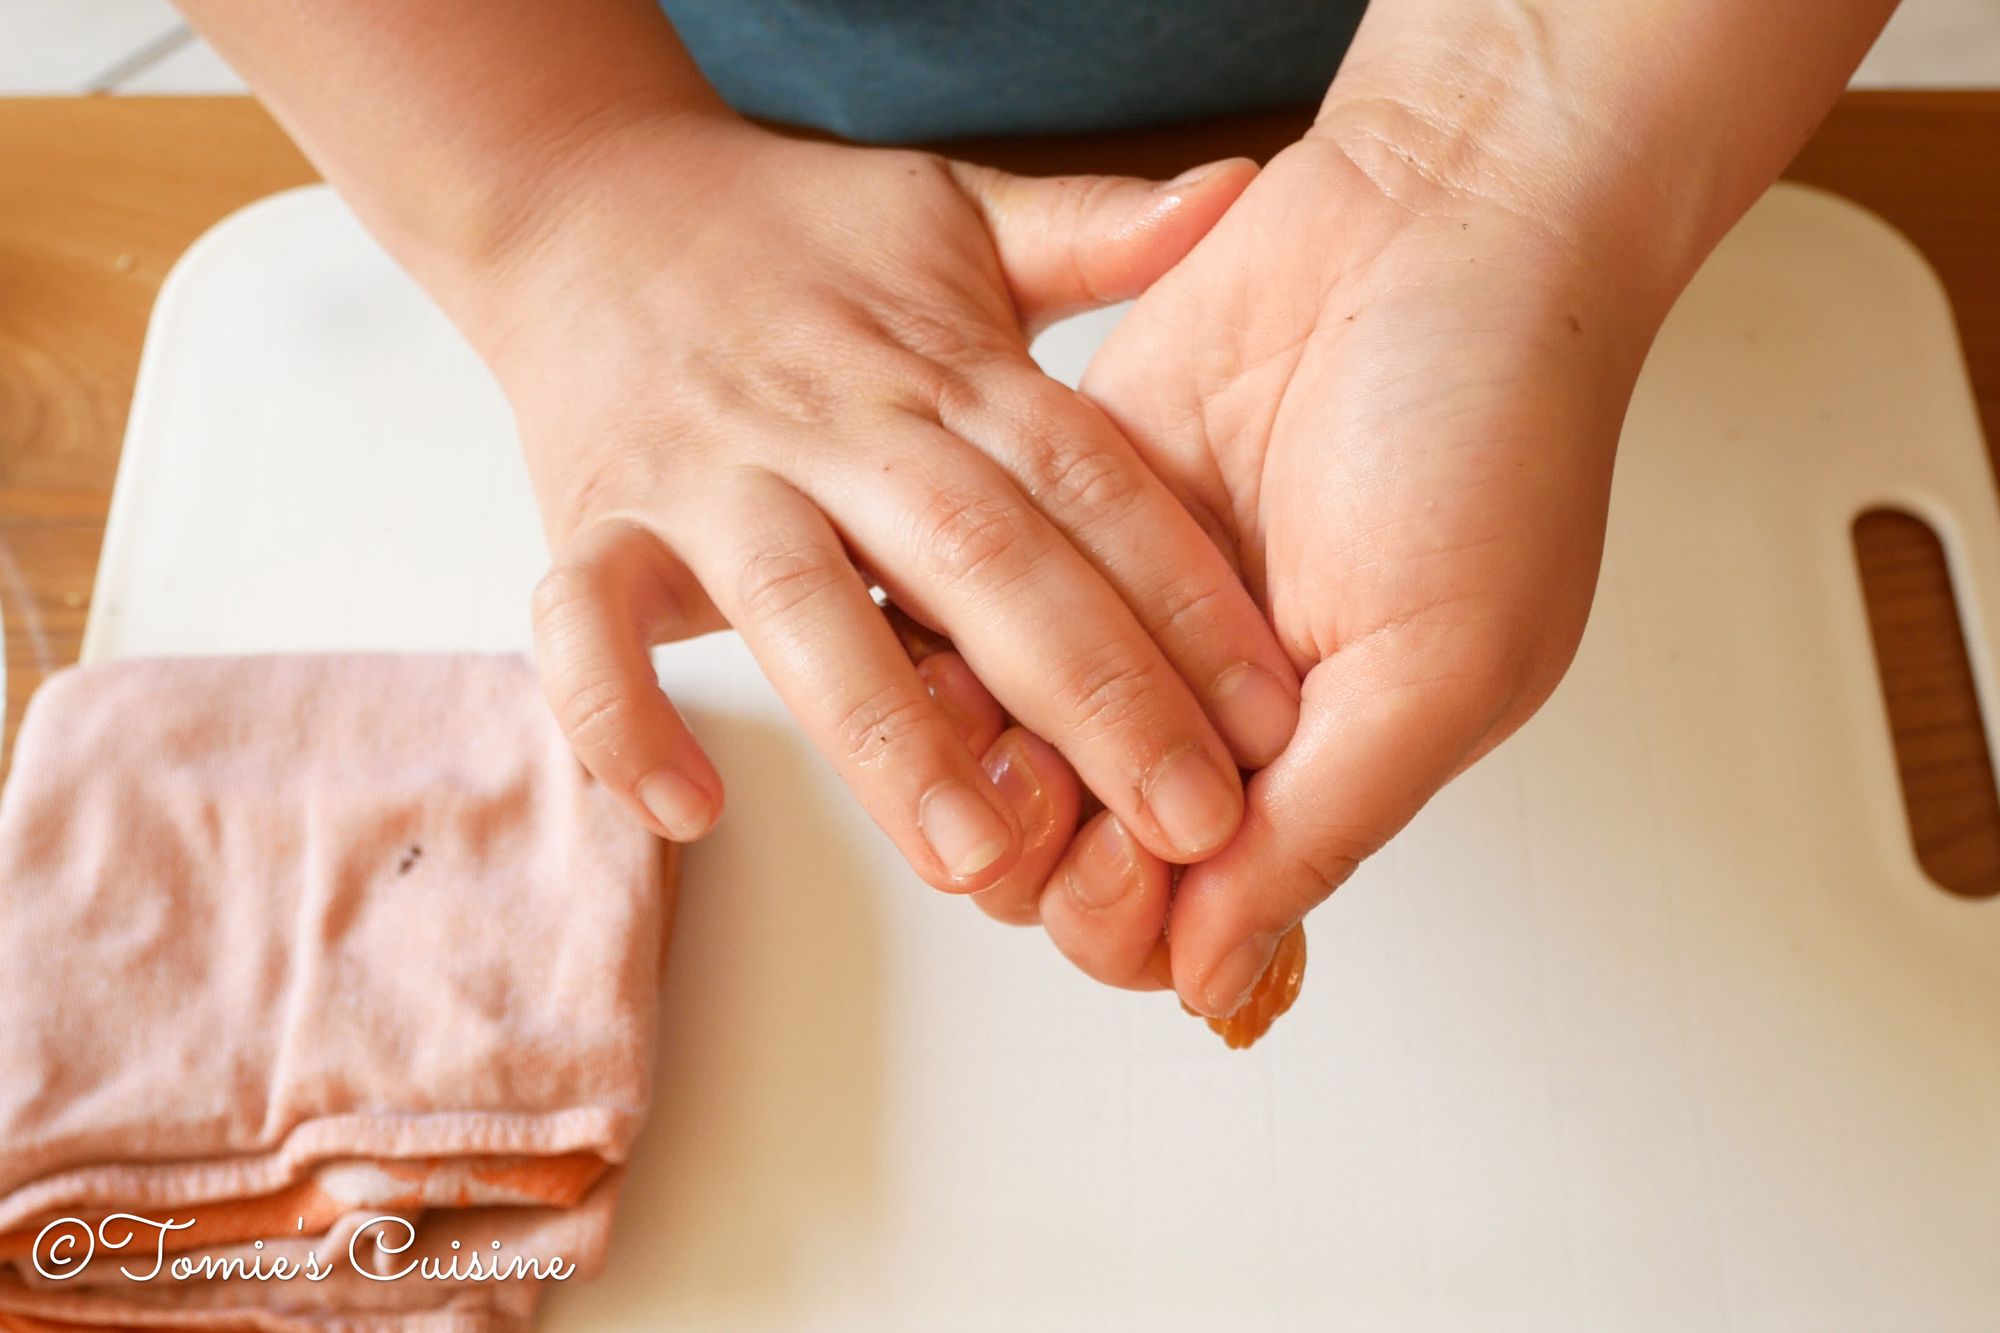
- Press the top gently with your right thumb and index finger.
Turn the side and repeat twice.
Tip: It is always better not to touch too much the nigiri to keep it as fresh as possible.
Gunkan maki

- Take about the same amount of rice as nigiri and use the same technique as nigiri but without the fish.

- Once you make the oval shape, wrap the side of the rice around with nori seaweed that you prepared in advance.
- Stick the end of the nori with a grain of rice.
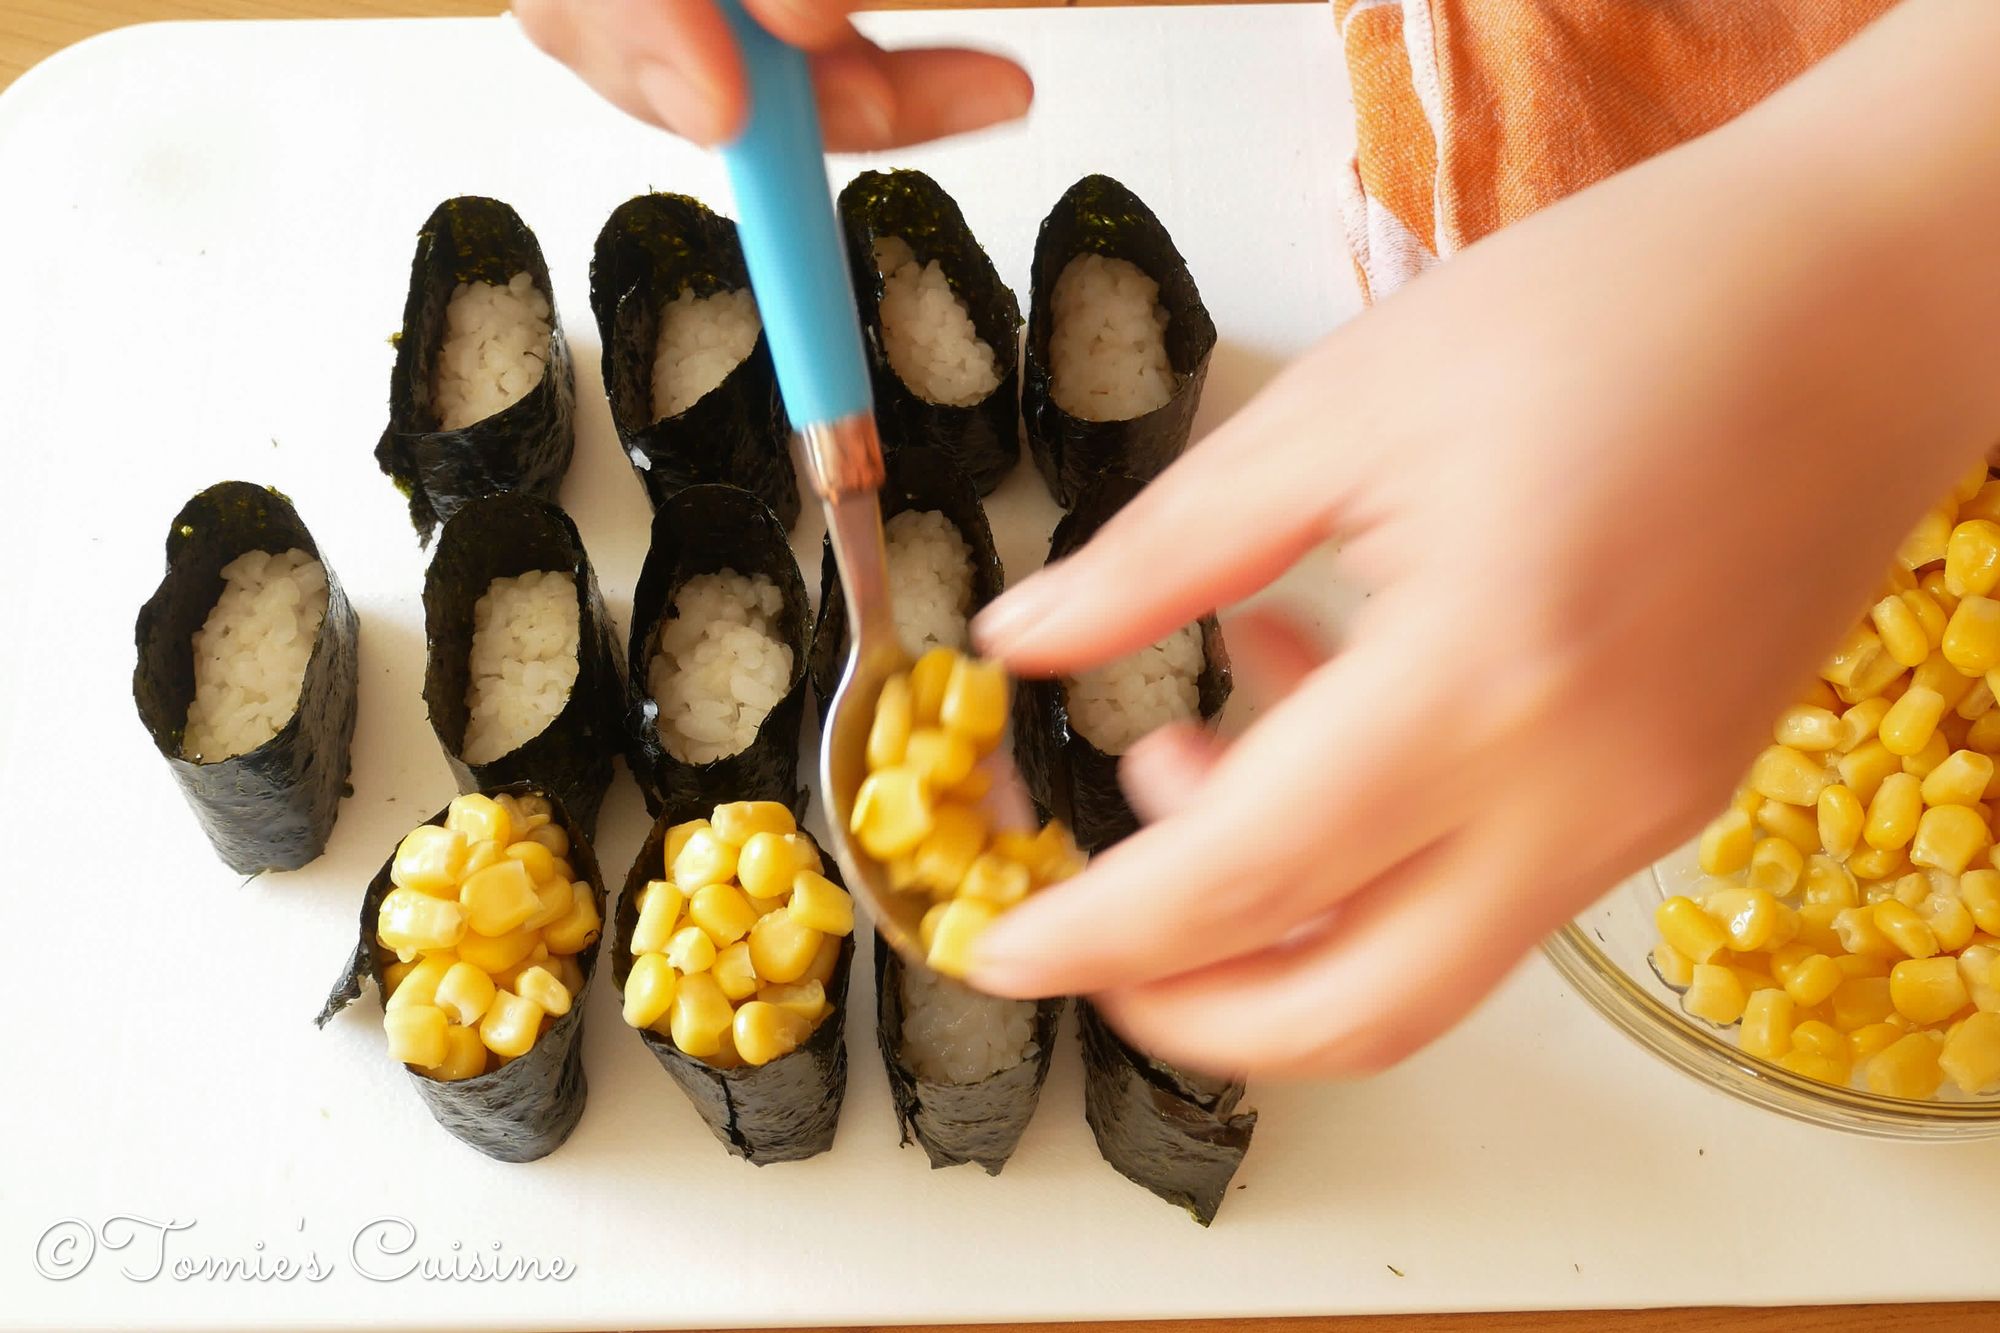
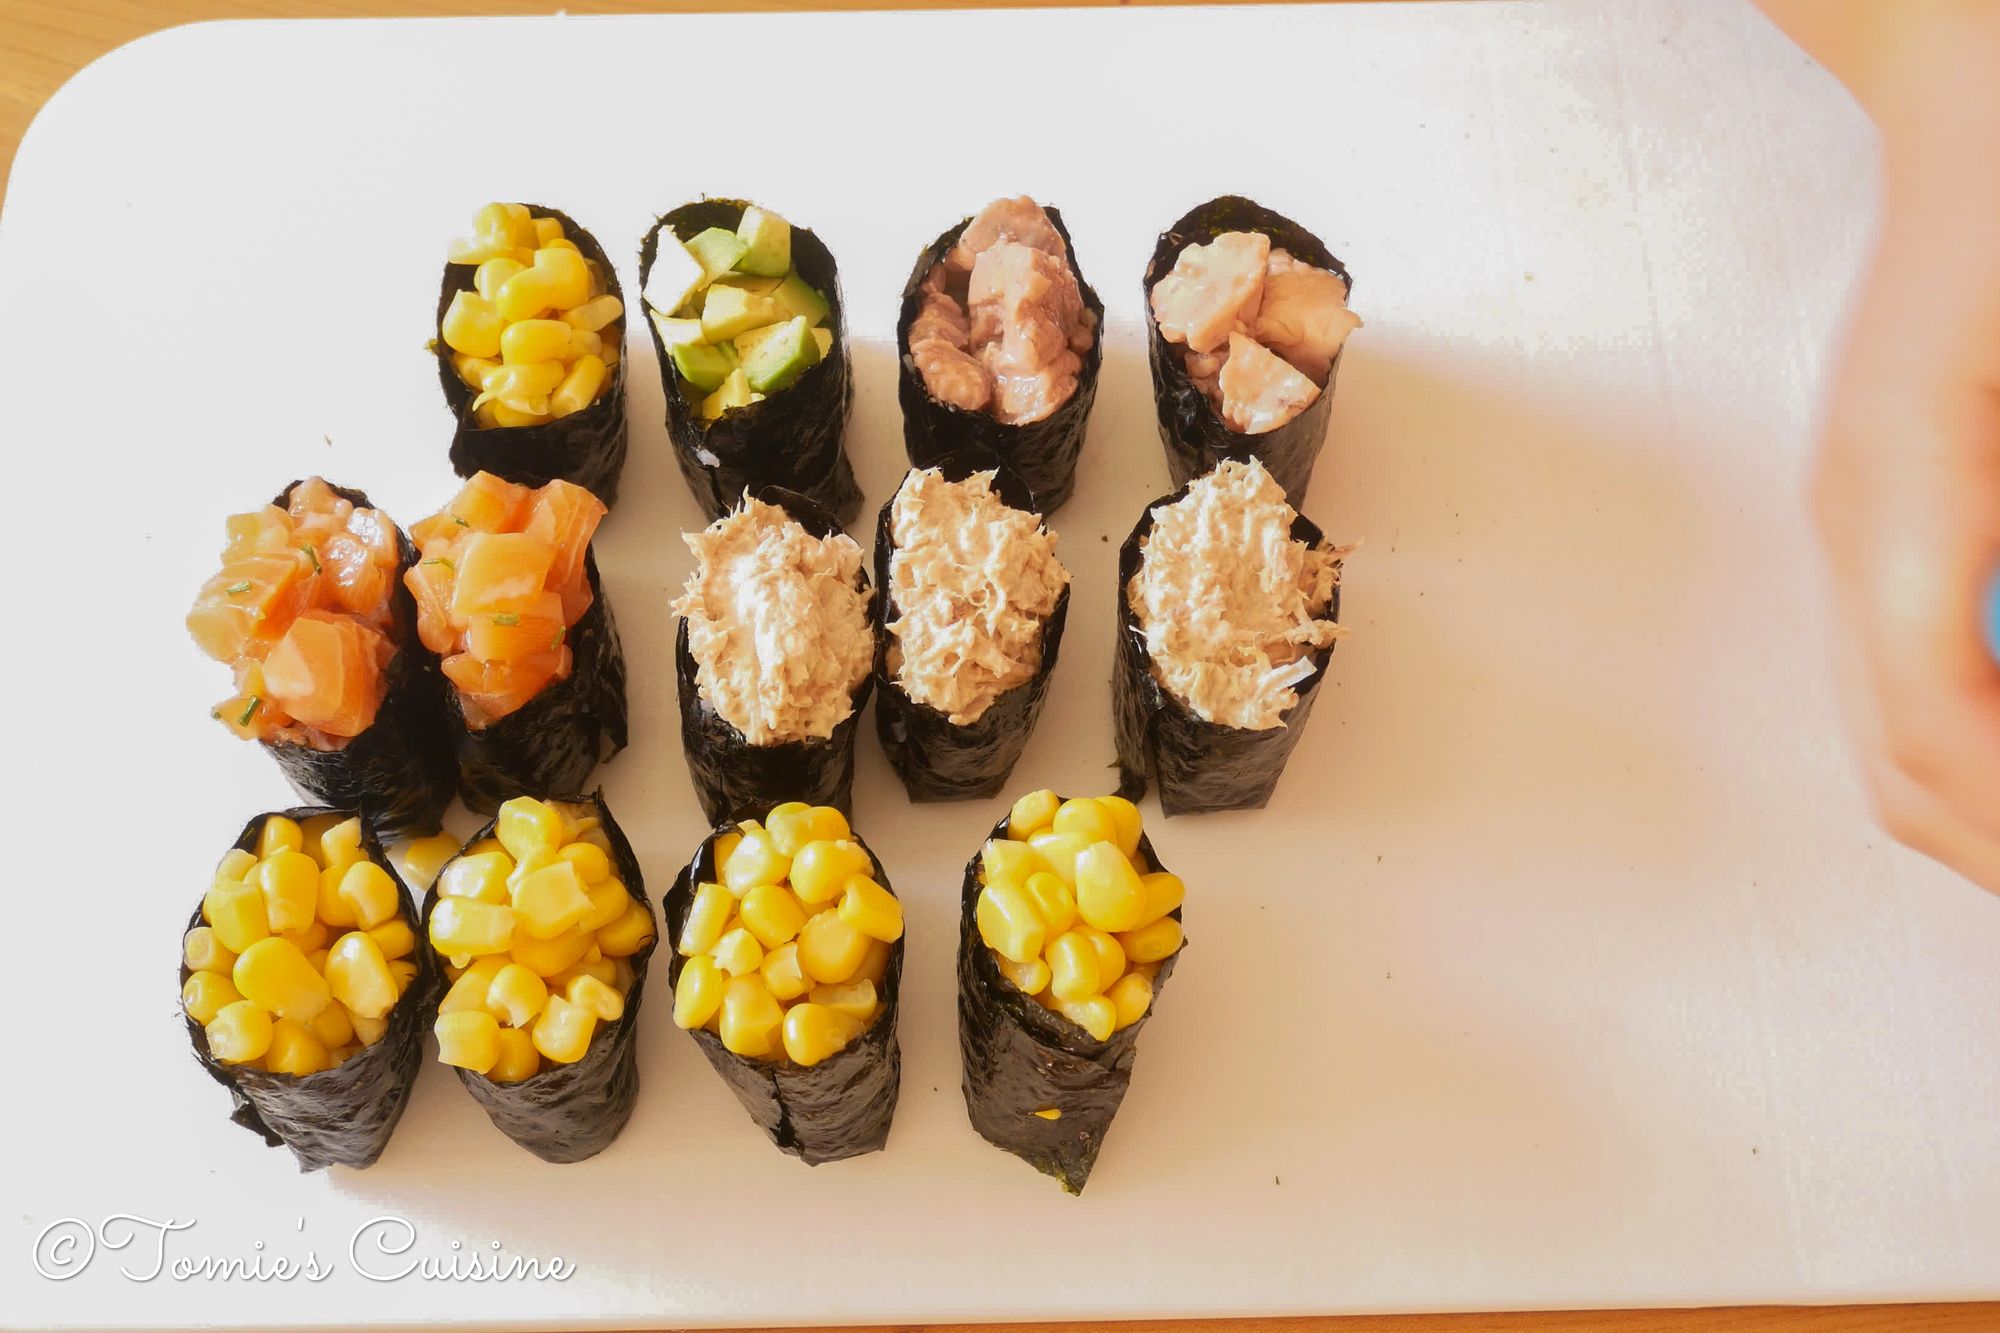
- Add anything you like in the pocket and enjoy!
How to eat them
You can use chopsticks or your fingers. Simply dip the nigiri in the soy sauce on the fish side, not the rice side. You should put the fish side in because if you put it on the rice side, it will crumble with the moisture from the soy sauce. And ending up with a soy sauce plate with rice grains in it is not pleasant.
This is particularly true in Japan, where we should not leave any grains on our plate, as it is said that there are seven gods in each grain. That's what my parents told me when I was a kid.
Closing words
It might be a little bit tricky to get used to making them, but if you keep at it, you’ll be a sushi master at home in no time. Making them with different ingredients and trying something different every time is fun to find your new favourite!
Here are our other Sushi articles:
I will continue this sushi series, so keep an eye on this blog by subscribing to our newsletter so that you do not miss it! If you try to prepare sushi nigiri, be sure to post them on Instagram, Pinterest or Facebook with the hashtag #tomiescuisine; we’d love to see what you come up with!