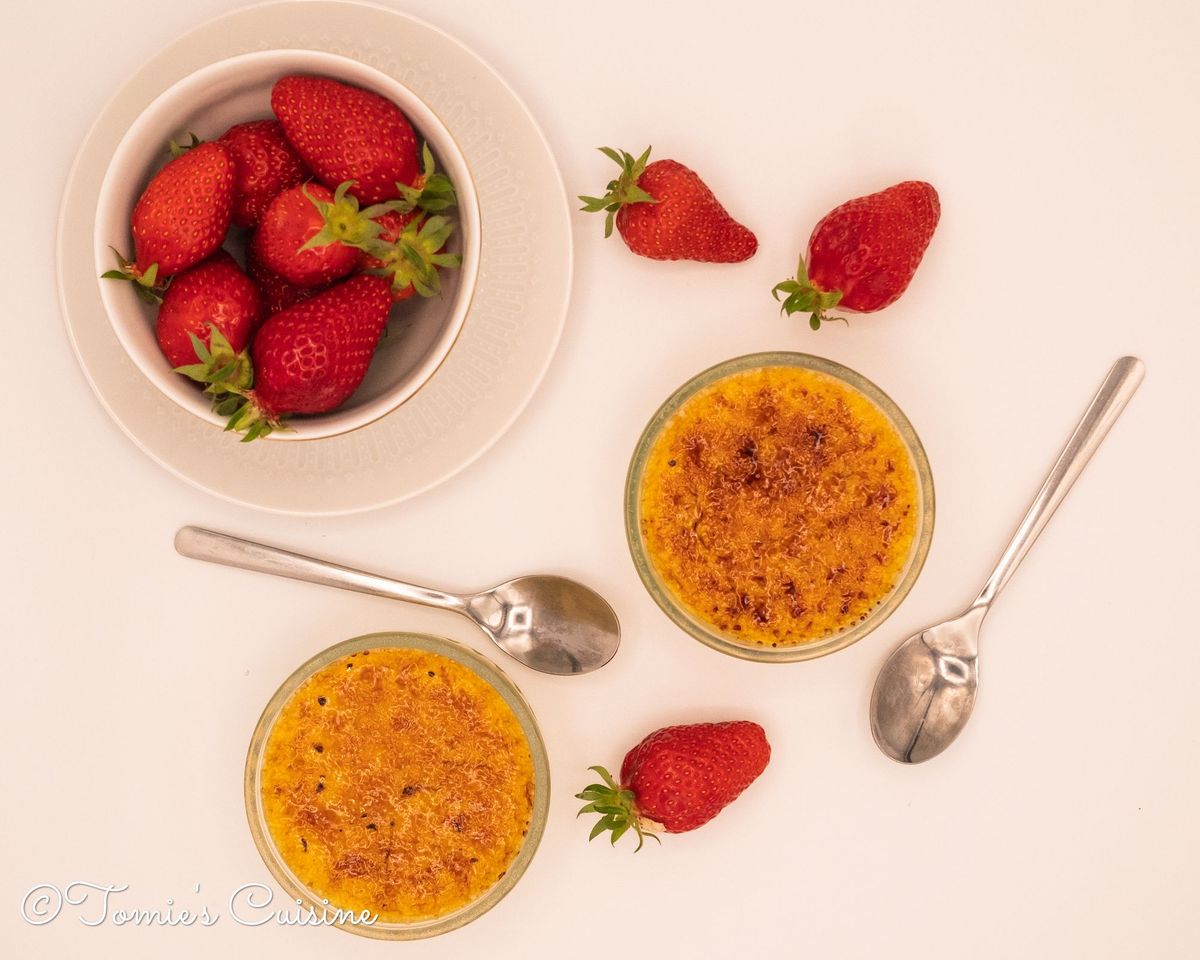
Today, I’m introducing my crème brûlée recipe! My husband and his brother told me to put the recipe on this blog a while ago. So there you have it! It’s nothing complicated as it’s a straightforward recipe. So why not give it a try this weekend?
What is crème brûlée?
Crème brûlée is a French dessert using baked vanilla custard with a thin layer of caramelised sugar on the custard’s top. The recipe first appeared in a French cookbook called “Le cuisinier roïal et bourgeois” in 1691, written by François Massialot, a Chef at the Palace of Versailles.
Crème brûlée or crema Catalana
People might often confuse the differences between crème brûlée and crema Catalana. They are very similar, but the ingredients and the methods are different.
Differences in ingredients
The basic crème brûlée ingredients are:
- Milk
- Cream
- Egg yolk
- Sugar
- Vanilla
But crema Catalana’s ingredients are:
- Milk
- Egg yolk
- Sugar
- Cornflour
- Cinnamon
- Citrus peels
Differences in the cooking method
The cooking methods are also different. The crème brûlée is cooked in the water bath (bain-marie) in the oven. On the other hand, crema Catalana is cooked in a pan like custard. Then poured in the ramekin and left to set.
The crème brûlée recipe on “Le cuisinier roïal et bourgeois” shows flour, cinnamon and citrus peel like crema Catalana. The cooking method is also very similar: they cook the custard in a pan and then pour it into the serving dish. Very interesting, isn’t it?
Crema Catalana first appeared in a Catalan cookbook called “Llibre de Sent Soví” in 1324. So I guess crème brûlée was born from the inspiration of creme Catalana?
By the way, I am using the crema Catalana recipe from a website called Spanish Sabores as a reference. Thank you!
Recipe (for five small ramekins (9x3cm)
Equipment
- Oven safe ramekins (ceramic or glass)
- Oven tray
- Saucepan
- Mixing bowl
- Whisk
- Spatula
- Ladle
- Strainer
- Blow torch (the one with butane or refillable)
How I got the glass ramekins
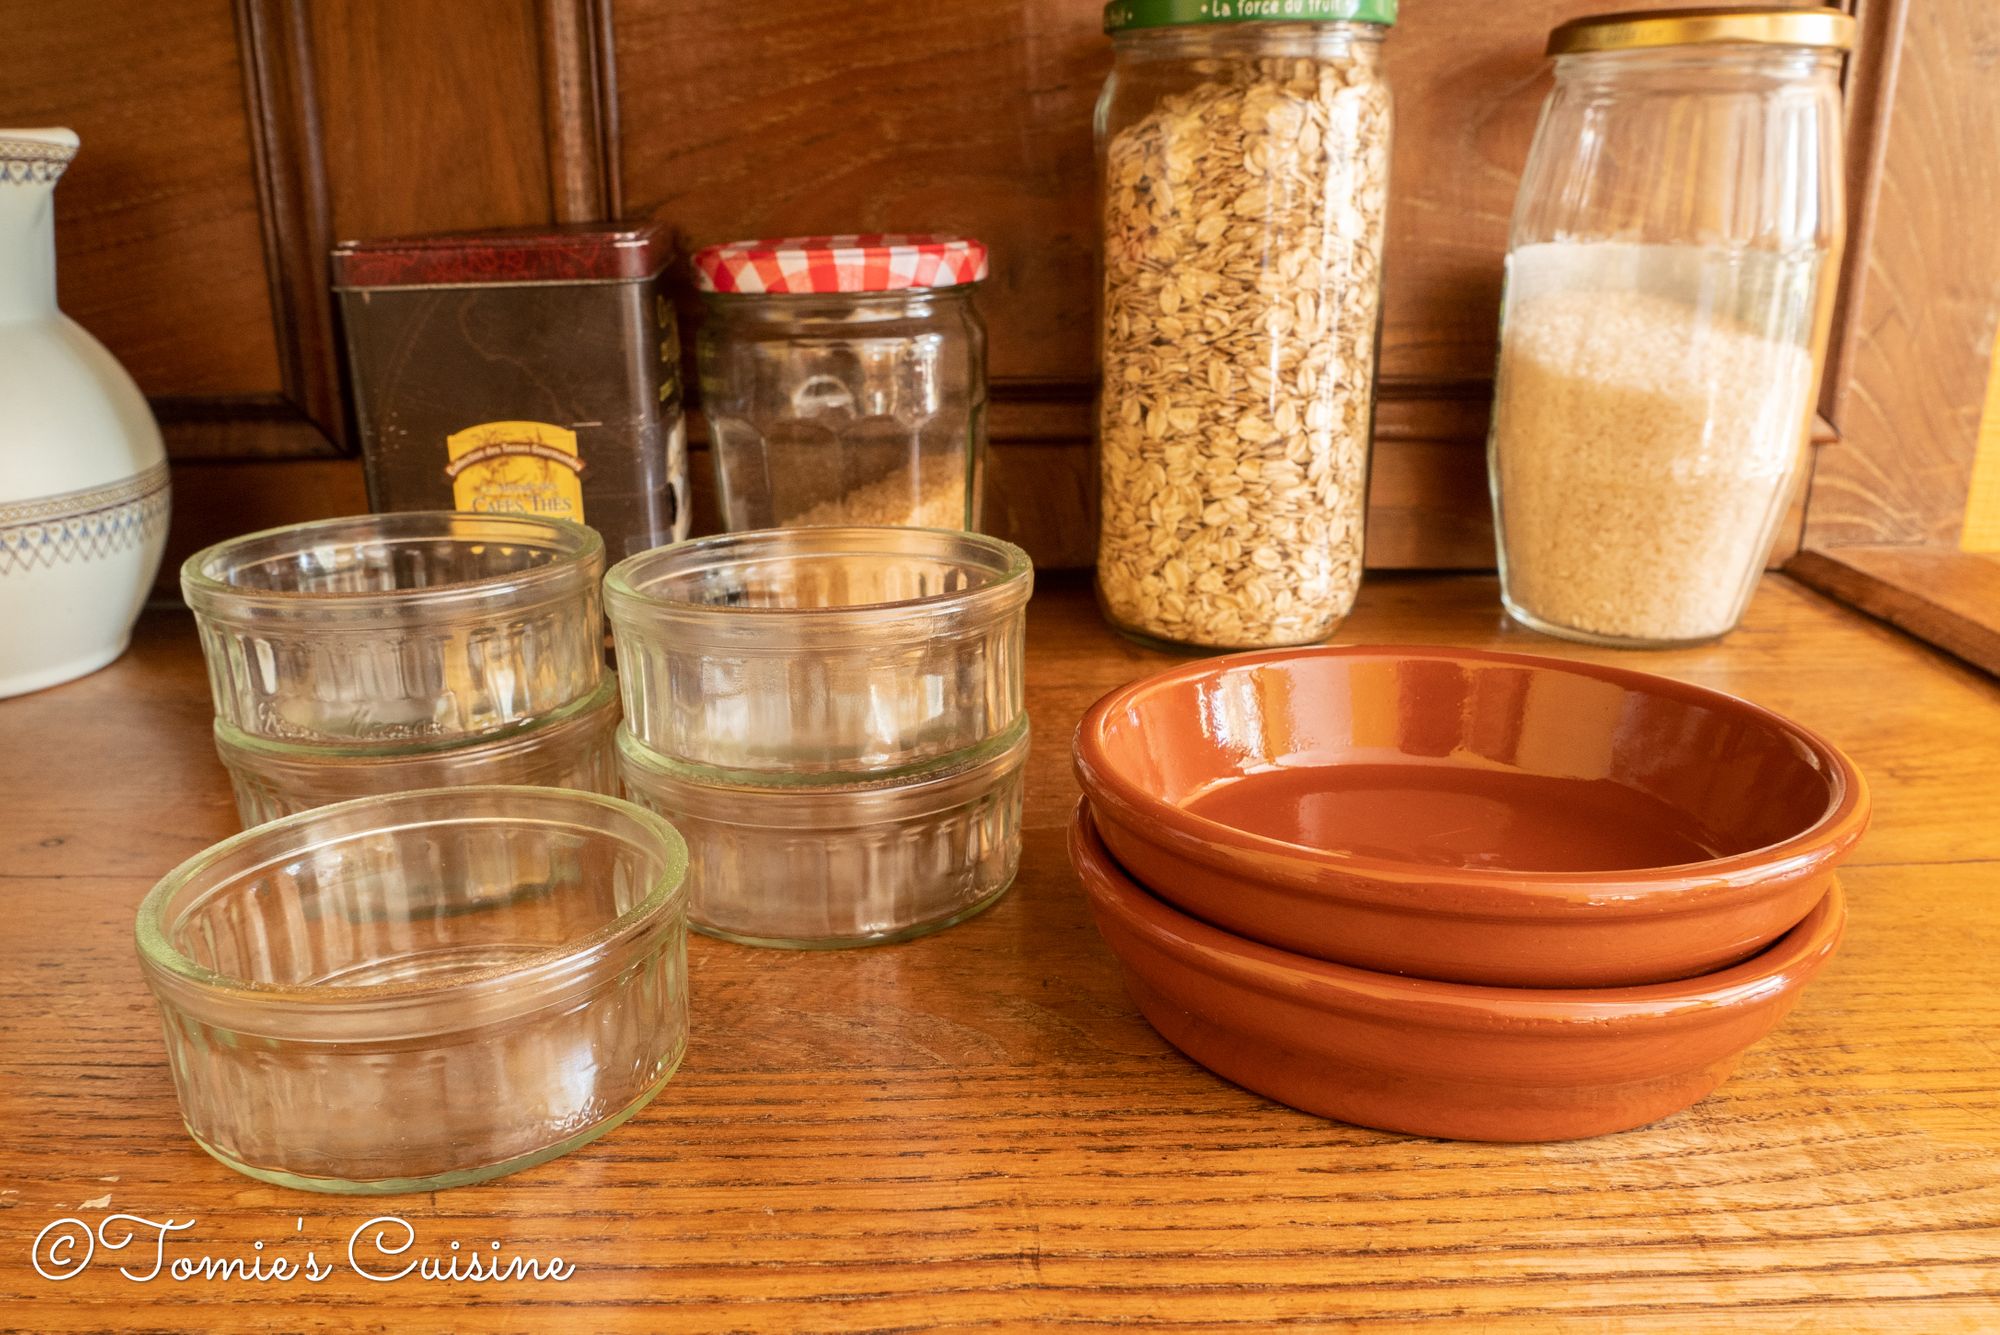
I didn’t have any ramekins to make my crème brûlée here in Brittany, so I went to buy some at the nearest shop, but they had only two of them. But one day, I went to the supermarket for grocery shopping and found some Bonne Maman crème brûlée in glass ramekins. The supermarket was selling two crème brûlée for roughly €1.90 (£1.65). Yay! So I bought three sets.
That week was crazy. I had to make some crème brûlée to test, change the recipe a bit, try again with the new formula. Then I bought the ones from Bonne Maman to get the ramekins. I don’t want to eat any more crème brûlée or anything with cream and egg yolk for at least a year!
However, my family here was delighted to have them almost every day. Thankfully!
Ingredients
- 300g whipping cream (around 30% of fat content)
- 170g milk (I used semi-skimmed milk)
- 1 tsp of vanilla extract (half vanilla pod if you have)
- 6 egg yolks
- 80g caster sugar
Instructions
Crème brûlée custard
- Preheat your oven at 130°C.
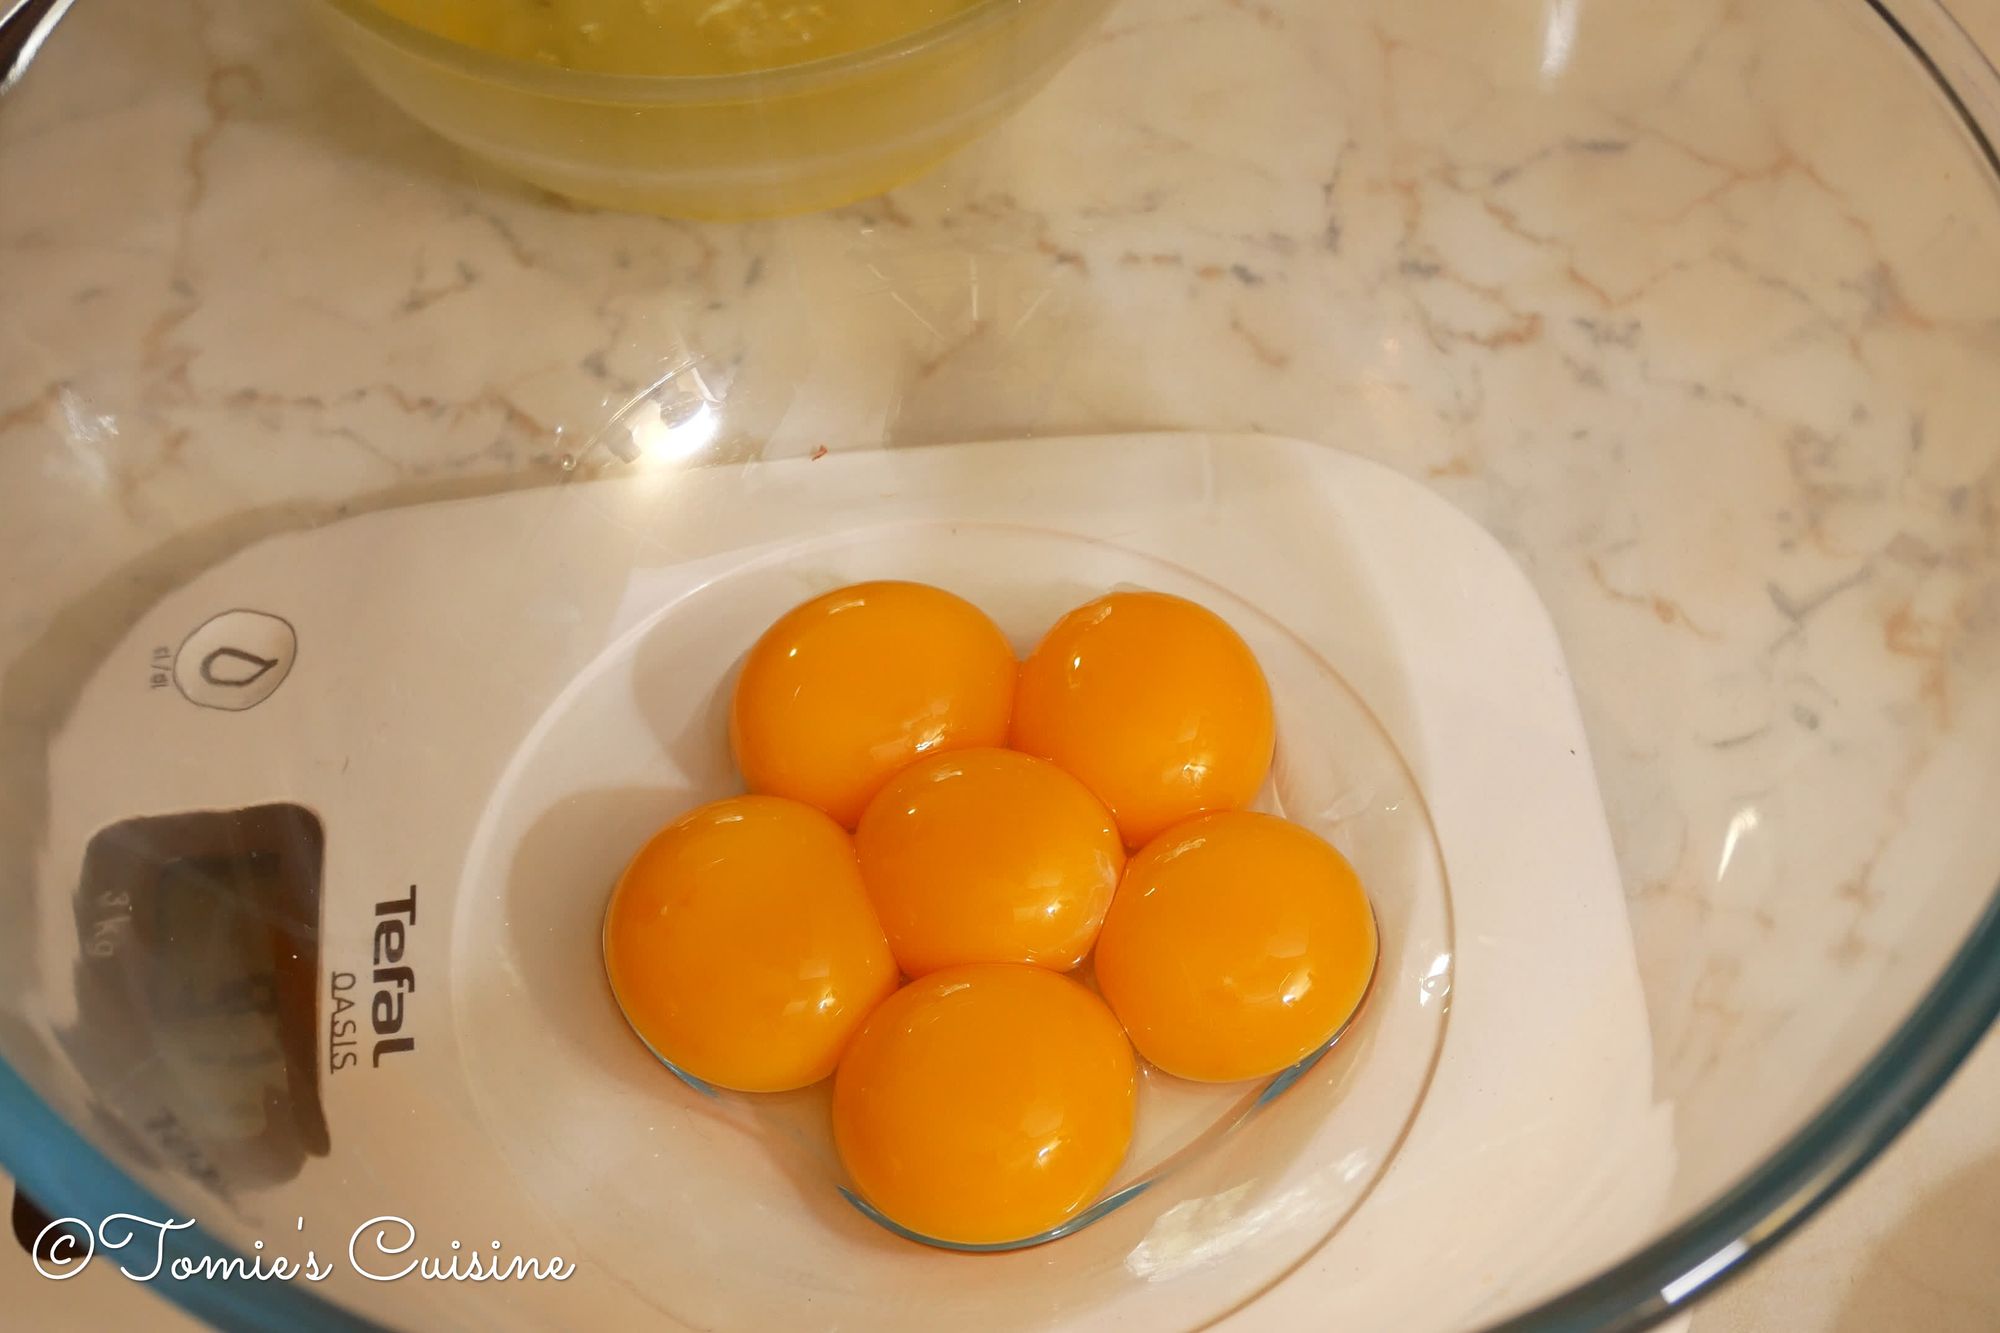
- Separate eggs, put egg yolks in a large bowl and keep the white for something else.
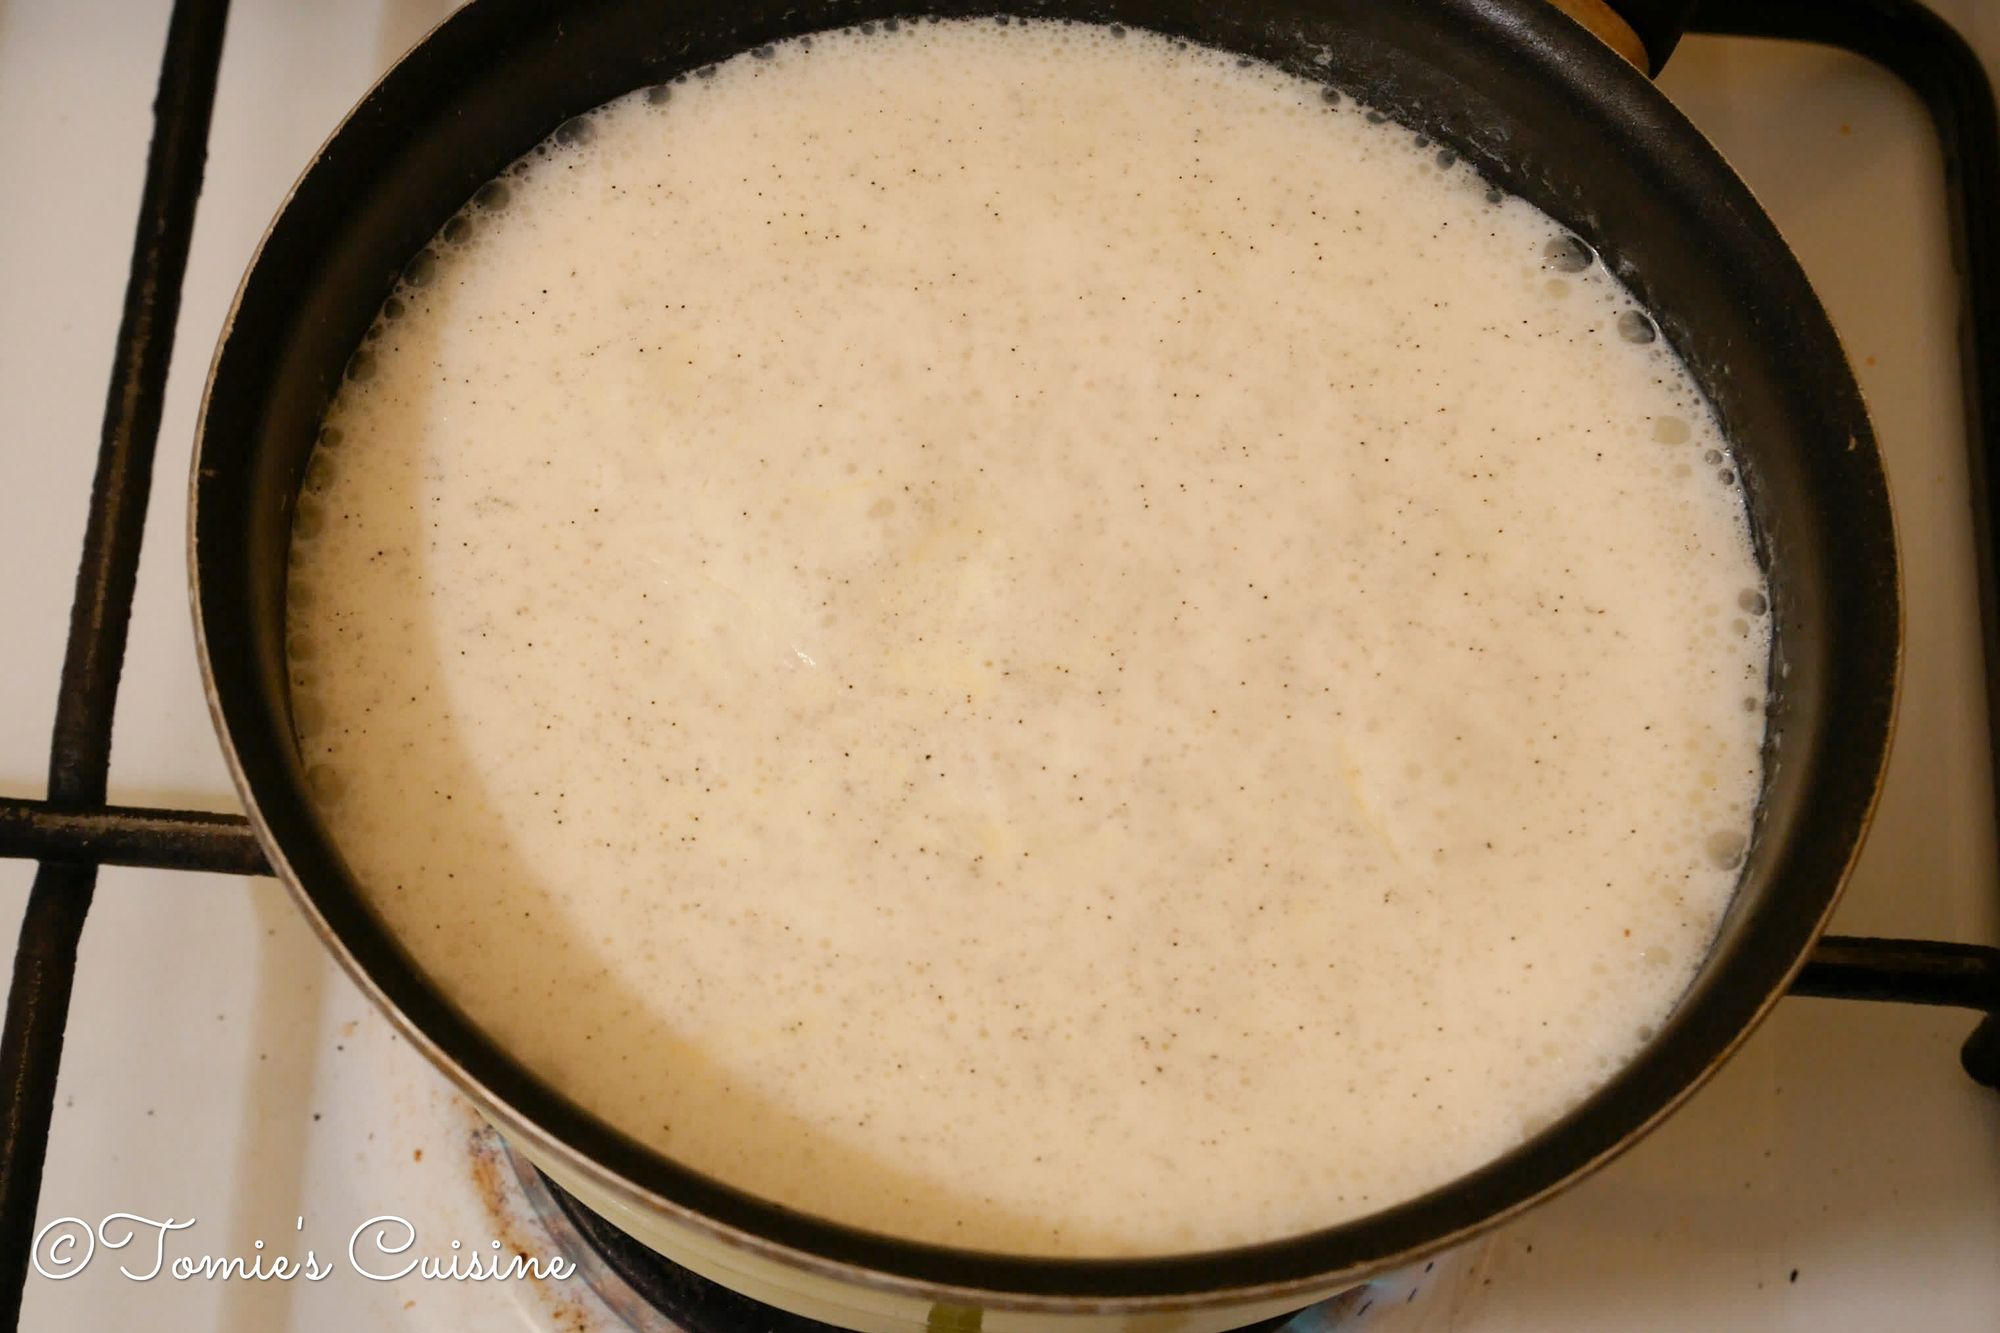
- Add whipping cream, milk and vanilla into a saucepan and start heating it.
(If you are using a vanilla bean, cut it in half and scrape out the vanilla pods and add both pods and skin into the saucepan.)
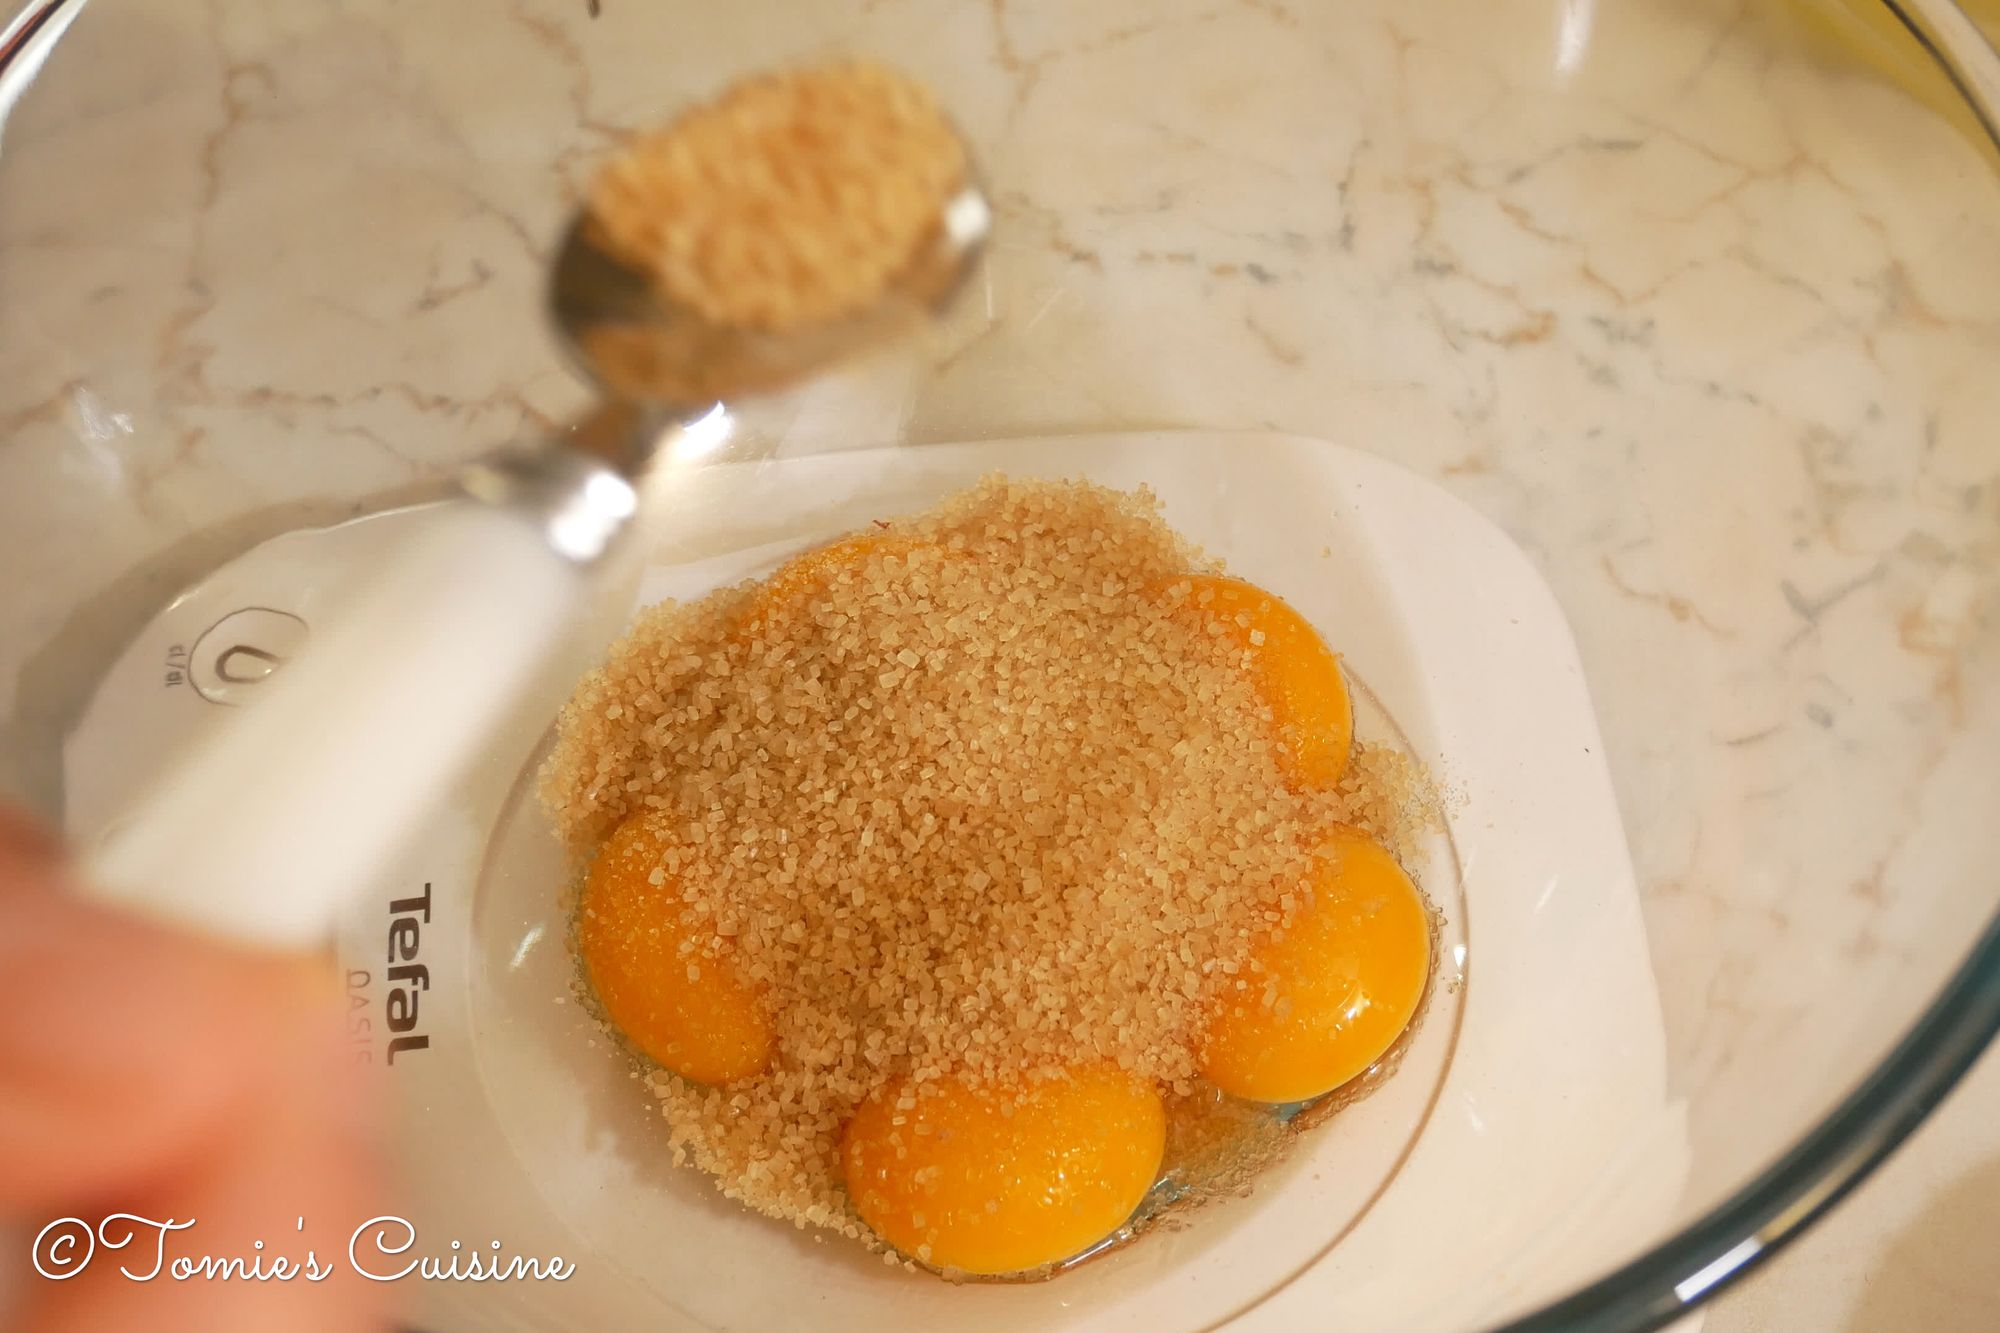
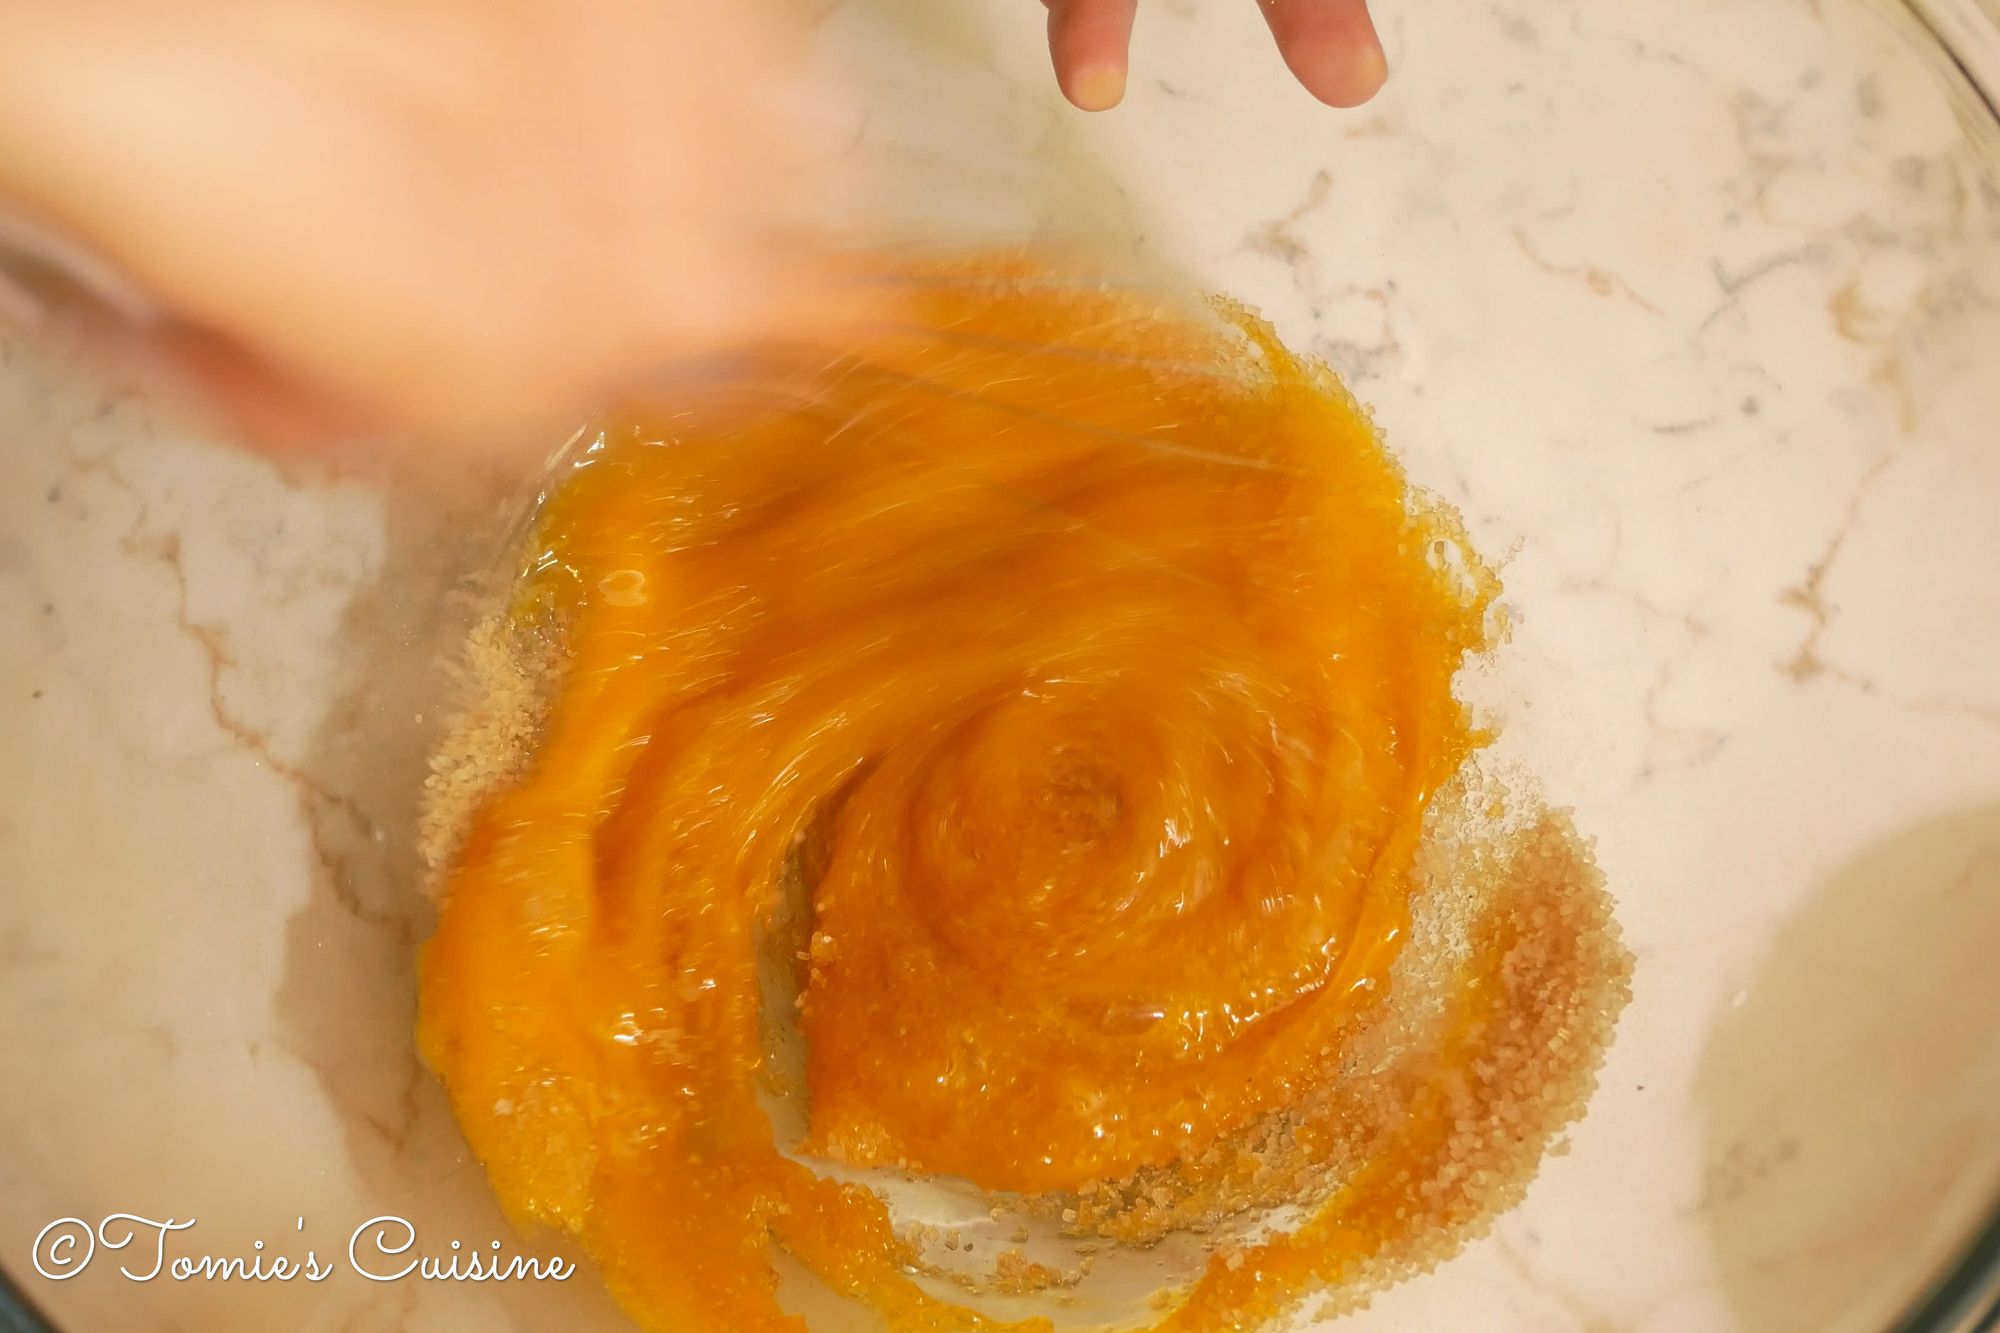
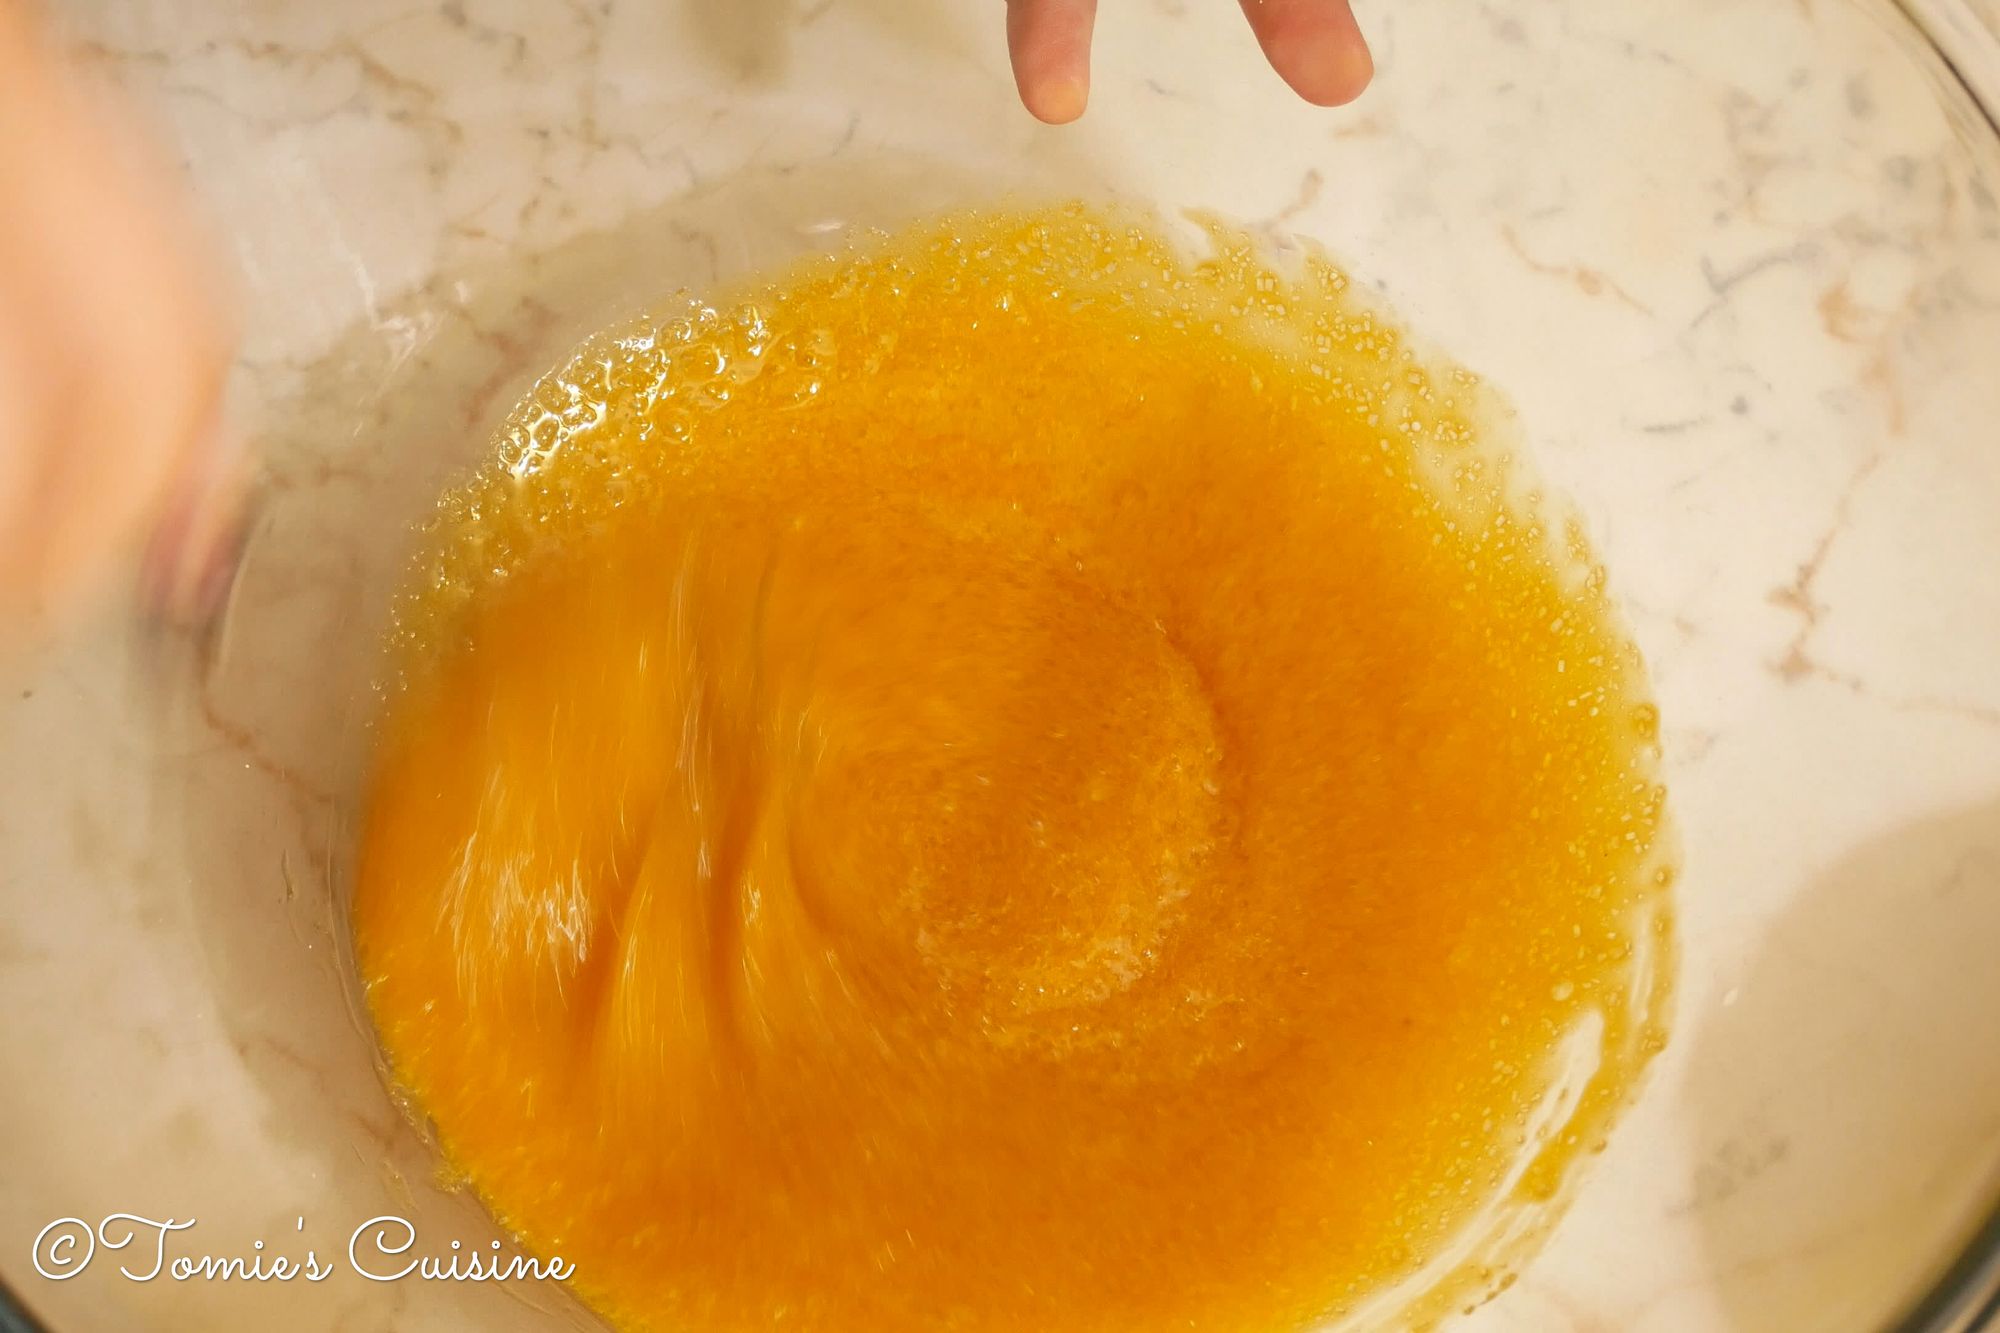
- Add sugar into the large bowl with the egg yolks and mix well with a whisk to combine them.
- Put a cloth under the bowl so that it doesn’t slip in the next step.
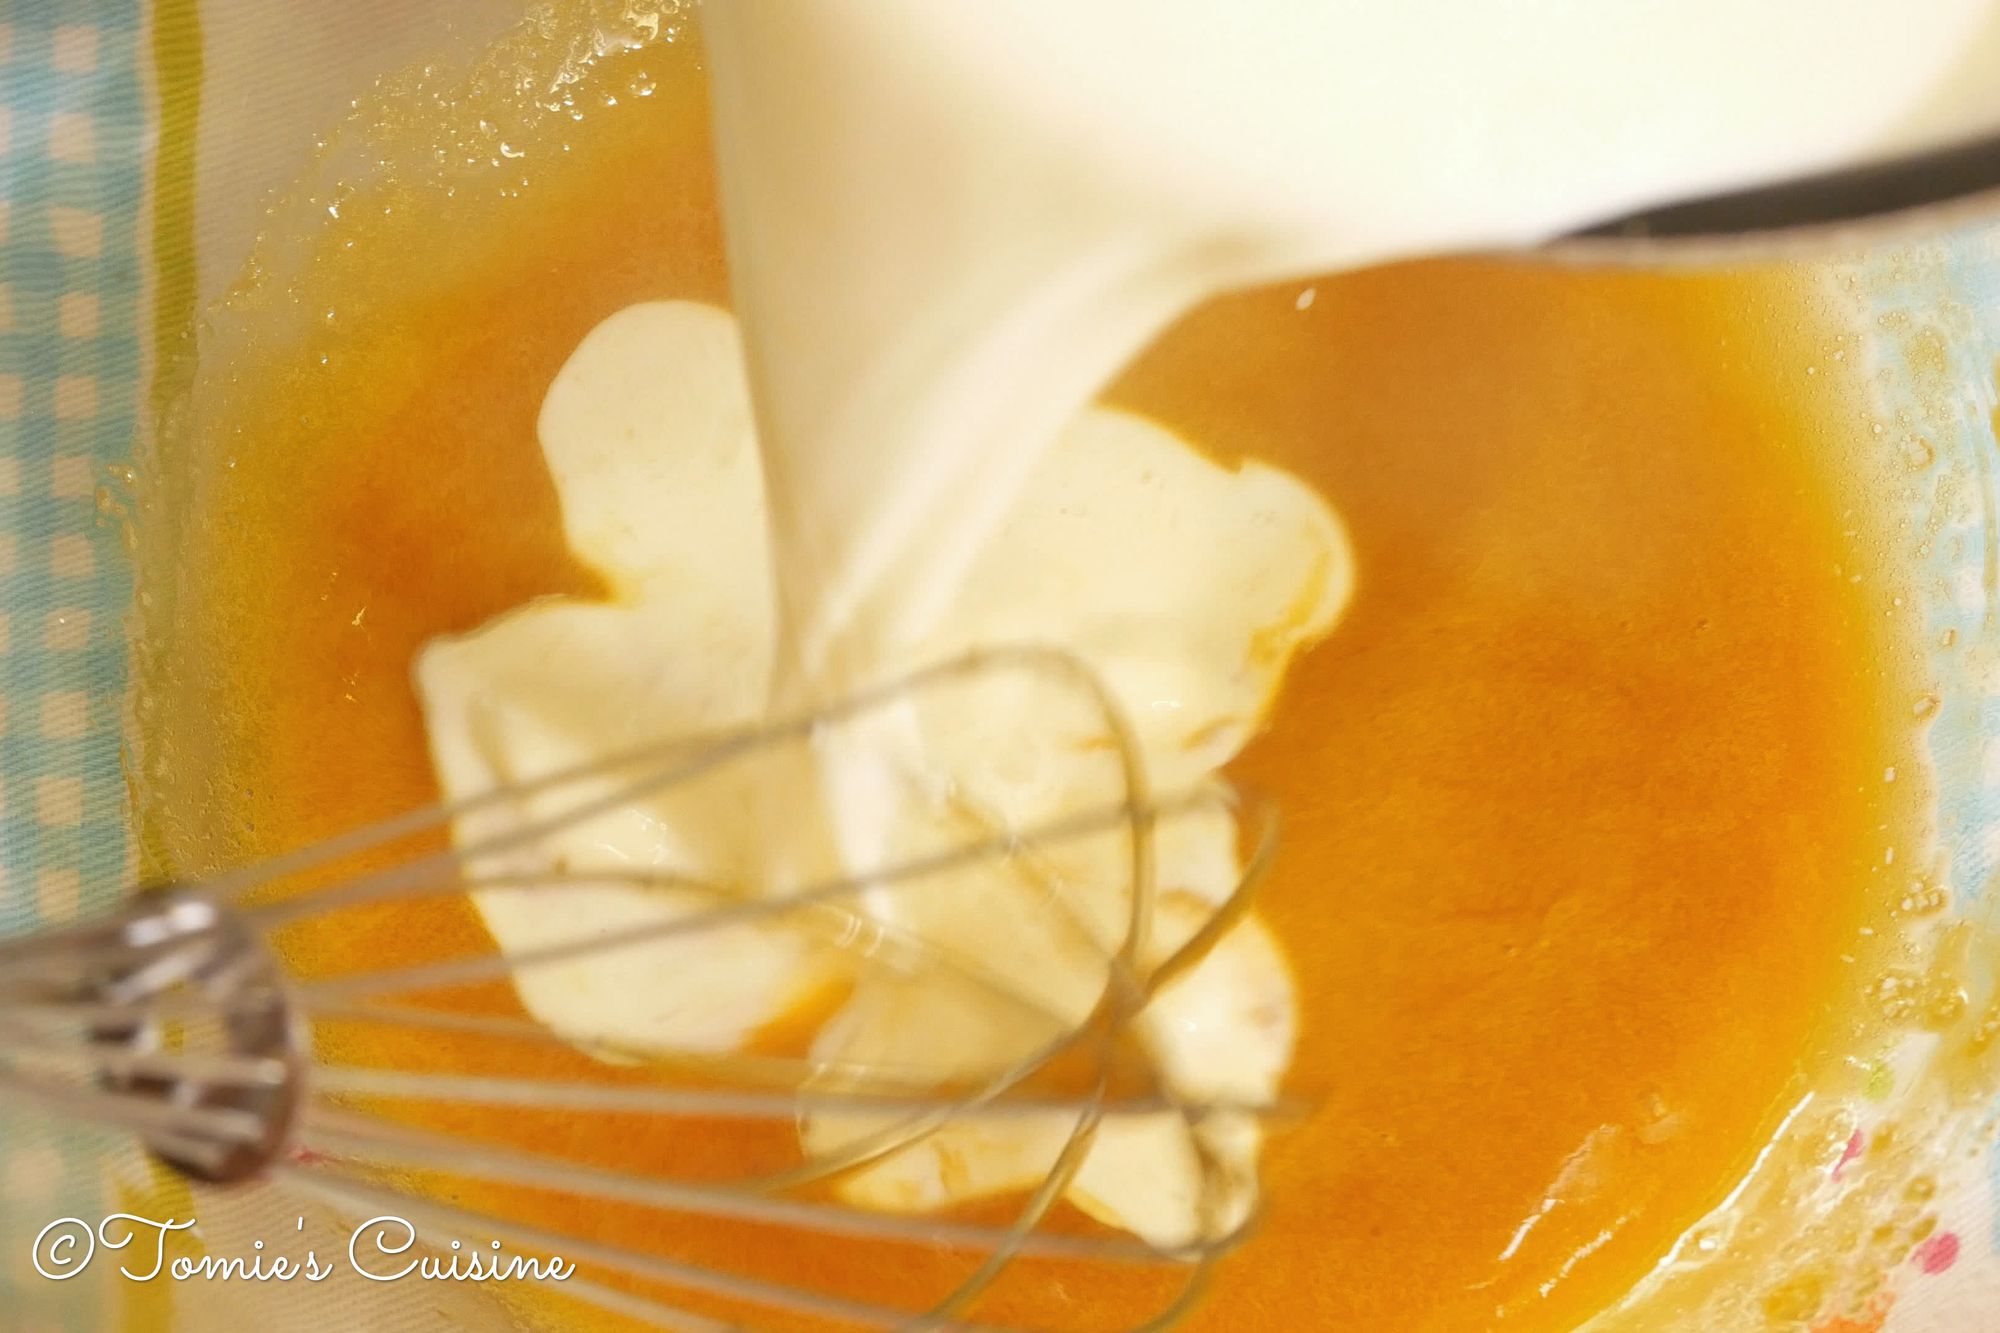
- Once the cream and milk start simmering, pour it in the large bowl over the egg yolk and sugar mixture and whisk simultaneously.
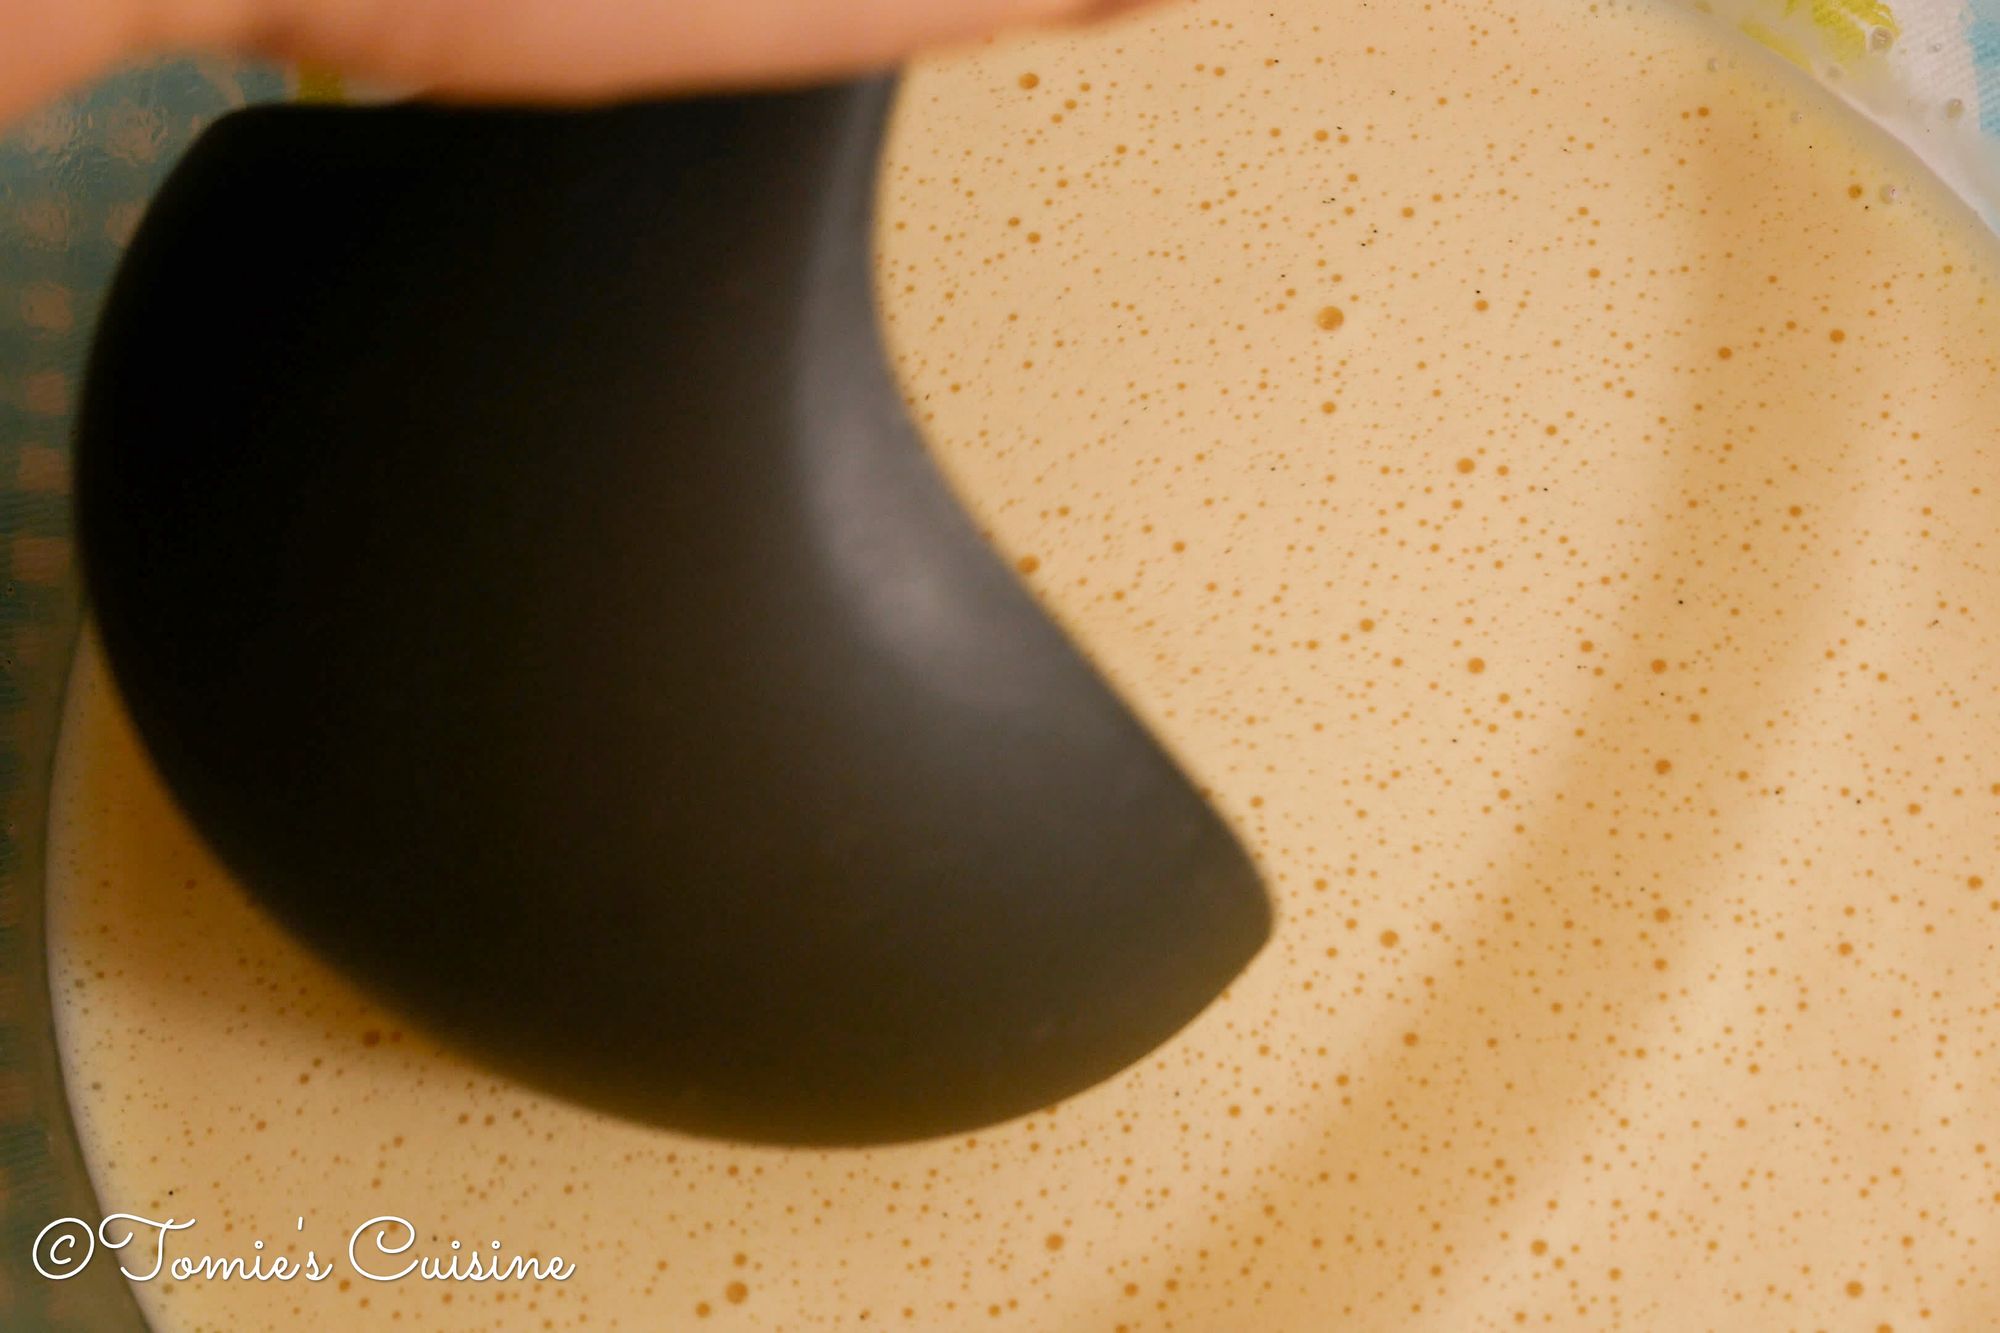
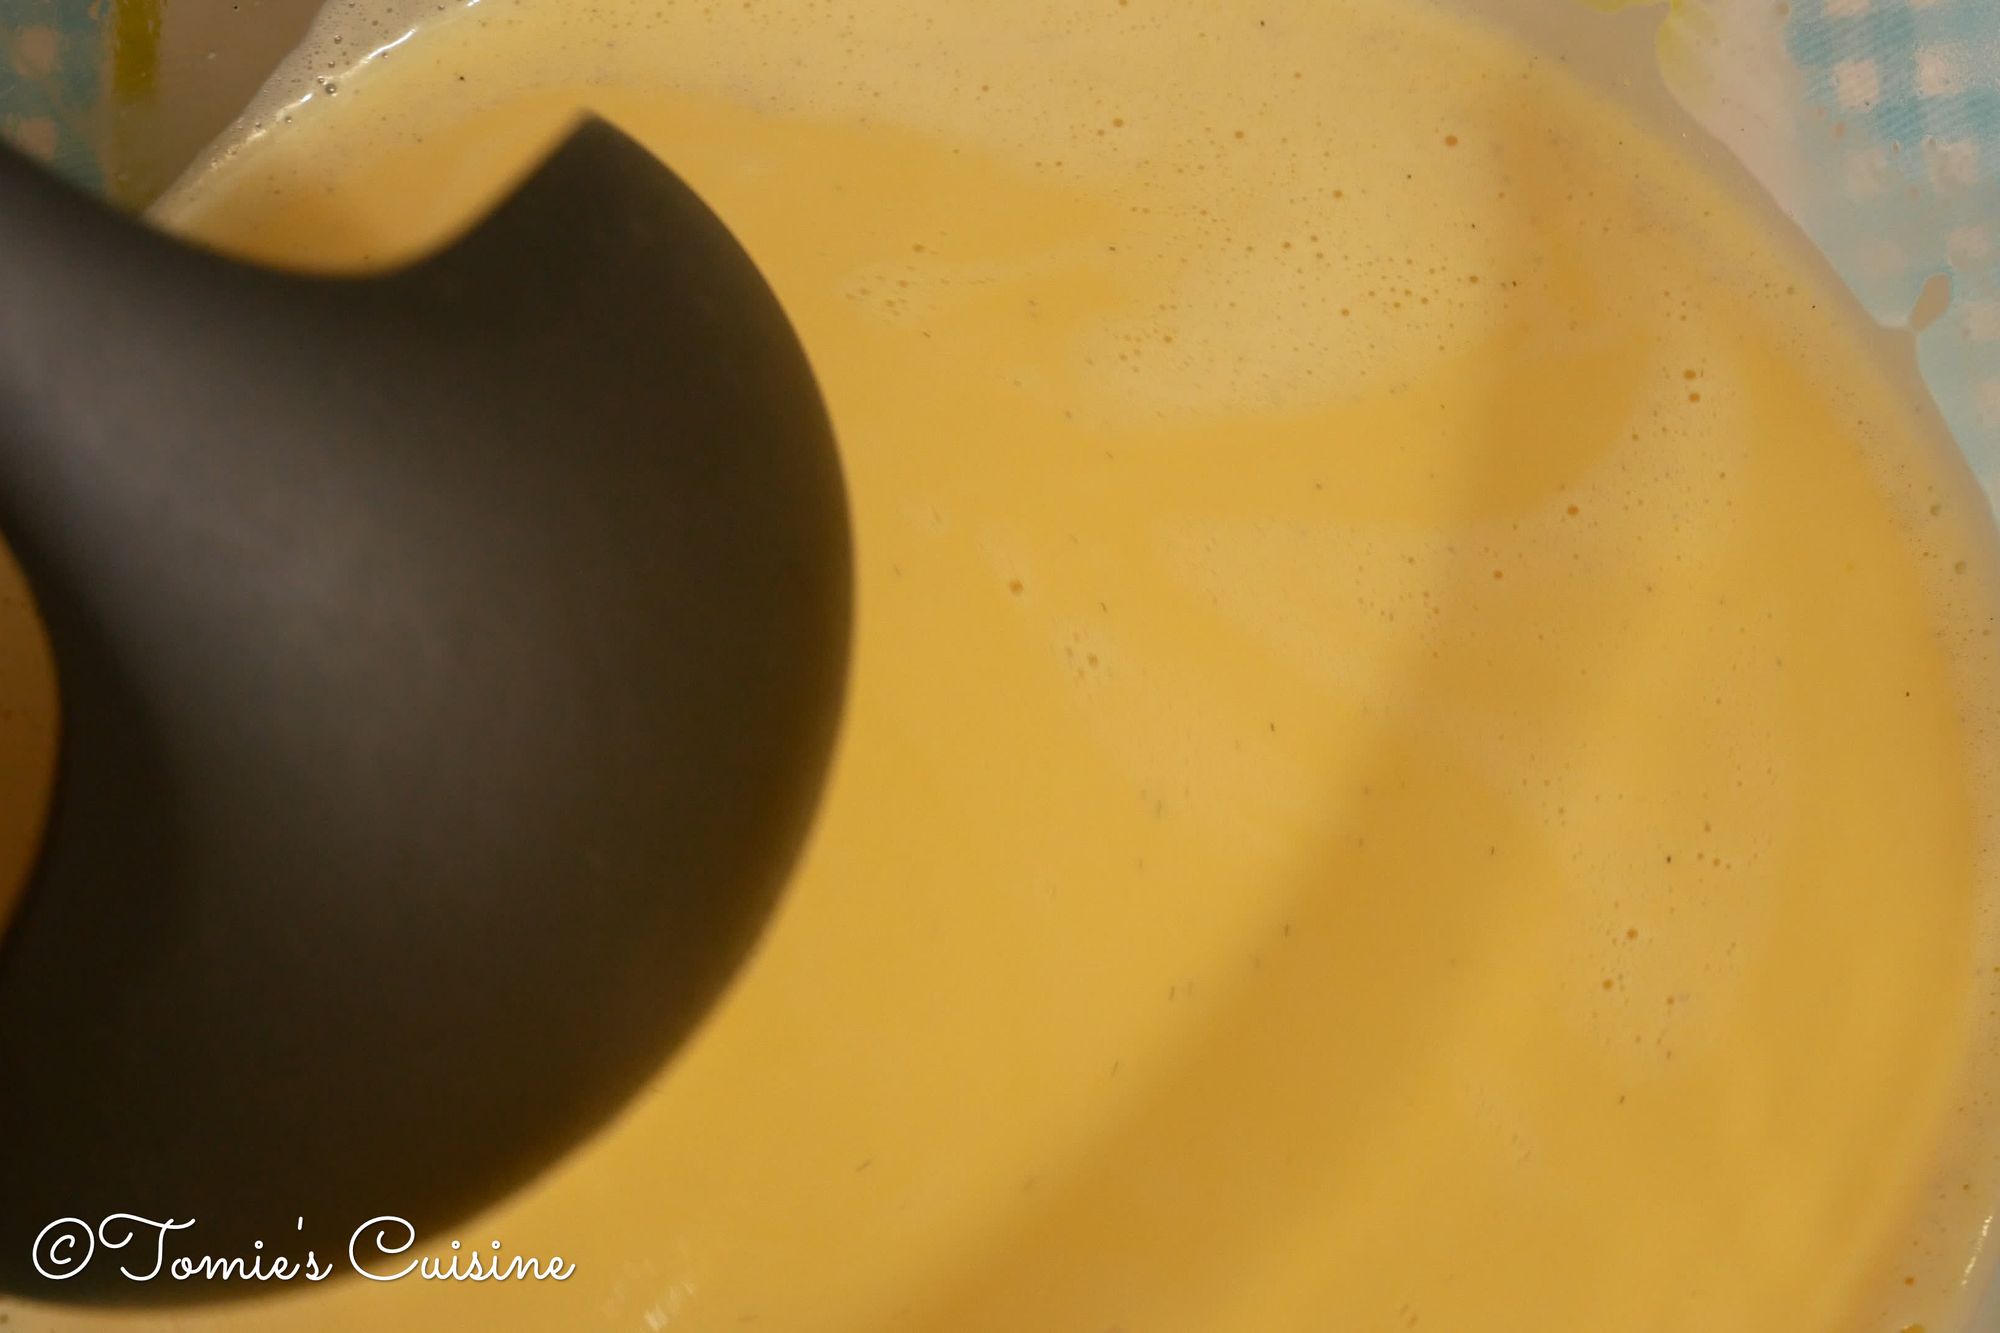
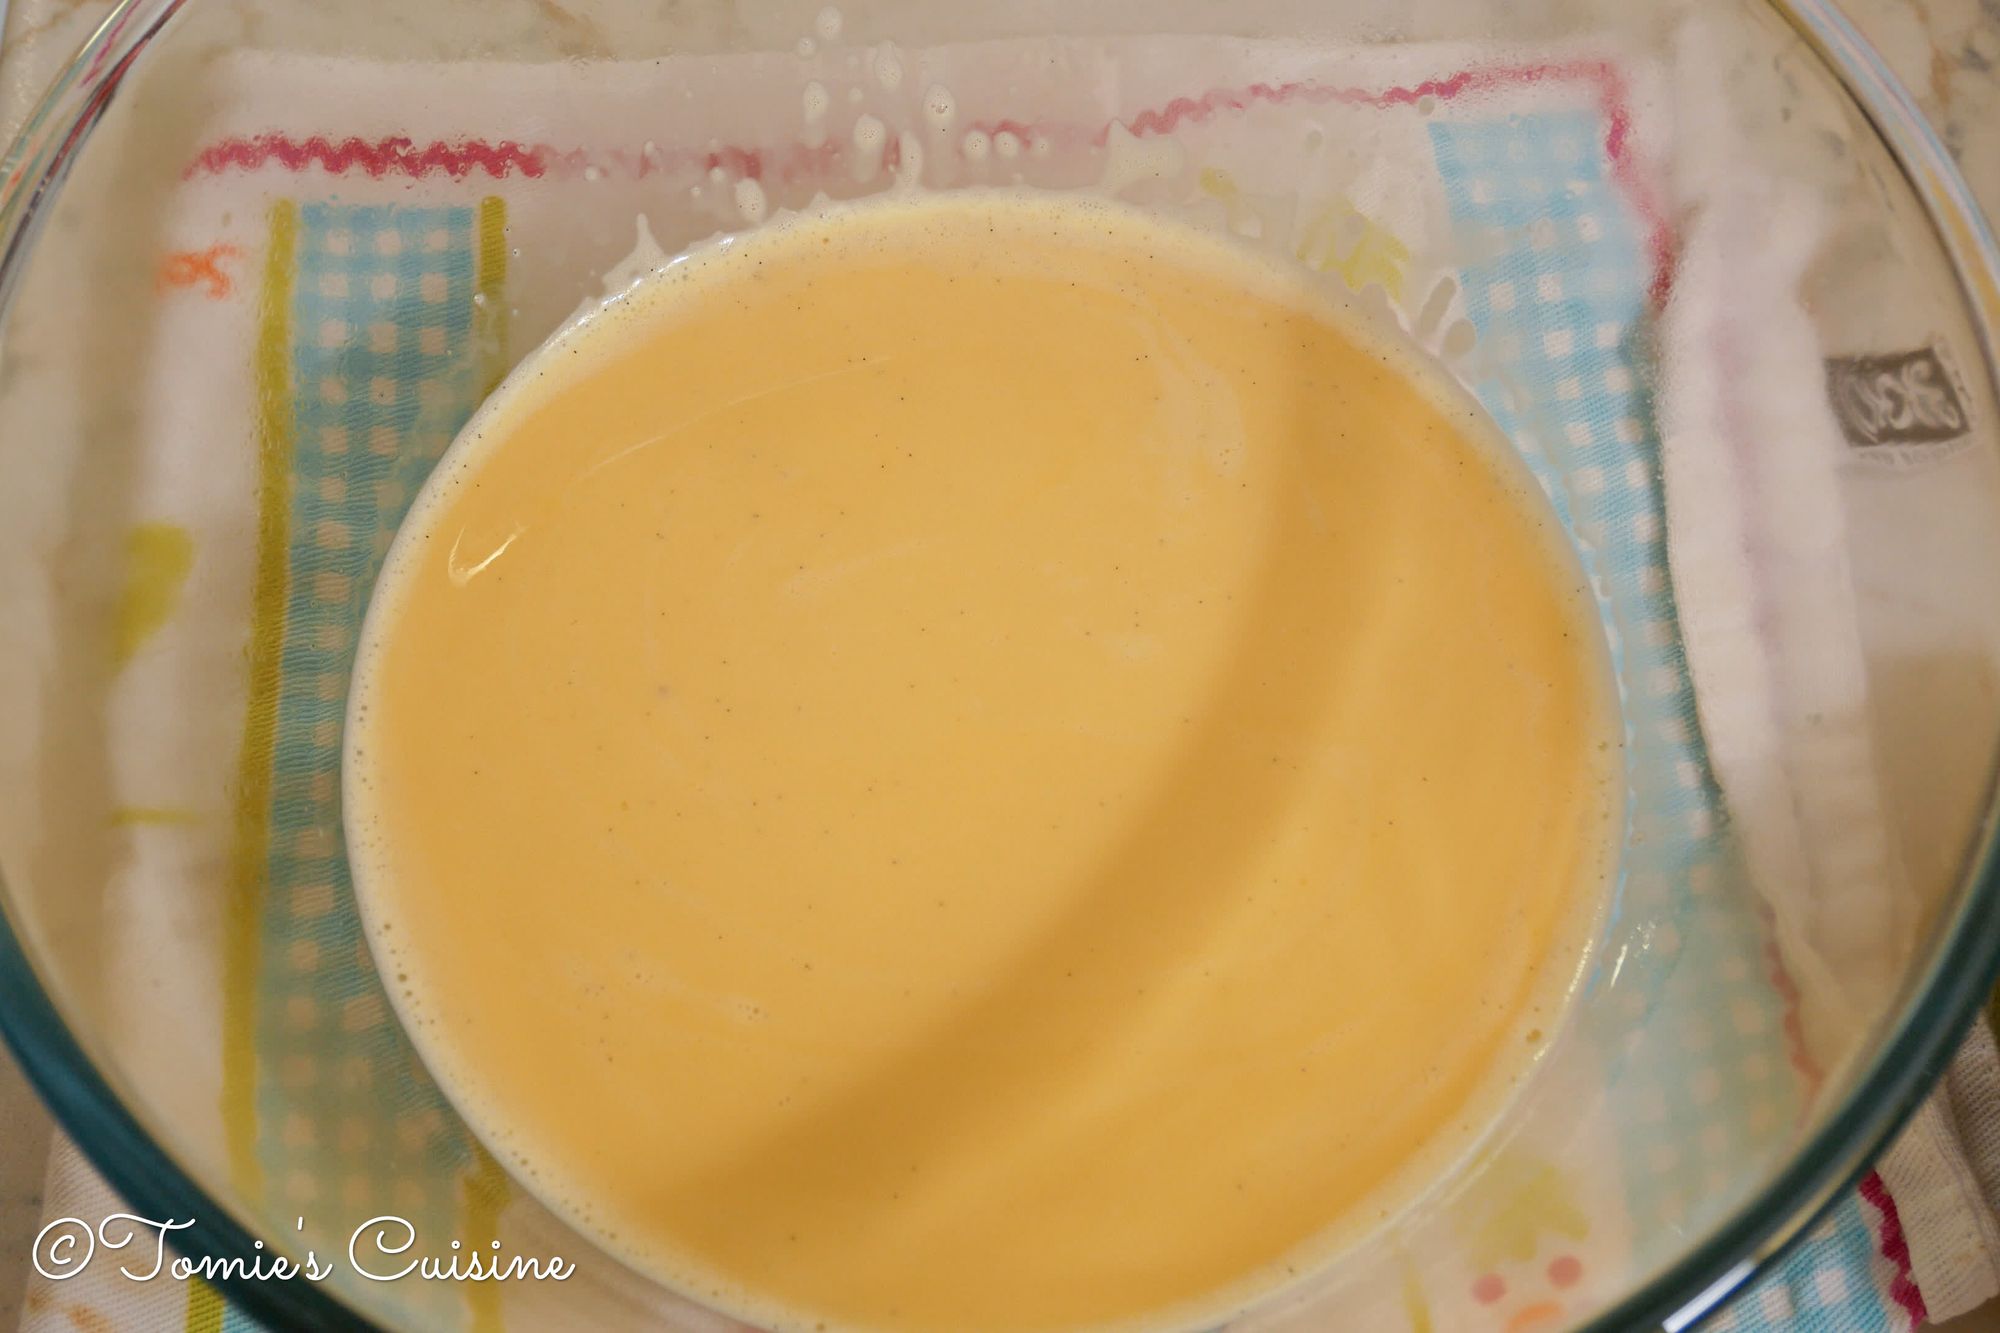
- Strain the mixture and remove the foam on the surface with a spoon.
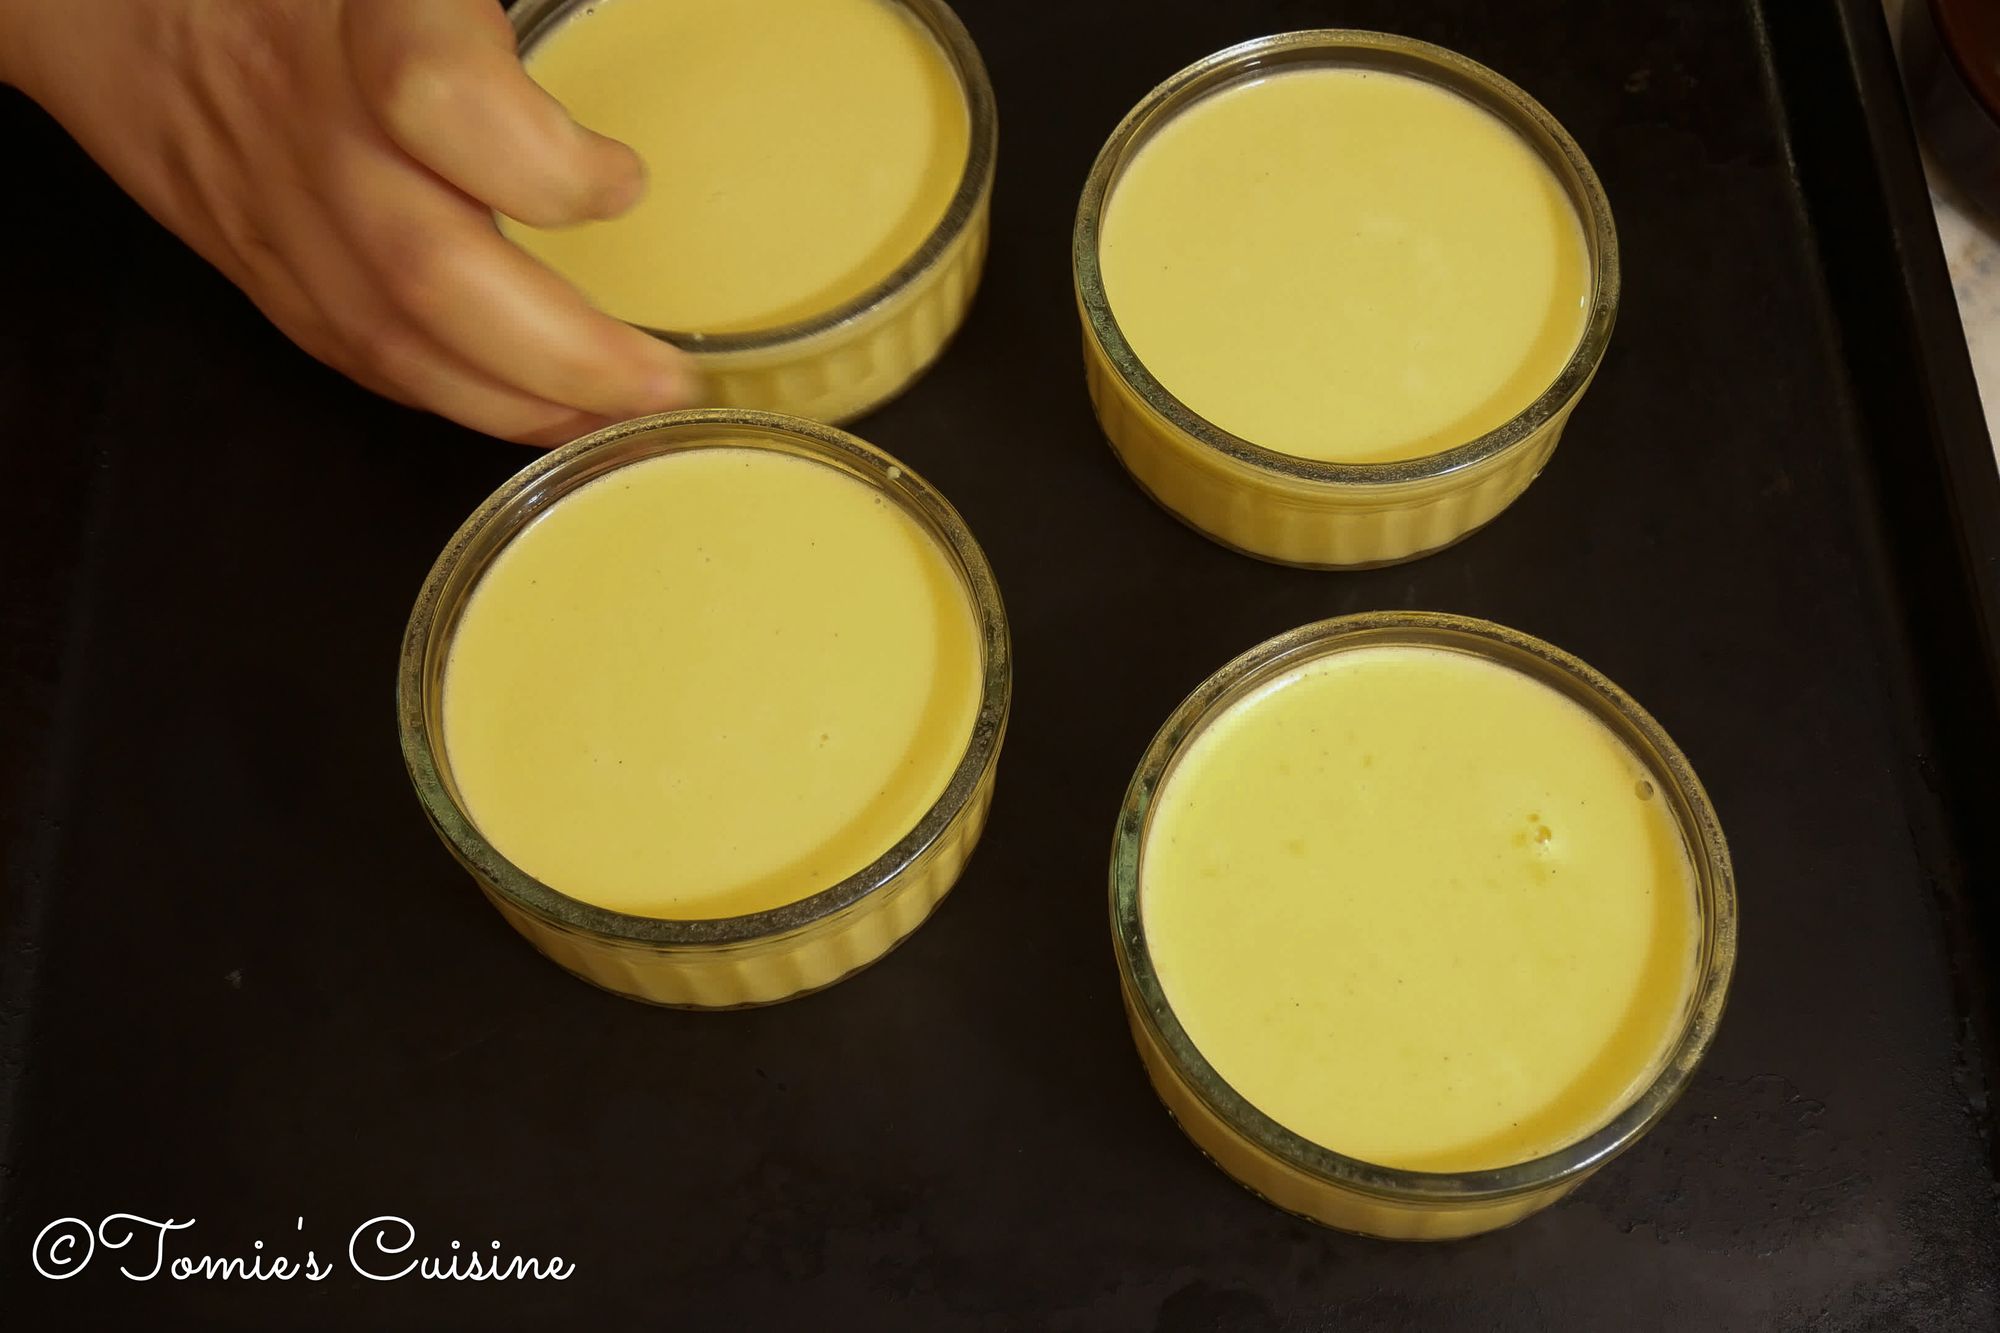
- Put a ramekin on a scale and pour the mixture in it. One portion is about 120g. If you see any bubbles on the surface, use a blow torch to break them.
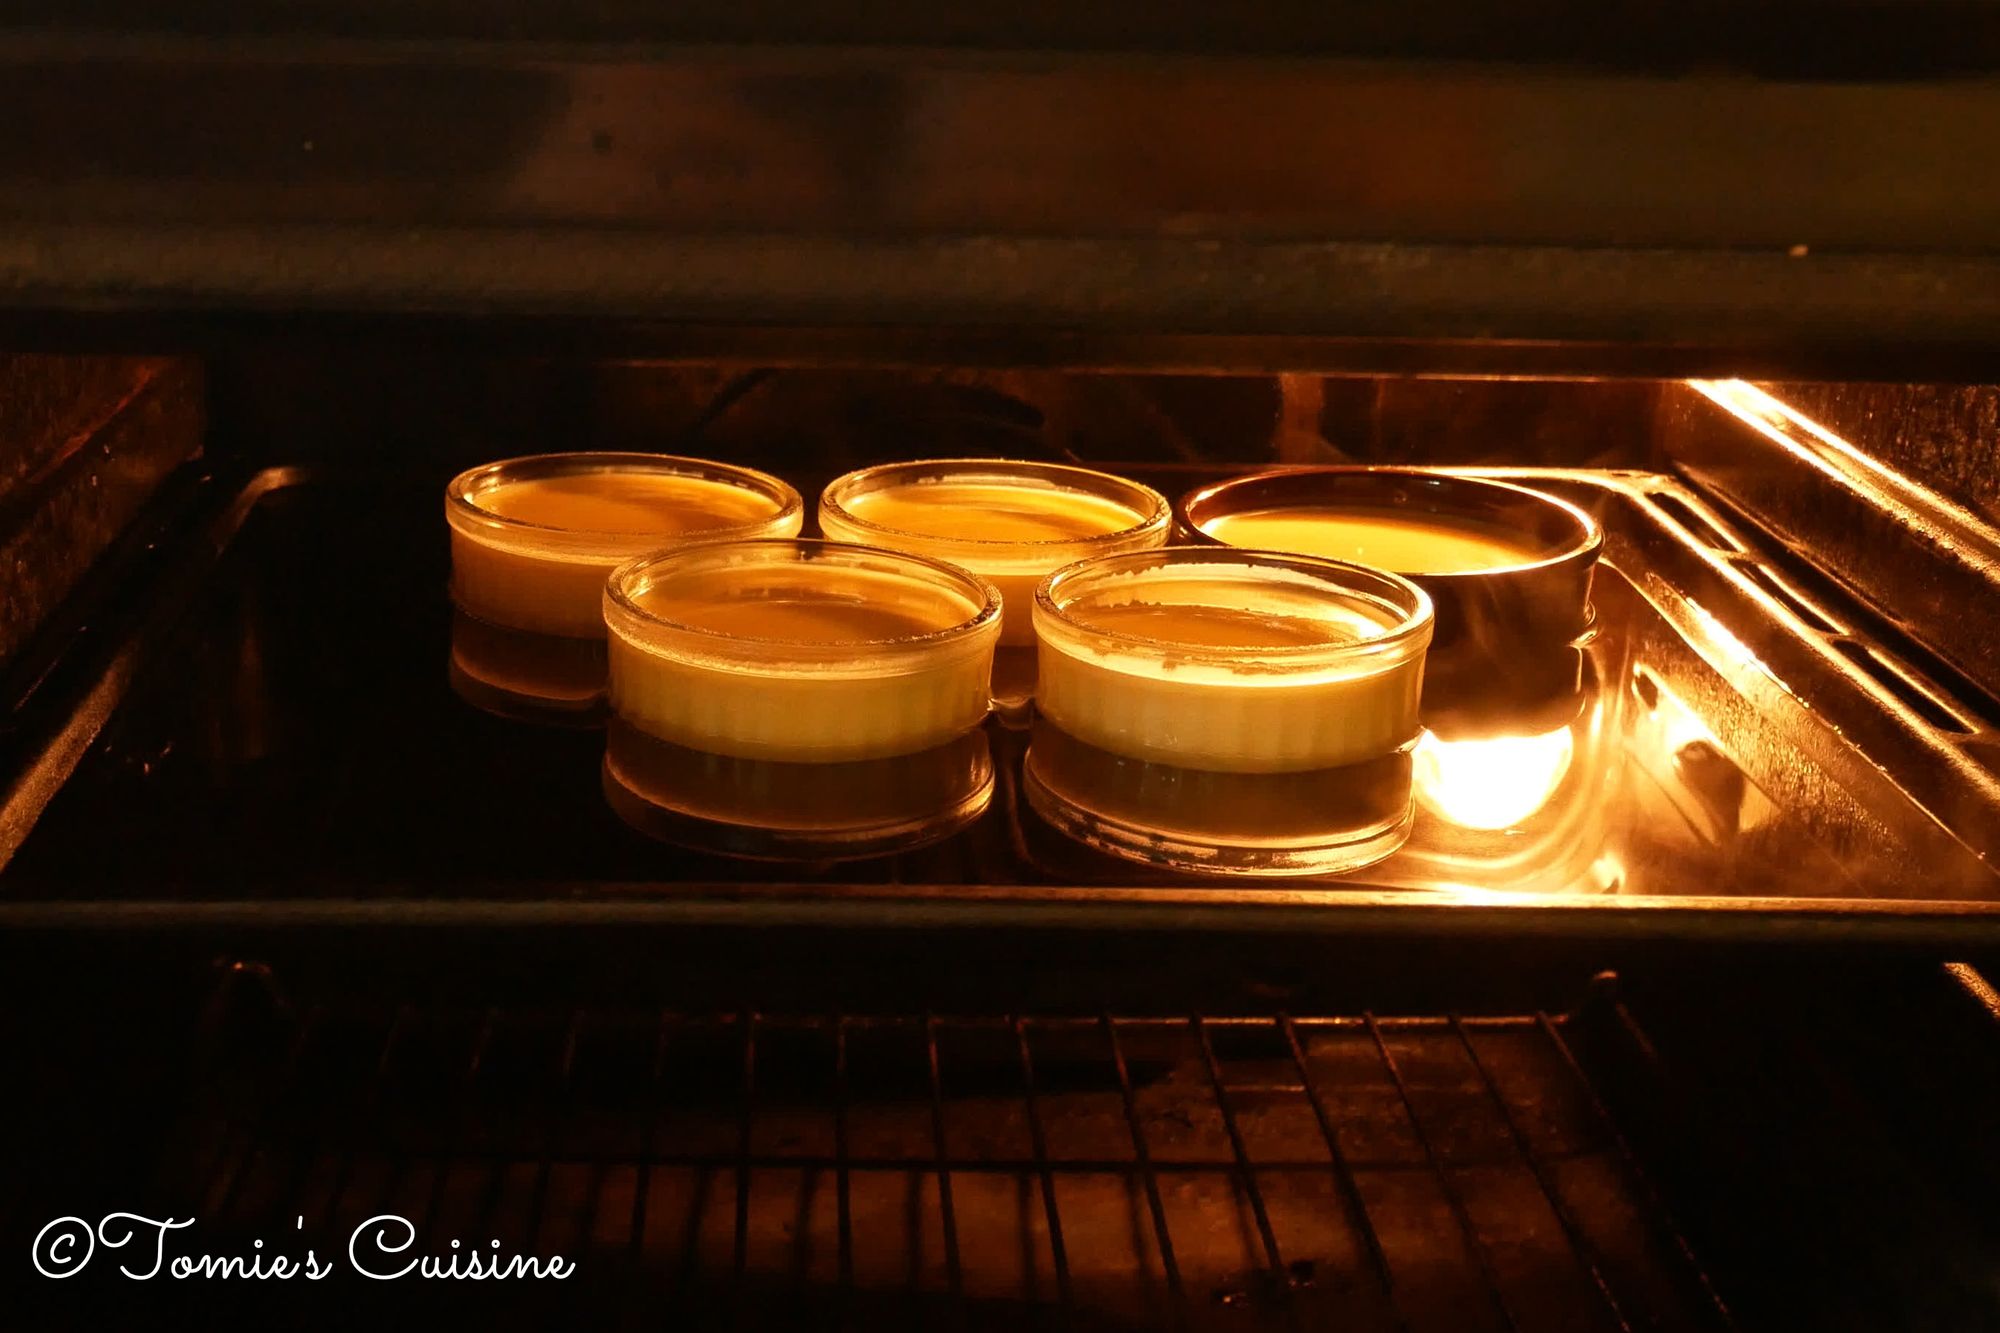
- Place the ramekin on the deep baking tray and then put that baking tray in the oven.
- Pour hot water until half-height of the ramekin and cook for 20 minutes to half an hour.
- Shake the ramekin gently, and when the middle of the mixture still wiggles, that’s the timing to take it out from the oven.
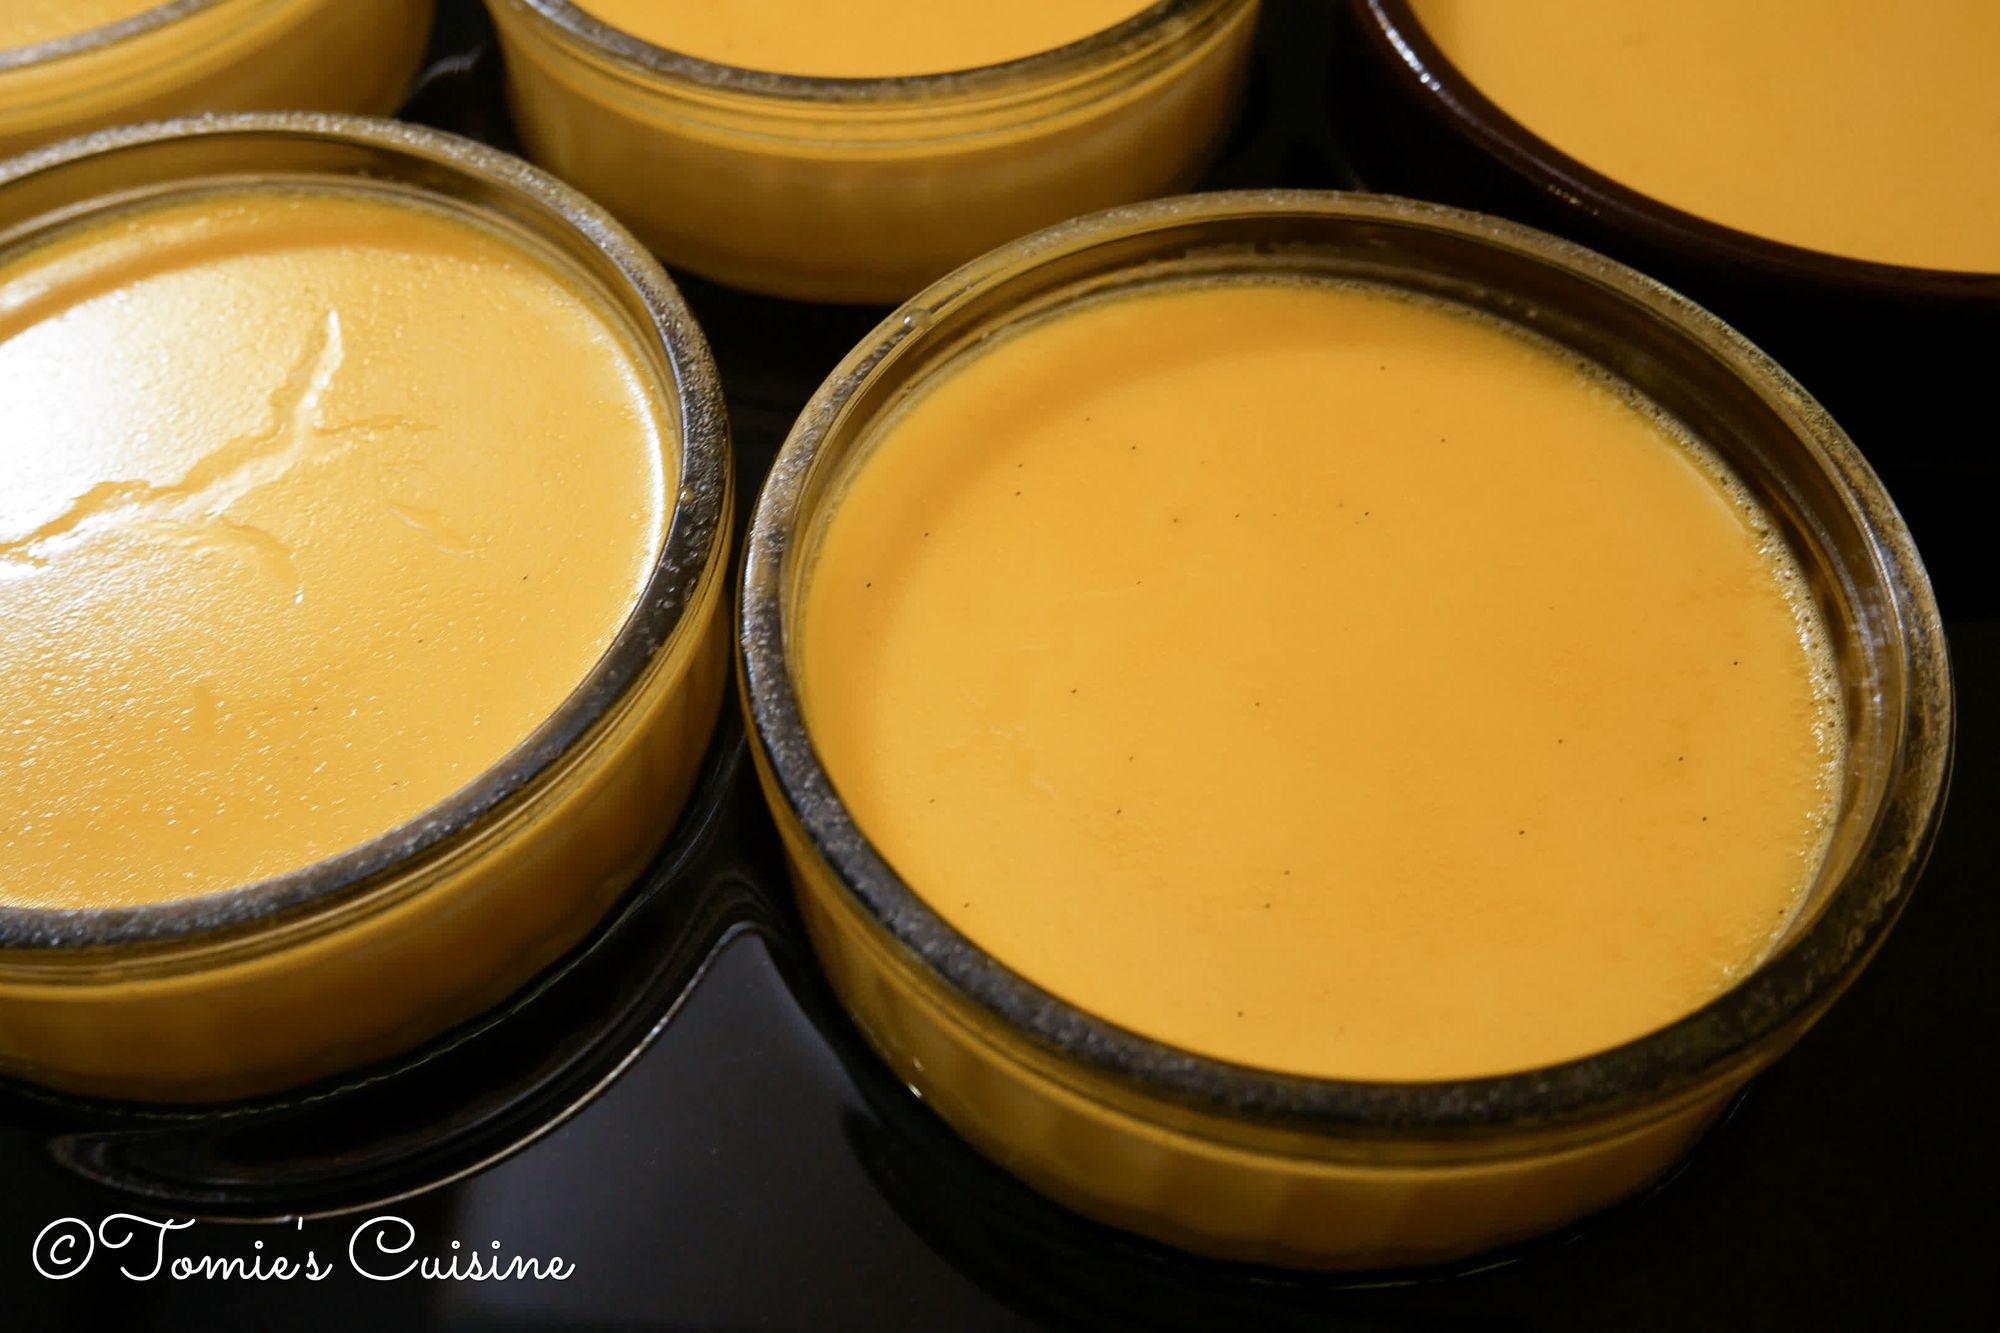
- Carefully take out the tray from the oven and leave it to cool. You have to keep the ramekins in the water until it gets cooled as the custard is still slowly cooking.
- Once the custard is cooled, put them in the fridge, and leave them preferably overnight.
It’s “Brûlée” time!
- Take out the set custard from the fridge and leave them at room temperature for 10 to 20 minutes to avoid breaking your ramekins because of the extreme temperature differences.
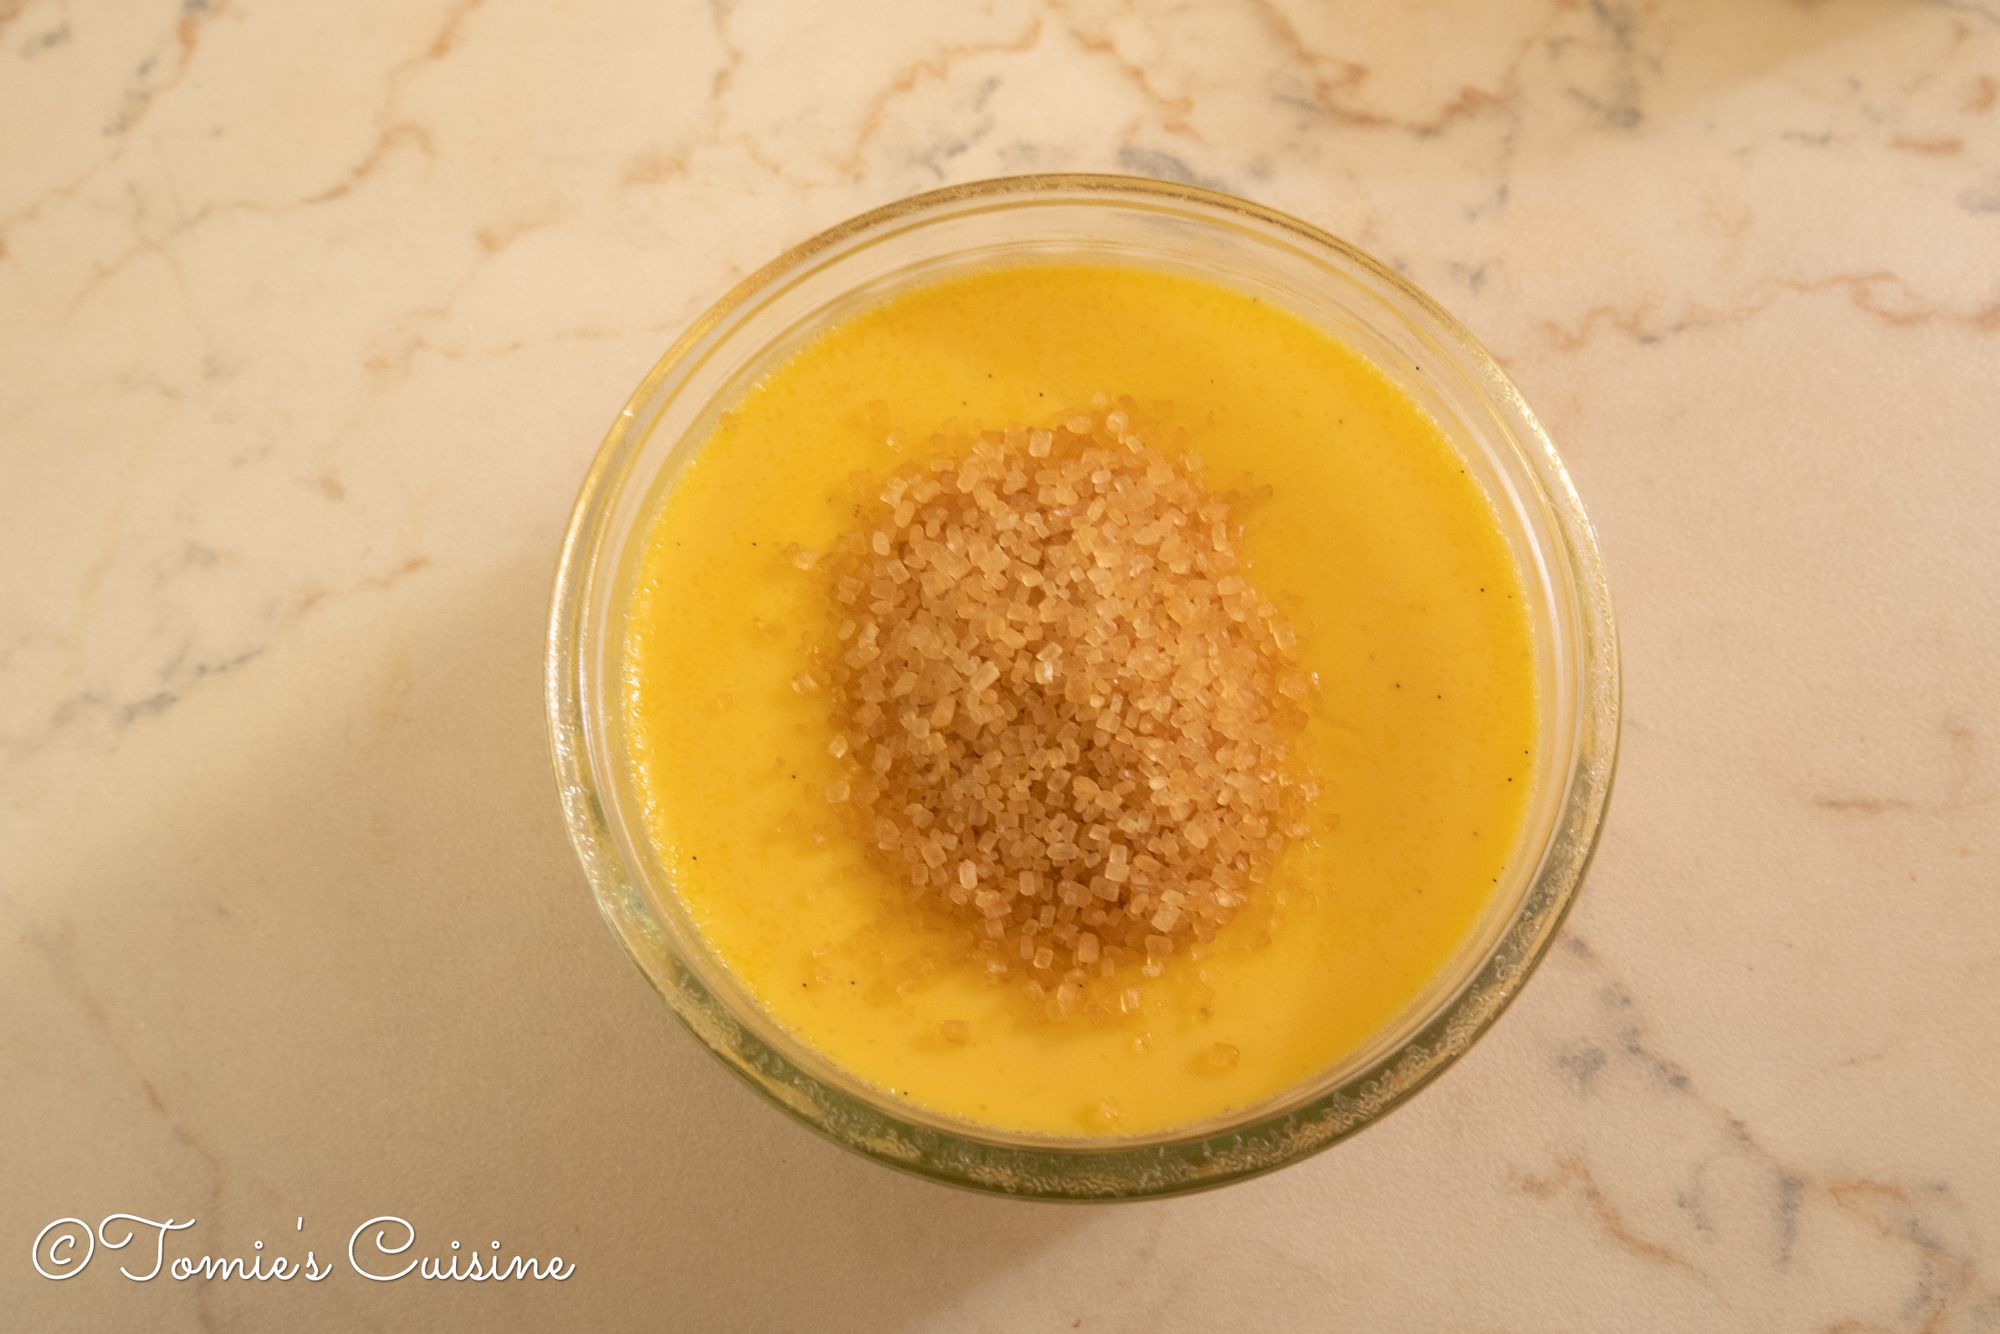
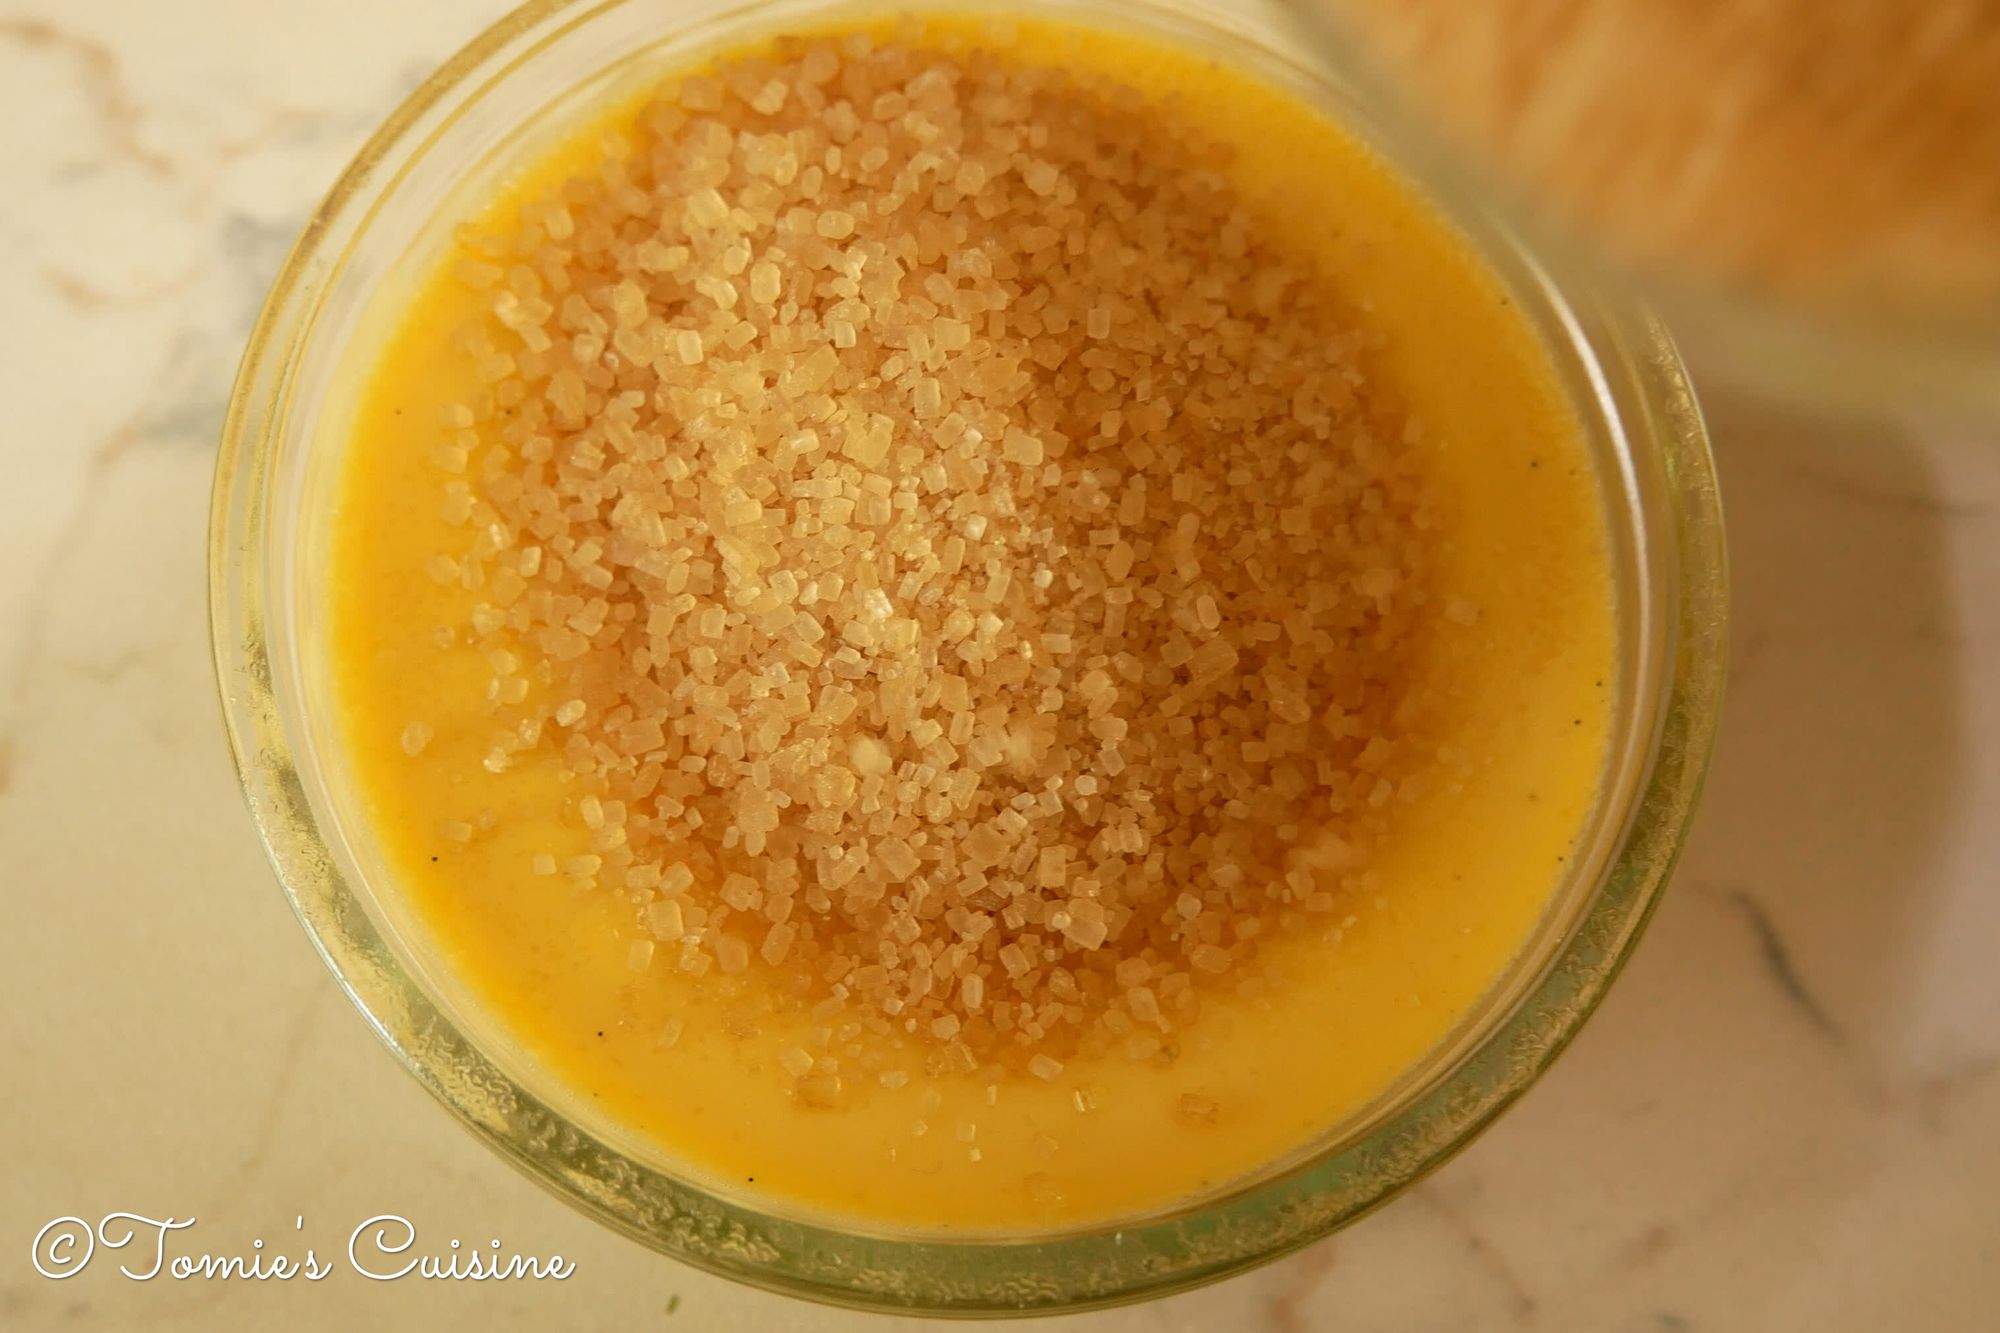
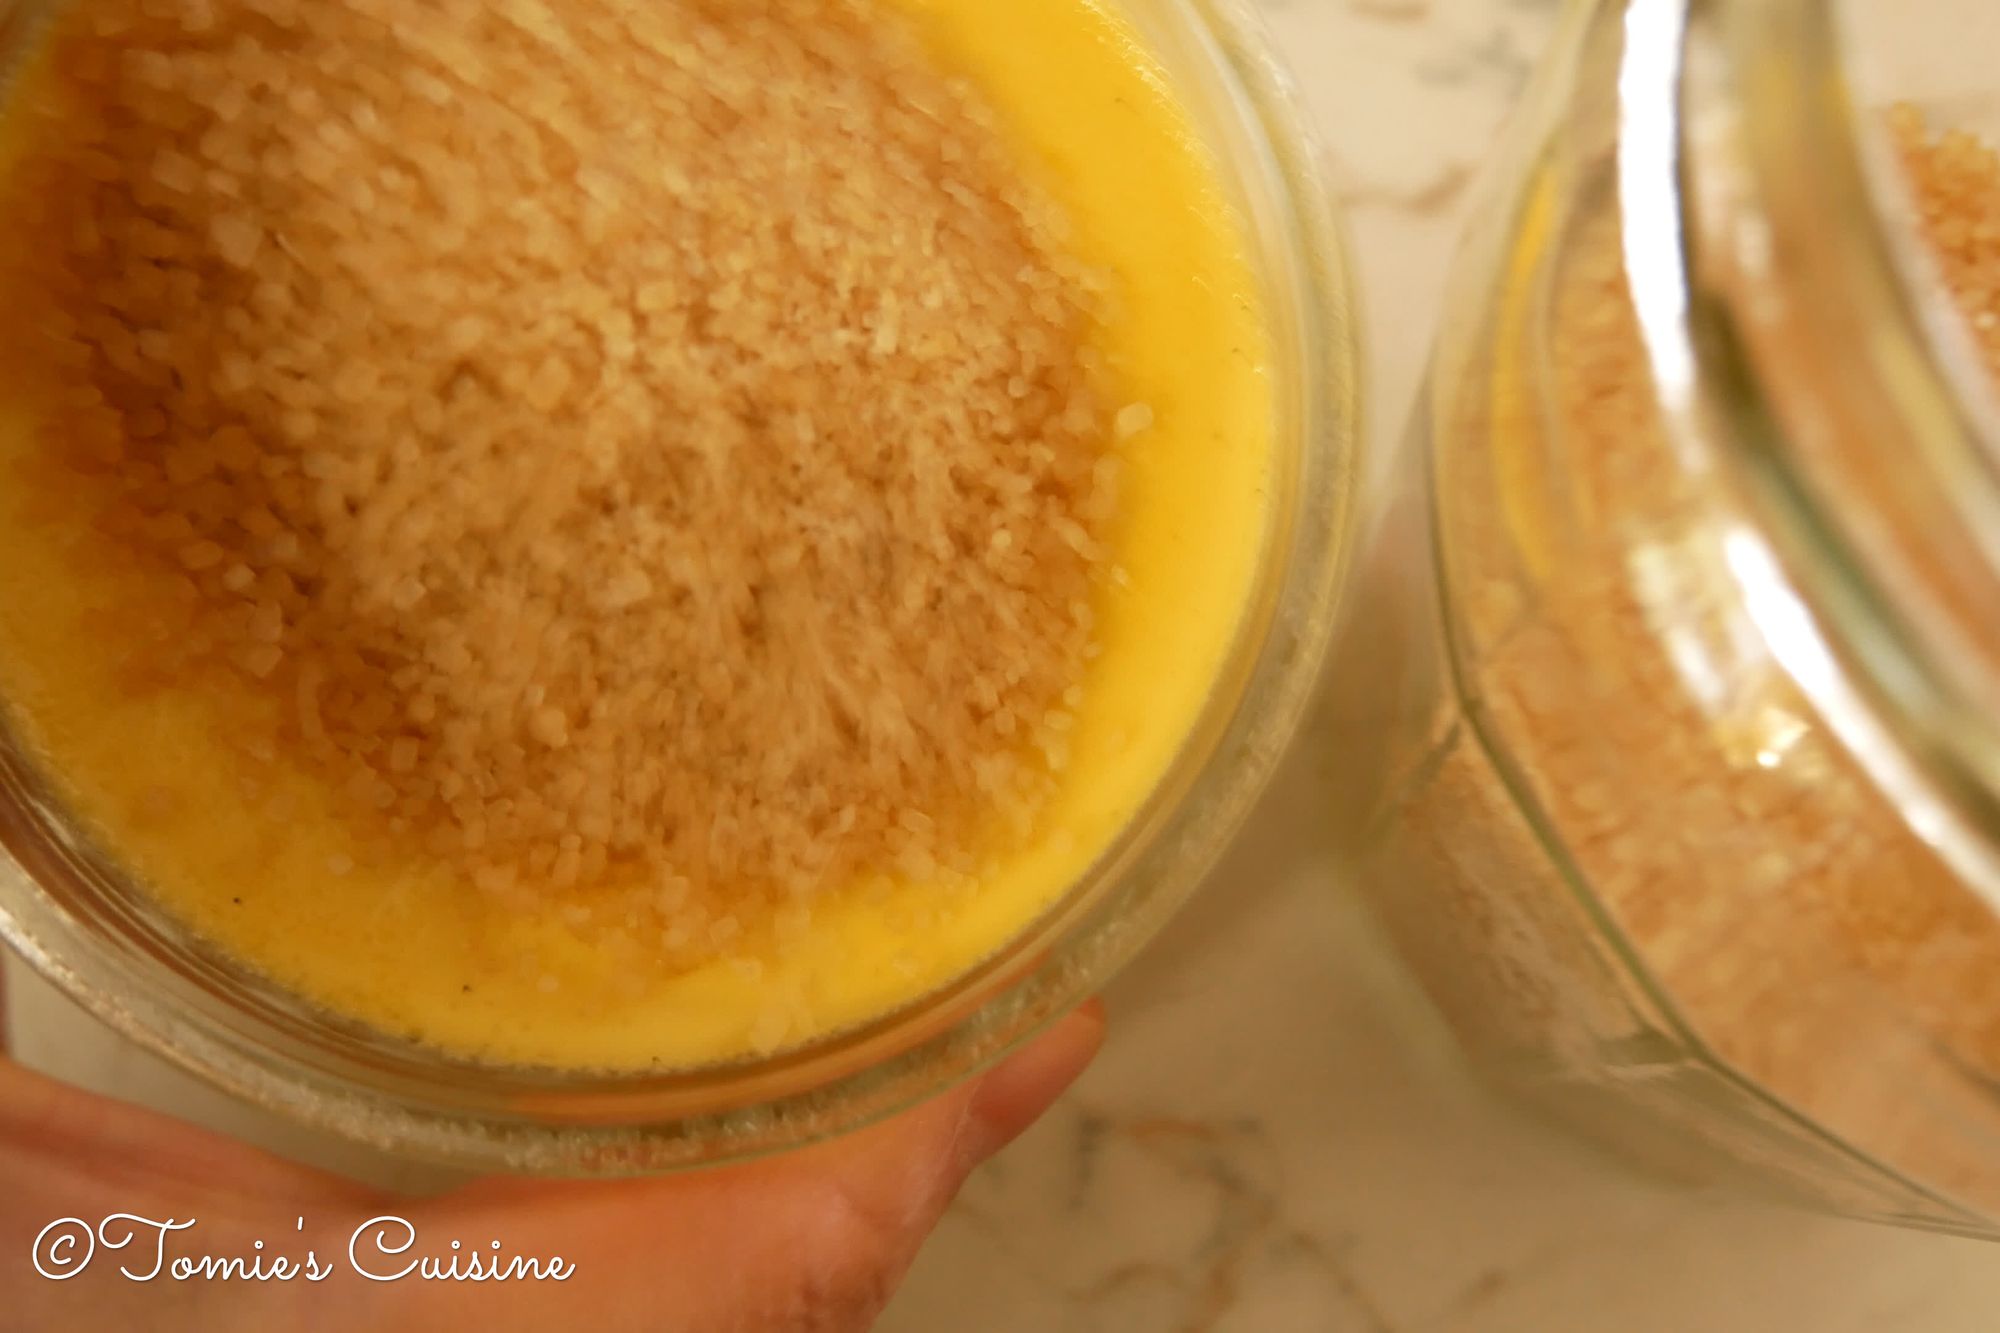
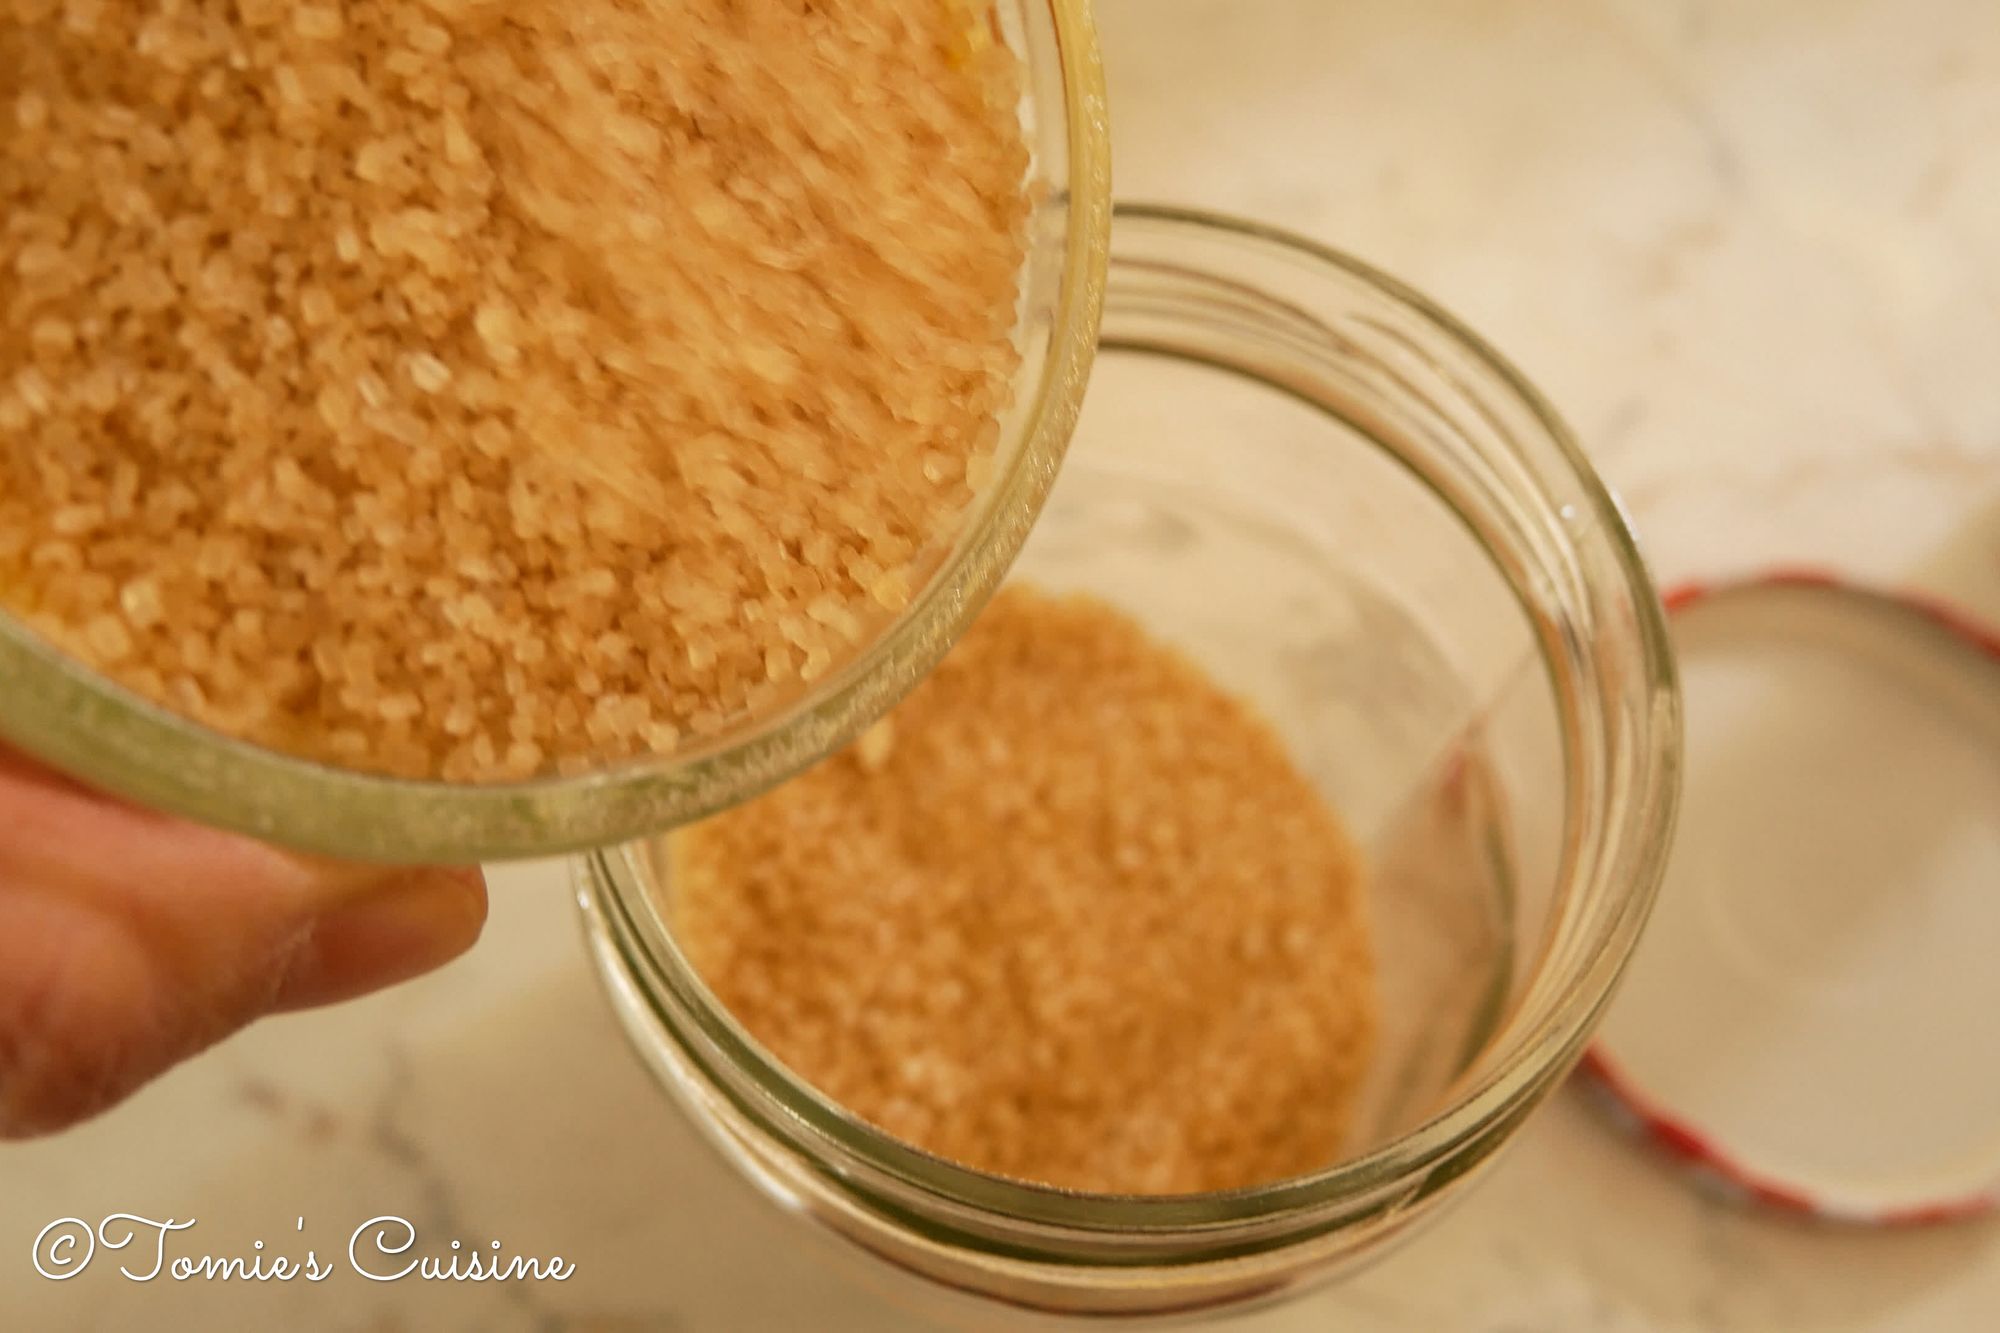
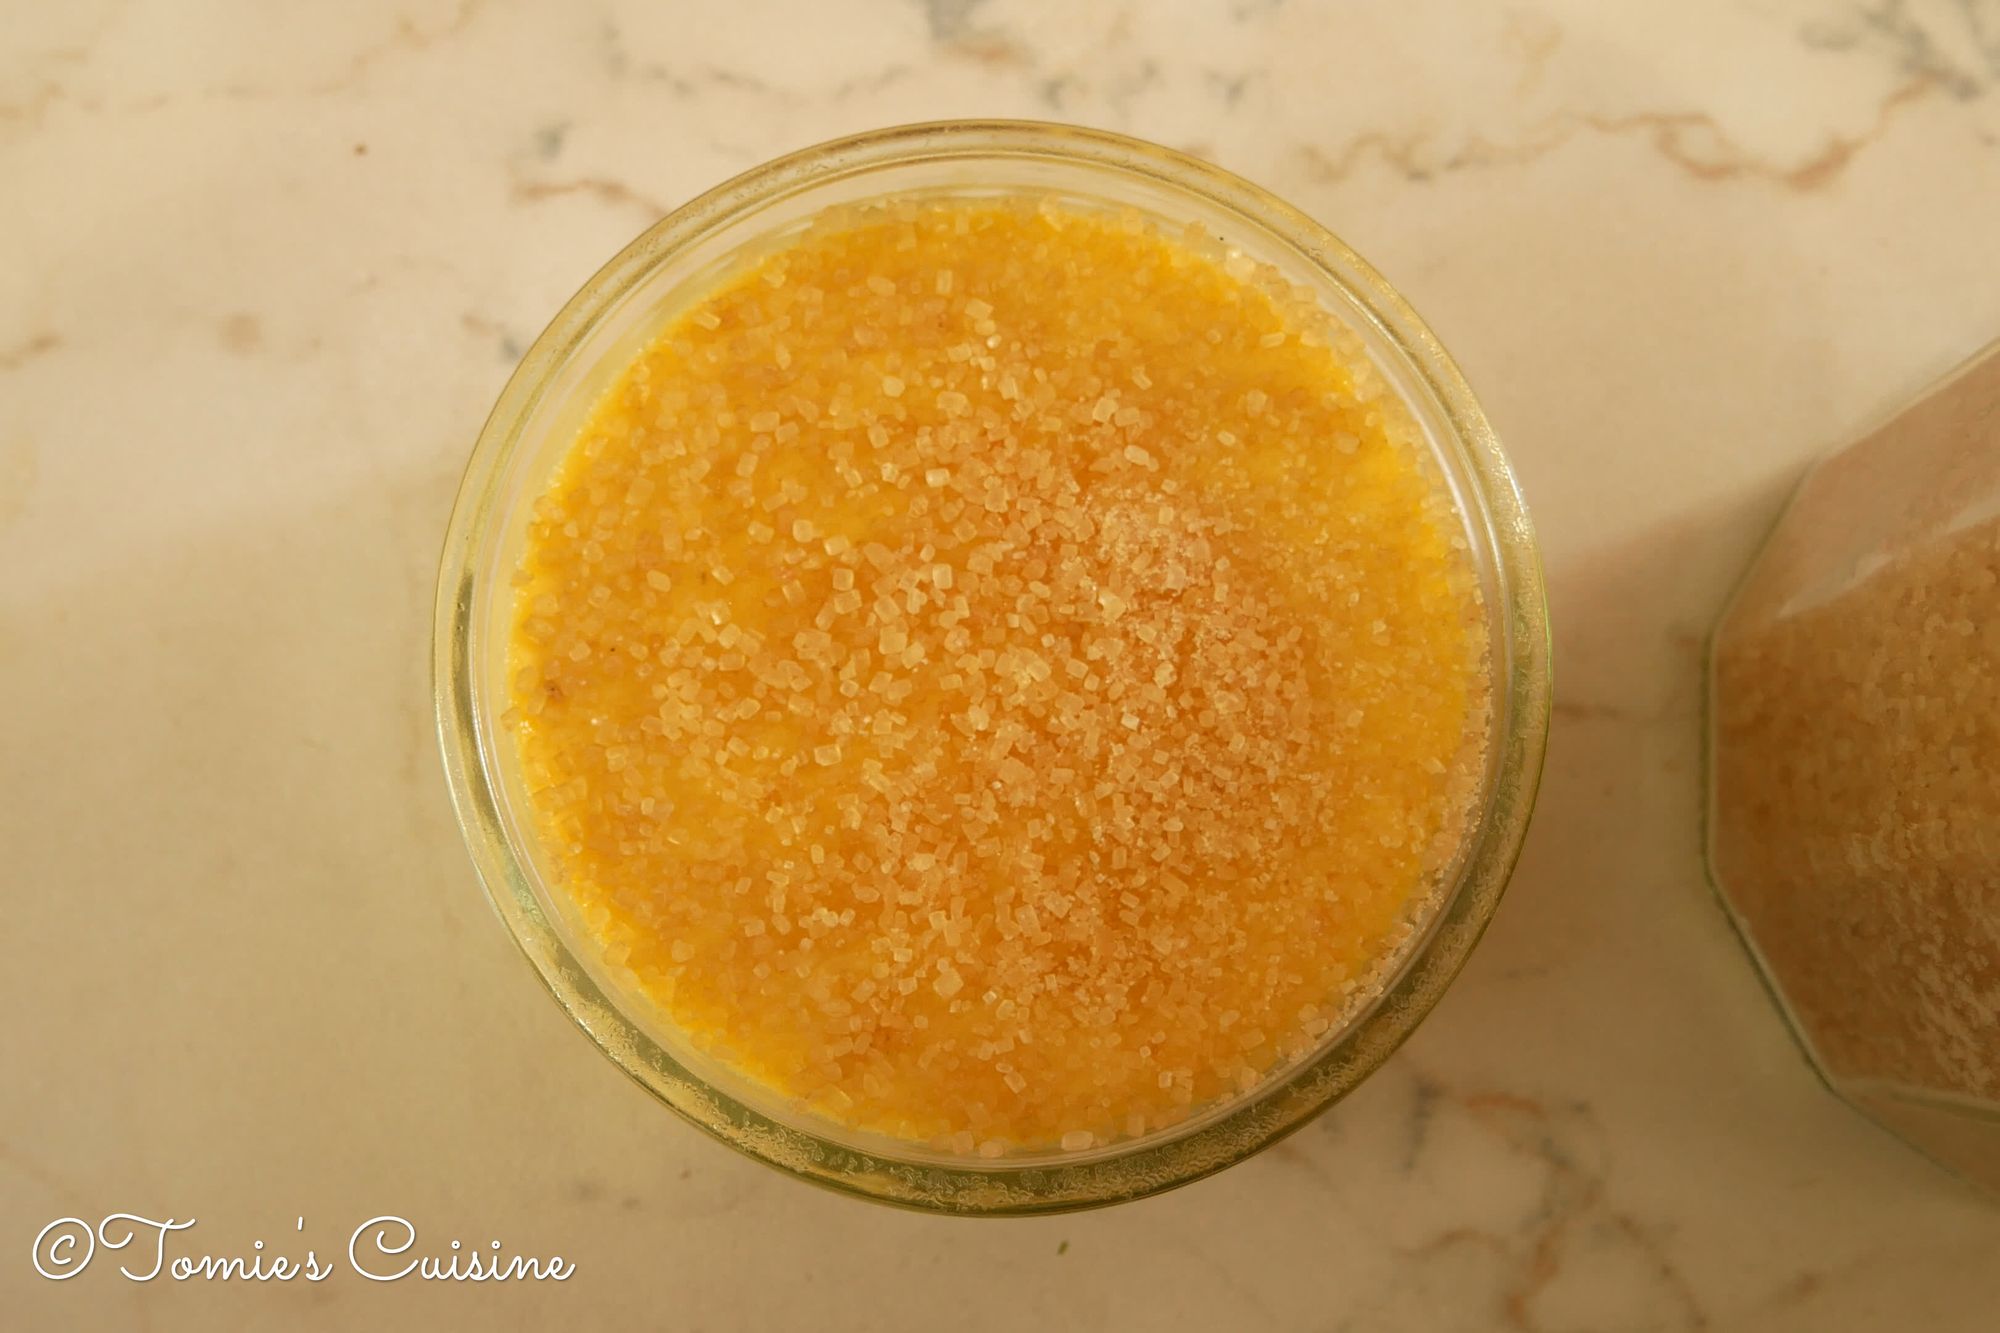
- Put a generous amount of sugar on the custard, spread it by tilting the ramekins, put the excess sugar onto another custard or put it back into your sugar pot.
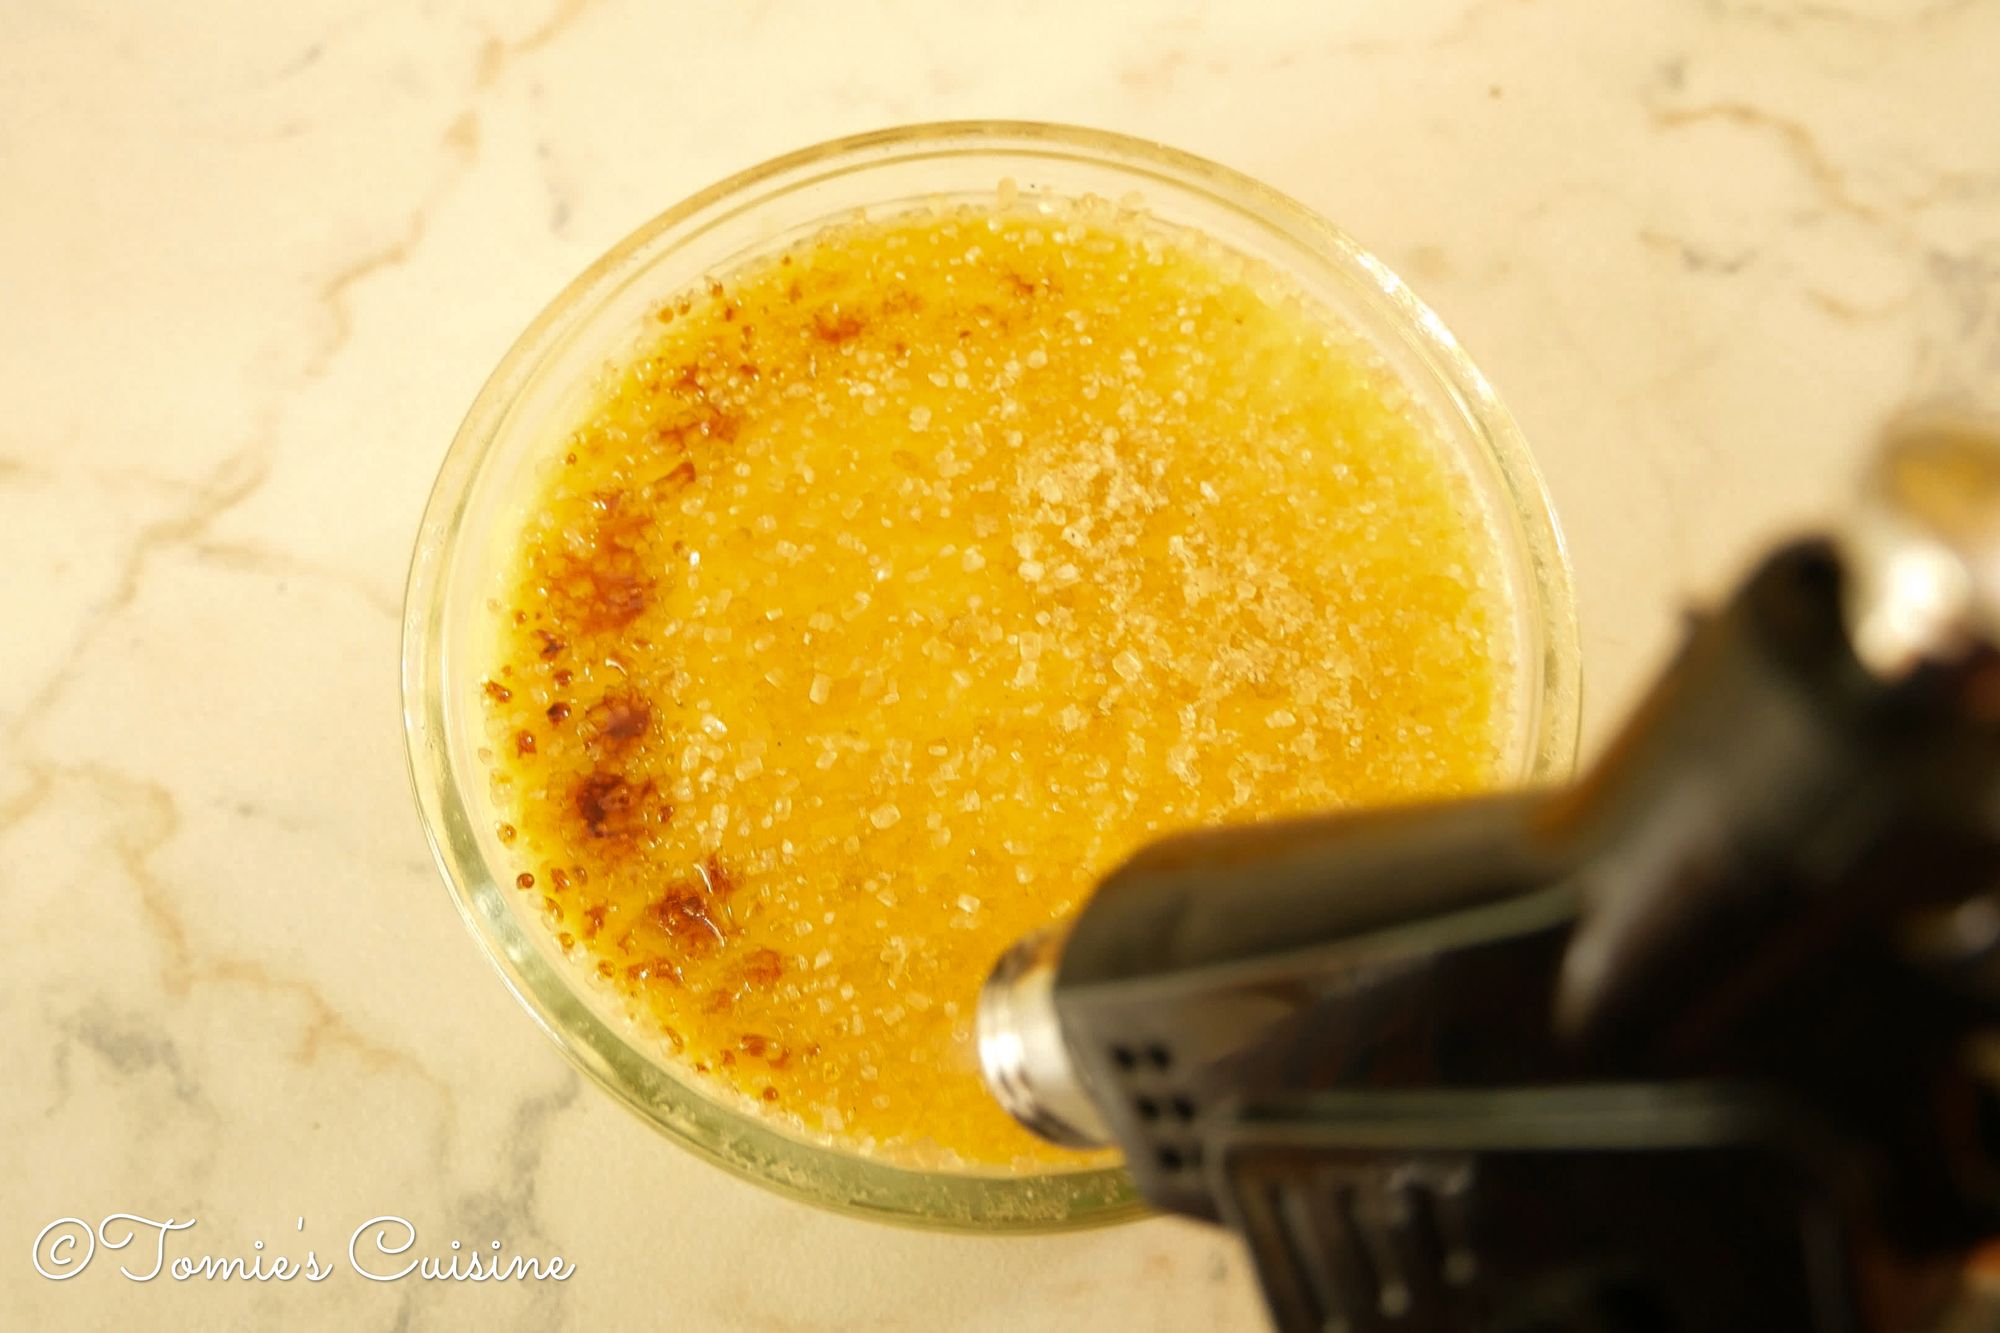
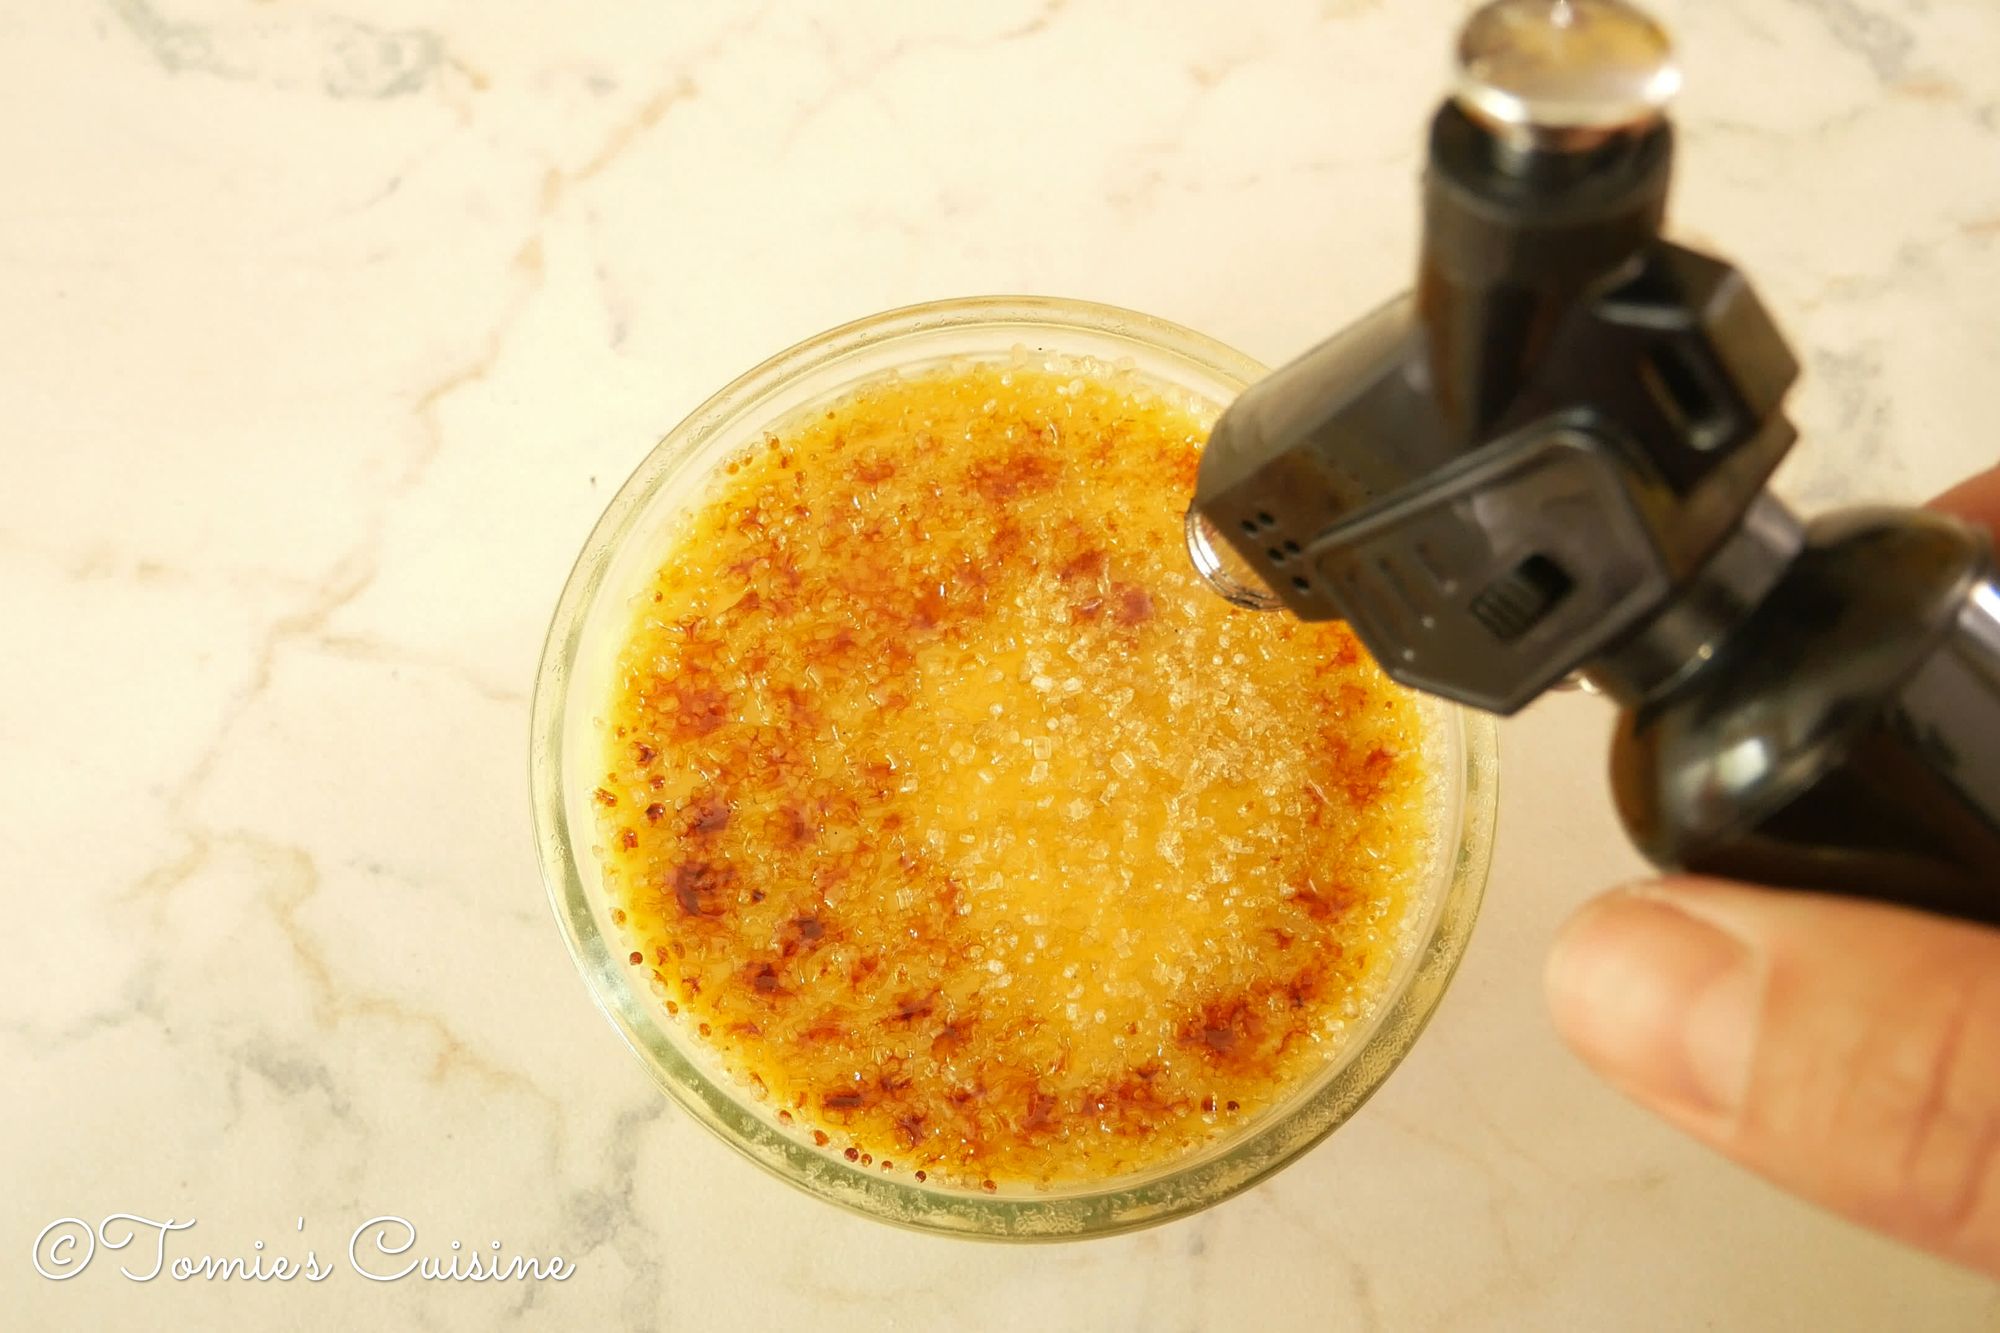
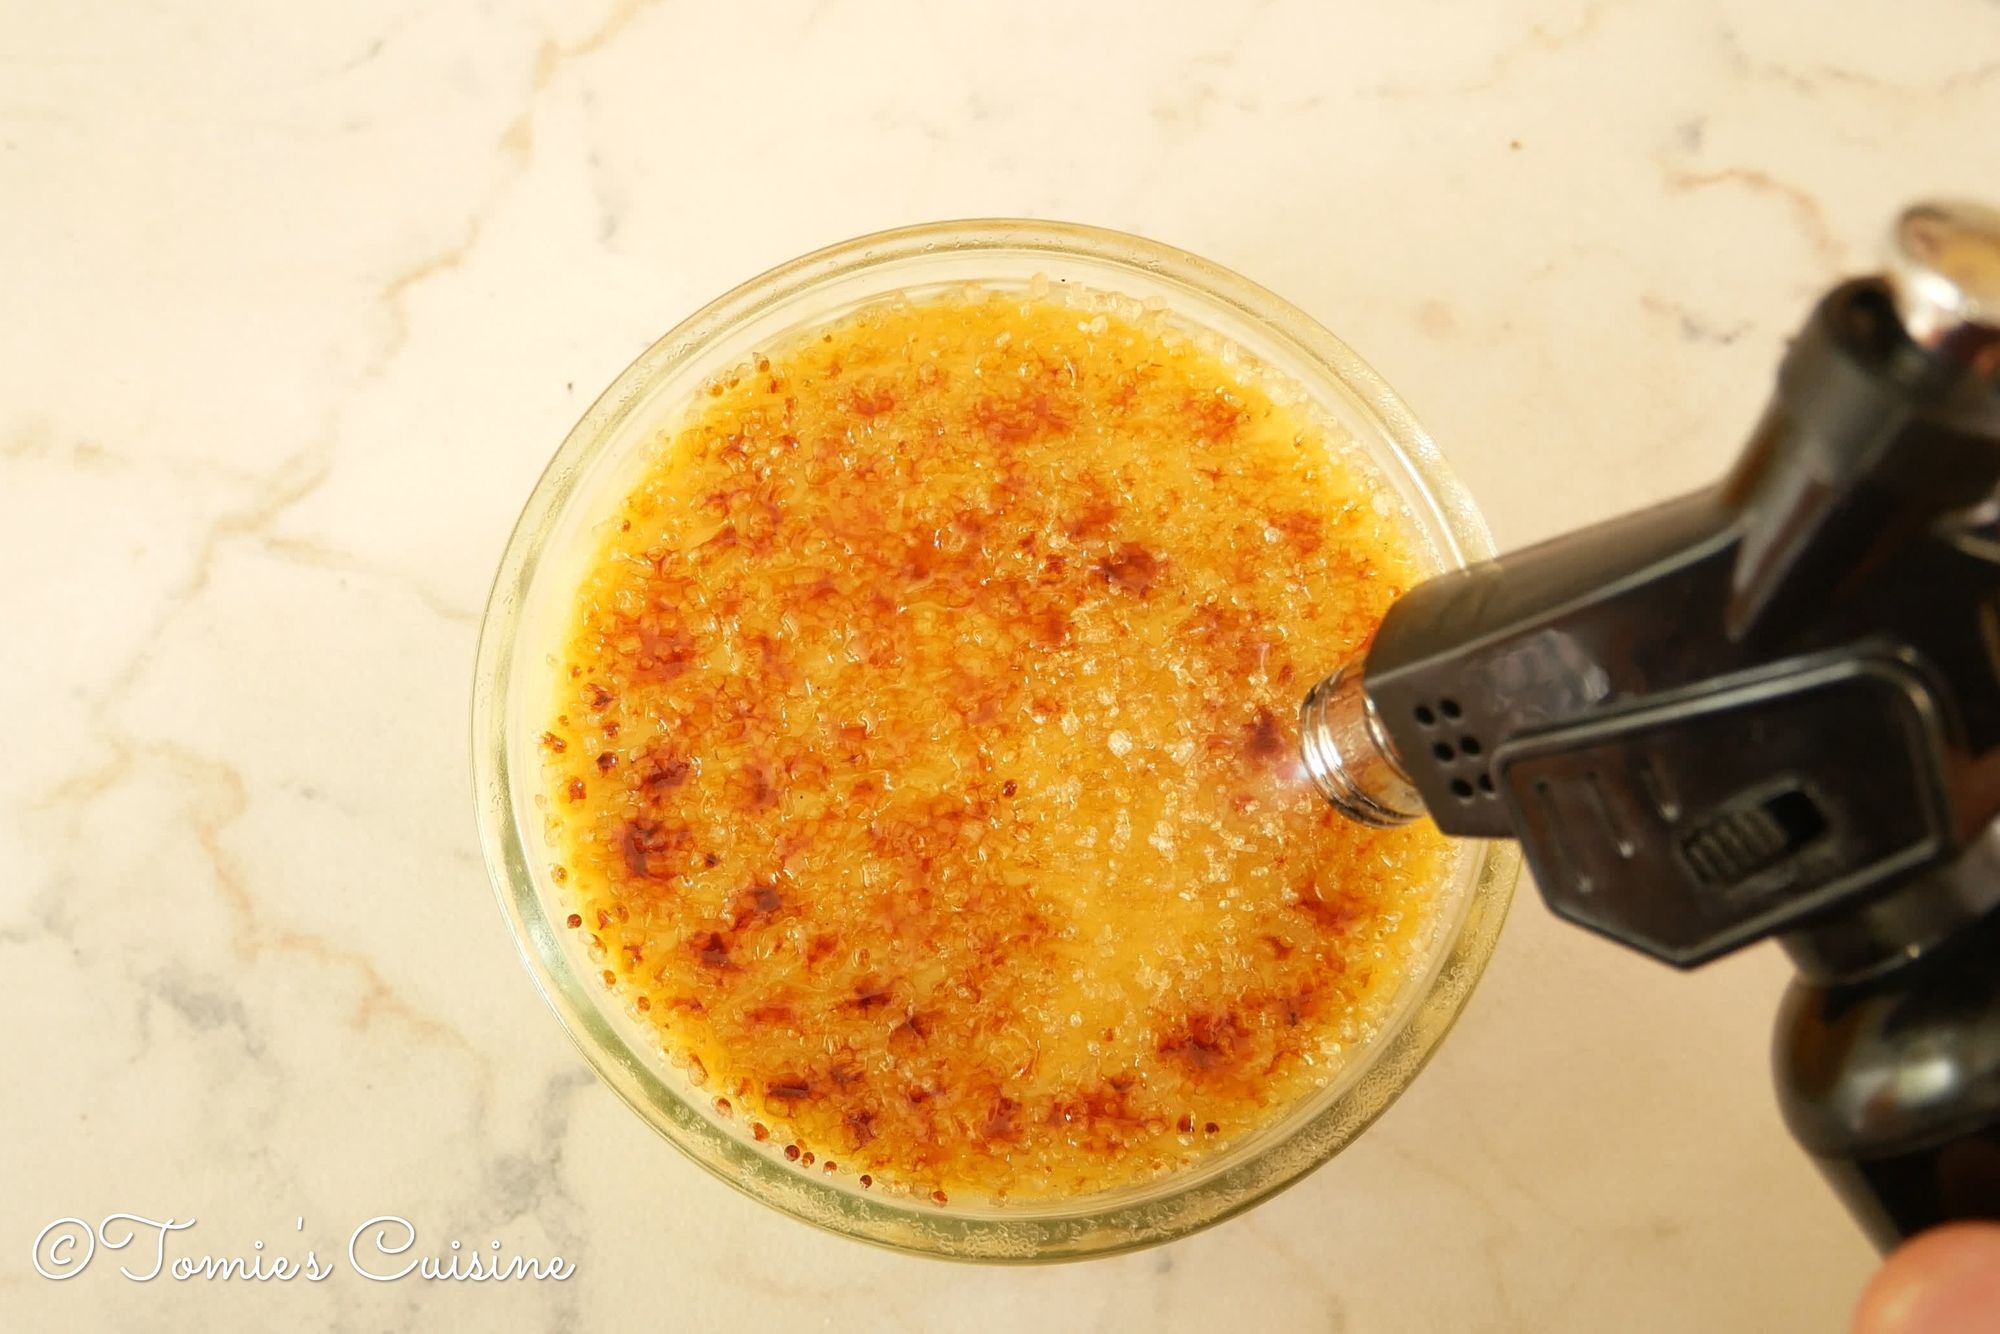
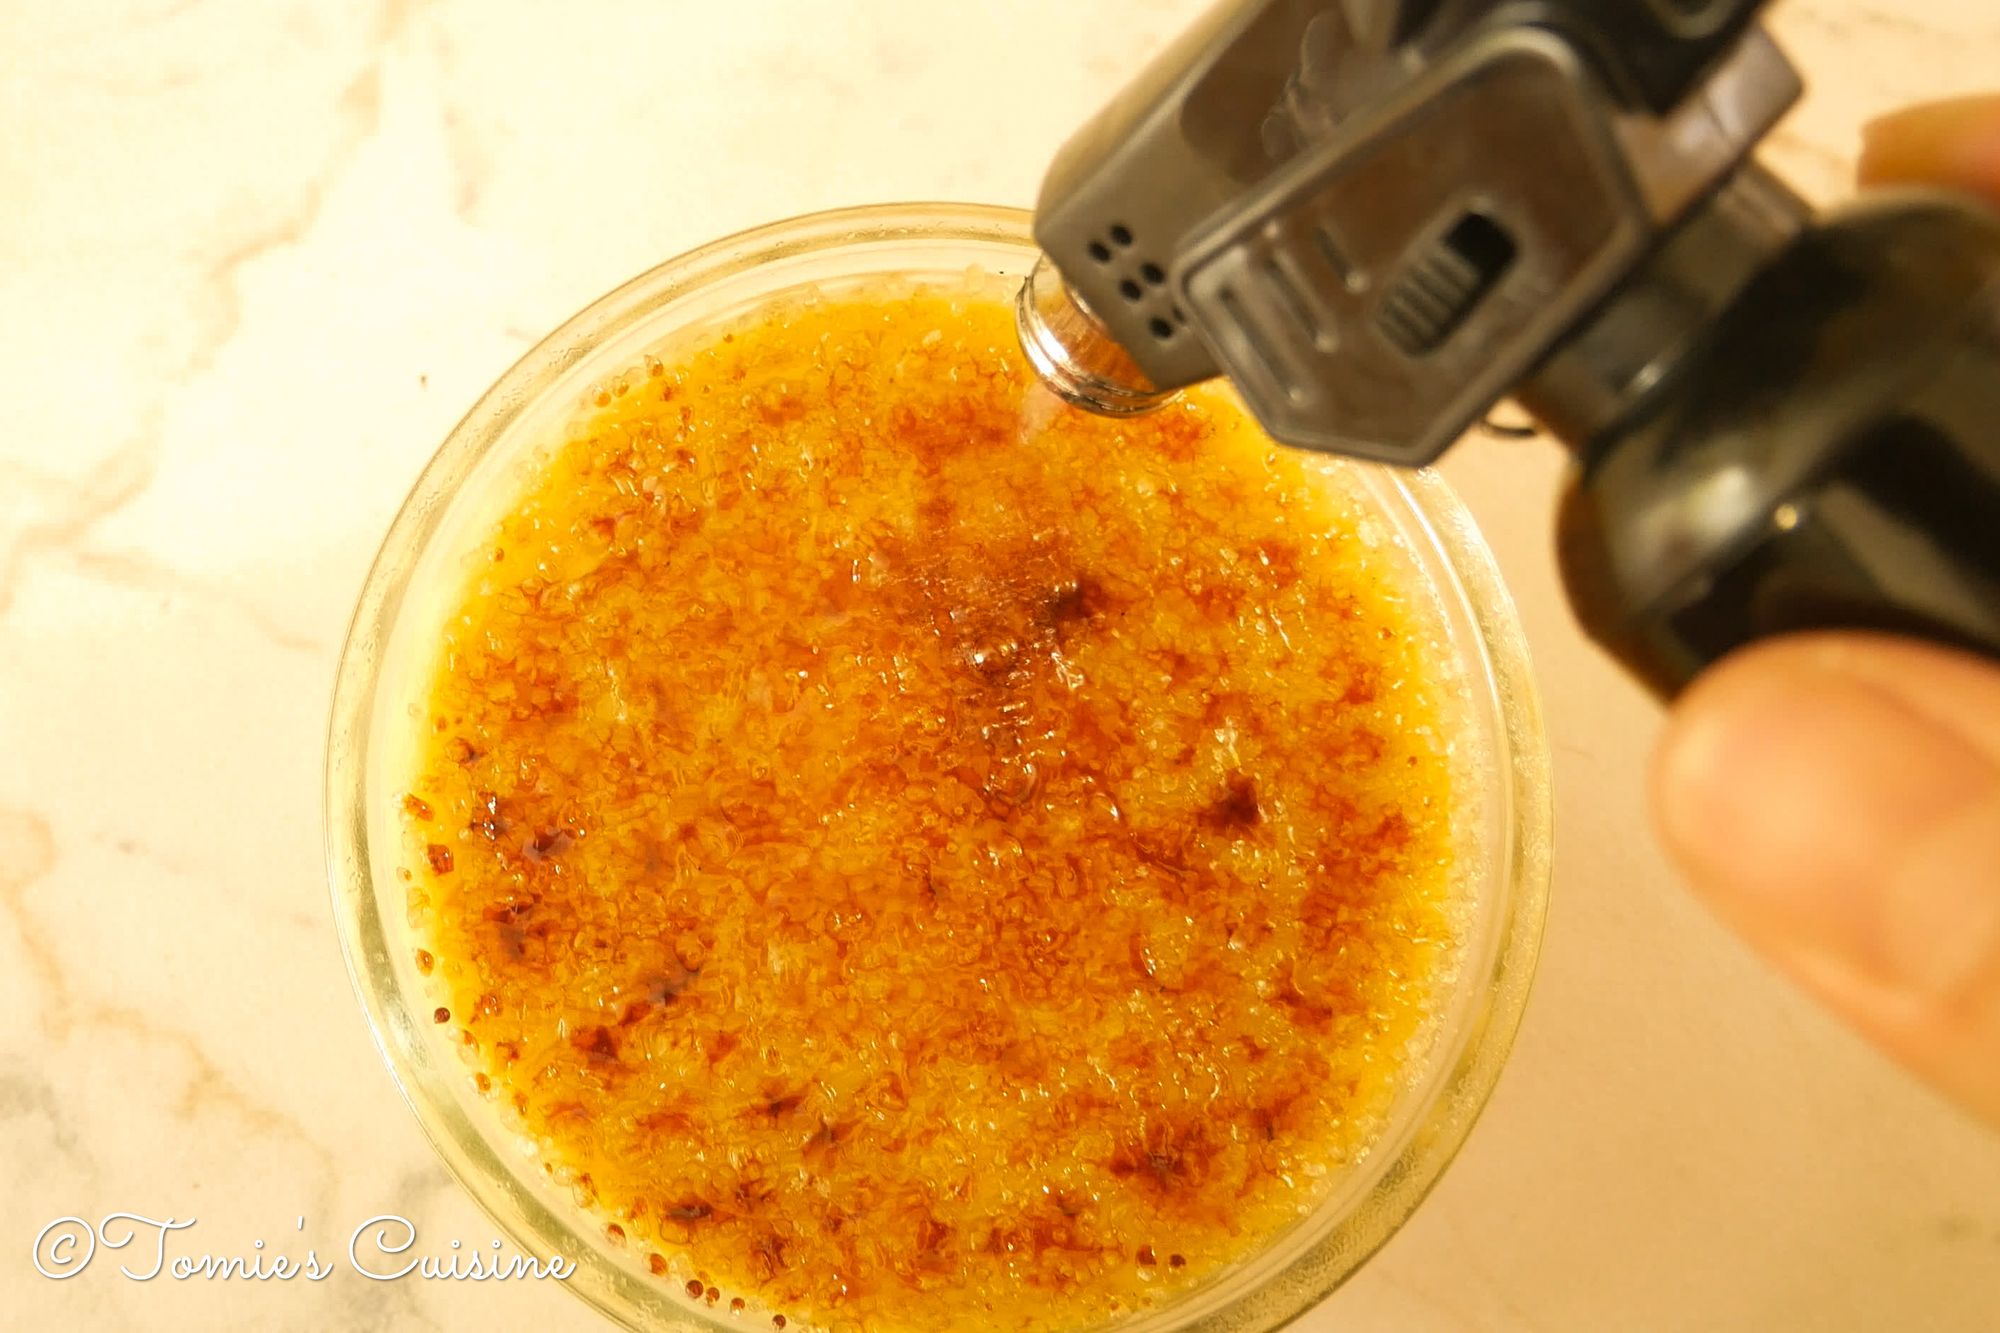
- Turn on the blow torch and start to caramelise the sugar. Make sure you pay extra care when you use a blow torch!
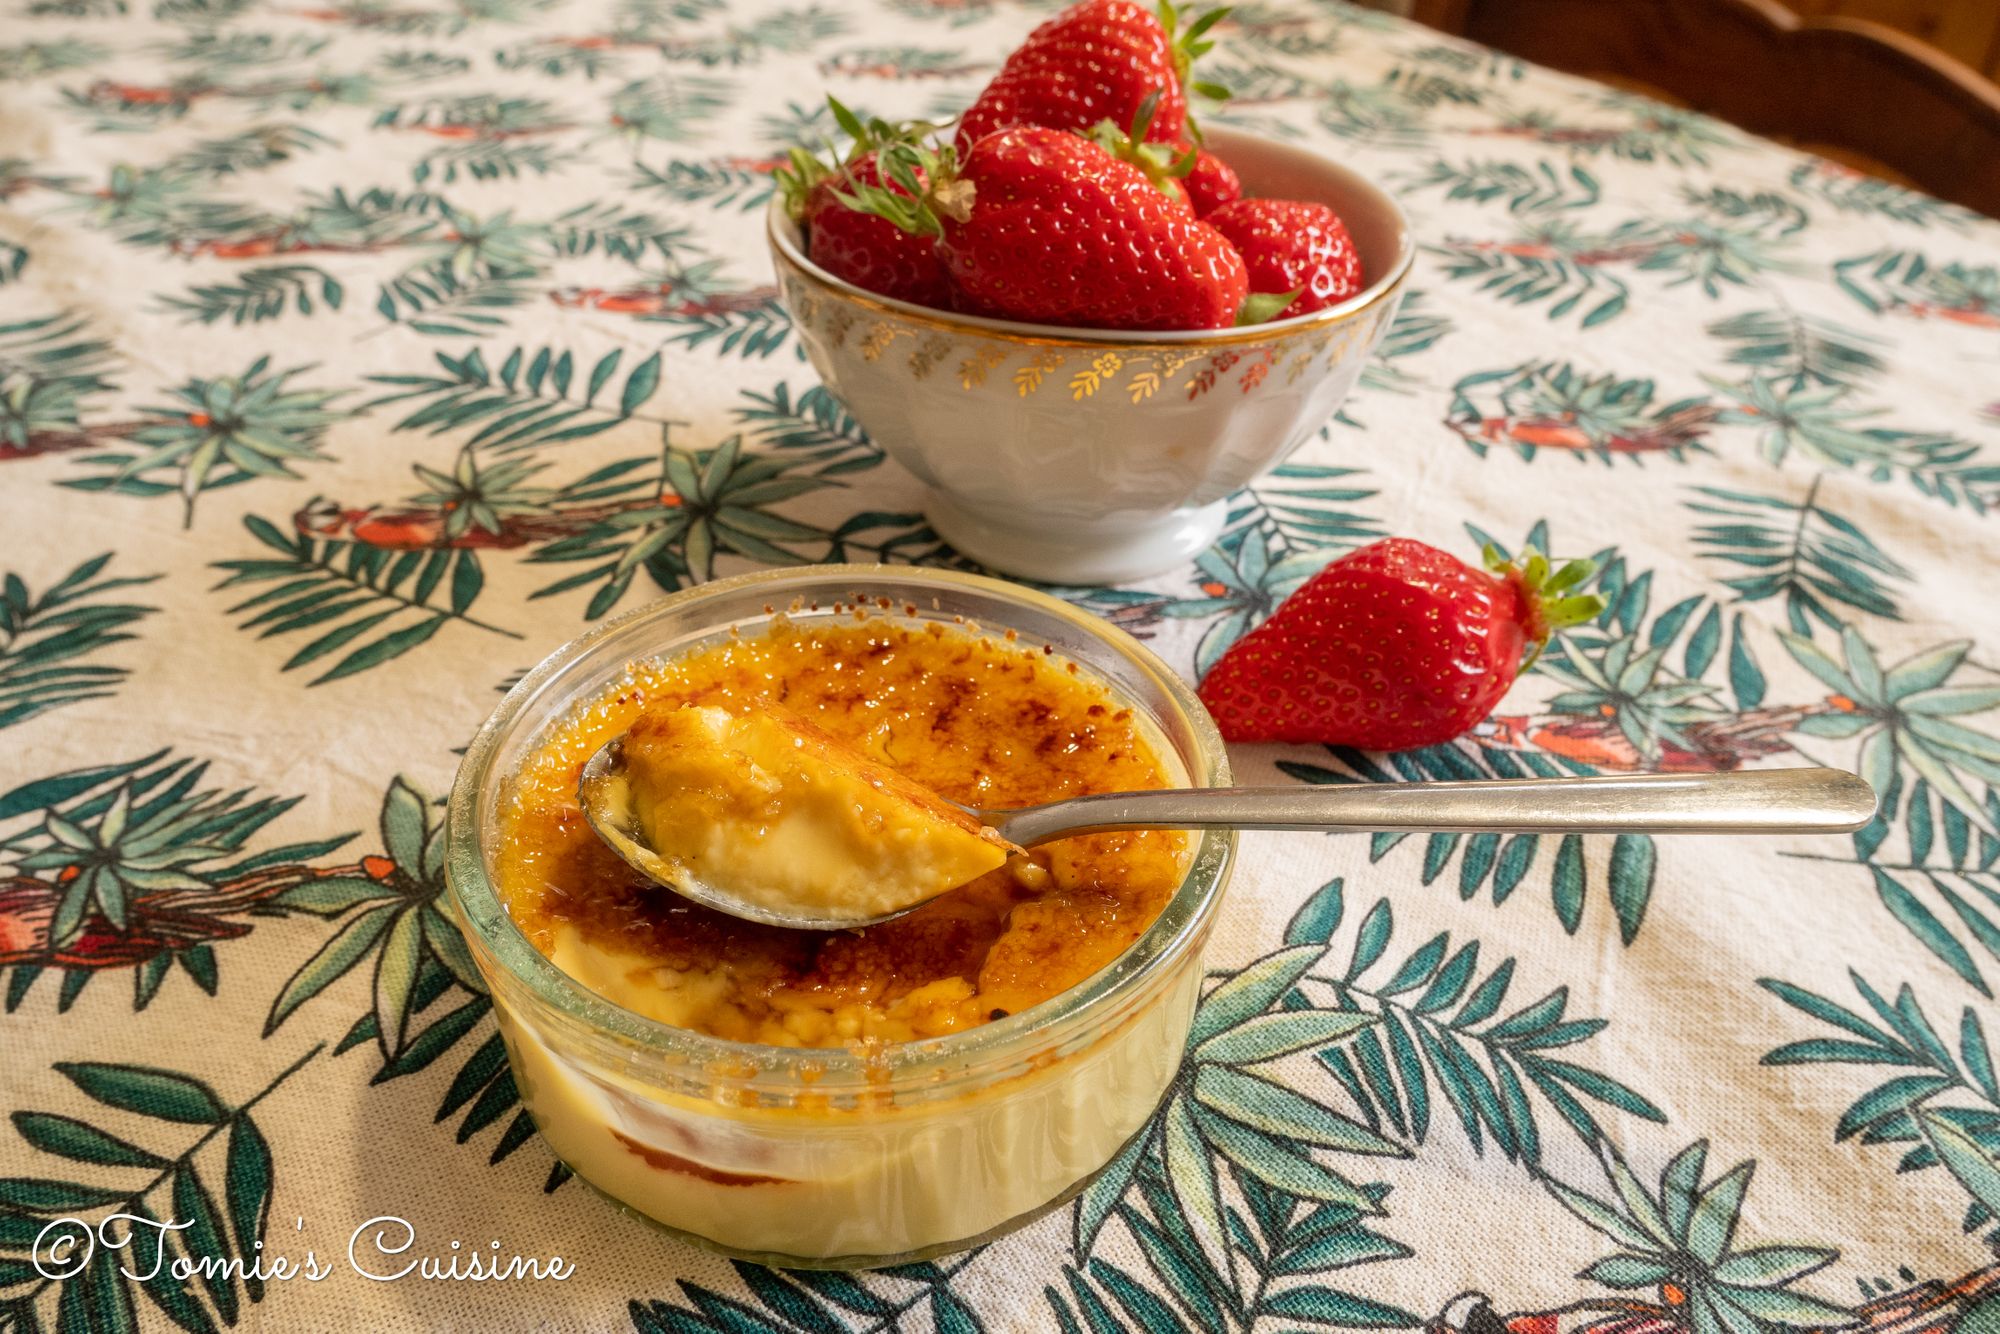
- Ready to serve!
How to make crème brûlée without a blow torch?
If you don’t have a blow torch, you can use an old stainless spoon (since it may leave some marks). Simply heat the spoon’s bottom with fire until it gets red and run over the sugar to caramelise it. This is an ancient way of caramelising the sugar for crème brûlée as the recipe “Le cuisinier roïal et bourgeois” explained in the book.
“Alors il la faut tirer en arriere, & la bien sucrer par-dessus, outre le sucre que l’on y met dedans: on prend la pêle du feu, bien rouge; & du même-tems on en brûle la Crême, afin qu’elle prenne une belle couleur d’or.”
So here you need to pull it back and pour some sugar on top. You take the shovel (sic) out of the fire when it’s red. And then you burn the cream so that it gets a nice golden colour.
(Massialot, 1691)
What you need to be careful in this recipe
Why doesn’t your crème brûlée set?
Make sure you don’t use a container that is too deep (e.g. a cup), or if you do, don’t fill it too much. Ideally, you want to use ramekins with a flat bottom (see equipment at the top of the article).
No need to mix so hard in any steps
If you mix too hard with a whisk, you’ll make too many bubbles, which will make your crème brûlée rough. So when you combine it, mix gently to not to make too many bubbles.
The depth of the oven tray
If you already have a deep oven tray or roasting tin, you are safe. I didn’t have any here, and as you can see in the photo, I used the regular shallow baking tray; it was tricky but worked out in the end.
It’s tough to use for this recipe, as when you take out the tray from the oven after cooking the custard, it gets unstable because the water moves inside. Luckily I didn’t burn myself, but it was close at times.
That is why I recommend using the deep oven tray to fill the water to the proper level (half ramekin height).
I was using a small blow torch. Ugh.
I didn’t have any blow torch here, so I quickly bought the small rechargeable one from the local supermarket. I bought it because it was written: “for crème brûlée”. So I (wrongly) trusted it. But it’s way too small! I almost spent 3 minutes caramelising the sugar. I’ve done it for four people, so I spent 12 minutes doing that. In the end, I bought the one with a gas bottle attached from amazon.
Closing word
Today I introduced the regular crème brûlée French dessert, but I plan to try to make them with different flavours! So keep an eye on this blog by subscribing to our newsletter so that you do not miss it!
If you do try this recipe, be sure to post it on Instagram, Pinterest or Facebook with the hashtag #tomiescuisine; we’d love to see what you come up with!