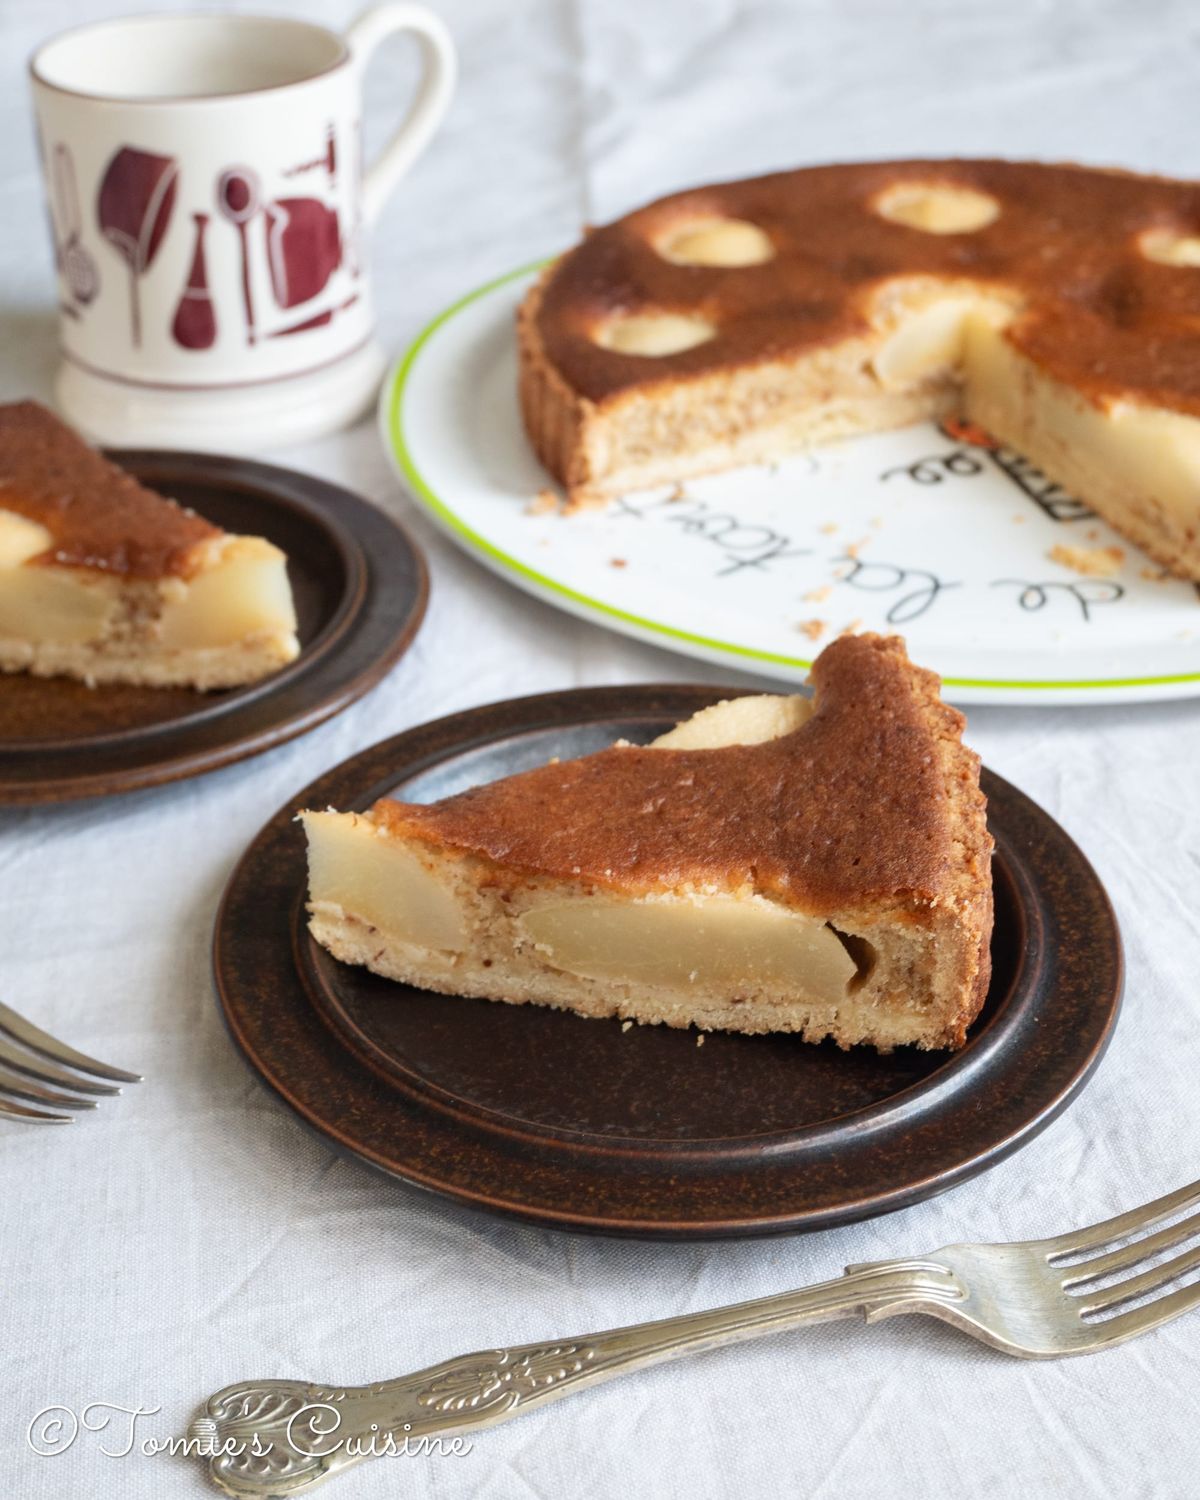
Today we are sharing our pear and hazelnut frangipane tart recipe, made with pears and hazelnuts harvested from our garden! Since last year, this tart has been our “annual event” to celebrate our great harvest.
Pears and hazelnuts from our garden
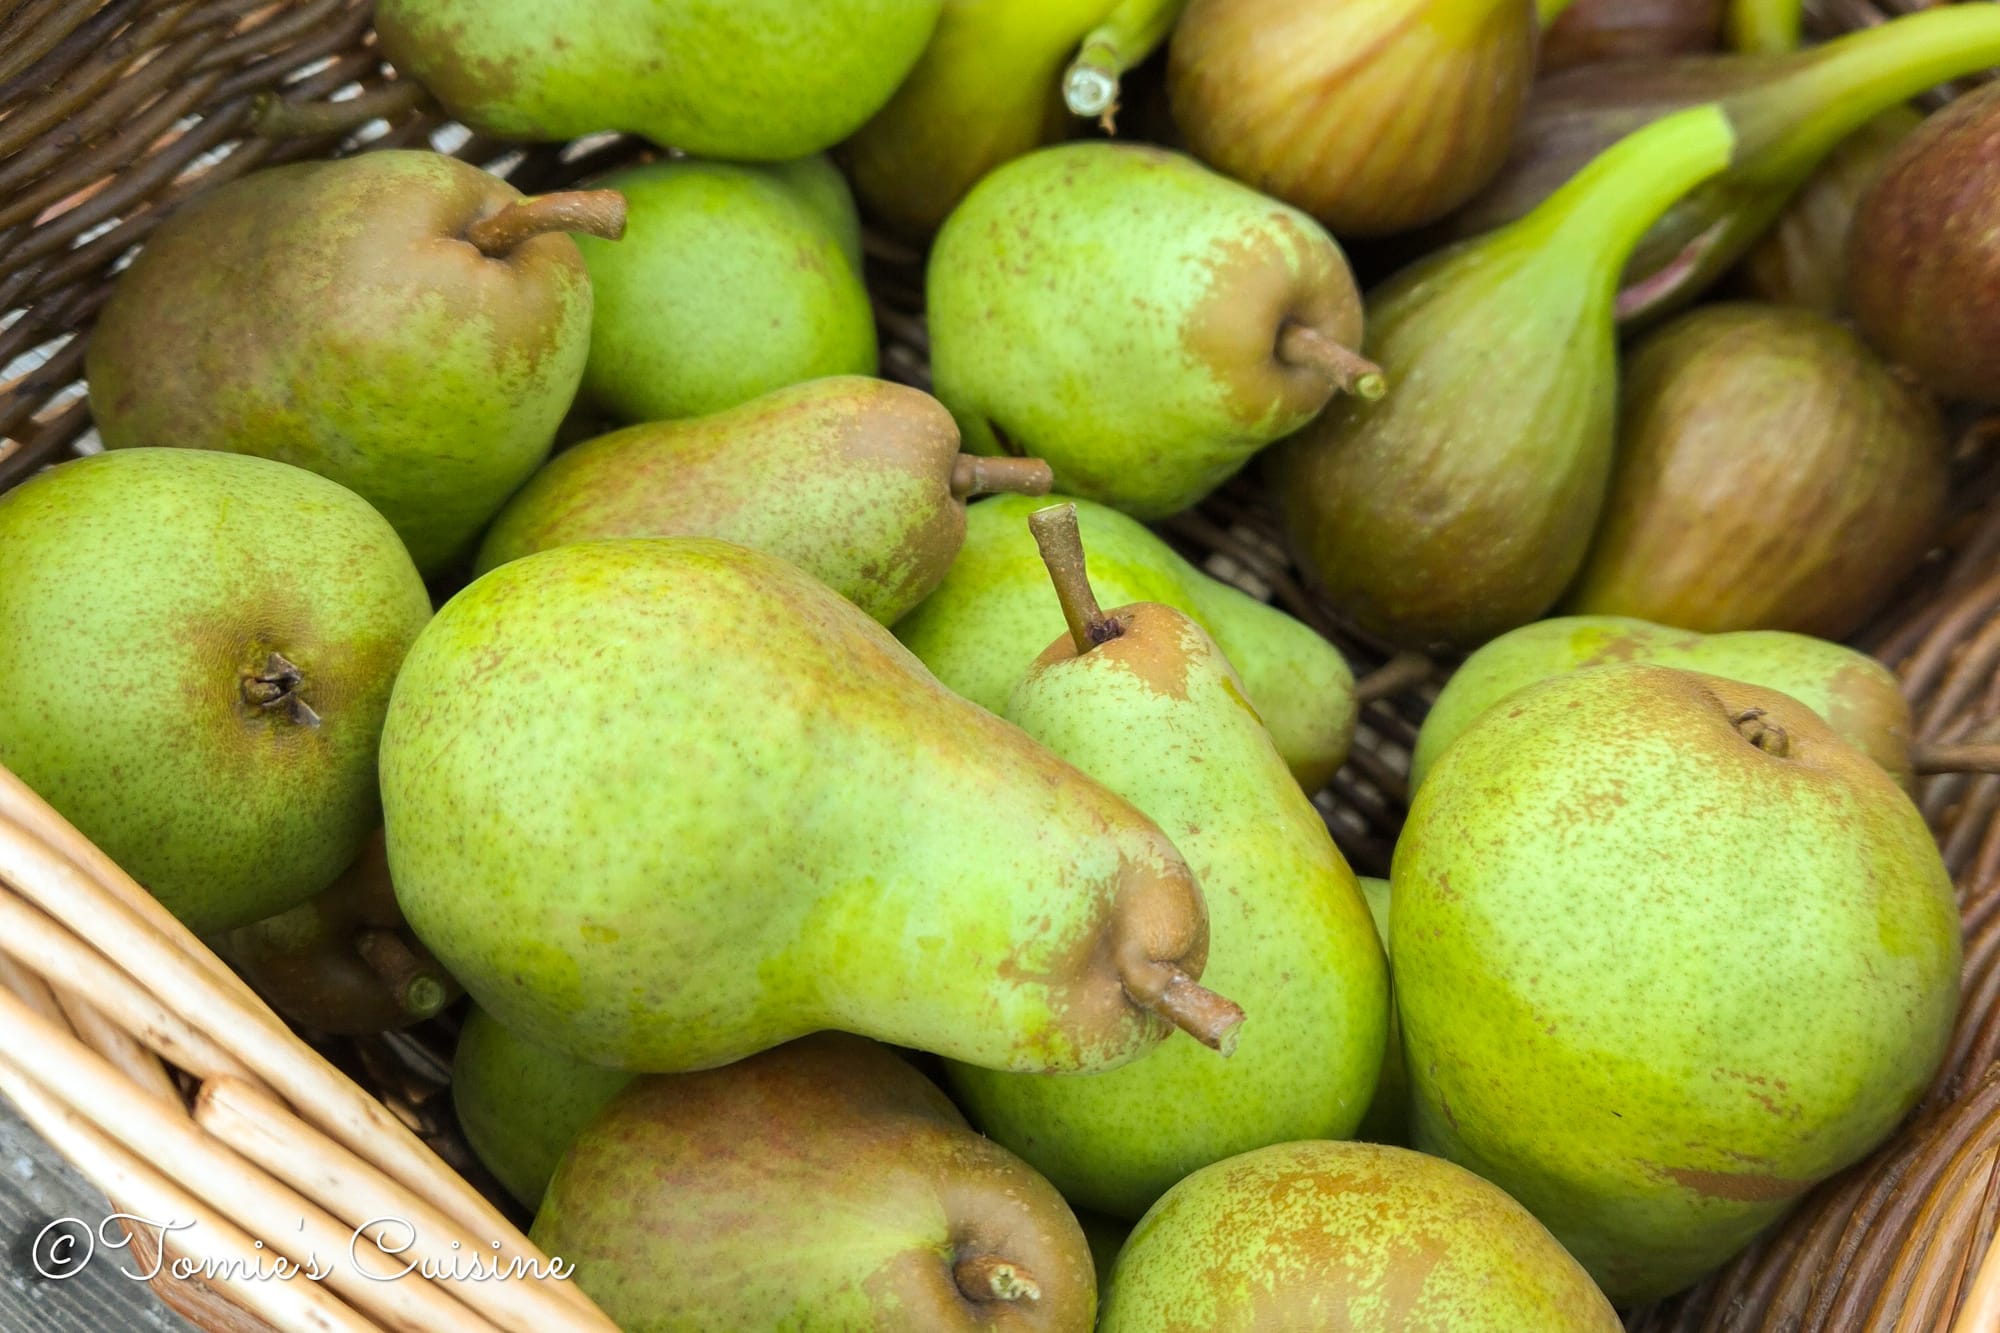
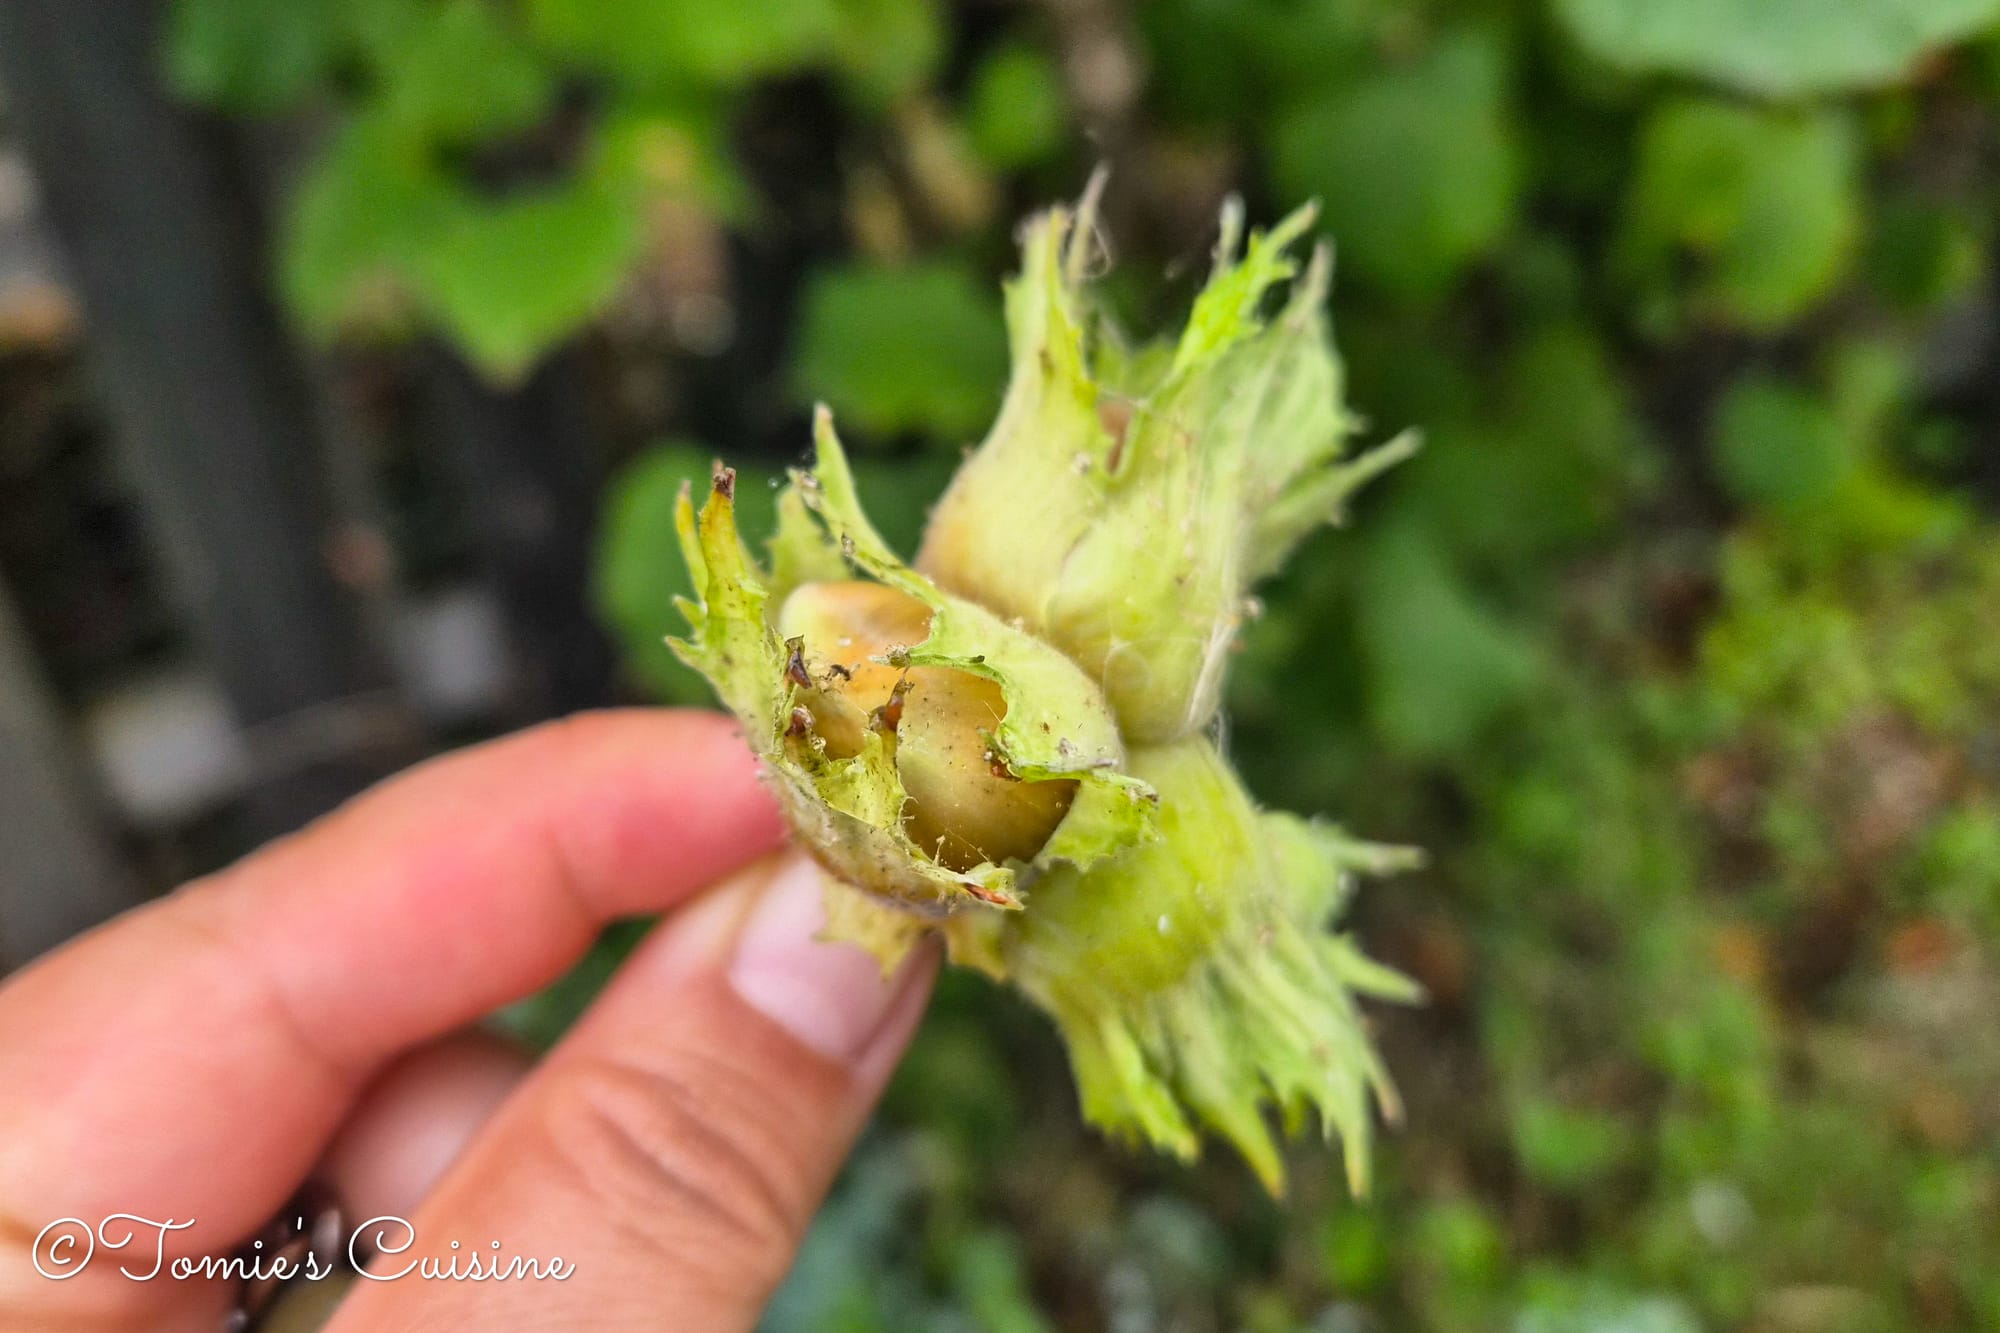
Since last year, we have been harvesting quite a lot of pears and hazelnuts from our garden.
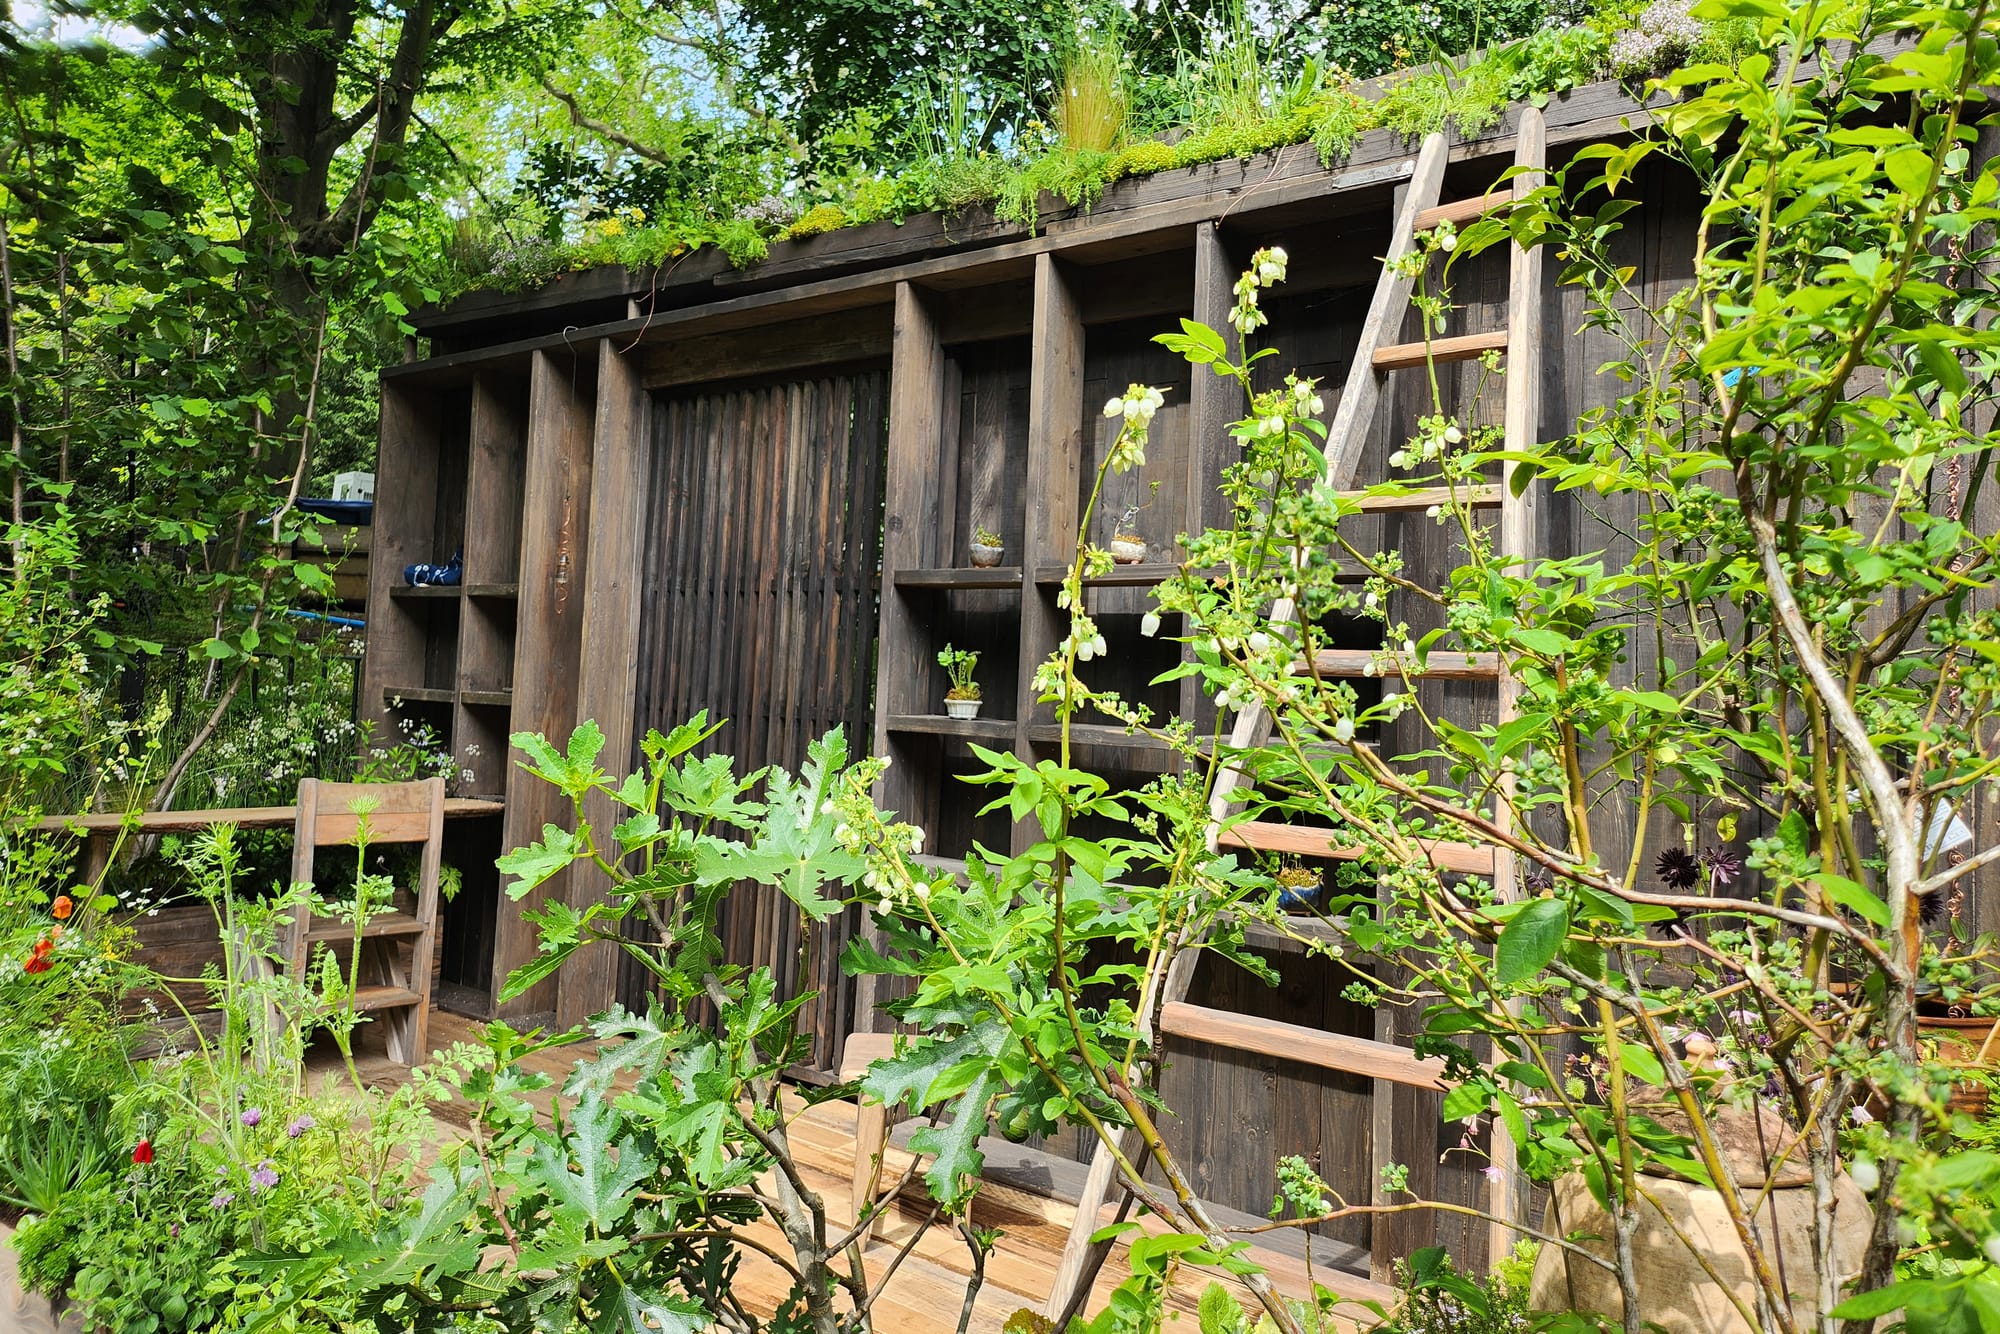
We planted this pear tree soon after we moved into our house in 2021, and the hazel tree came from the Nobonsai garden at the RHS Chelsea Flower Show 2024.
For the first two years, we only had one pear each year; from the third year on, we started getting more and more each year. As for the hazelnuts, we had a few in 2024, but the neighbourhood squirrels took them all! We managed to keep most of them for ourselves this year and last year, and shared the rest with the squirrels. (Although there are a lot of hazel trees around our neighbourhood, the squirrels start eating the nuts while they're still green!)
Even though we had no rain this summer, both trees still fruited, and the results taste great, too! We were so impressed.
Recipe for 8 servings
Ingredients
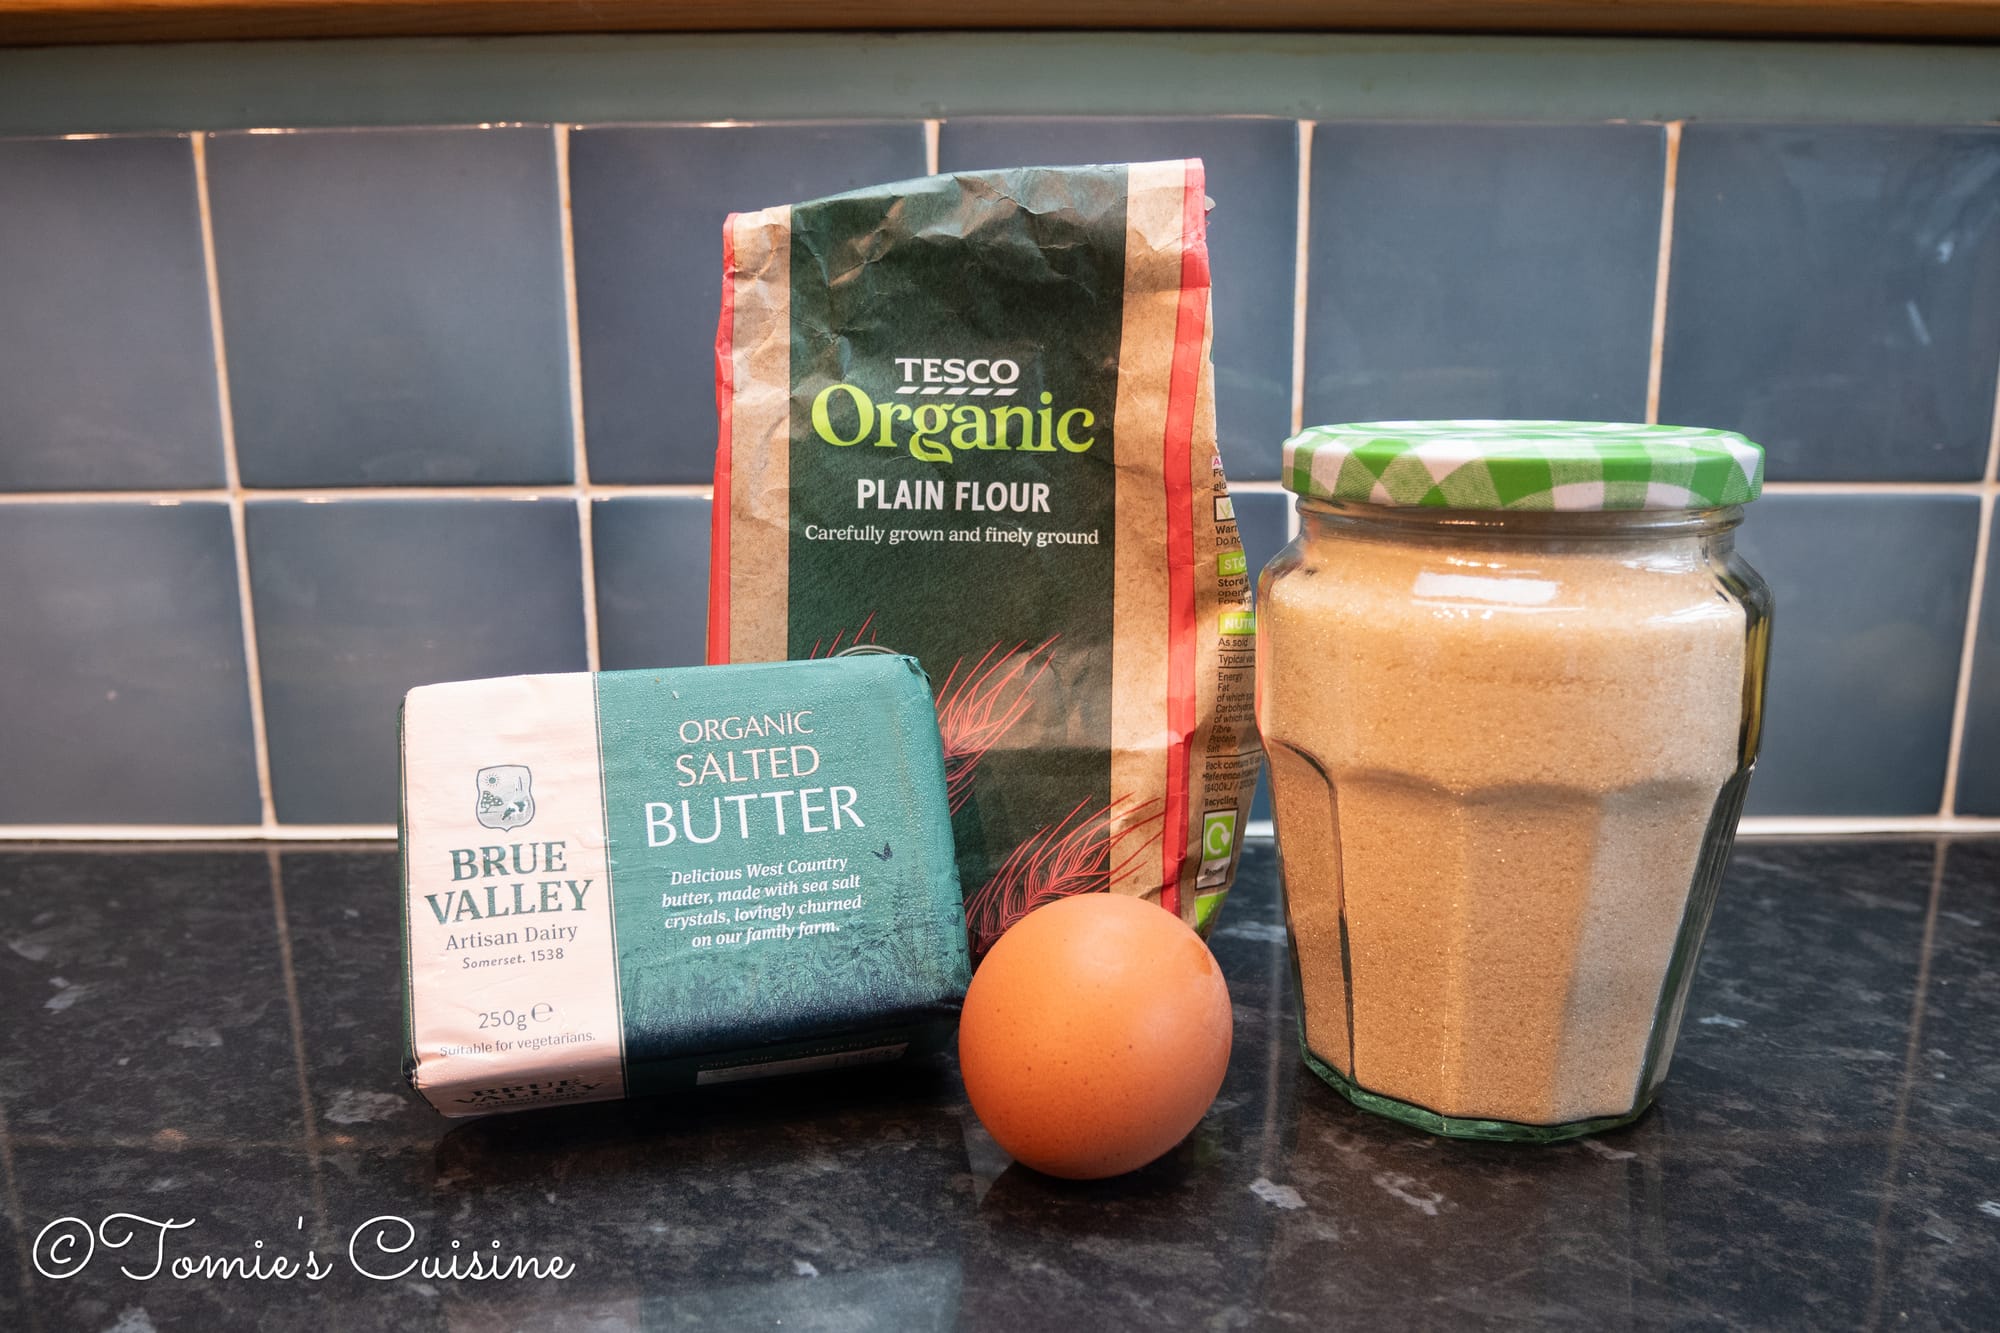
Tart case (Pâte sablée)
- 220g plain flour
- 50g caster sugar
- 100g cold butter (We used salted butter. If you are using unsalted butter, add a pinch of salt.)
- 1 medium egg
Hazelnut frangipane
- 75g butter (room temperature)
- 90g caster sugar
- 2 medium eggs (room temperature)
- 1 teaspoon of cornflour
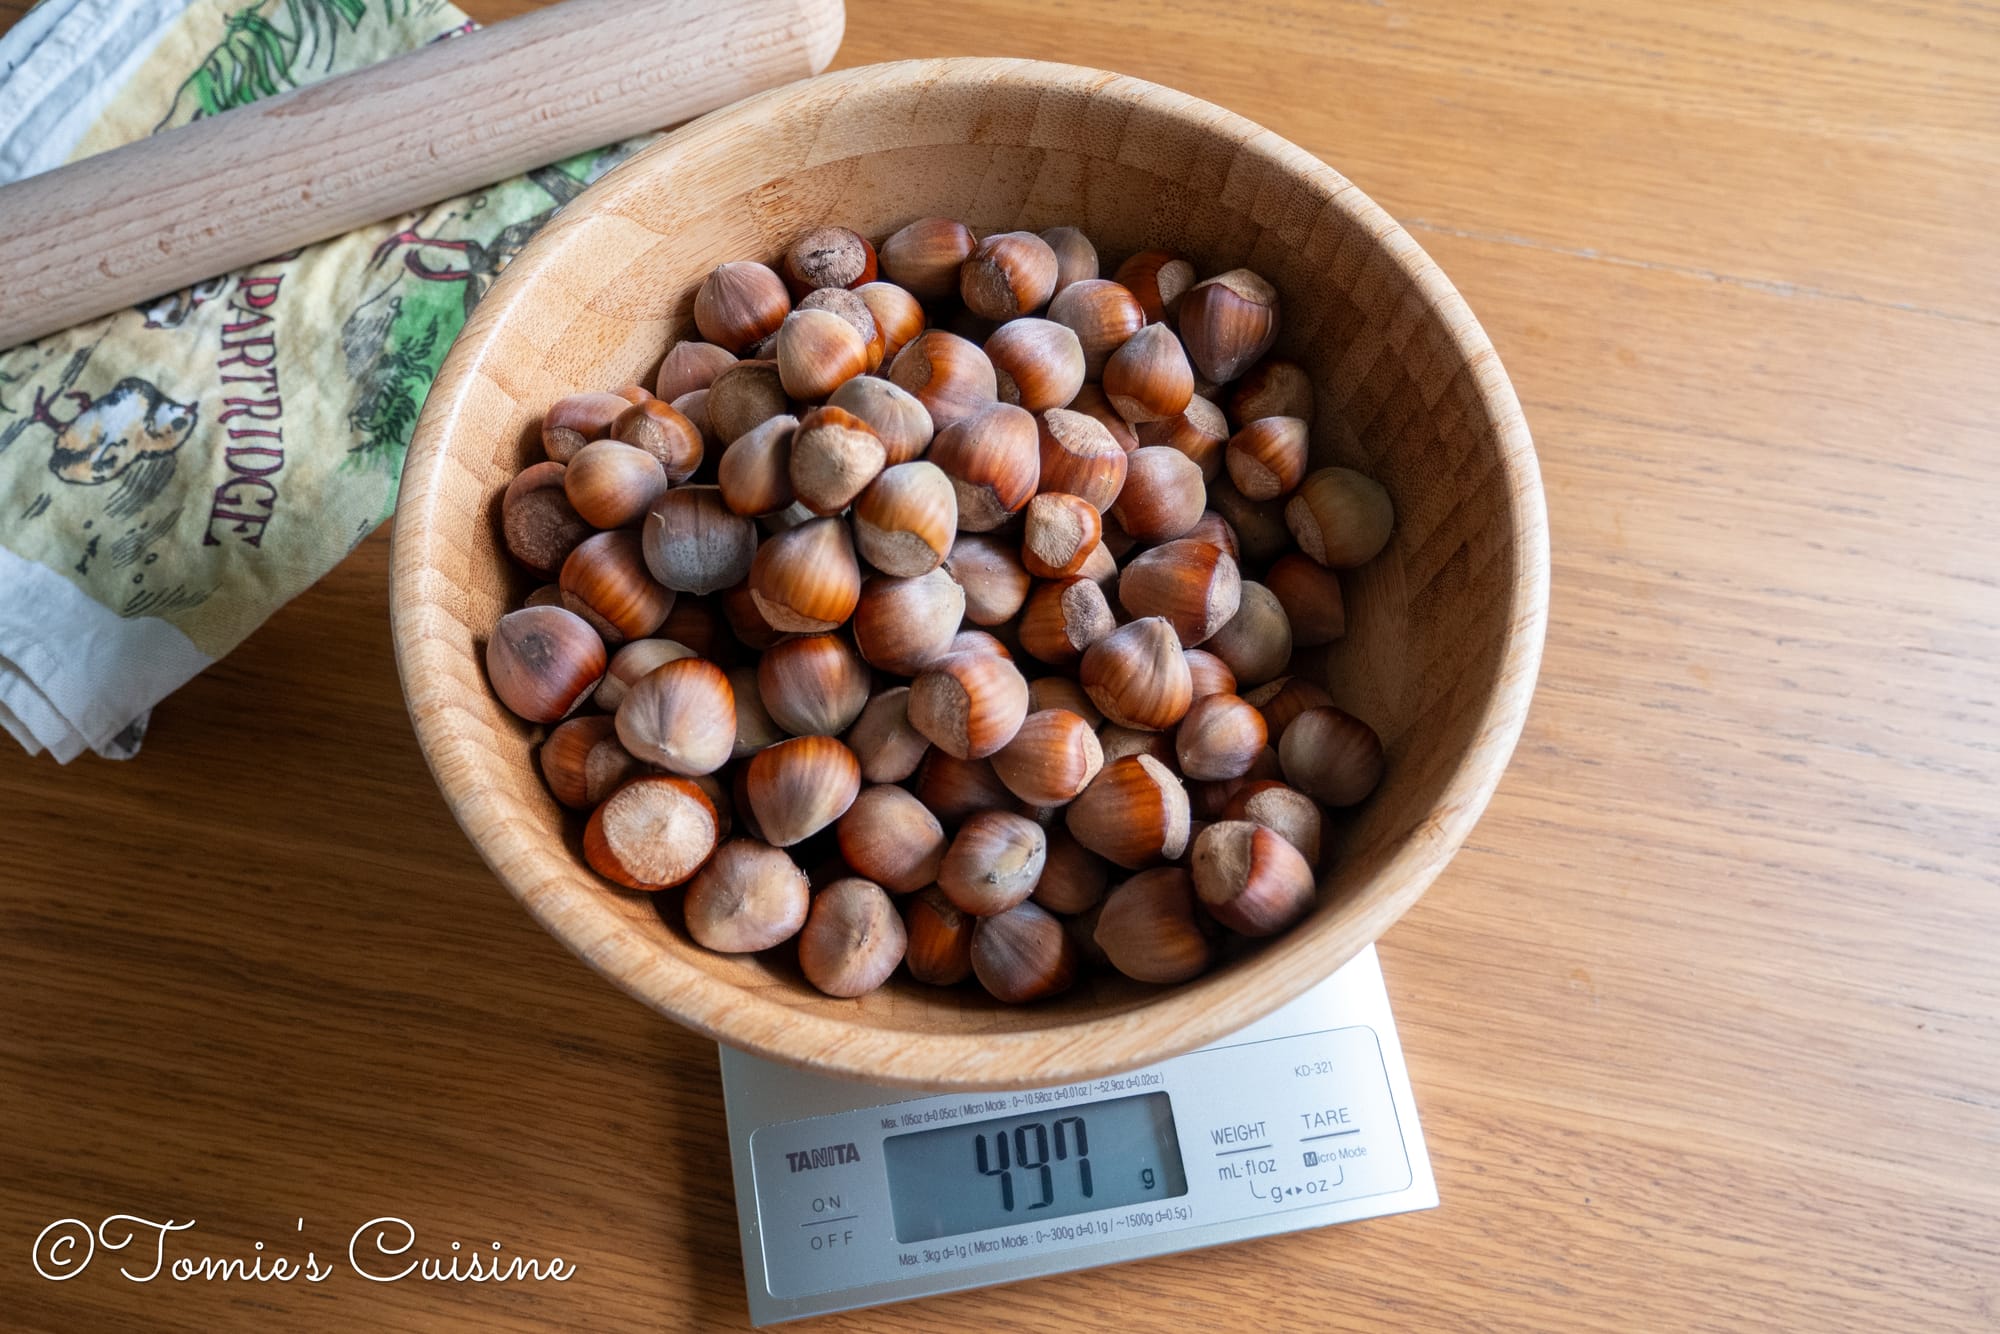
- 100g ground hazelnuts (about 110g shelled hazelnuts, or about 300g in shell; our nuts gave about 40% kernels by weight, so this varies)
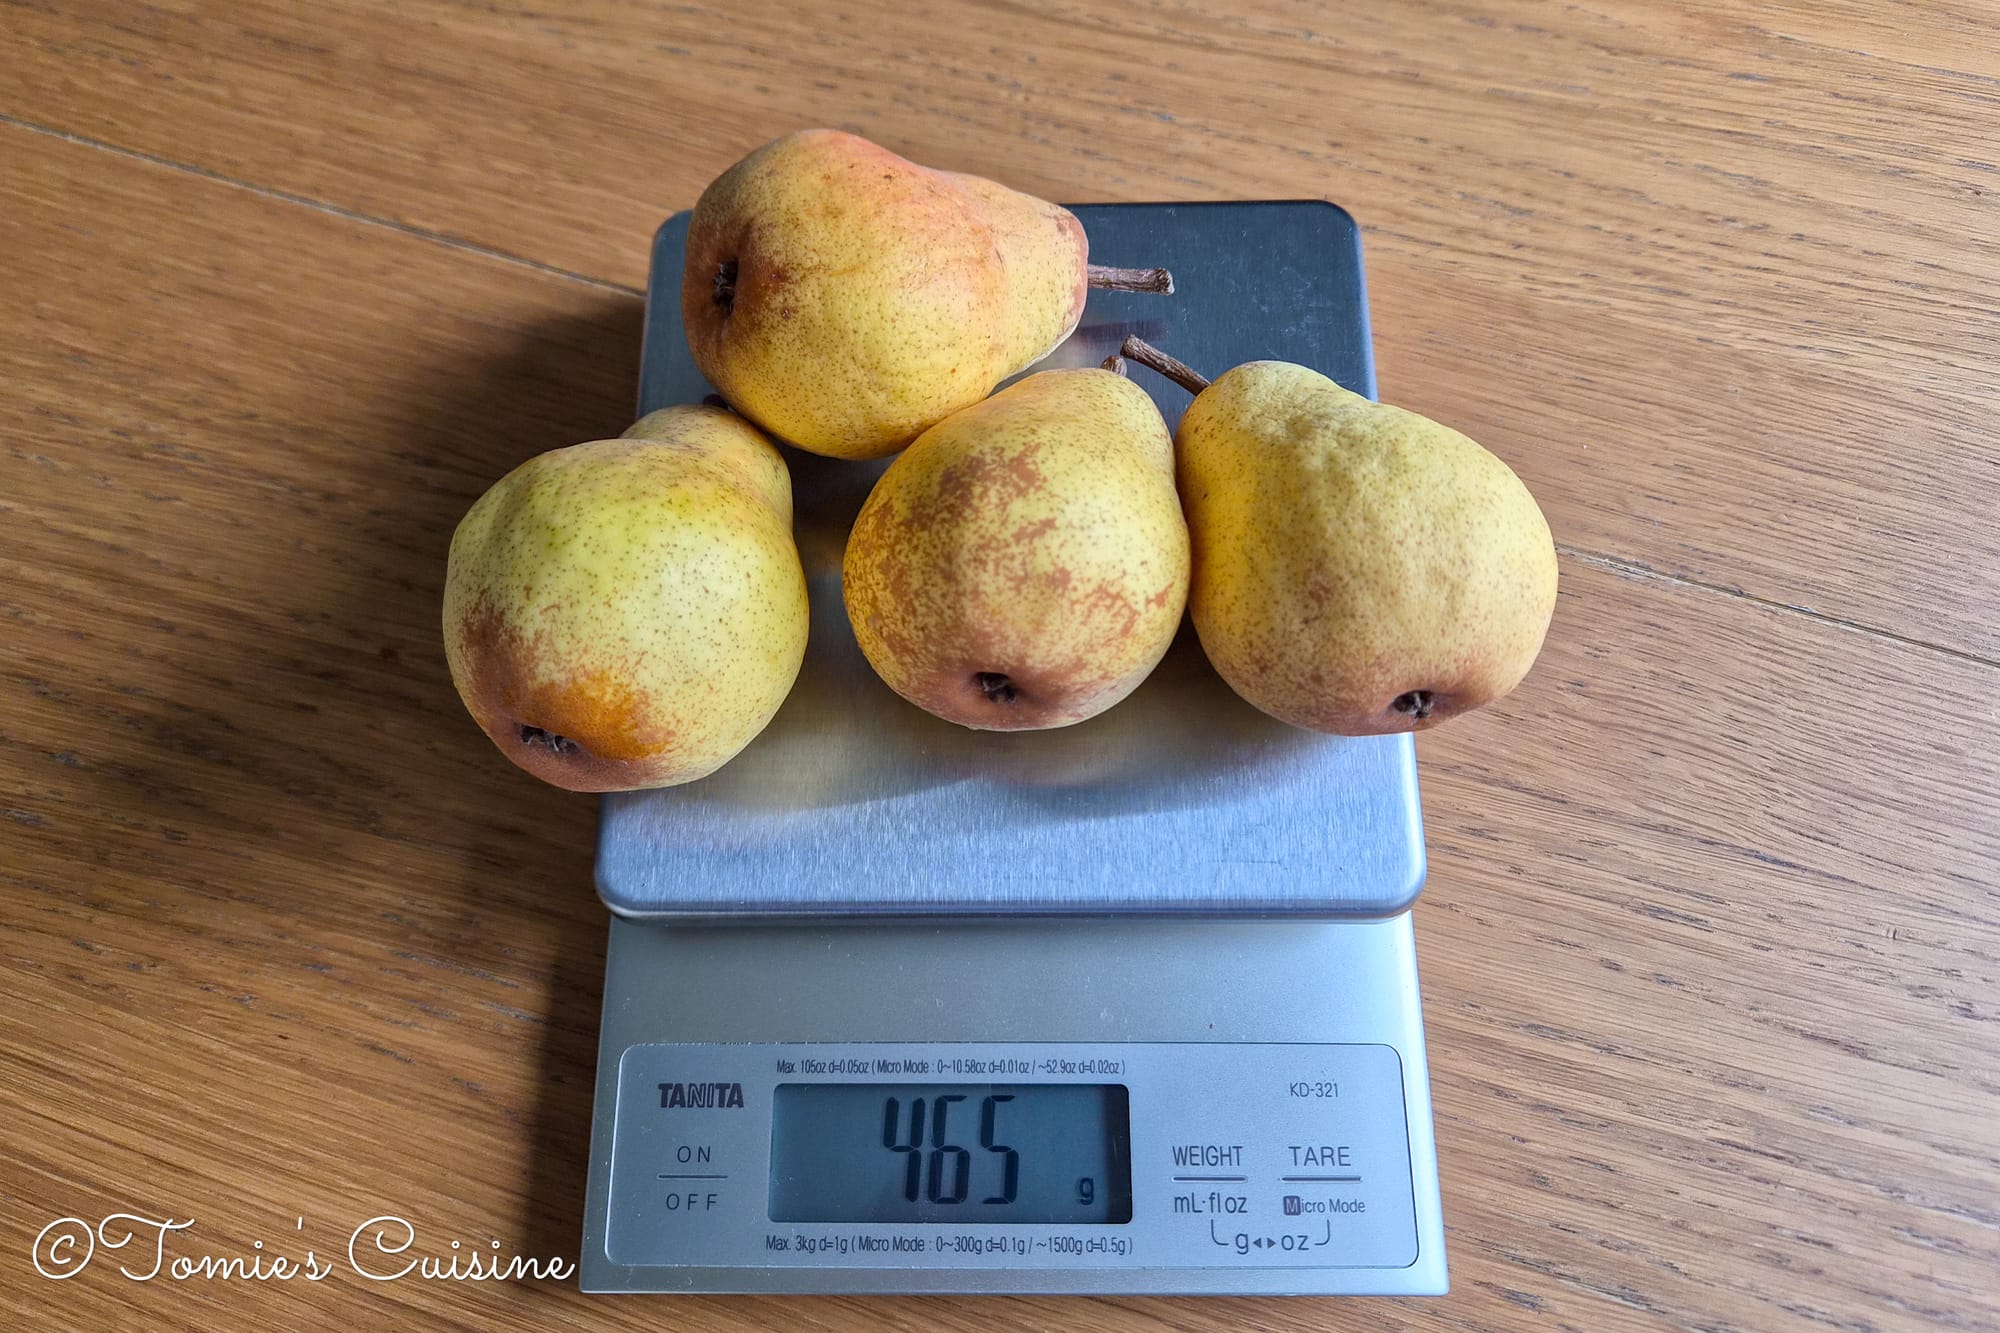
- 4 small, ripe pears (ours weighed 465 grams), specifically the "Williams" variety.
Because I used fresh hazelnuts from our garden, we reduced the butter from 100g to 75g. Hazelnuts contain more fat than almonds, so if you follow a standard almond frangipane recipe and swap in hazelnuts, you will end up with a greasy tart. Also, I picked and stored the hazelnuts for about two weeks, until we harvested them all. So some were still fresh, which might be why they had more moisture than when I made the tart last year. I think the hazelnuts themselves were bigger than last year, too.
In this recipe, we used salted butter. I used to buy unsalted butter, but now we use butter almost exclusively for our sourdough. My husband can’t stand butter without salt, so I don't buy unsalted butter unless we really need it. Anyway, we need to add a pinch or two of salt to enhance the tart's flavour, so we stick with salted butter. It’s up to you, but if you only have salted butter at home, there’s no need to rush to the supermarket for unsalted.
Tools
- 2 tea towels (for cracking and skinning the hazelnuts)
- Rolling pin
- Large bowl
- Tart tin (25cm)
- Silicone spatula
- Baking tray
- Parchment paper
- Kitchen scale
- Peeler
- Cooling rack
- Food processor (optional but saves so much time)
Instructions
Ground hazelnuts
Preheat the oven to 180ºC.
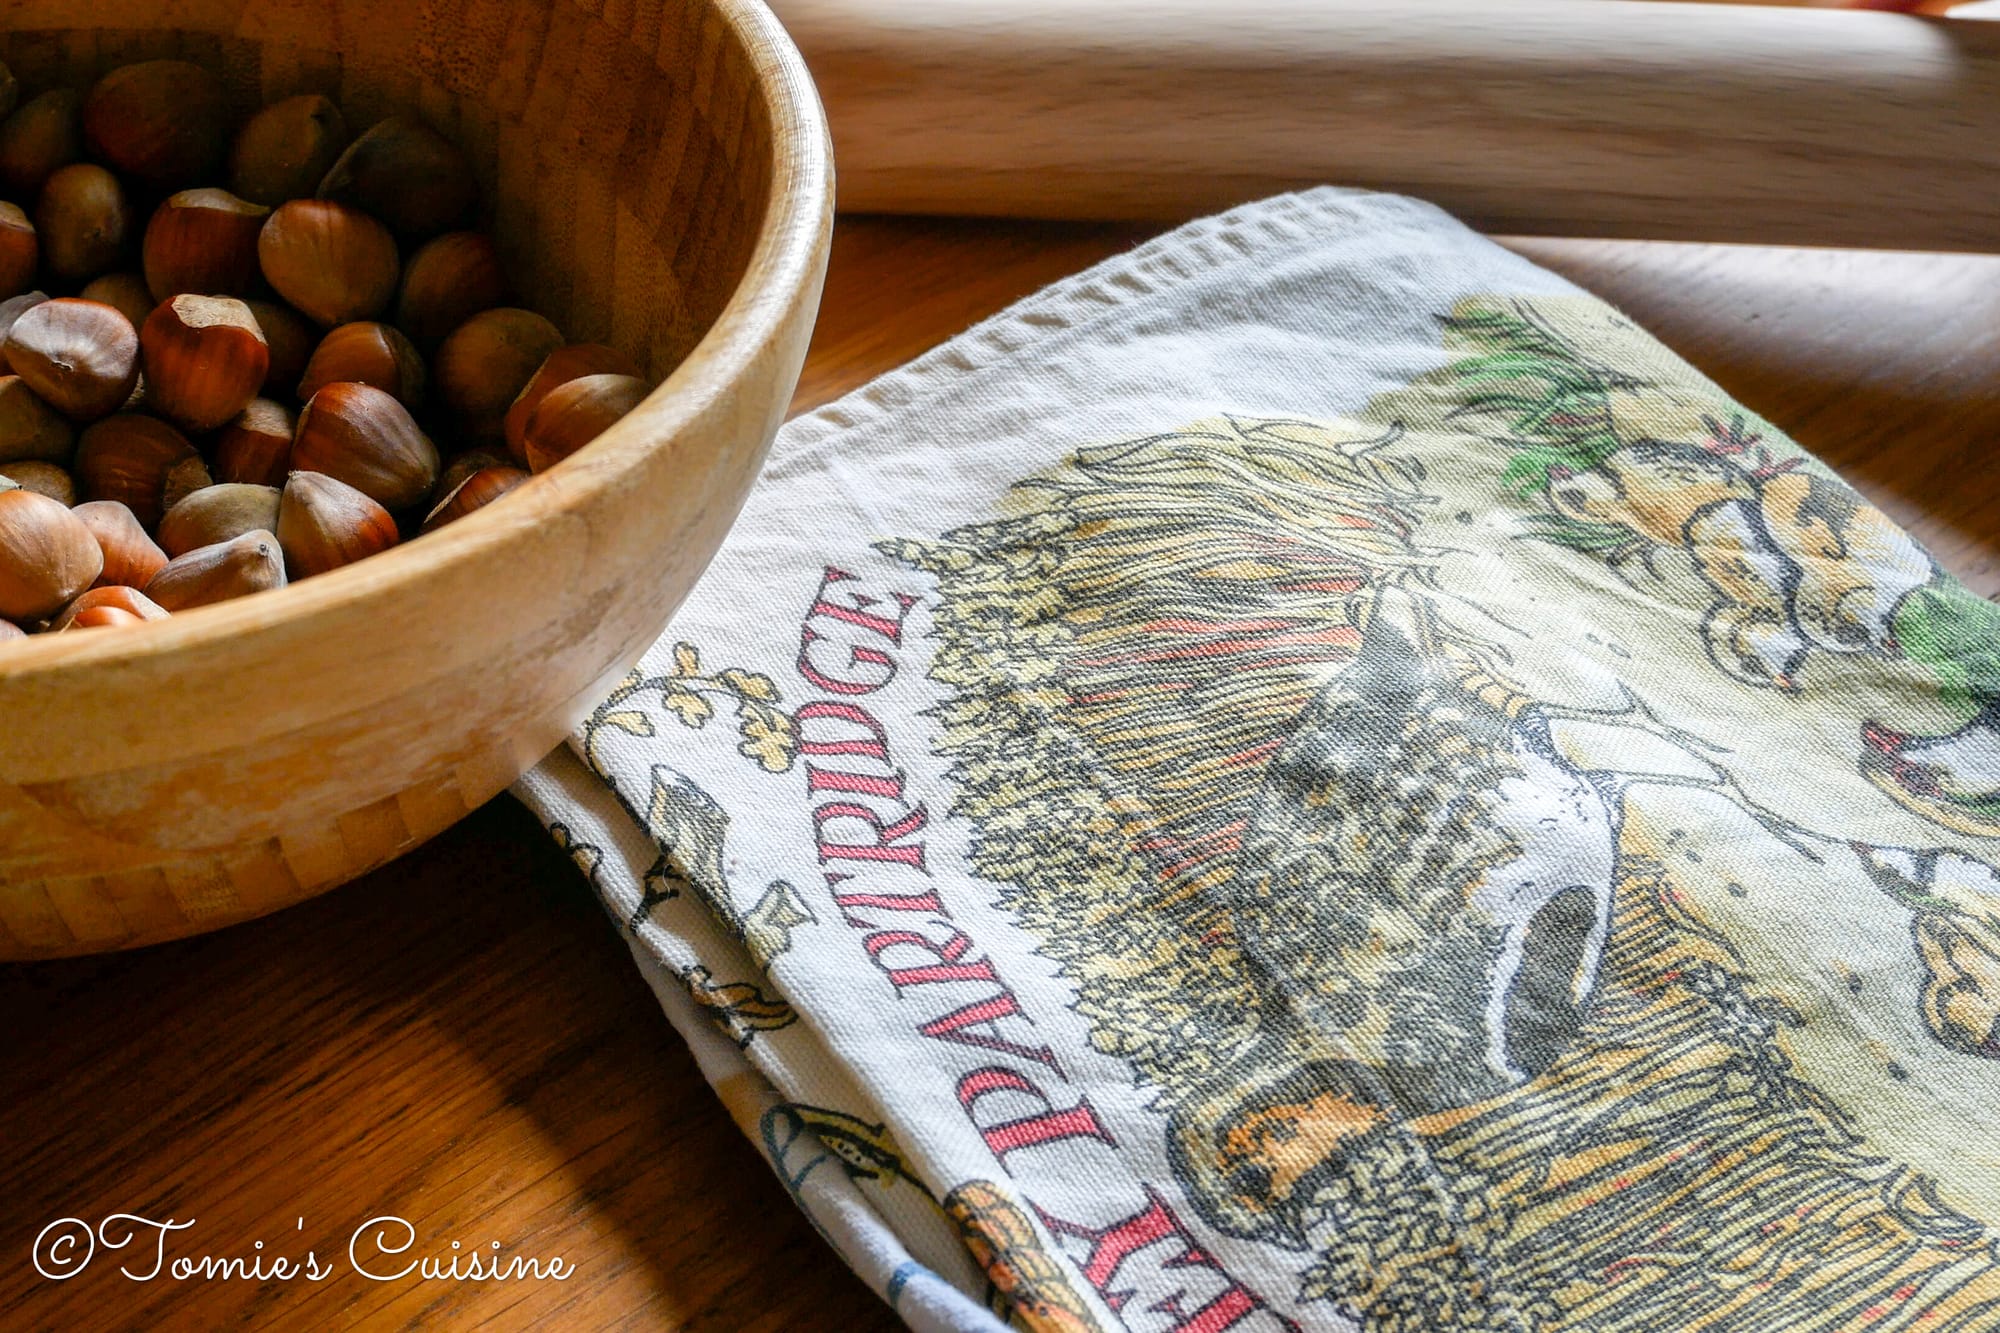
- Place the hazelnuts on a folded tea towel, then cover them with another folded tea towel to avoid damaging the table.
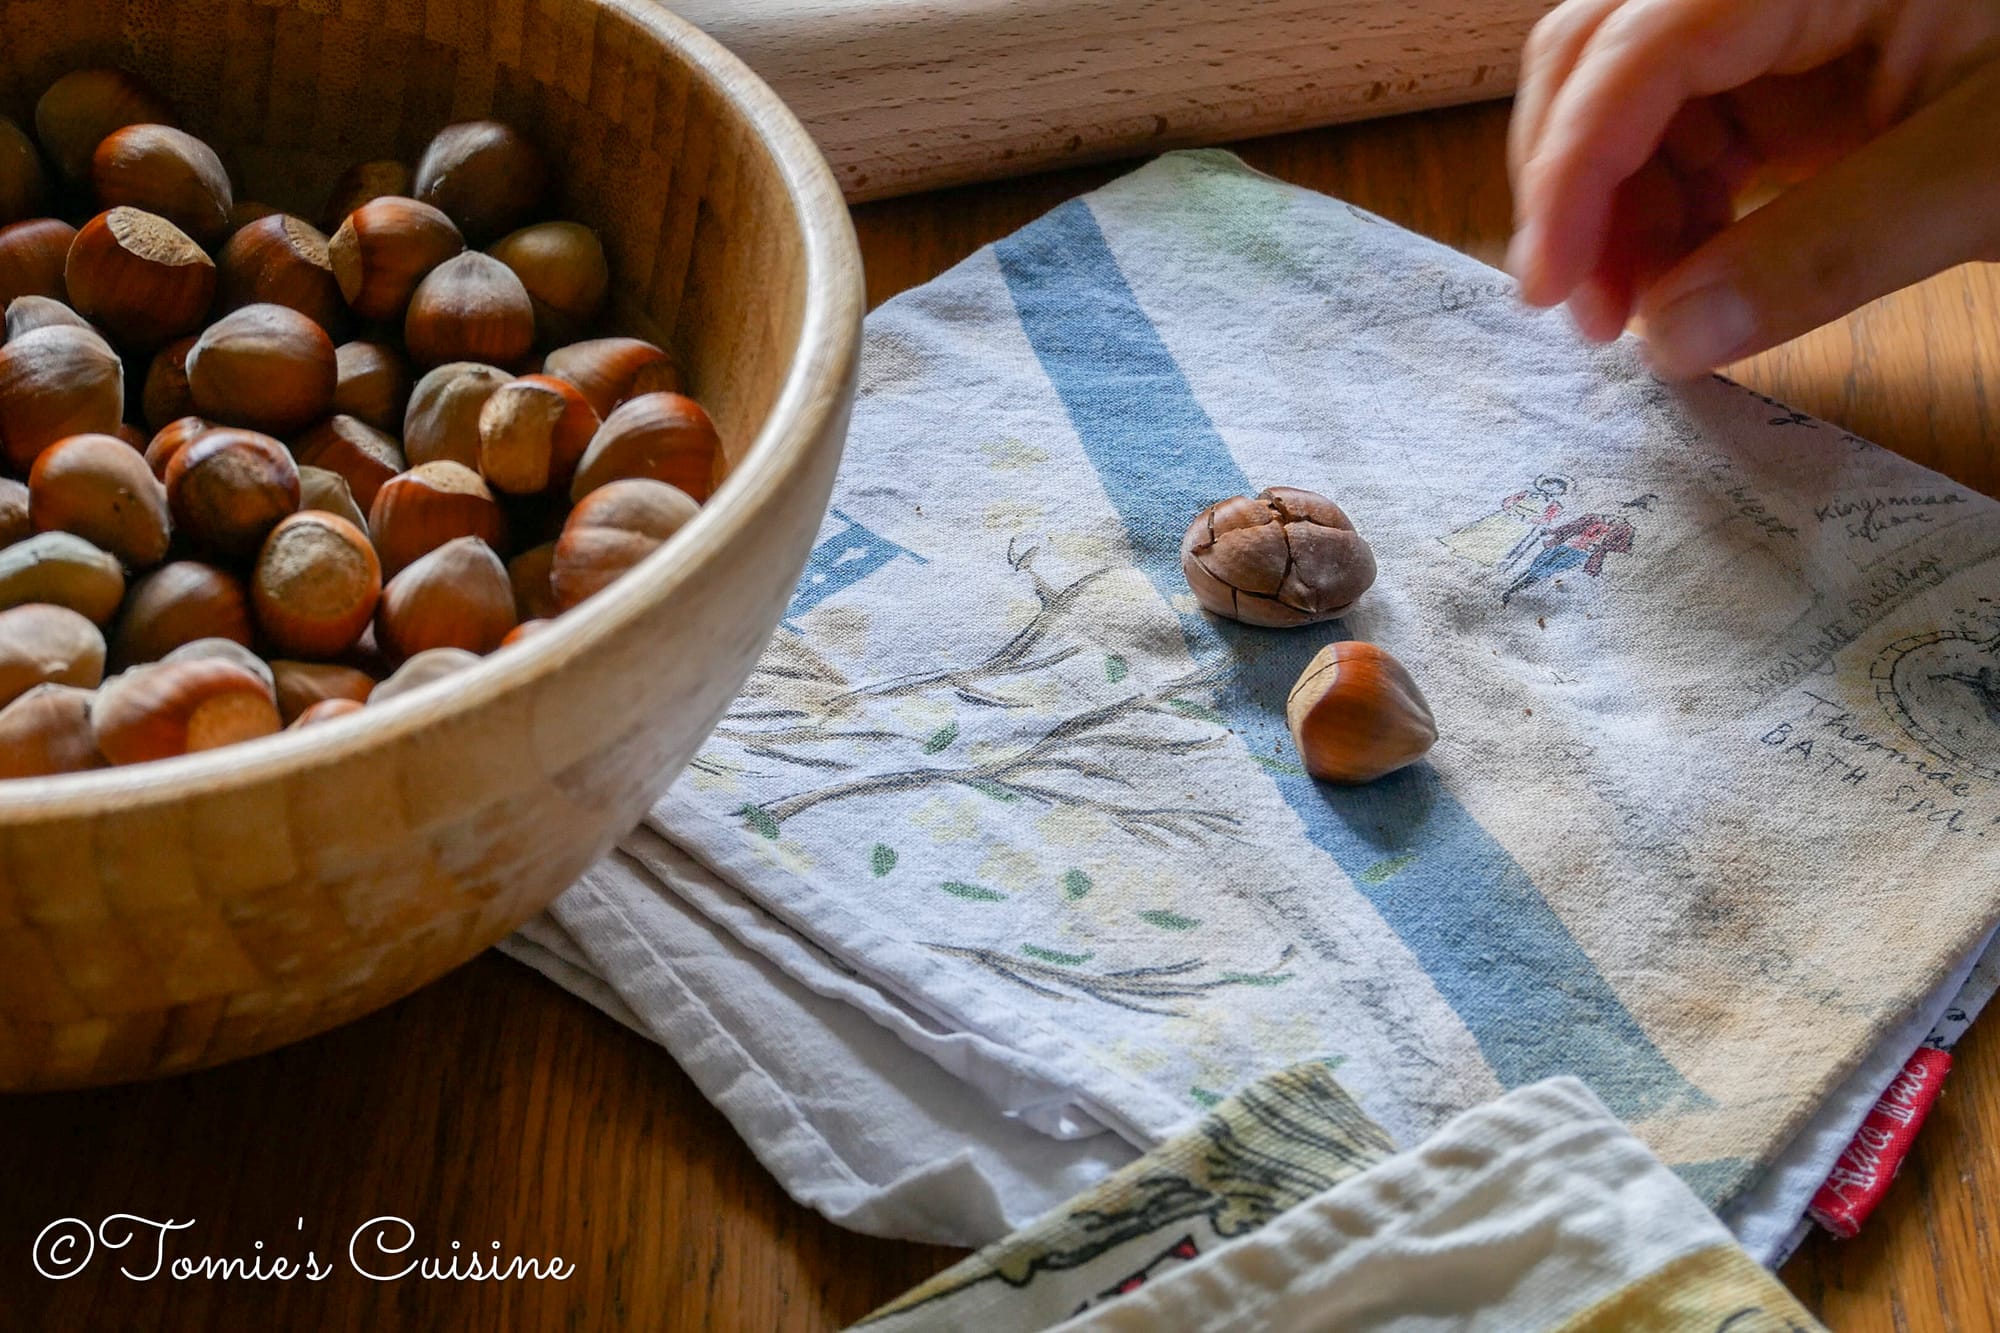
- Crack the hazelnuts by hitting them through the tea towel with a wooden rolling pin or hammer.
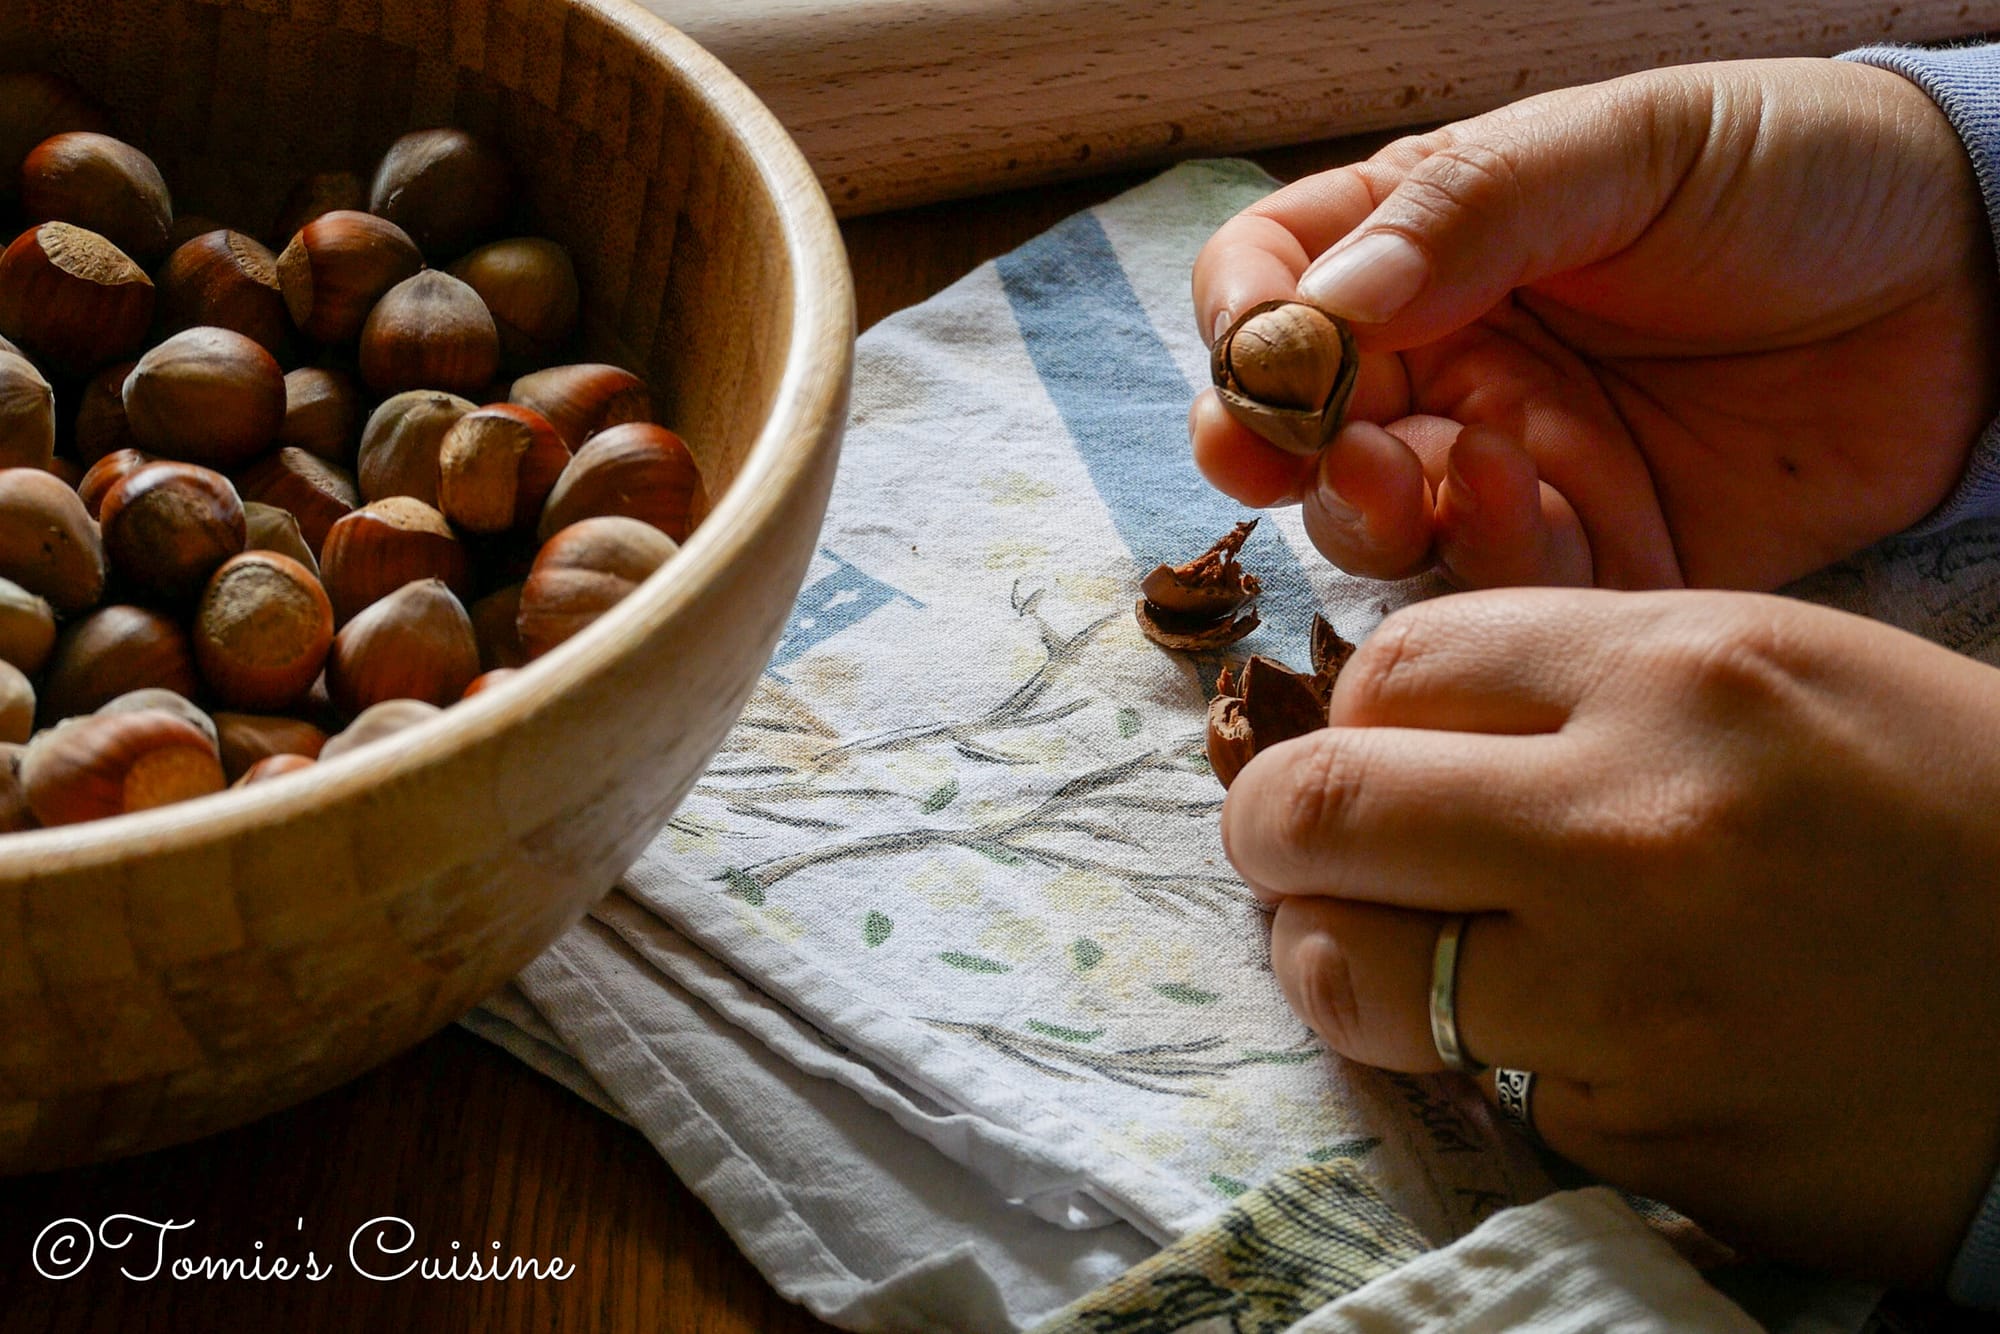
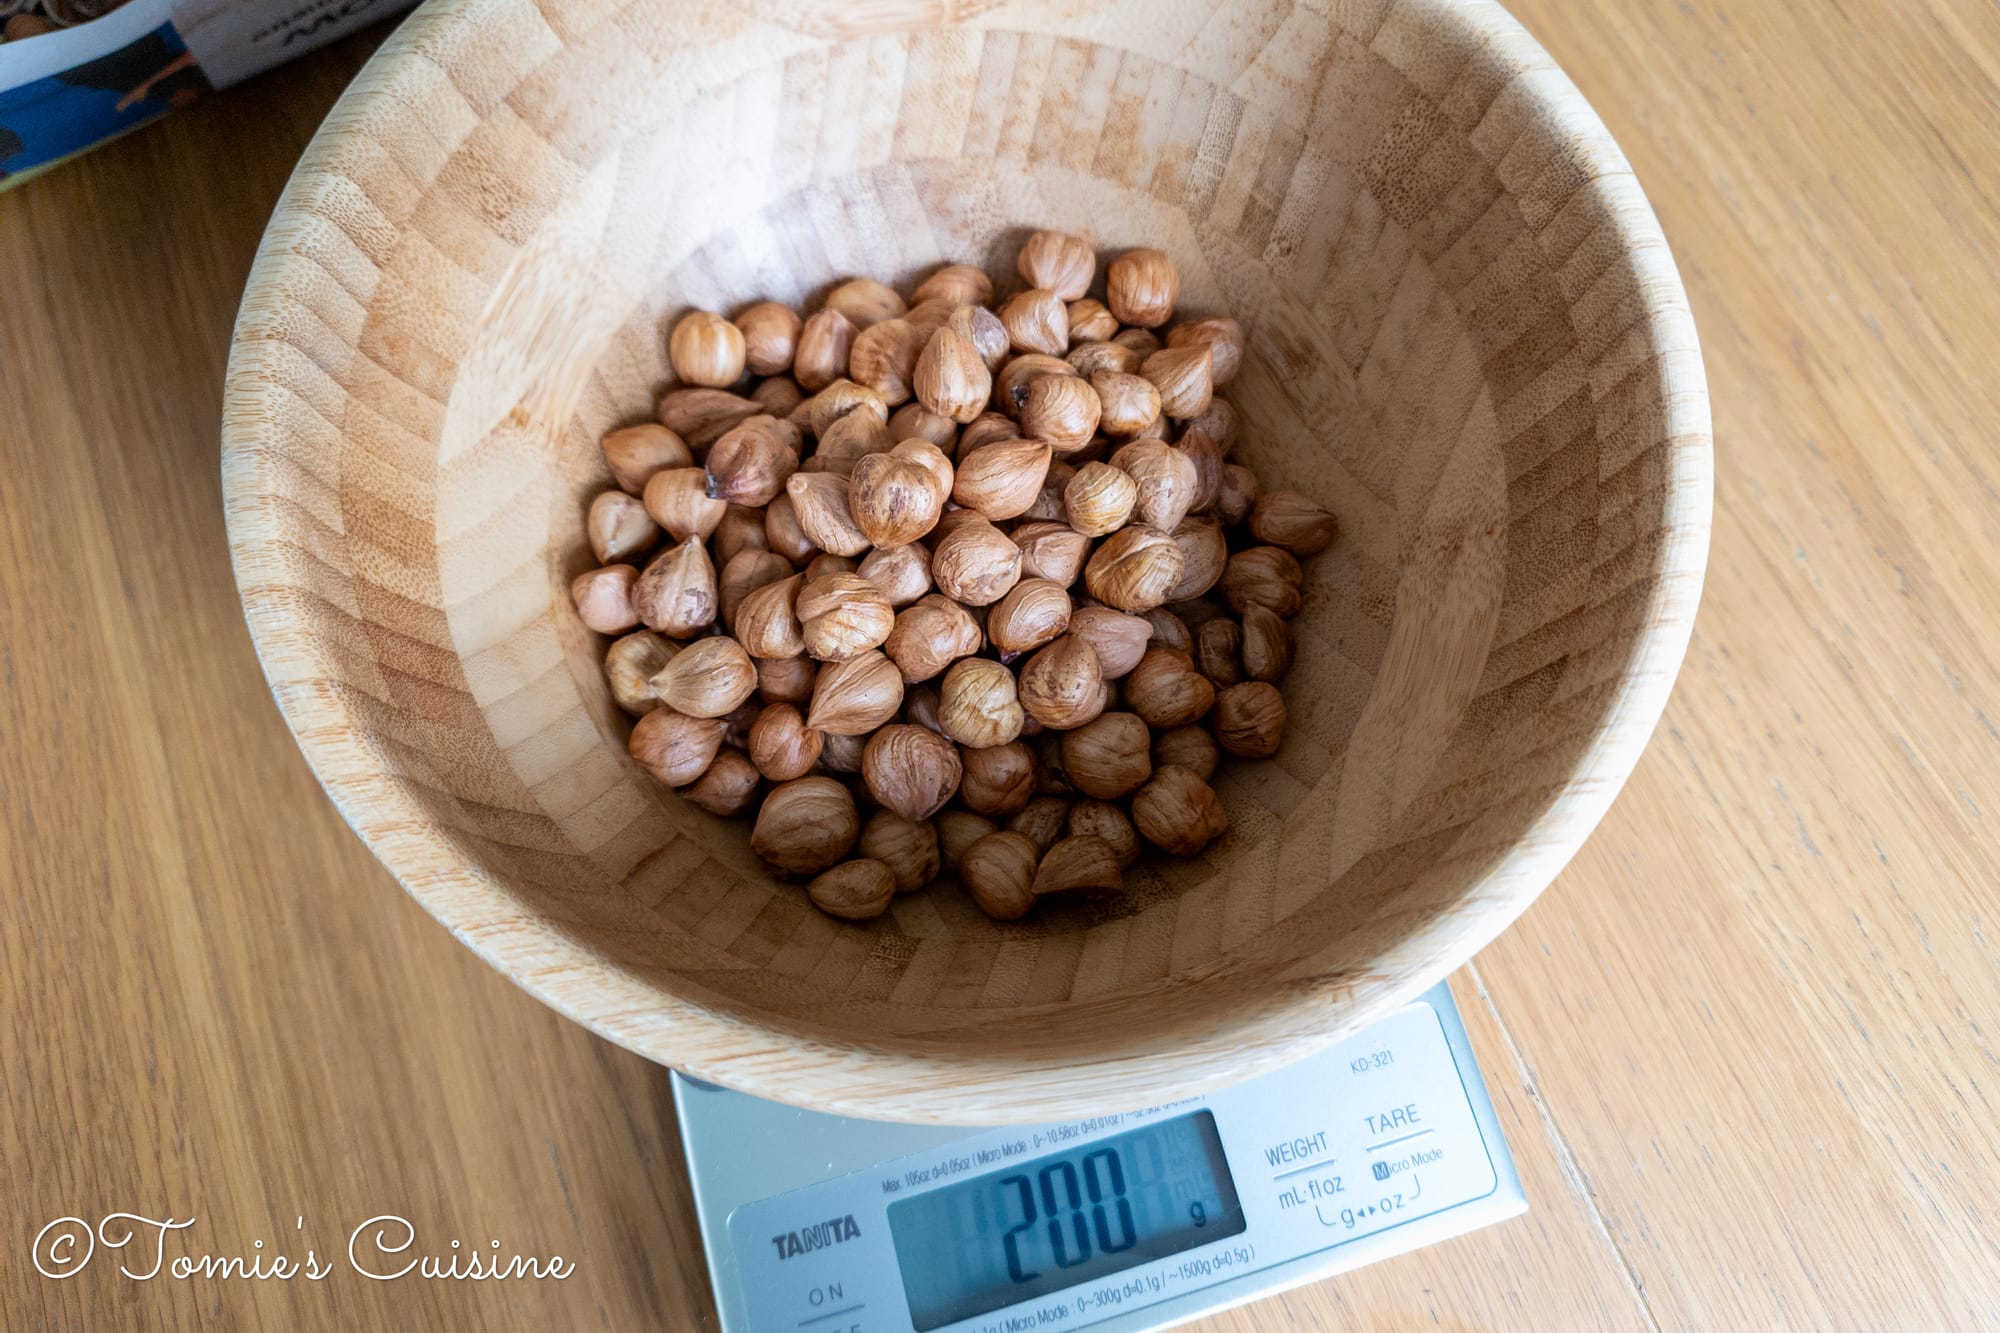
- Remove the nuts from their shells (our shells go back to the garden).
- Place the shelled hazelnuts on the baking tray and put the tray in the oven for 10 to 15 minutes.
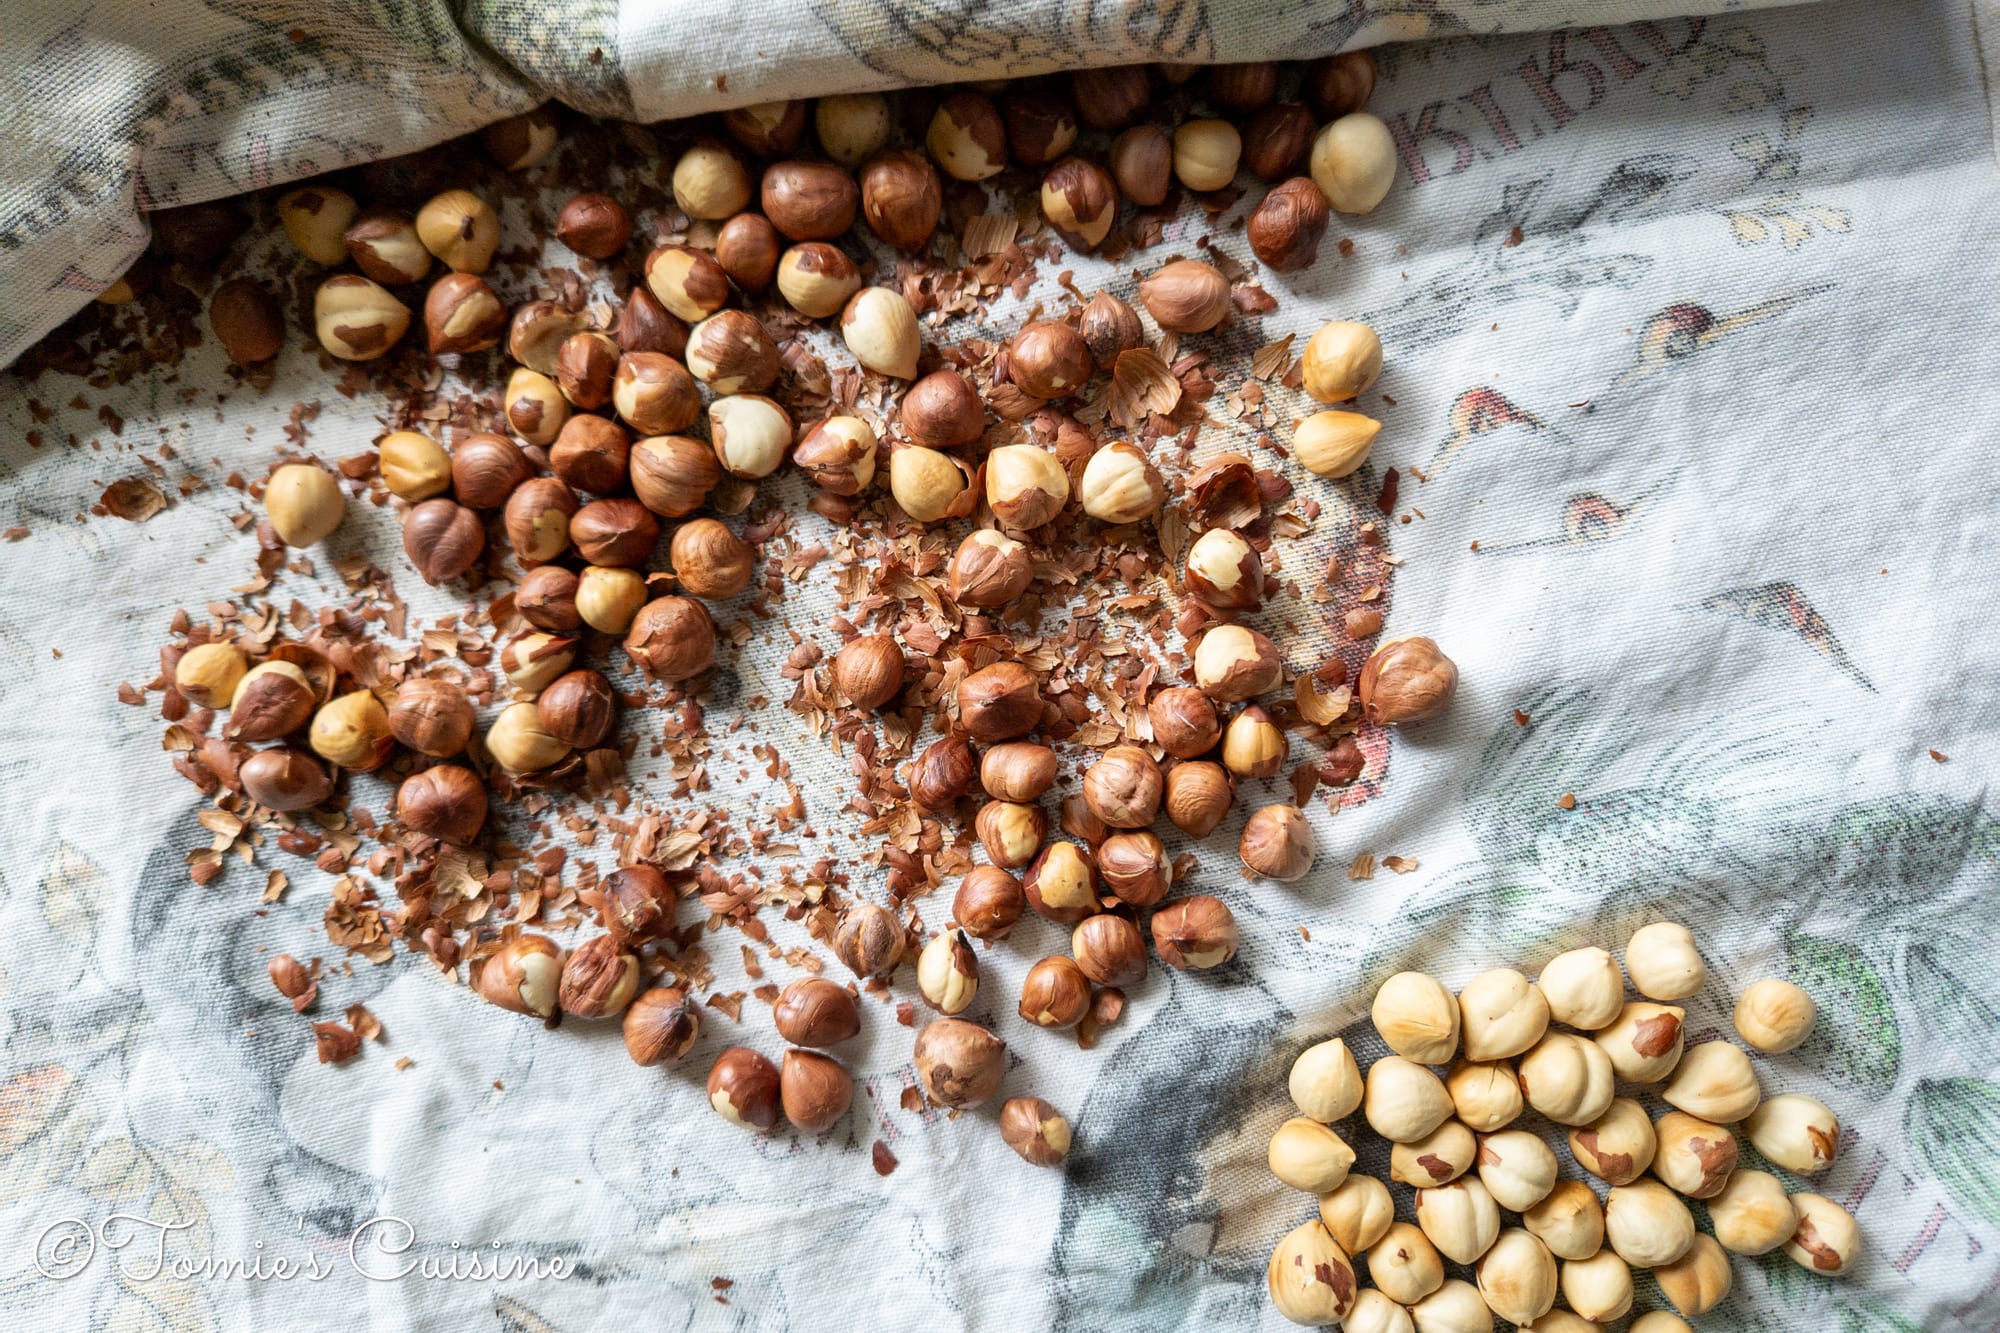
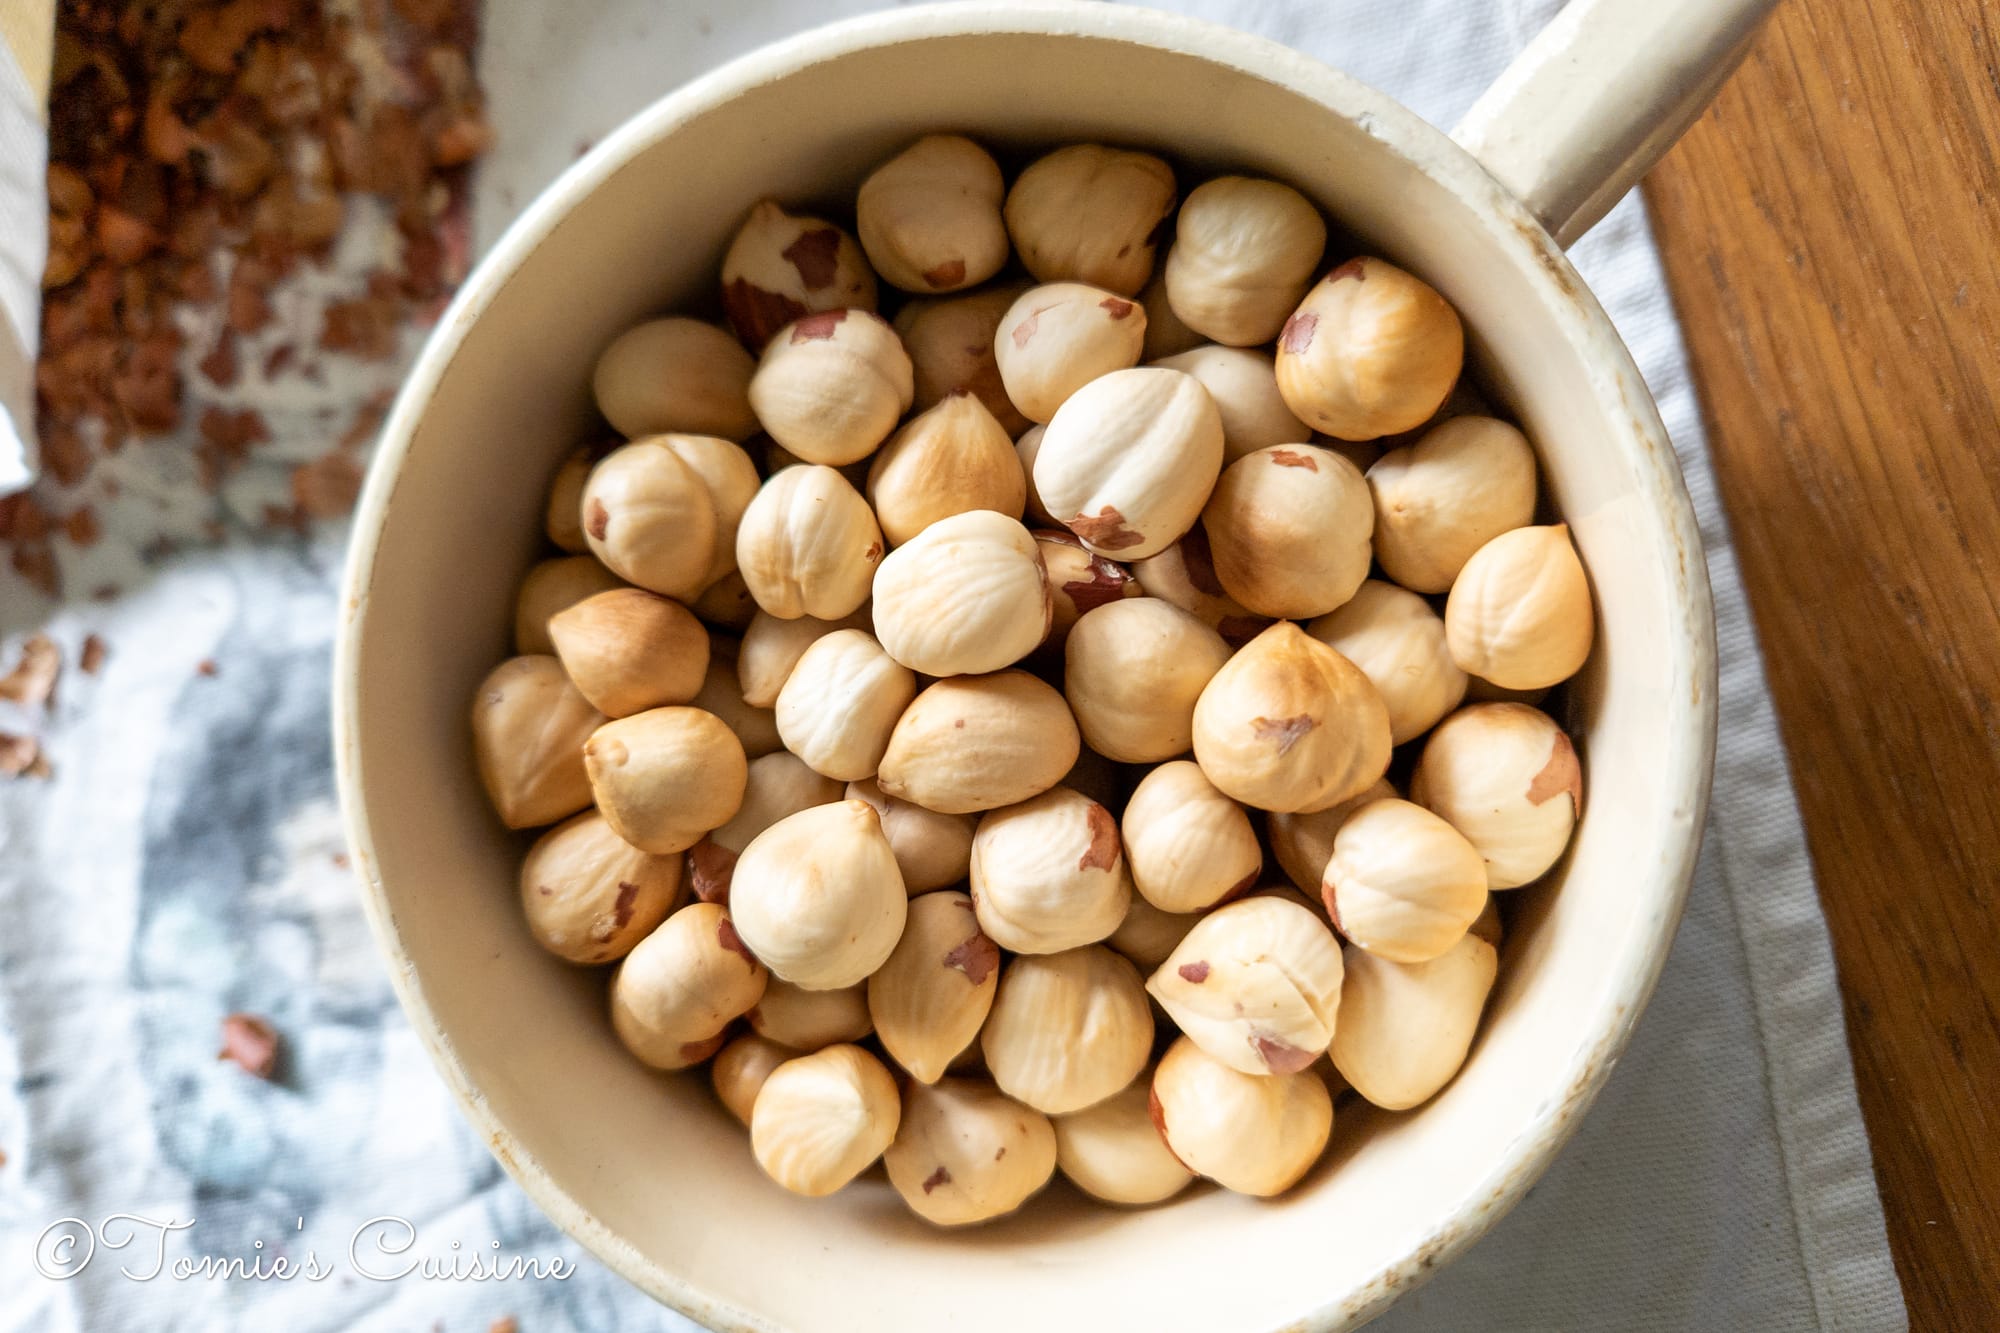
- Once they’re lightly roasted, place them on a tea towel, fold the tea towel over them, then rub to remove the skins. If they’re too hot to handle, leave them to cool down a little. Some skins are hard to come off. It’s ok to leave them on.
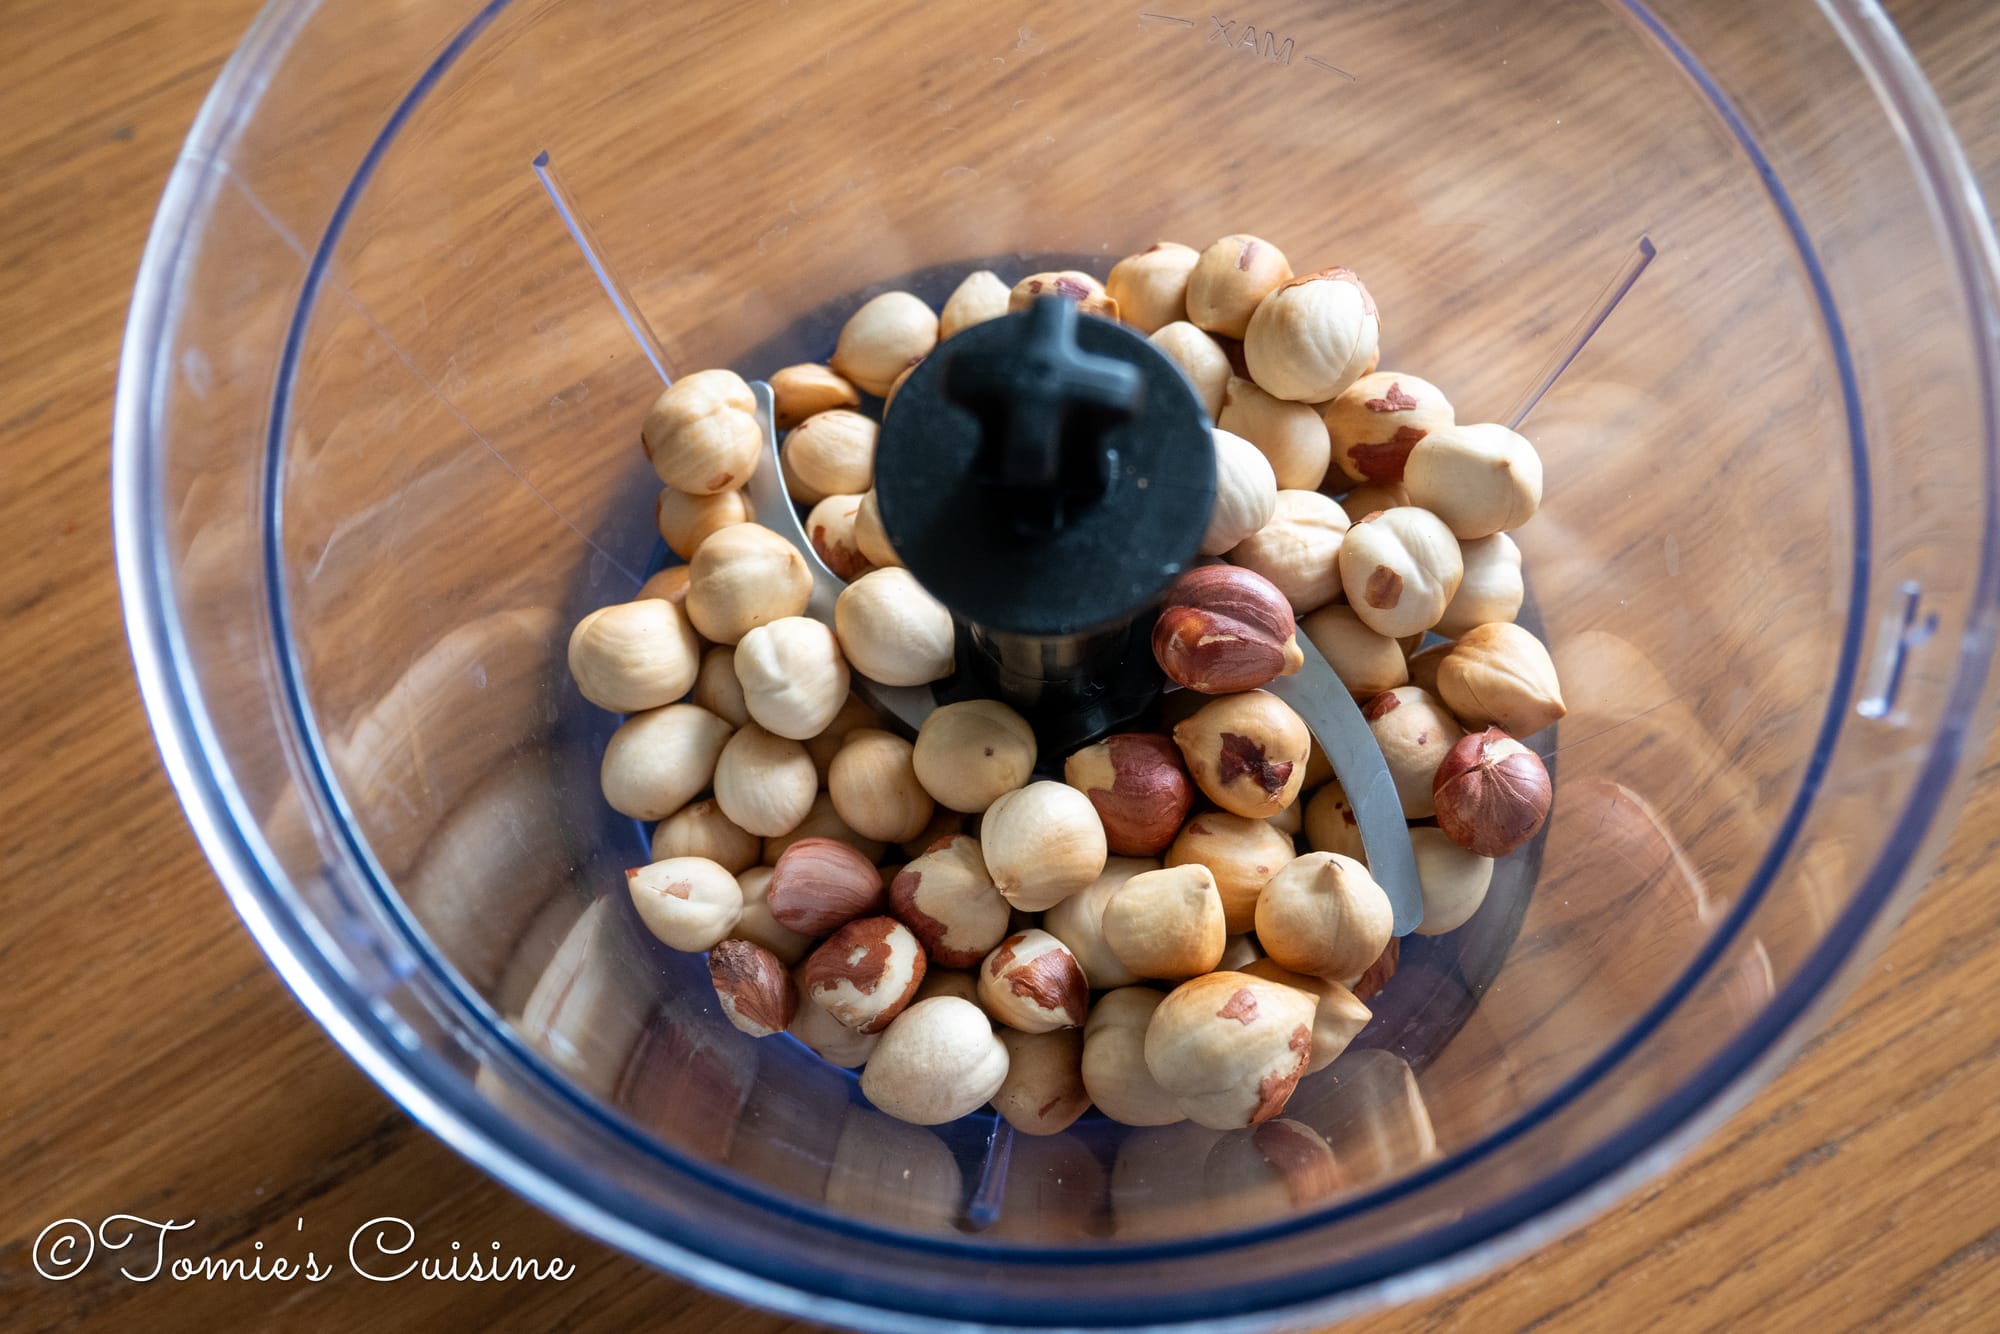
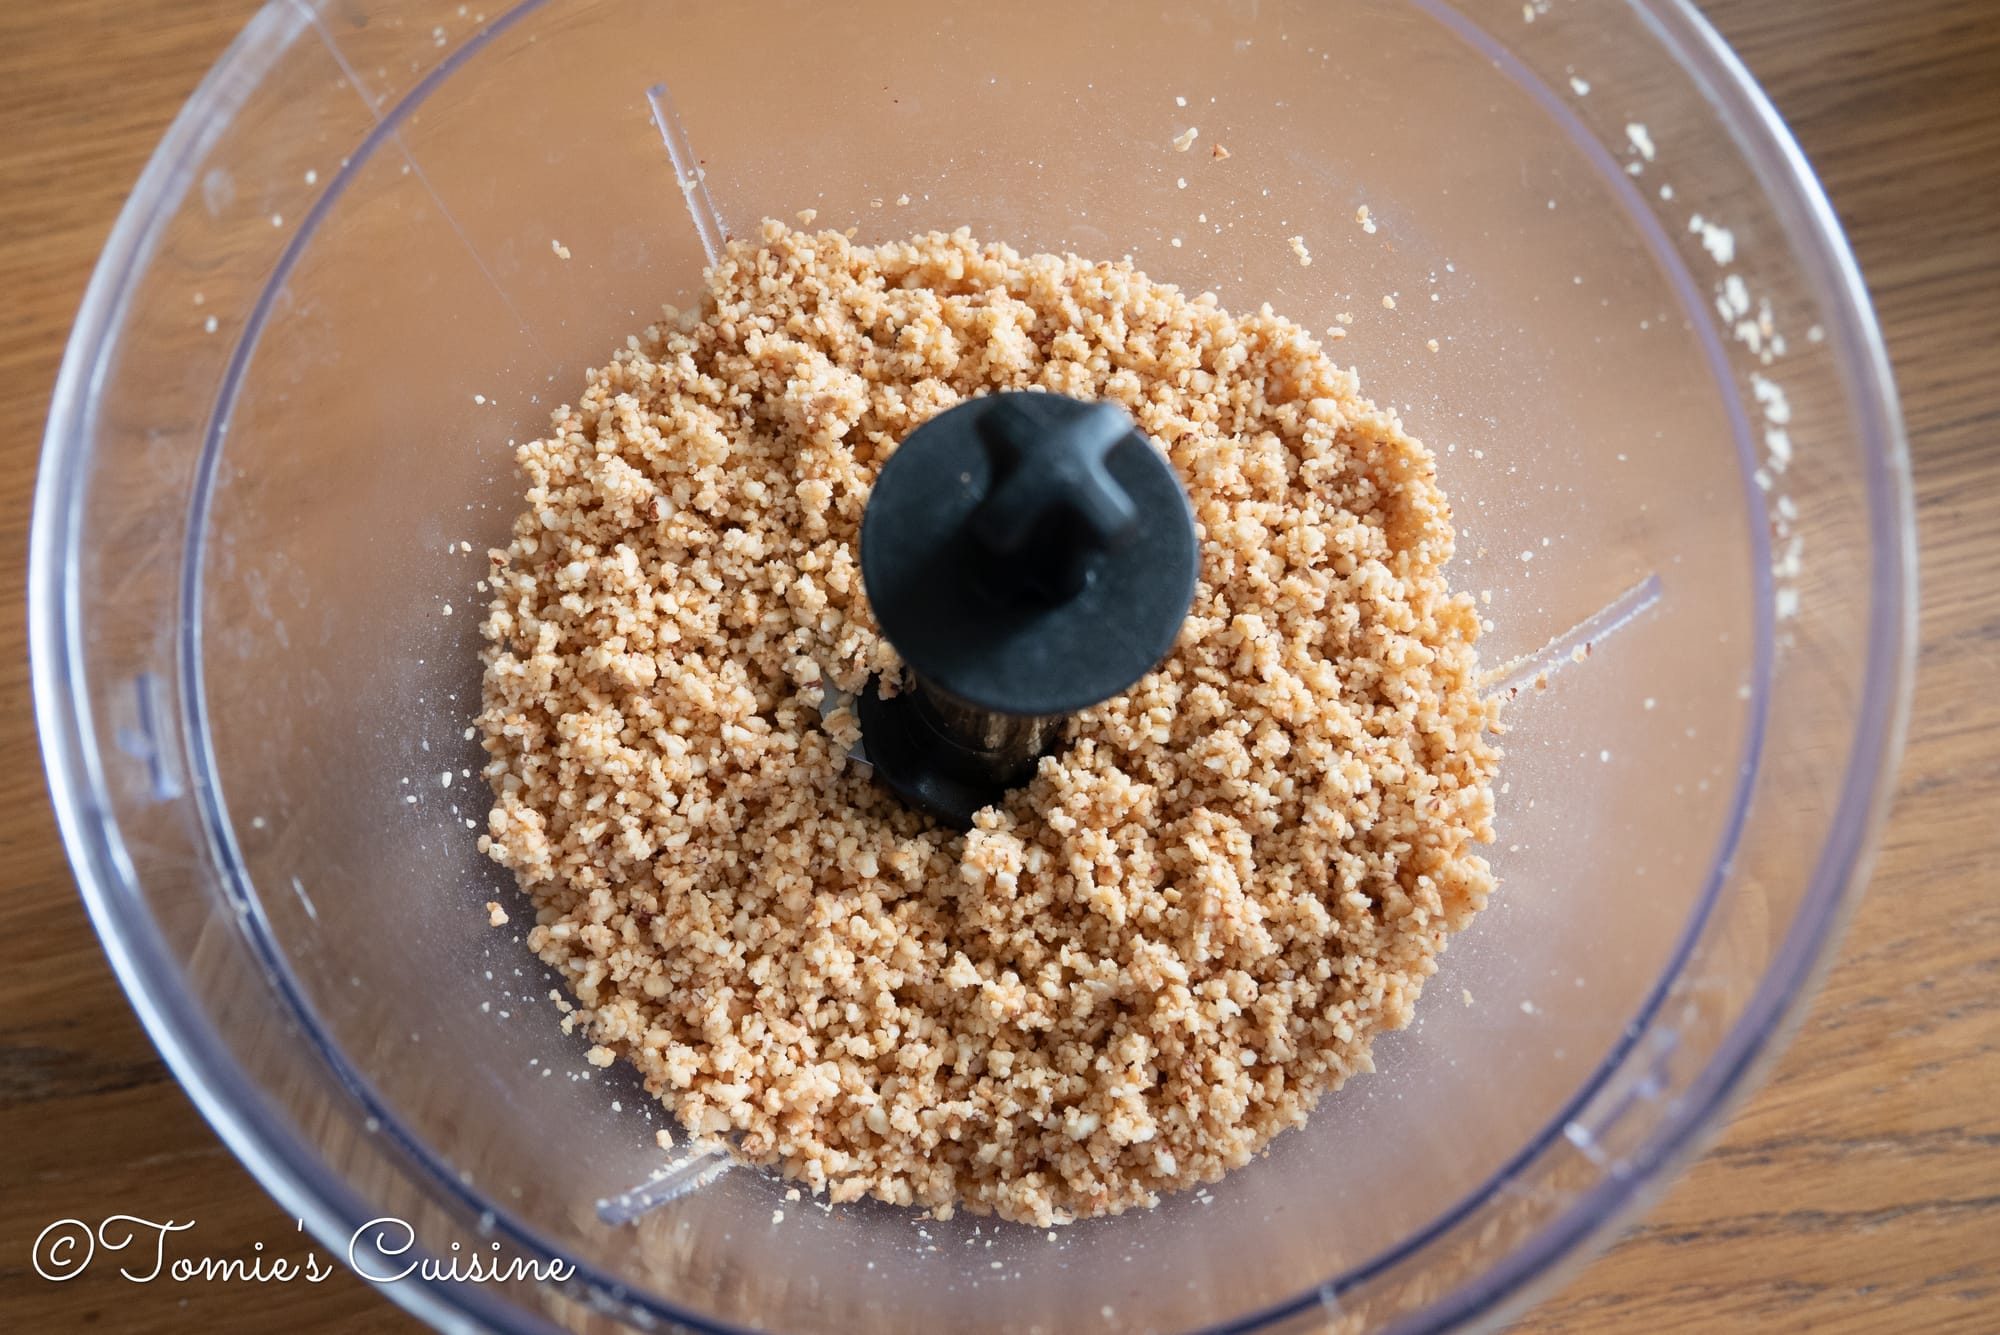
- Once the nuts have cooled down, place them in the food processor and blitz until finely ground. Do not overprocess them; otherwise, you will end up with hazelnut butter.
Tart case (can be prepared 1 to 2 days in advance)
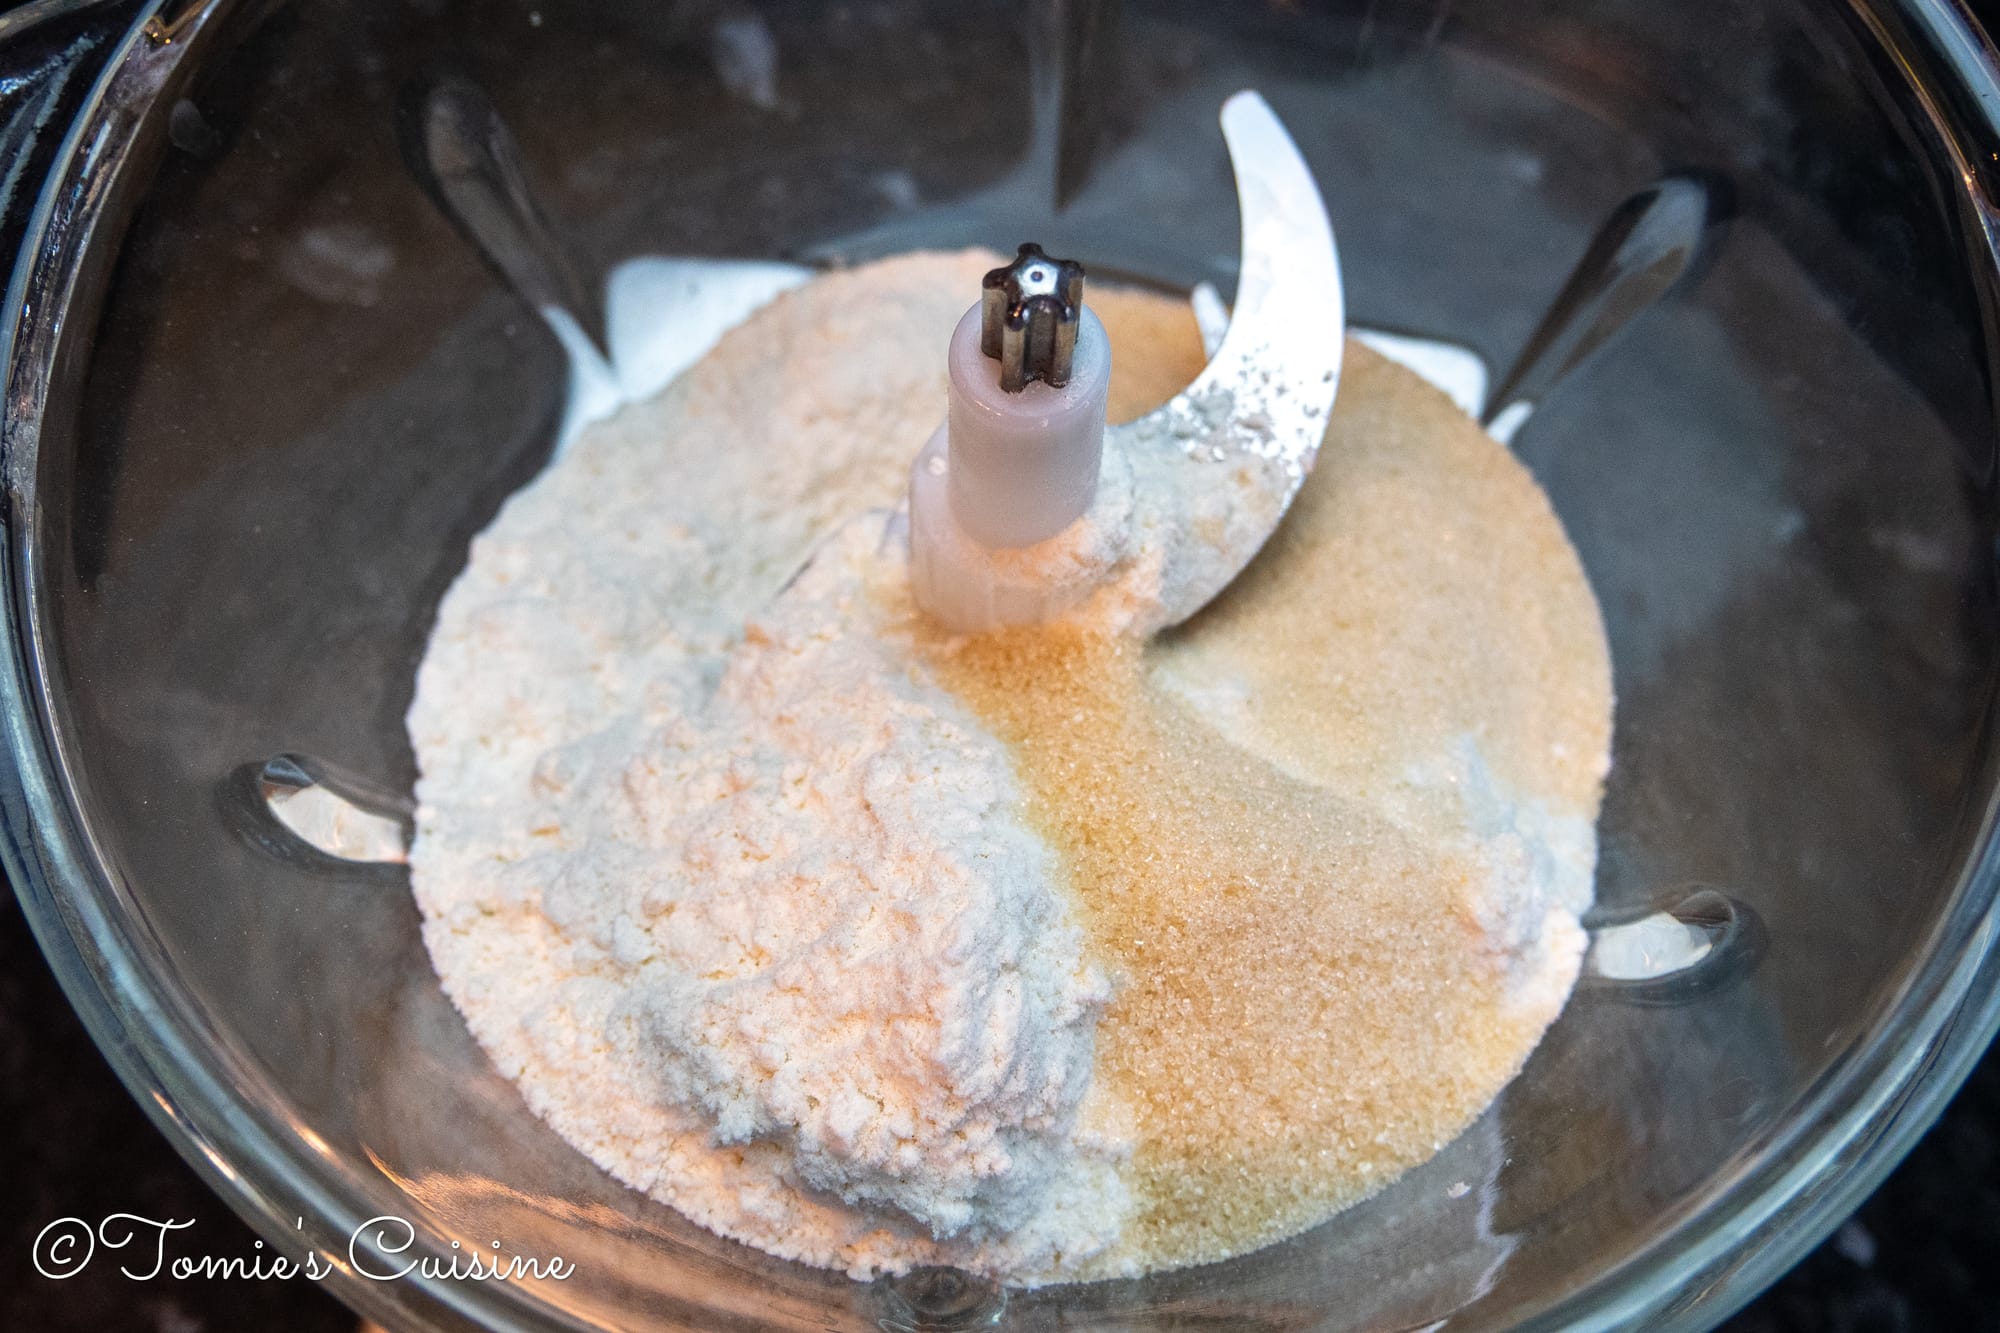
- Place the plain flour and caster sugar in the food processor to combine. If you don’t have one, place them in a large bowl and combine.
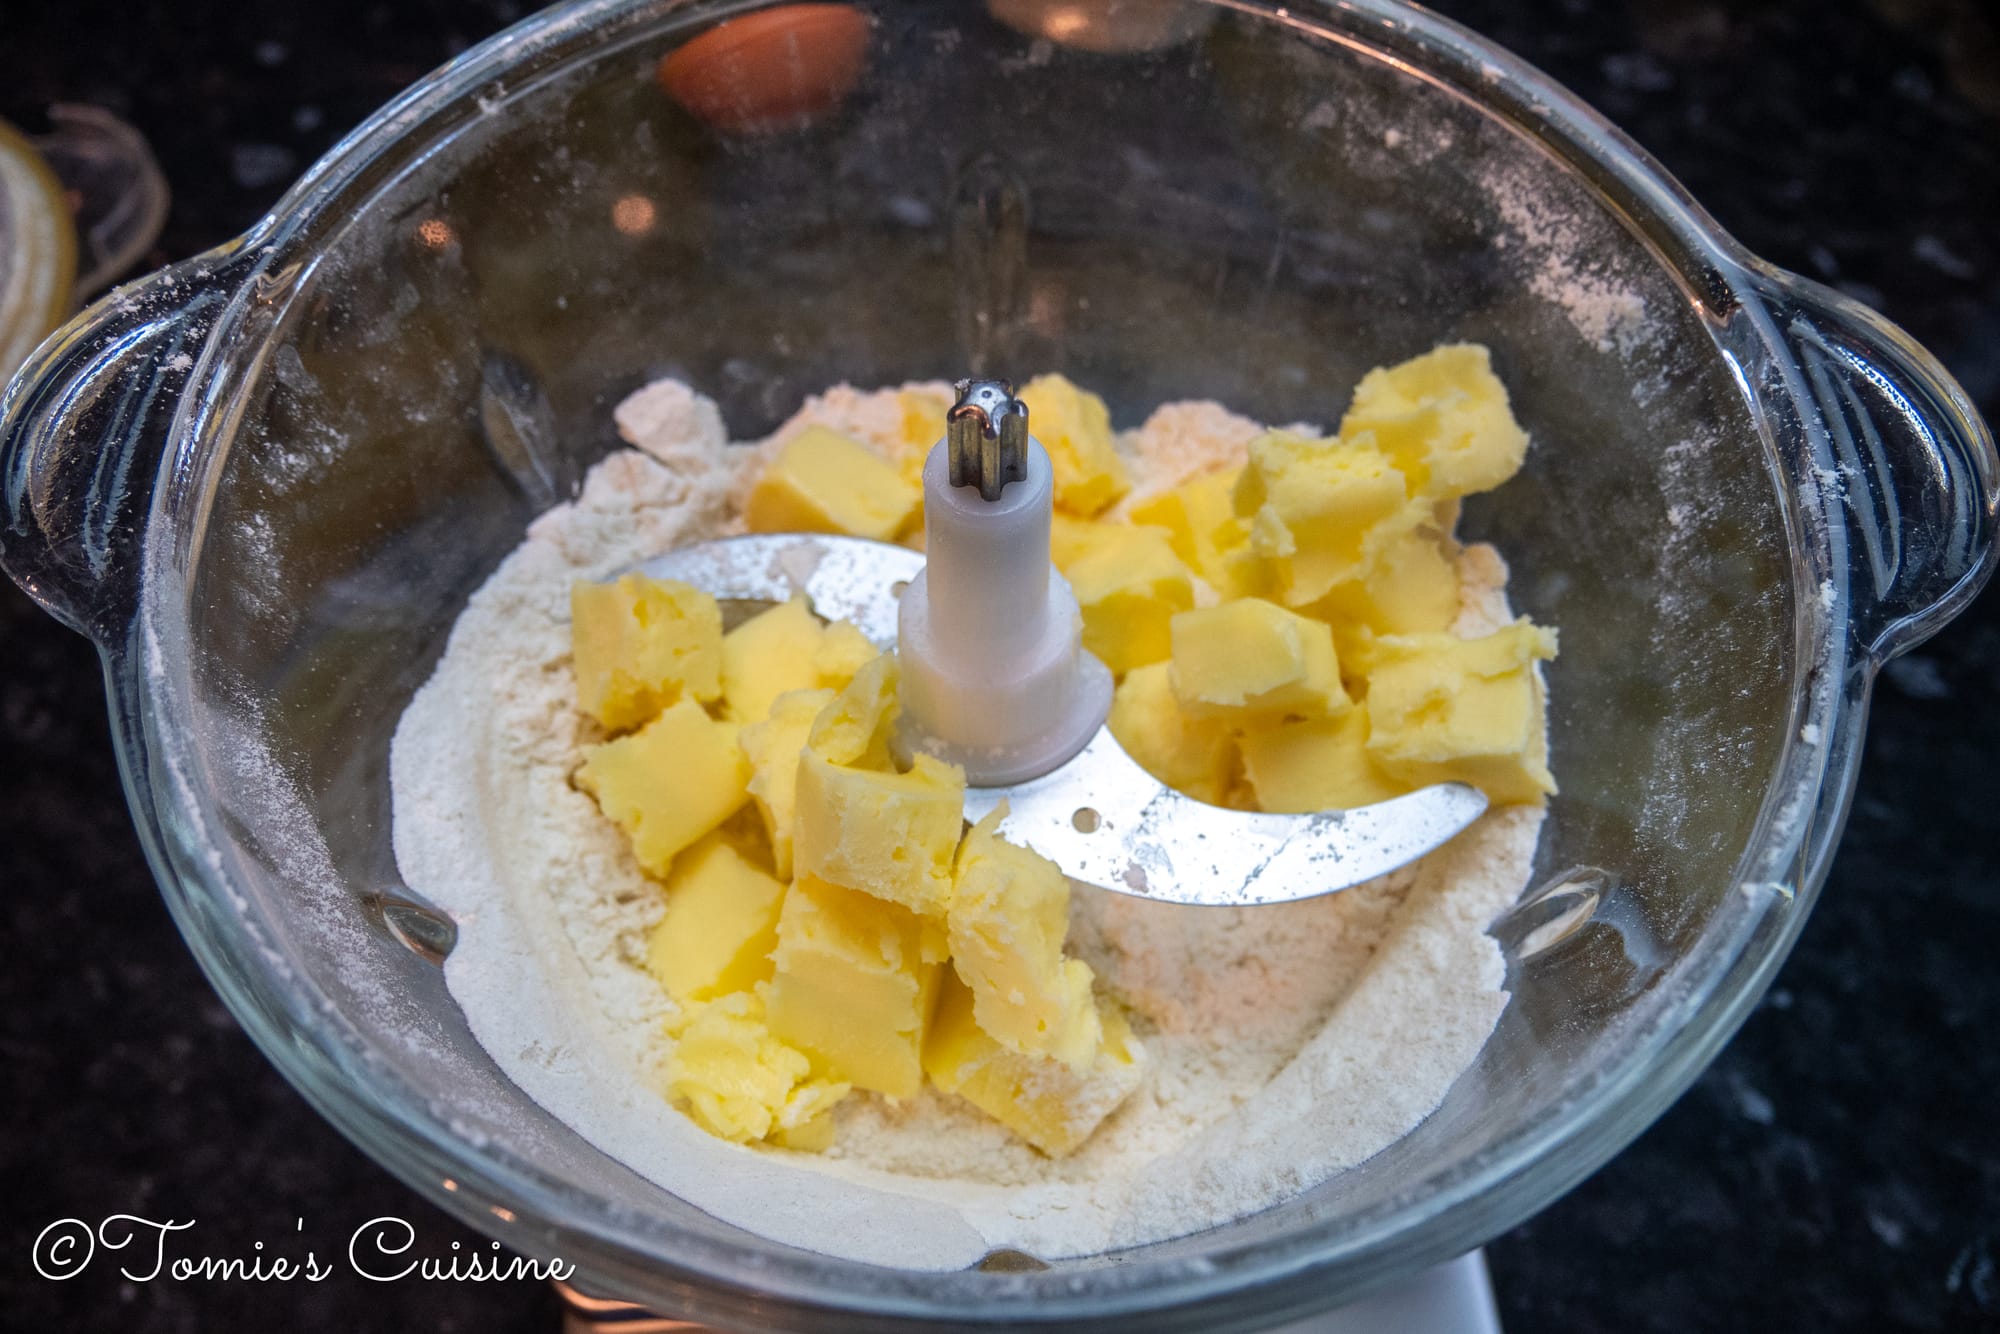
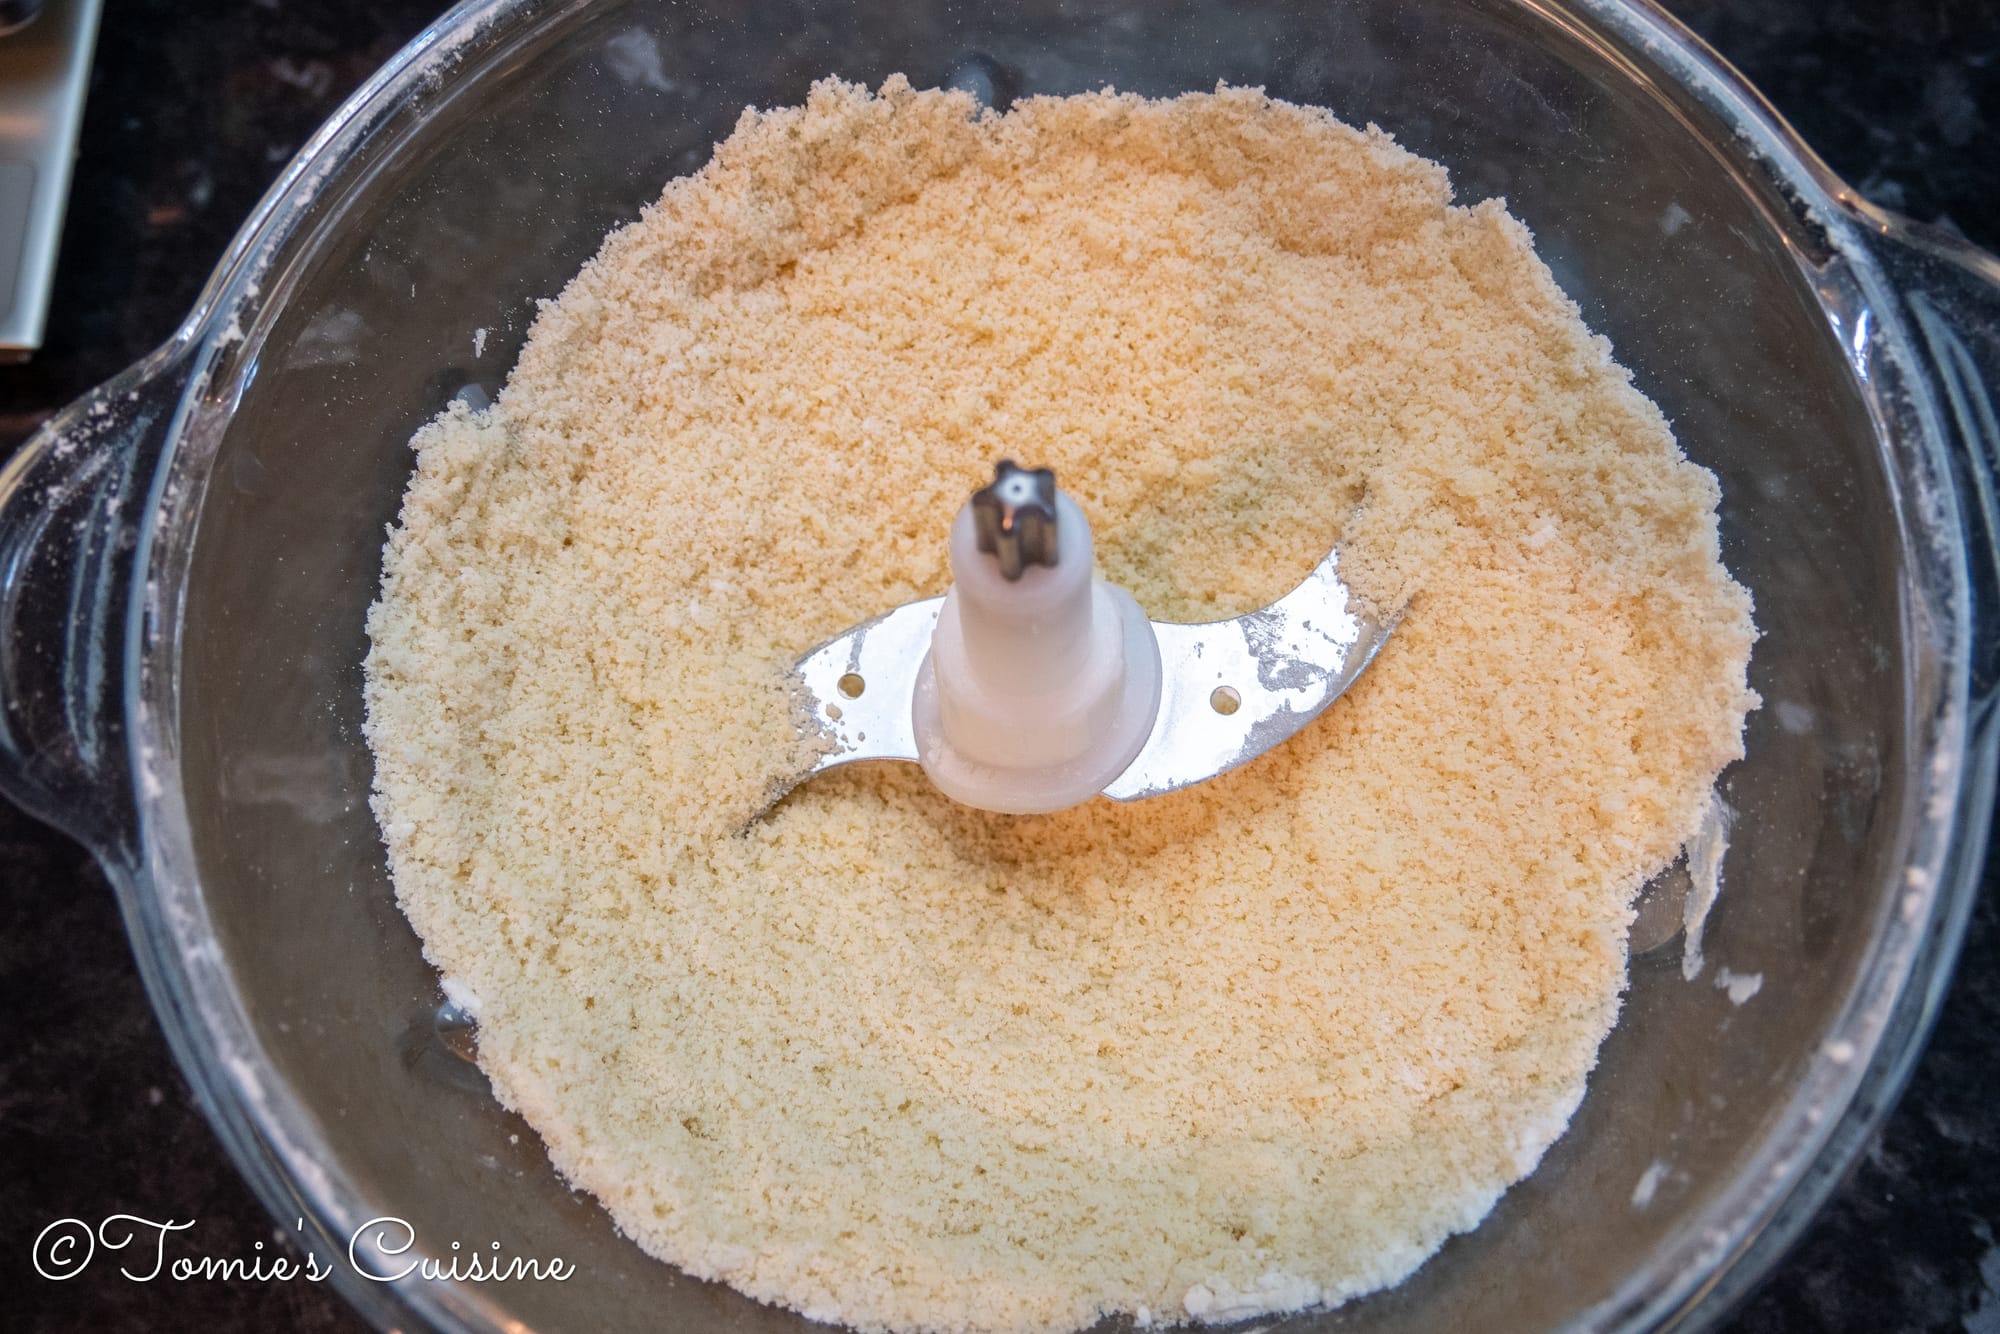
- Add the butter, then combine until you get a sandy consistency. If you are using a bowl, rub the butter into the flour and sugar mixture, as you would when making crumble.
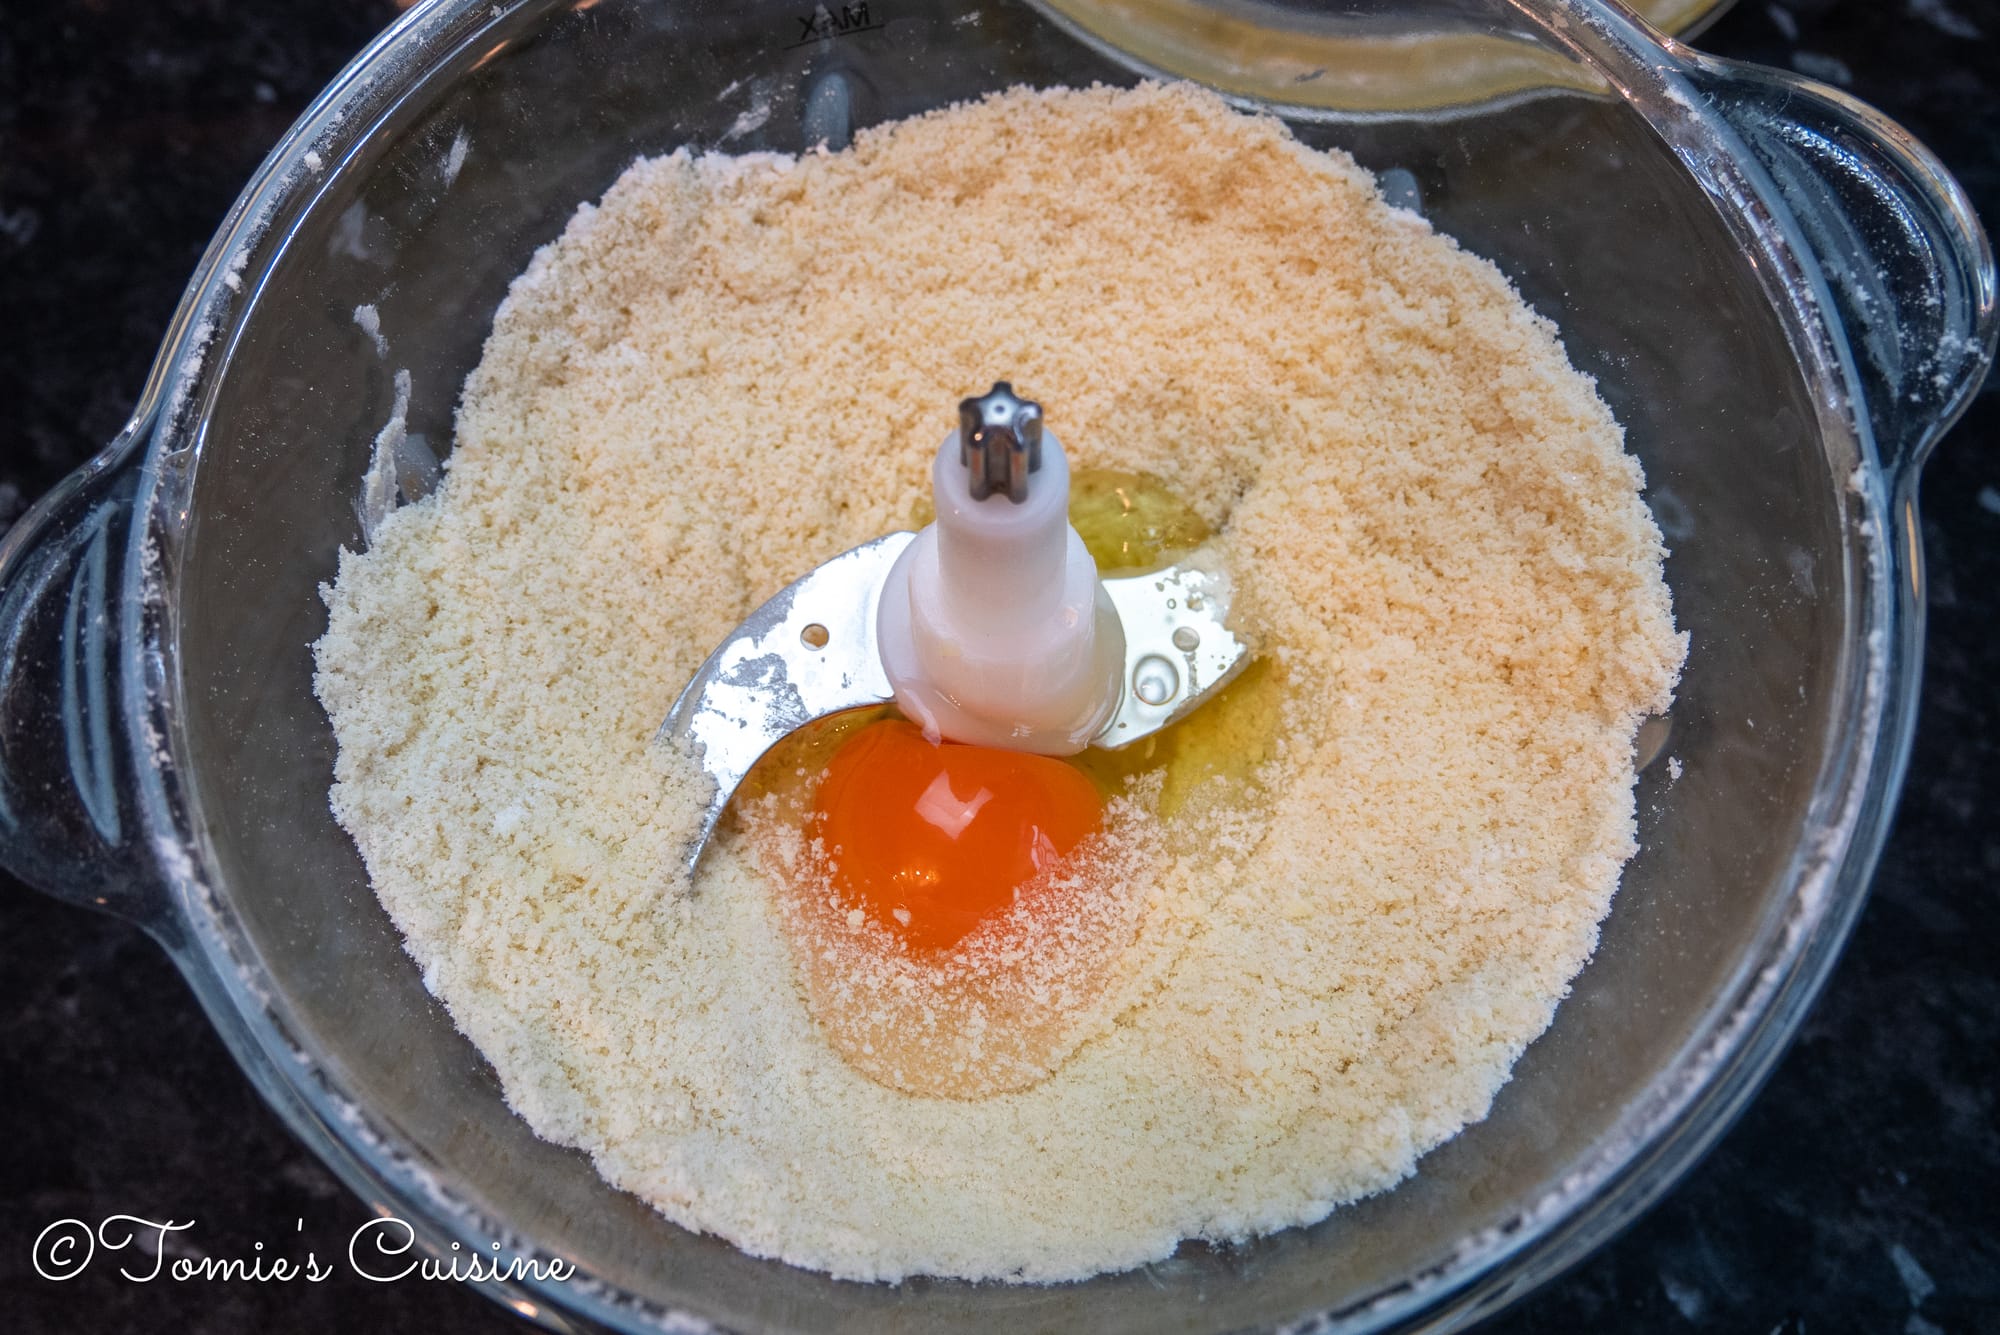
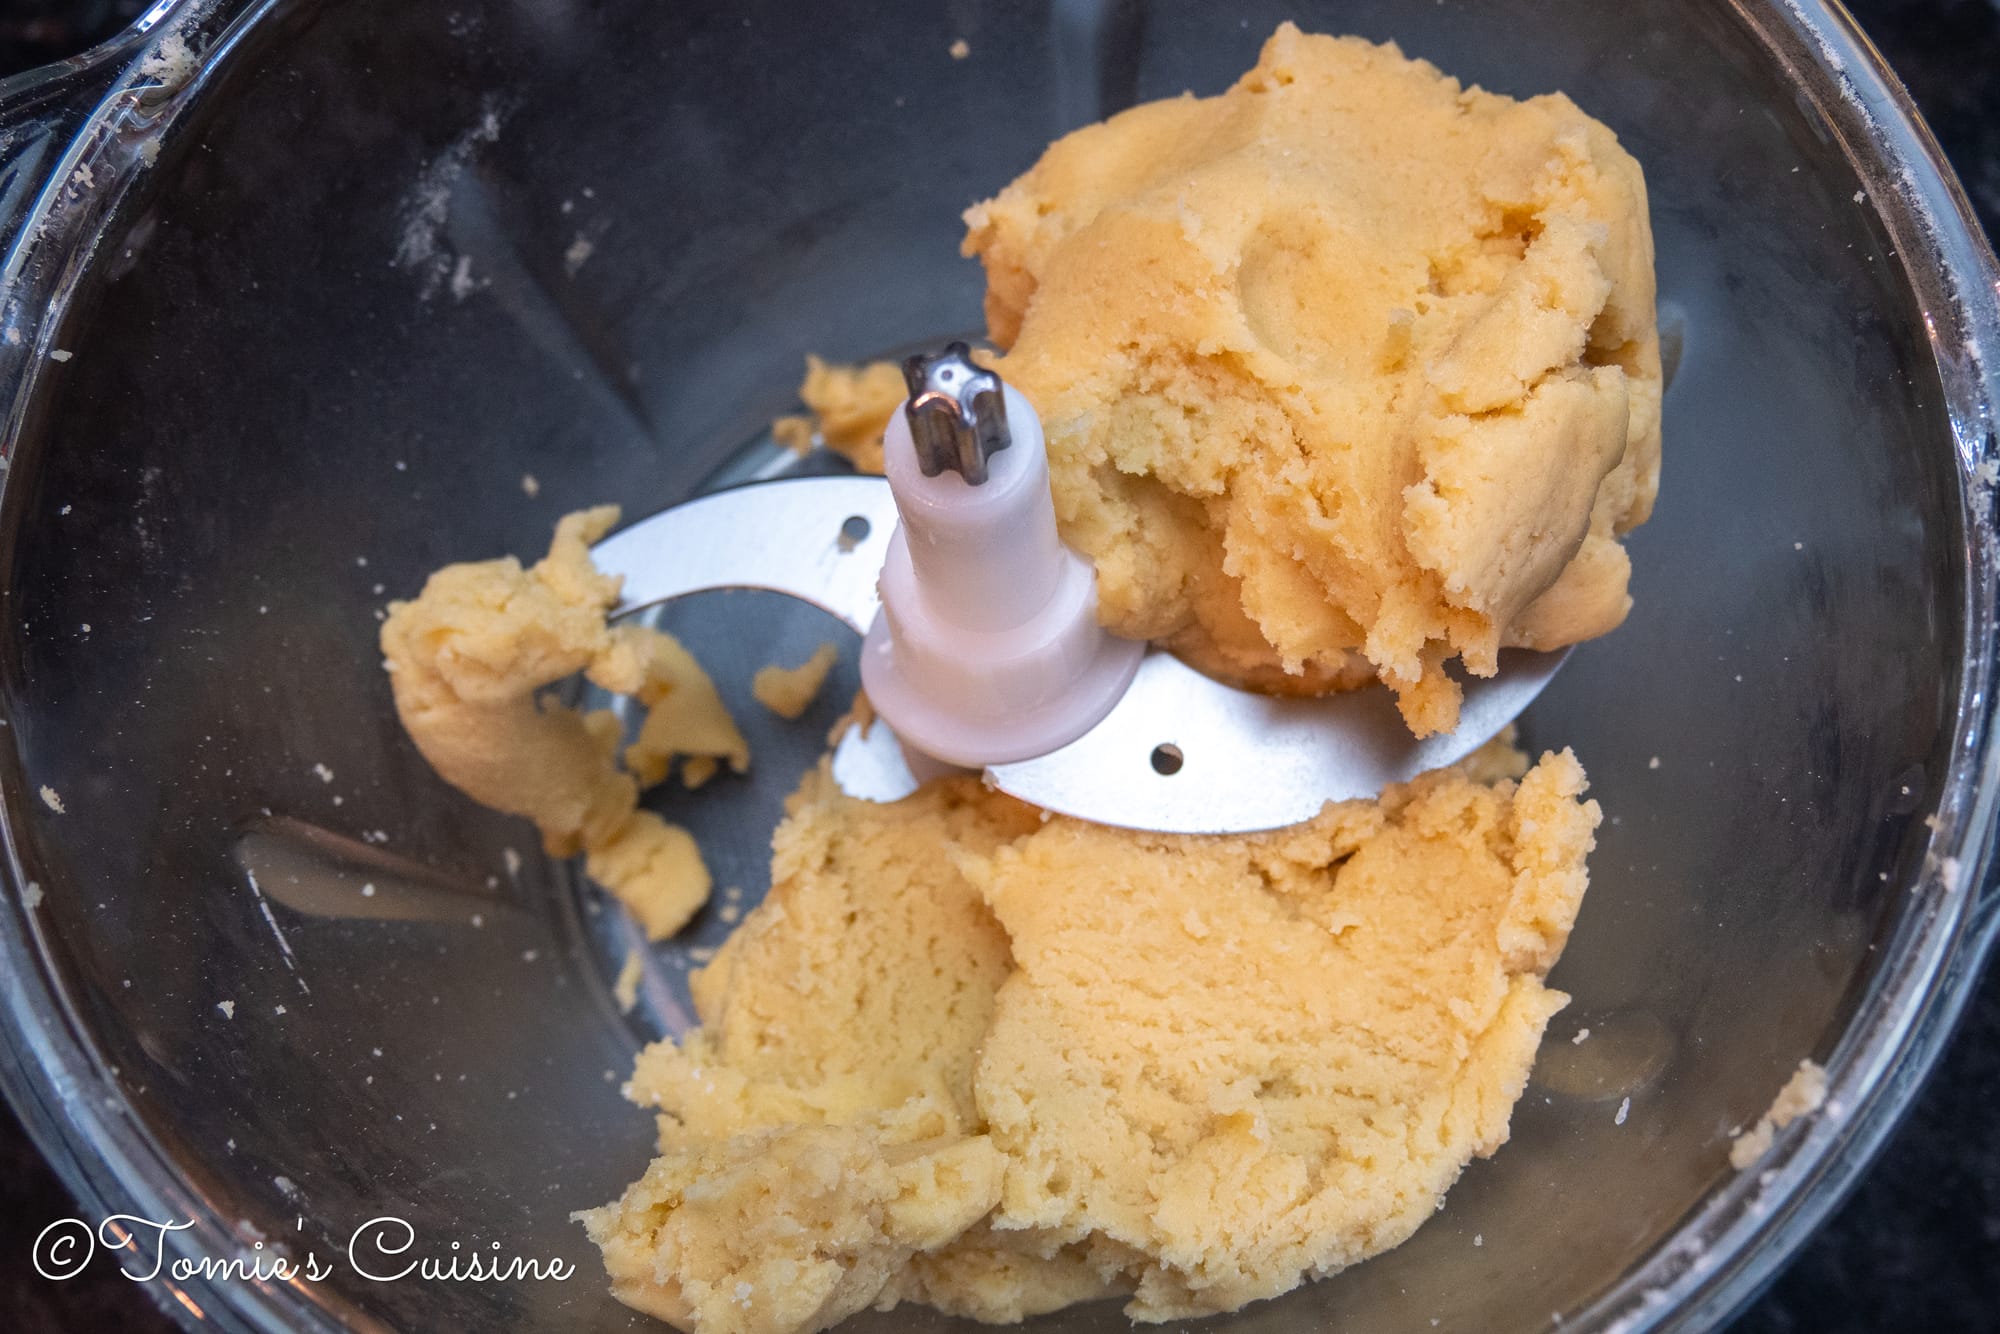
- Add the egg and pulse until the mixture just comes together. Do not overwork it. If you are using your hands, whisking the egg in advance makes it easier to combine the mixture.
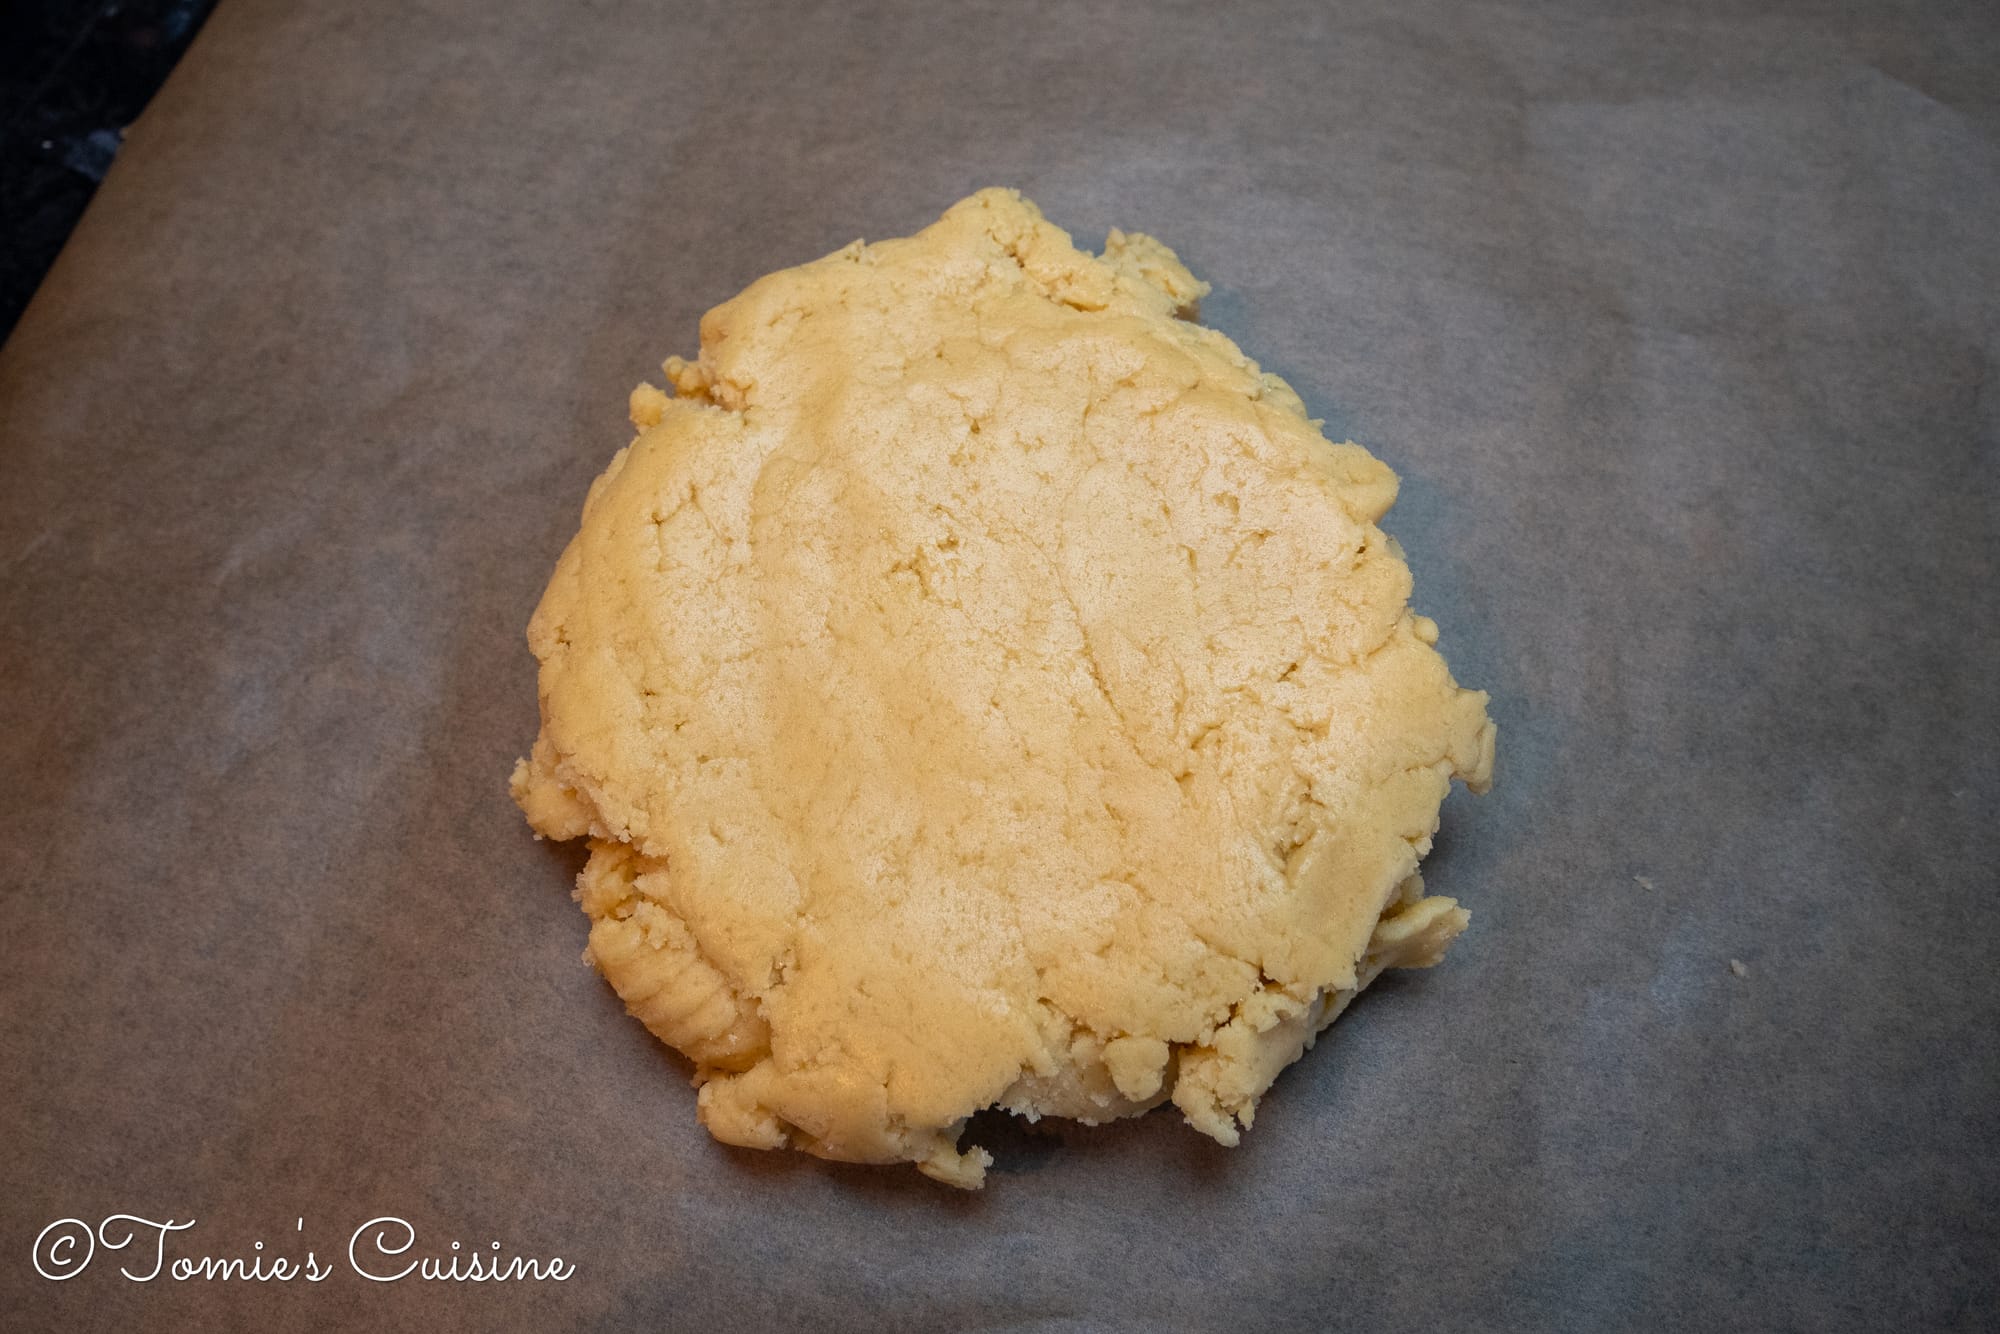
- Once the dough is ready, place it on parchment paper, press it gently into a flat disc, wrap it, then rest it in the fridge for at least 30 minutes.
- Take the dough out of the fridge and sprinkle some plain flour on your work surface, the dough and the rolling pin to prevent sticking.
- Roll out the dough evenly to about the thickness of a pound coin (roughly 3mm).
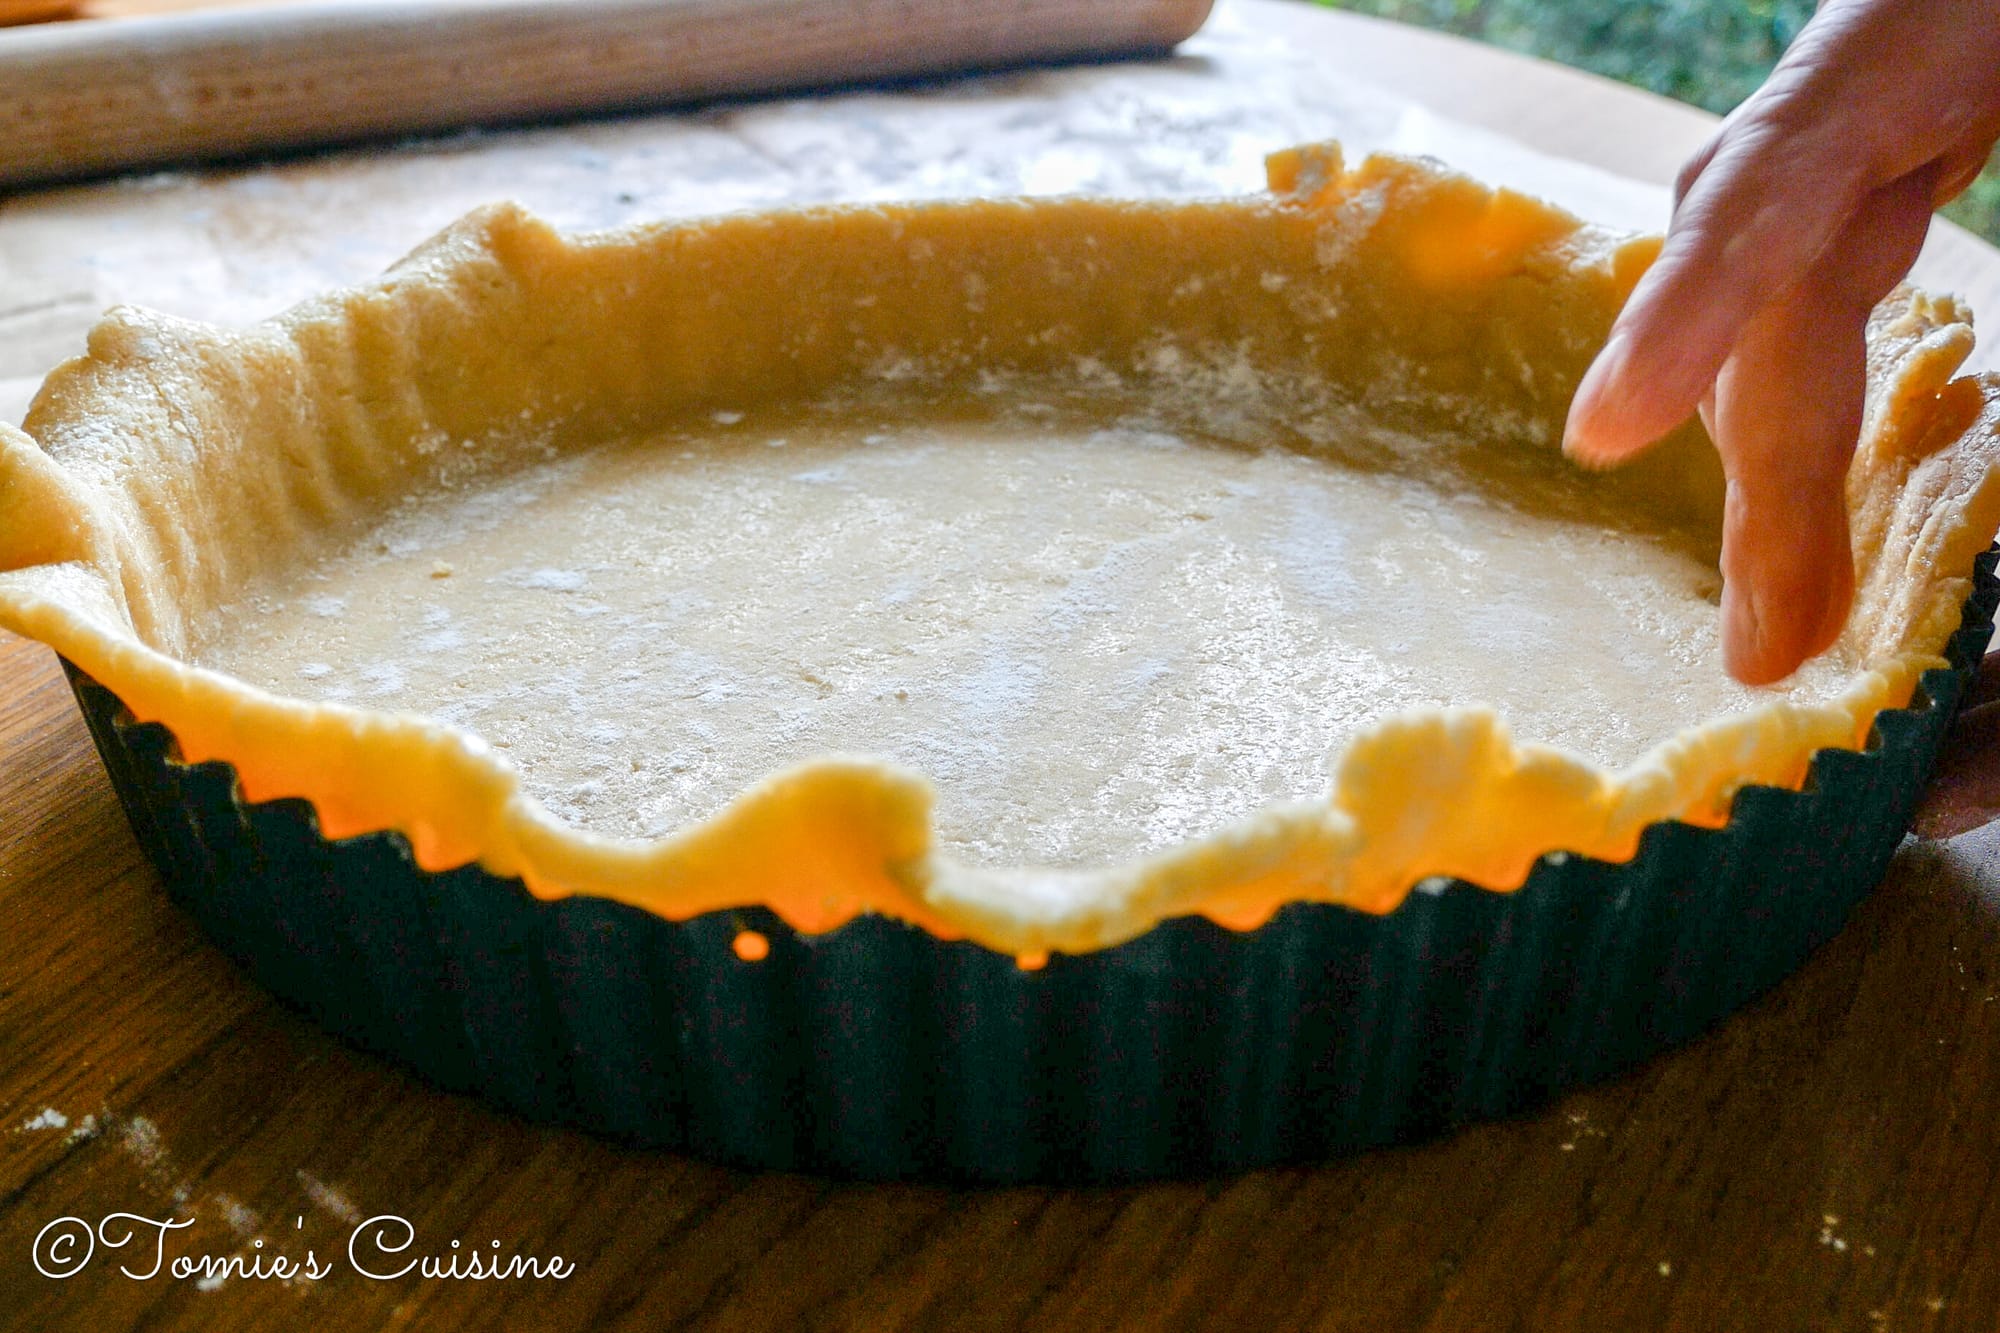
- Gently place the dough in the tart tin, pressing it into the corners so as not to trap any air bubbles between the tin and the dough.
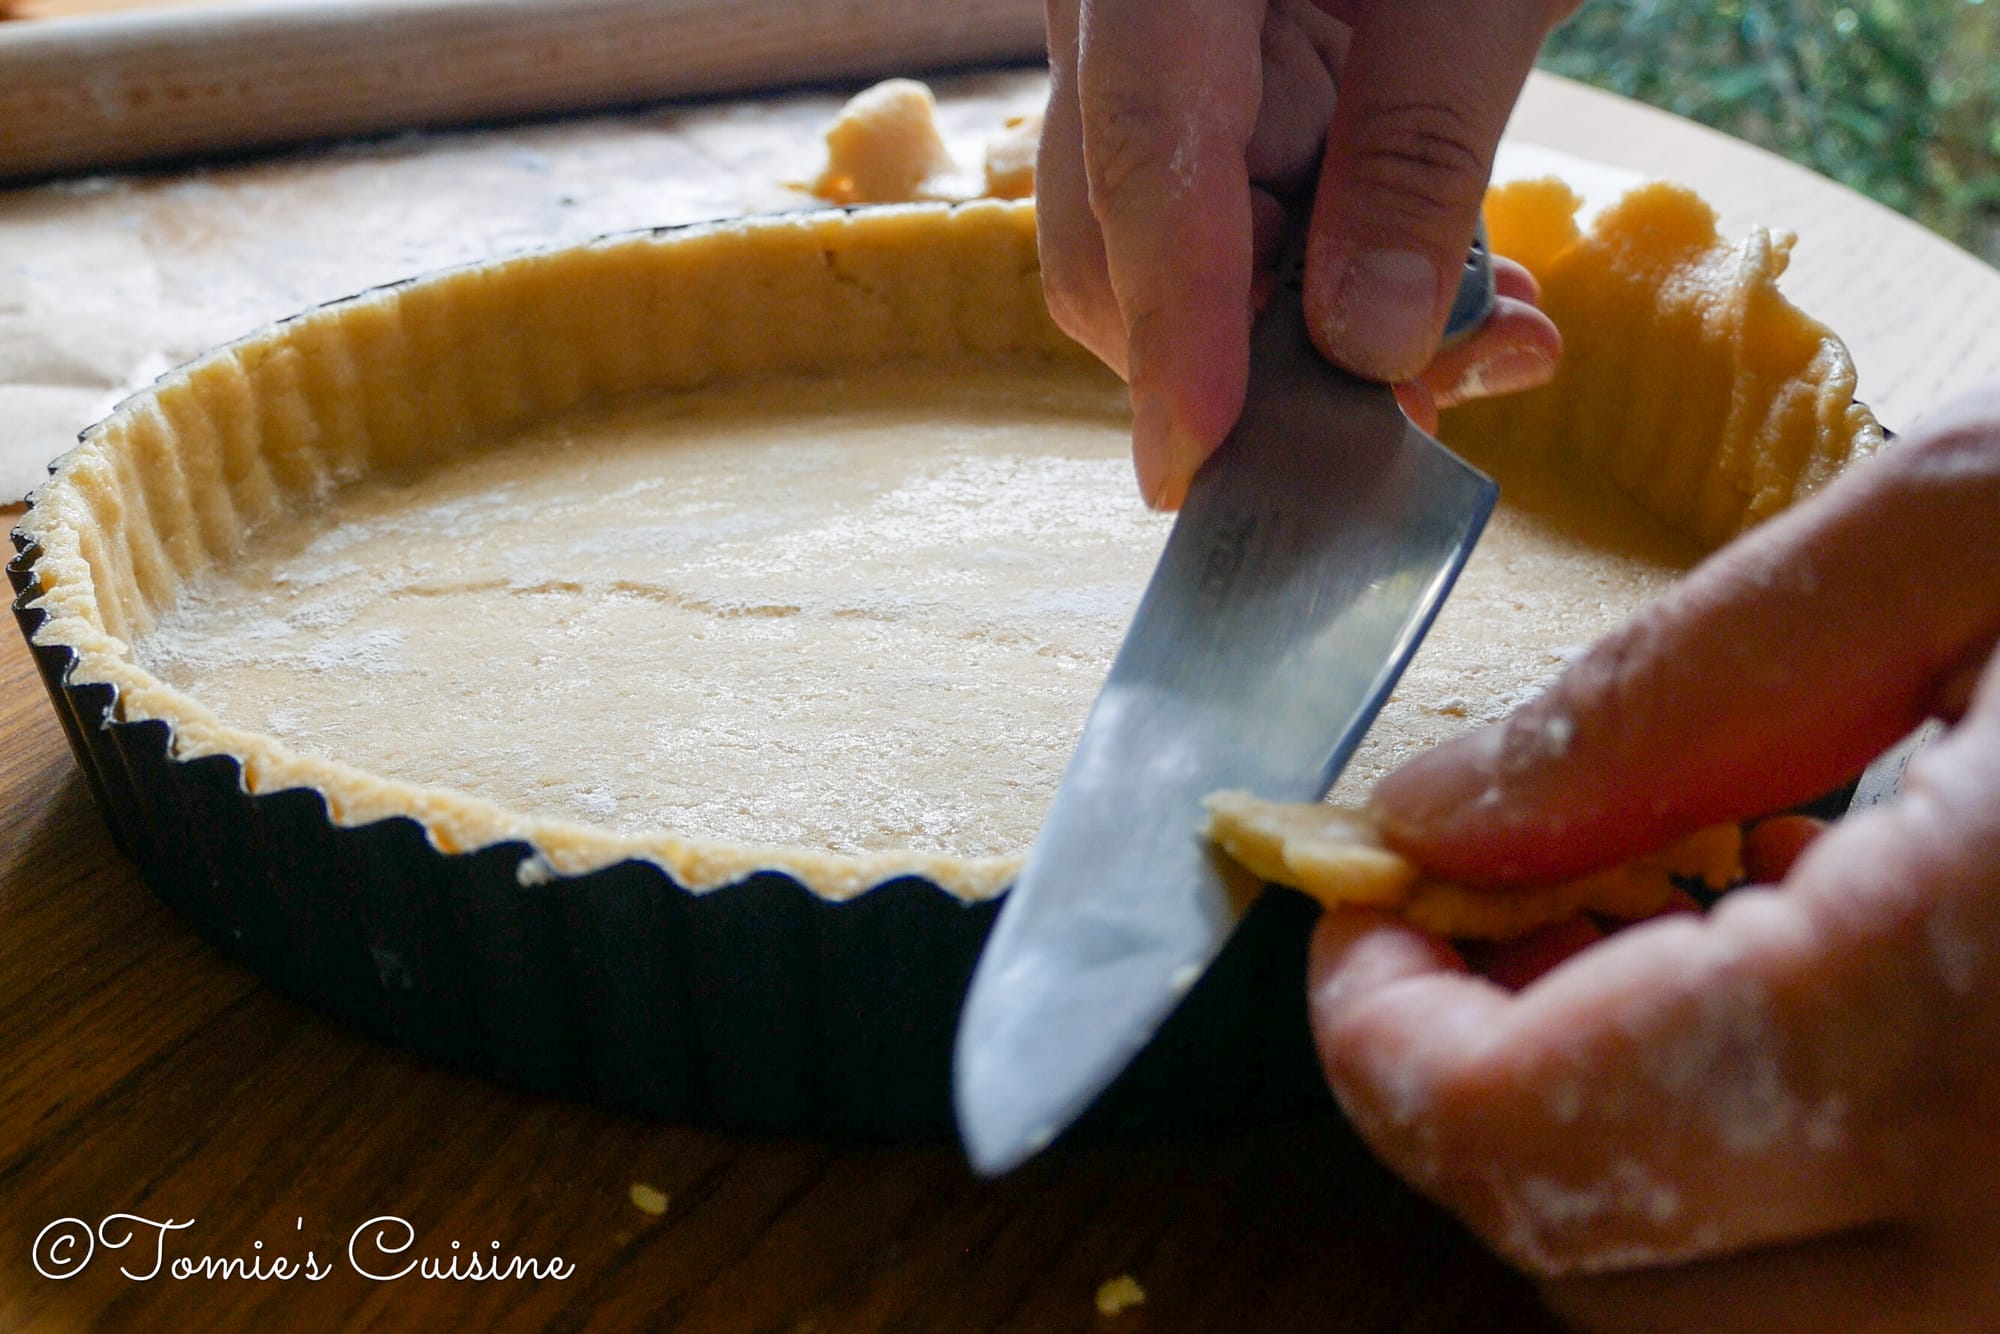
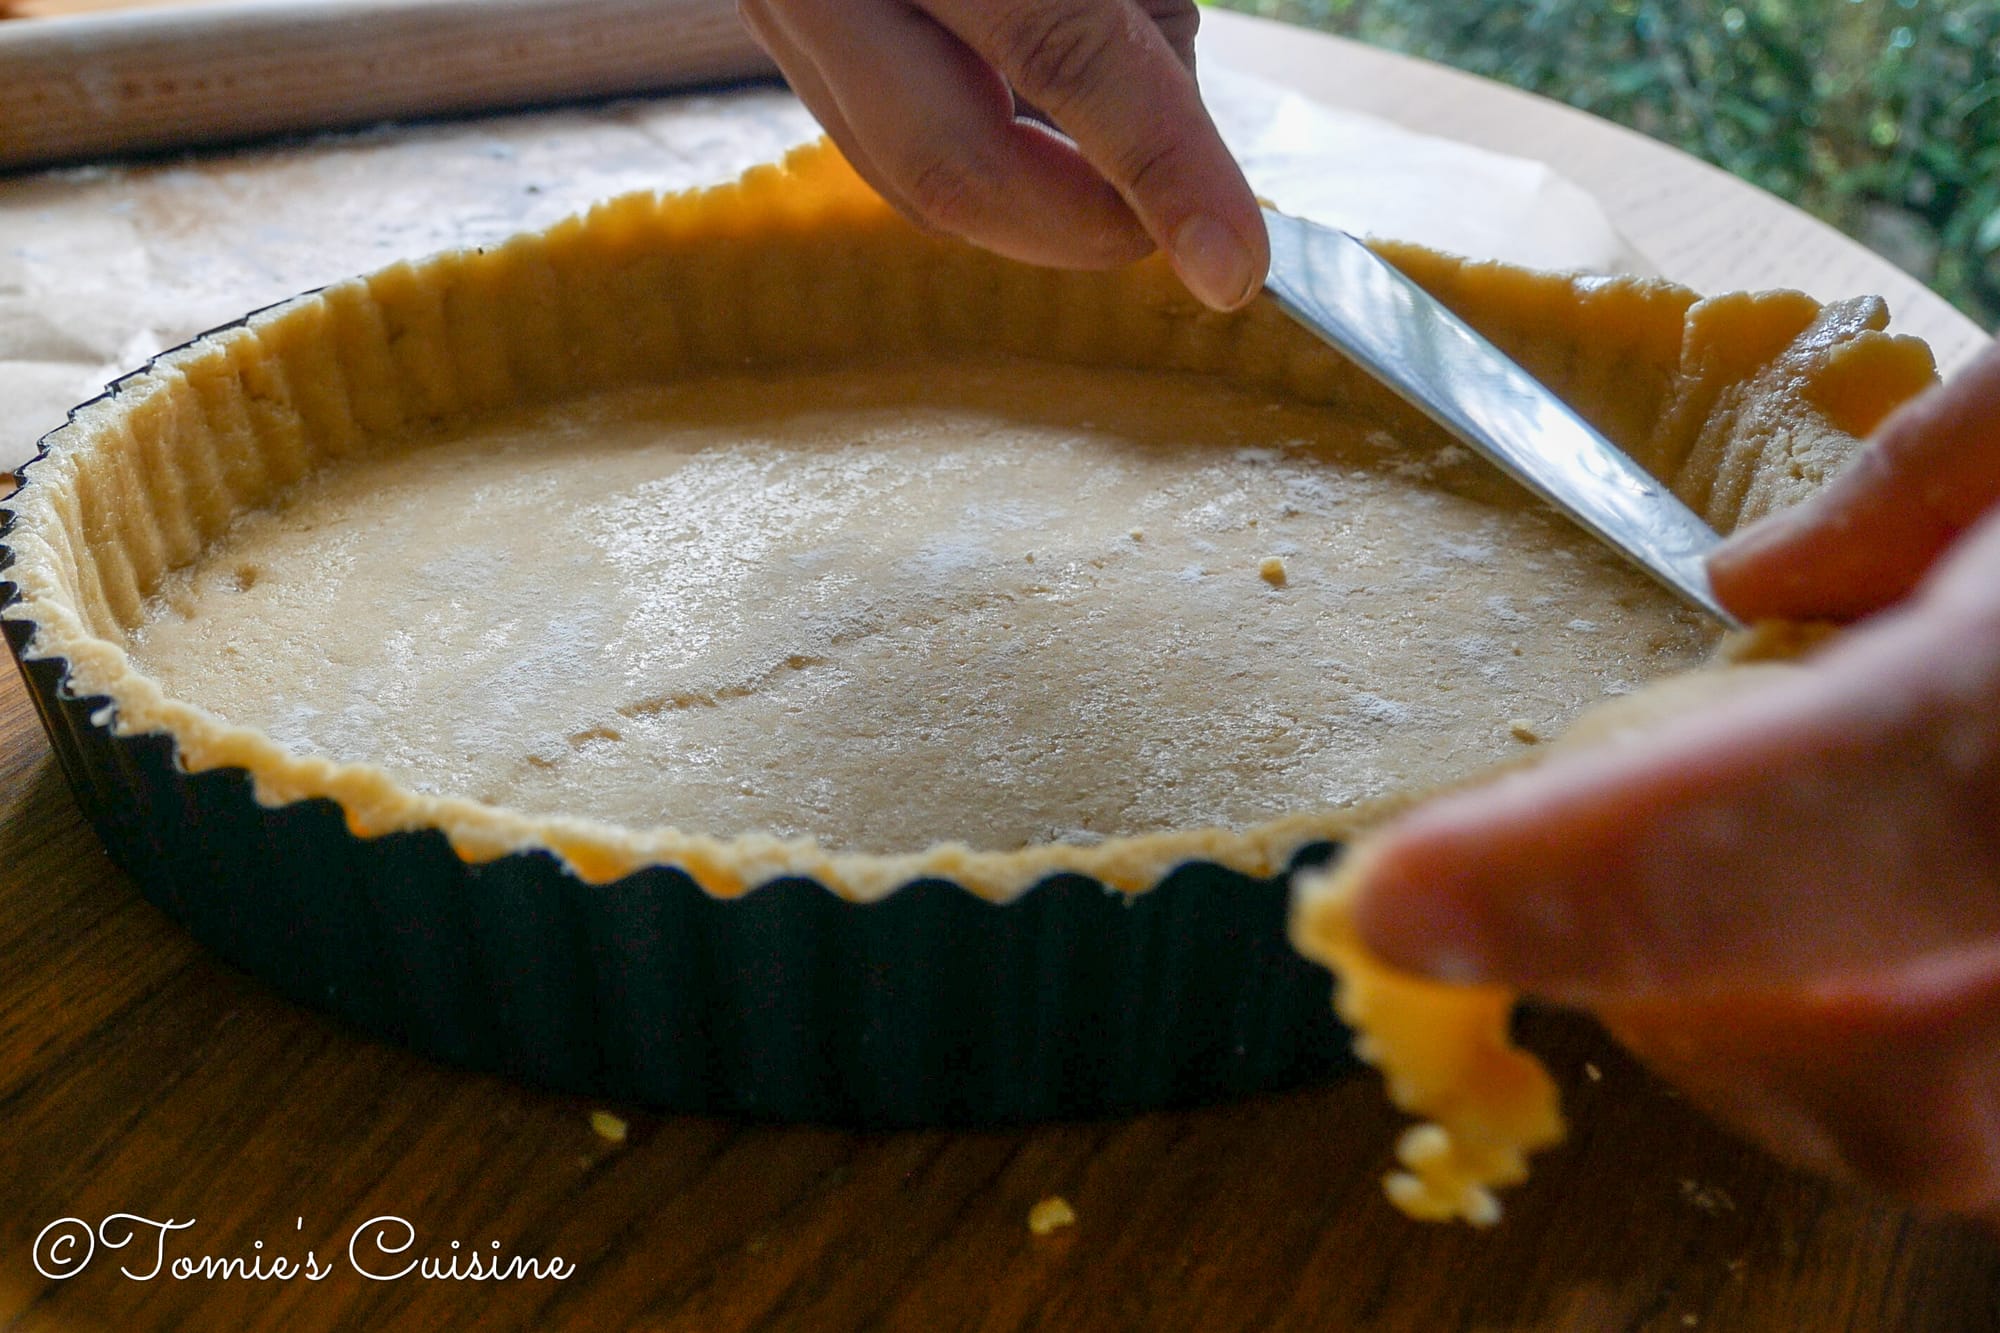
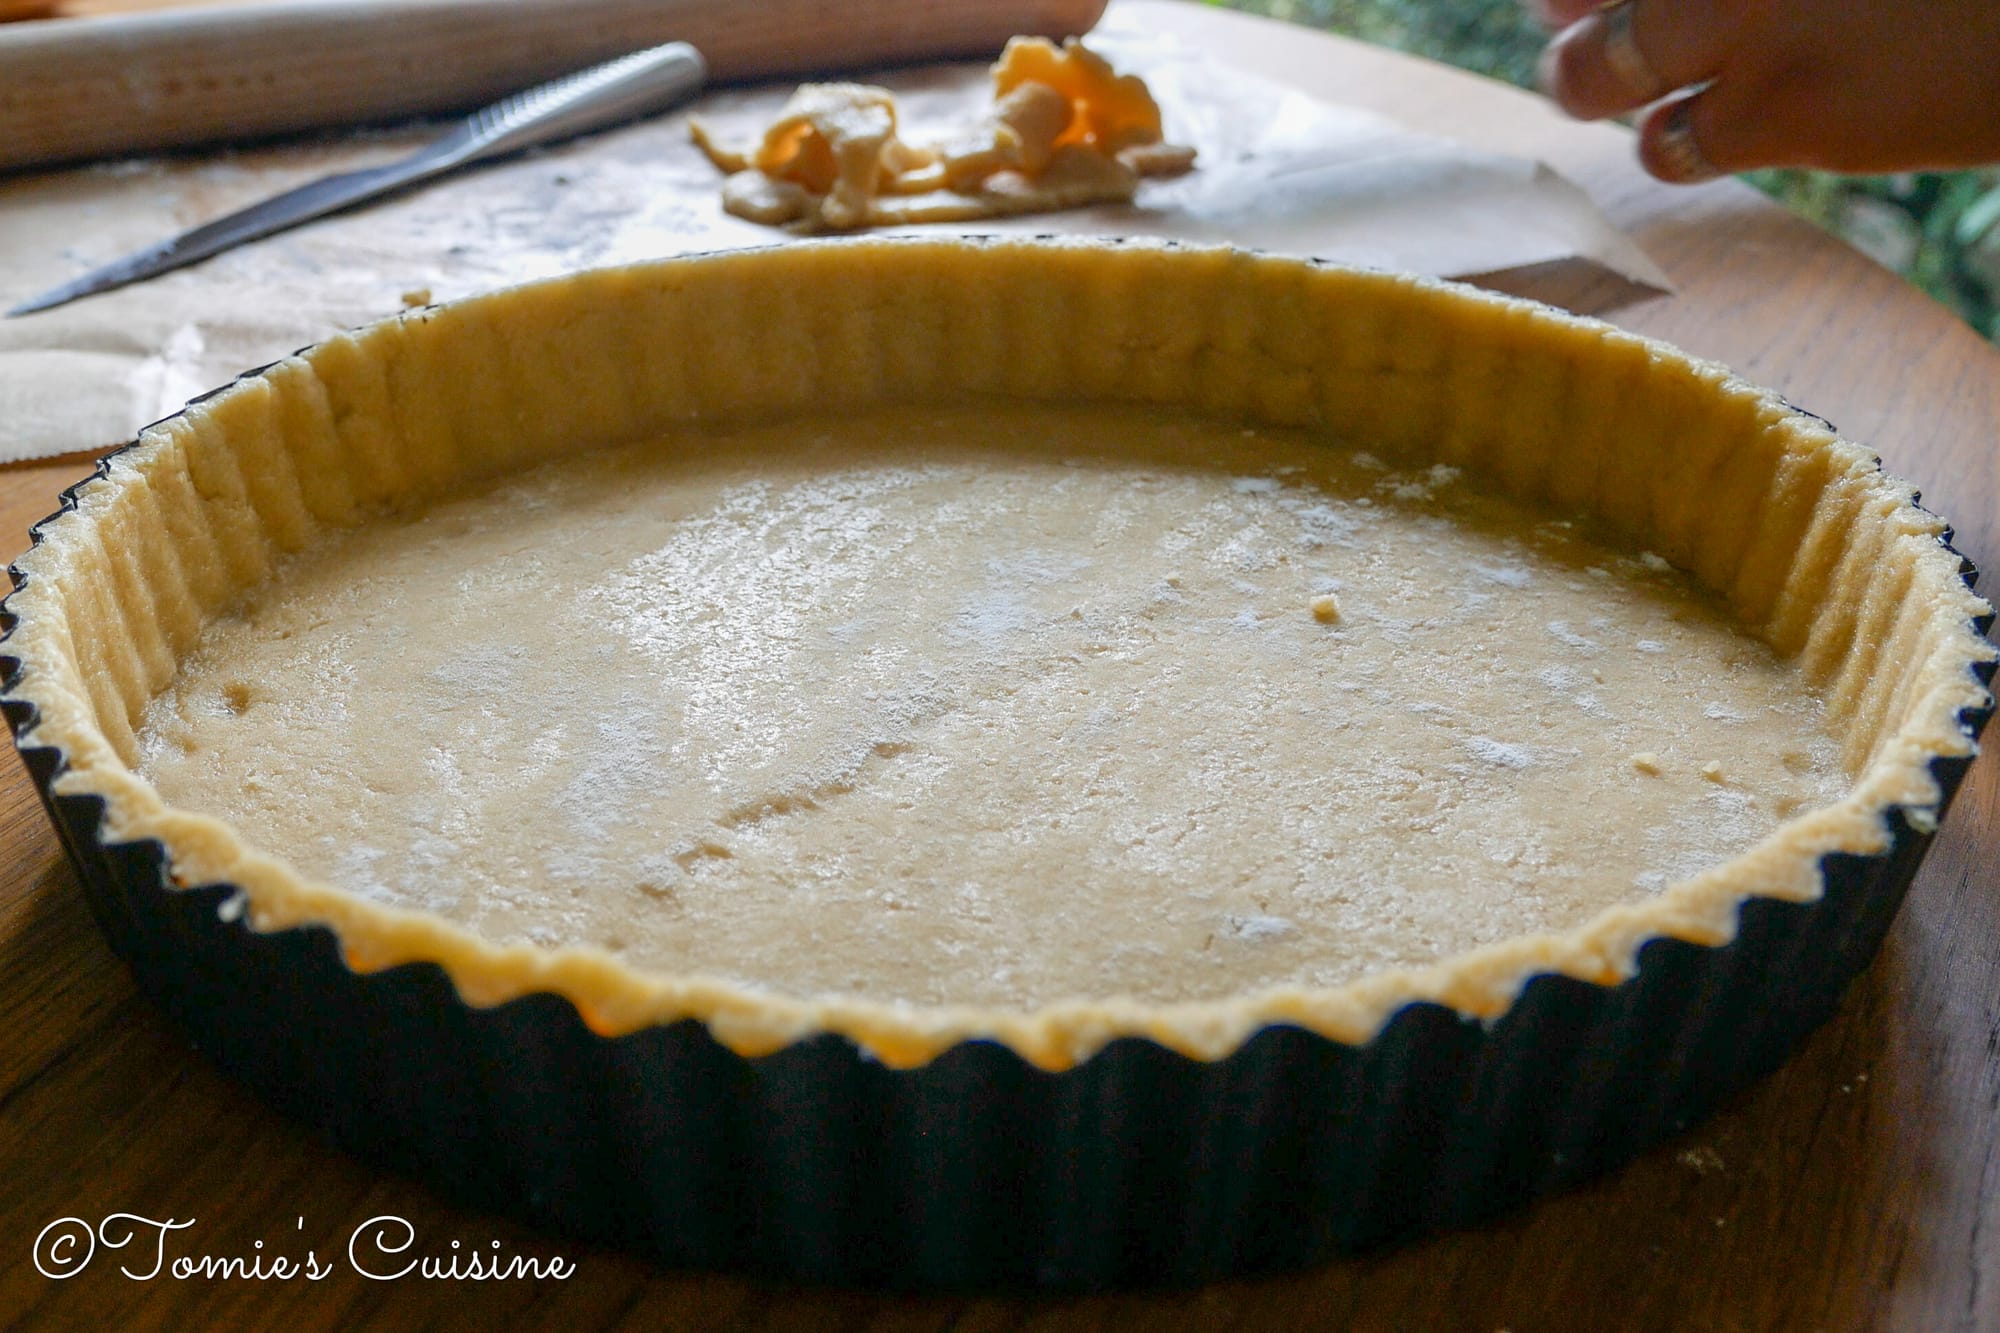
- Remove the excess dough from the edge of the tin with a knife.
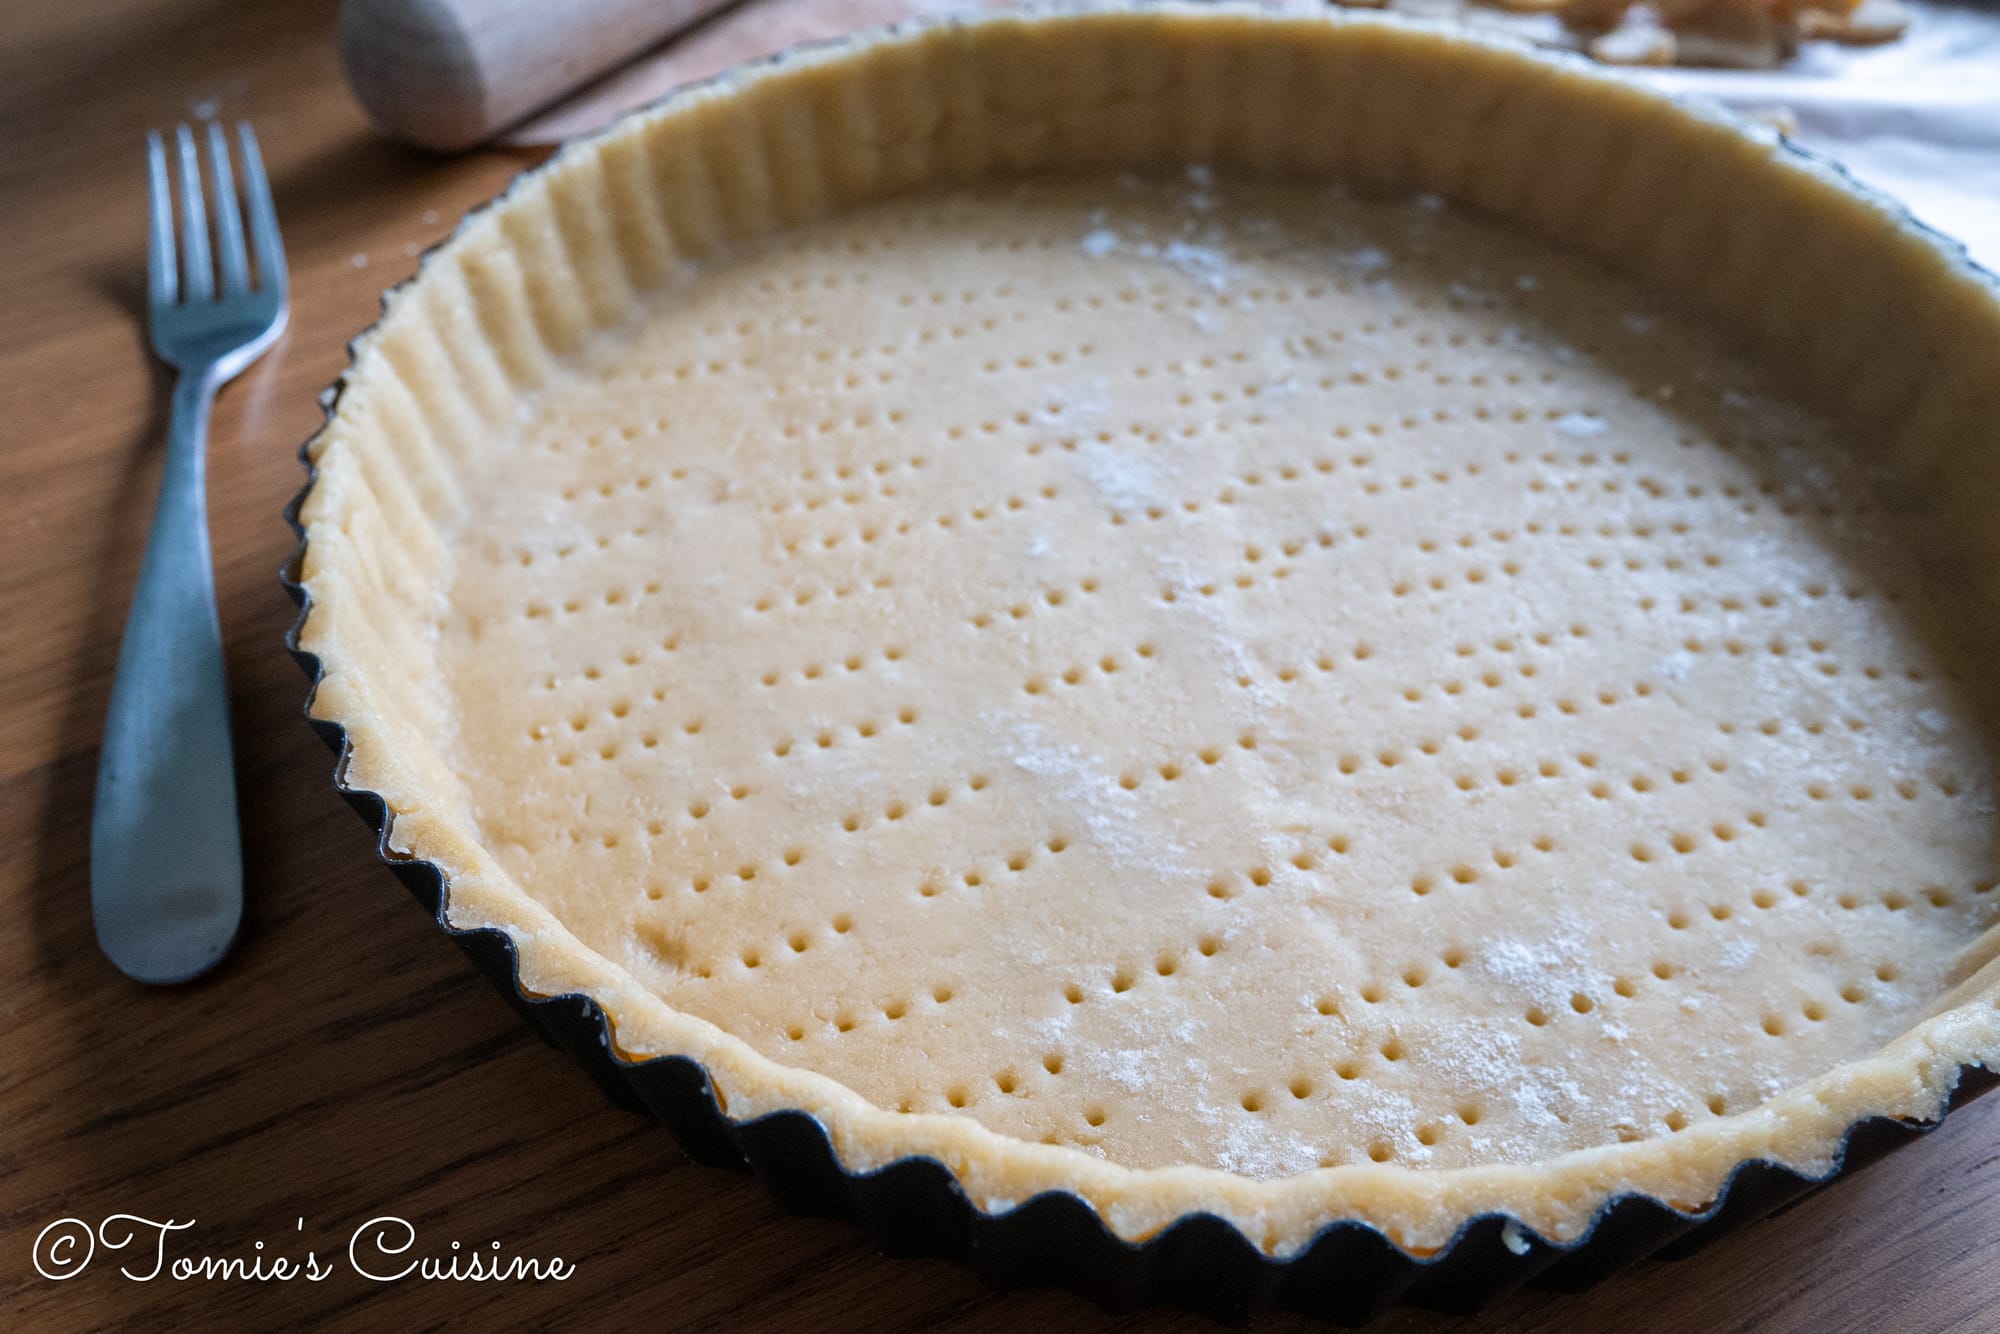
- Dock the tart dough with a fork.
- Keep it in the fridge until you are ready to assemble.
Preheat the oven to 170ºC.
Hazelnut frangipane
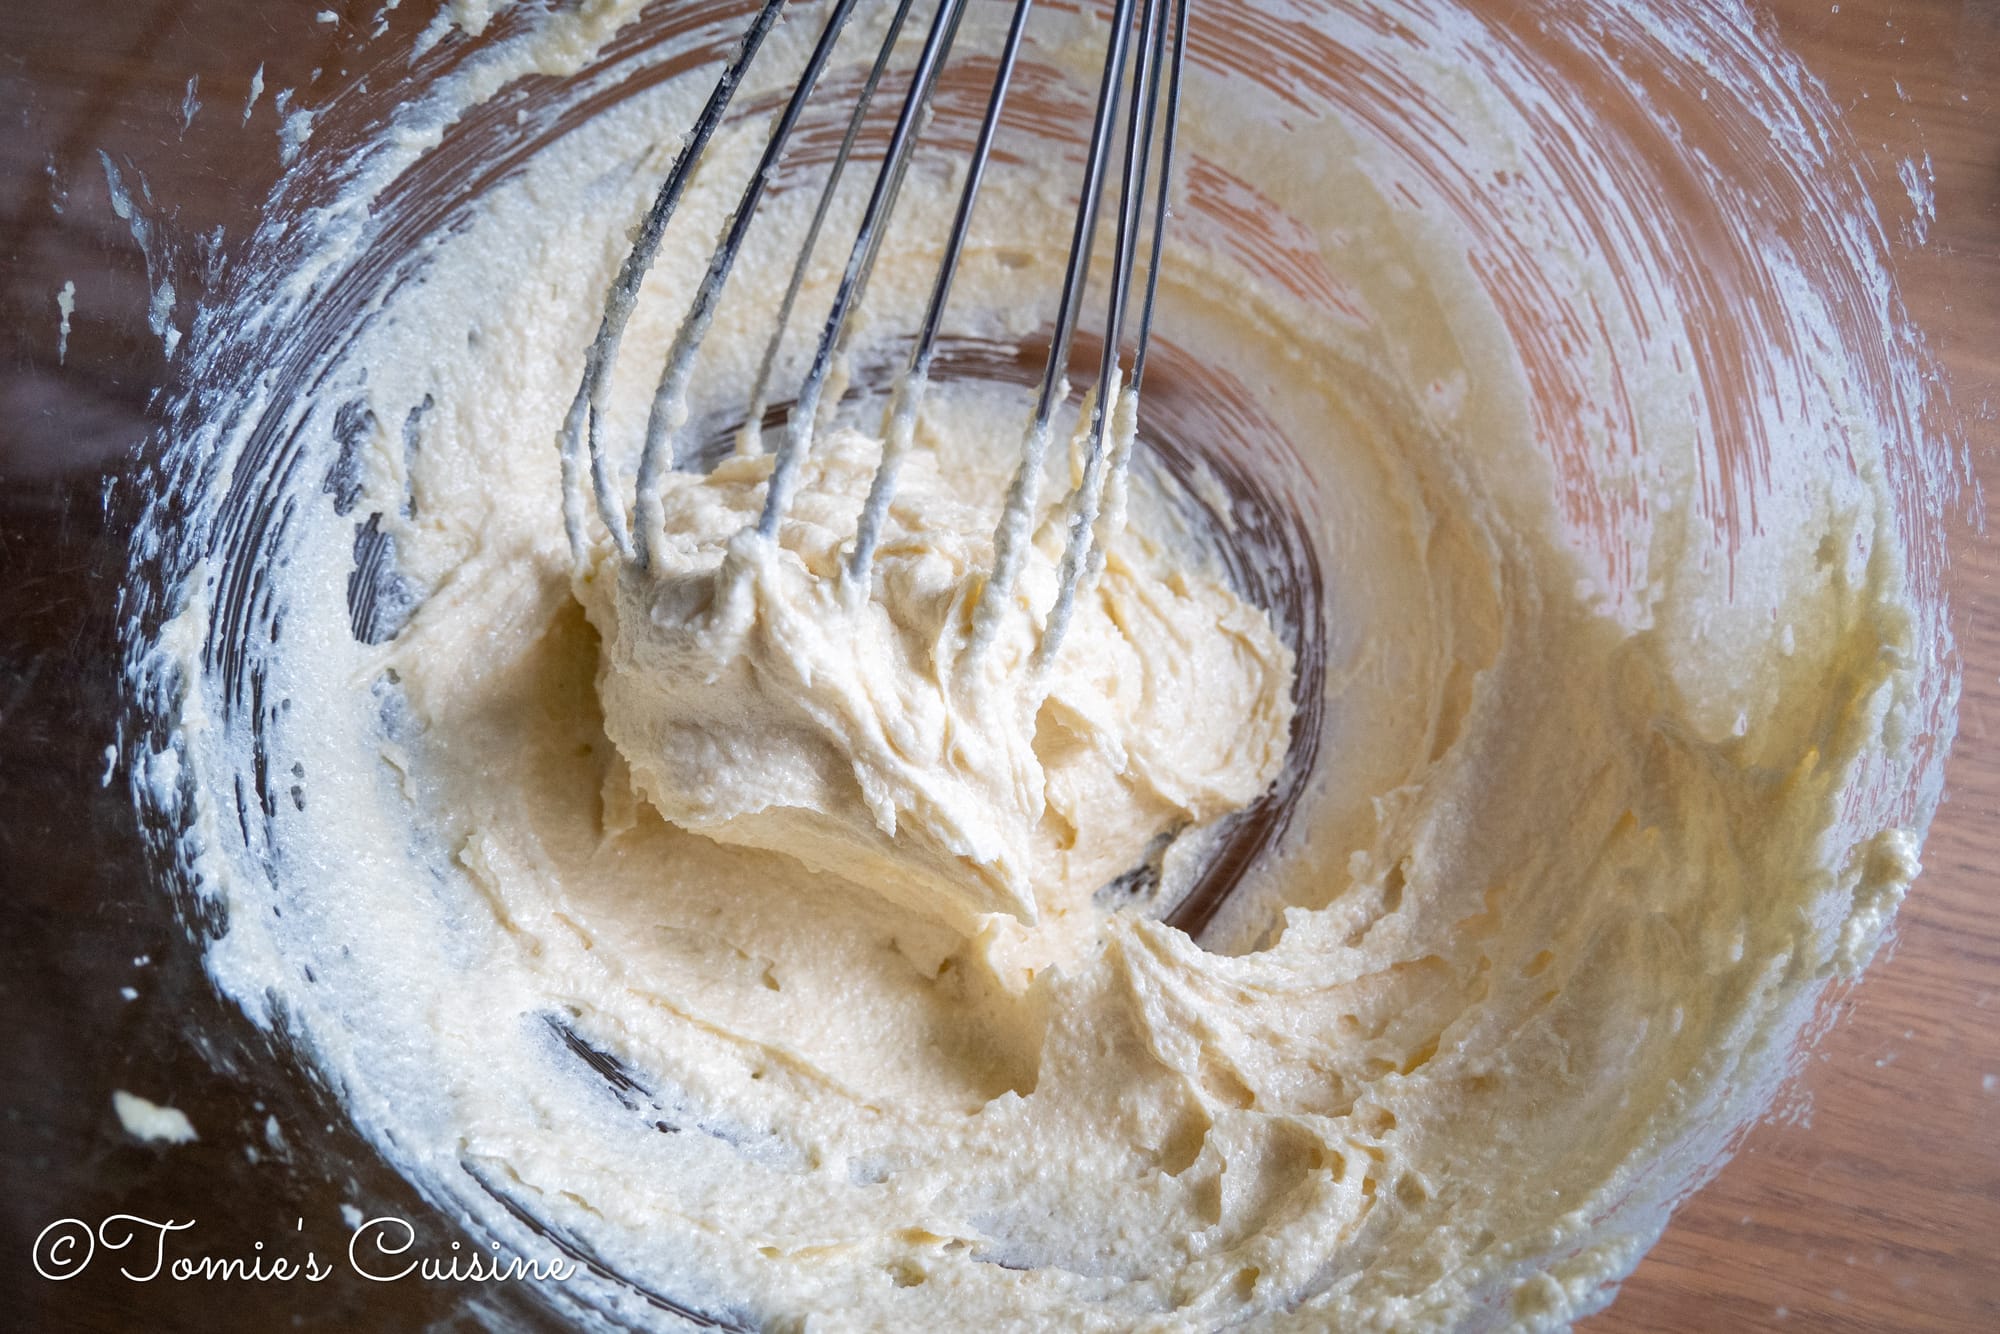
- Place the room-temperature butter and sugar in a bowl and mix with a spatula until the colour becomes paler.
- Crack the two eggs into a small bowl and whisk well to break up the egg whites.
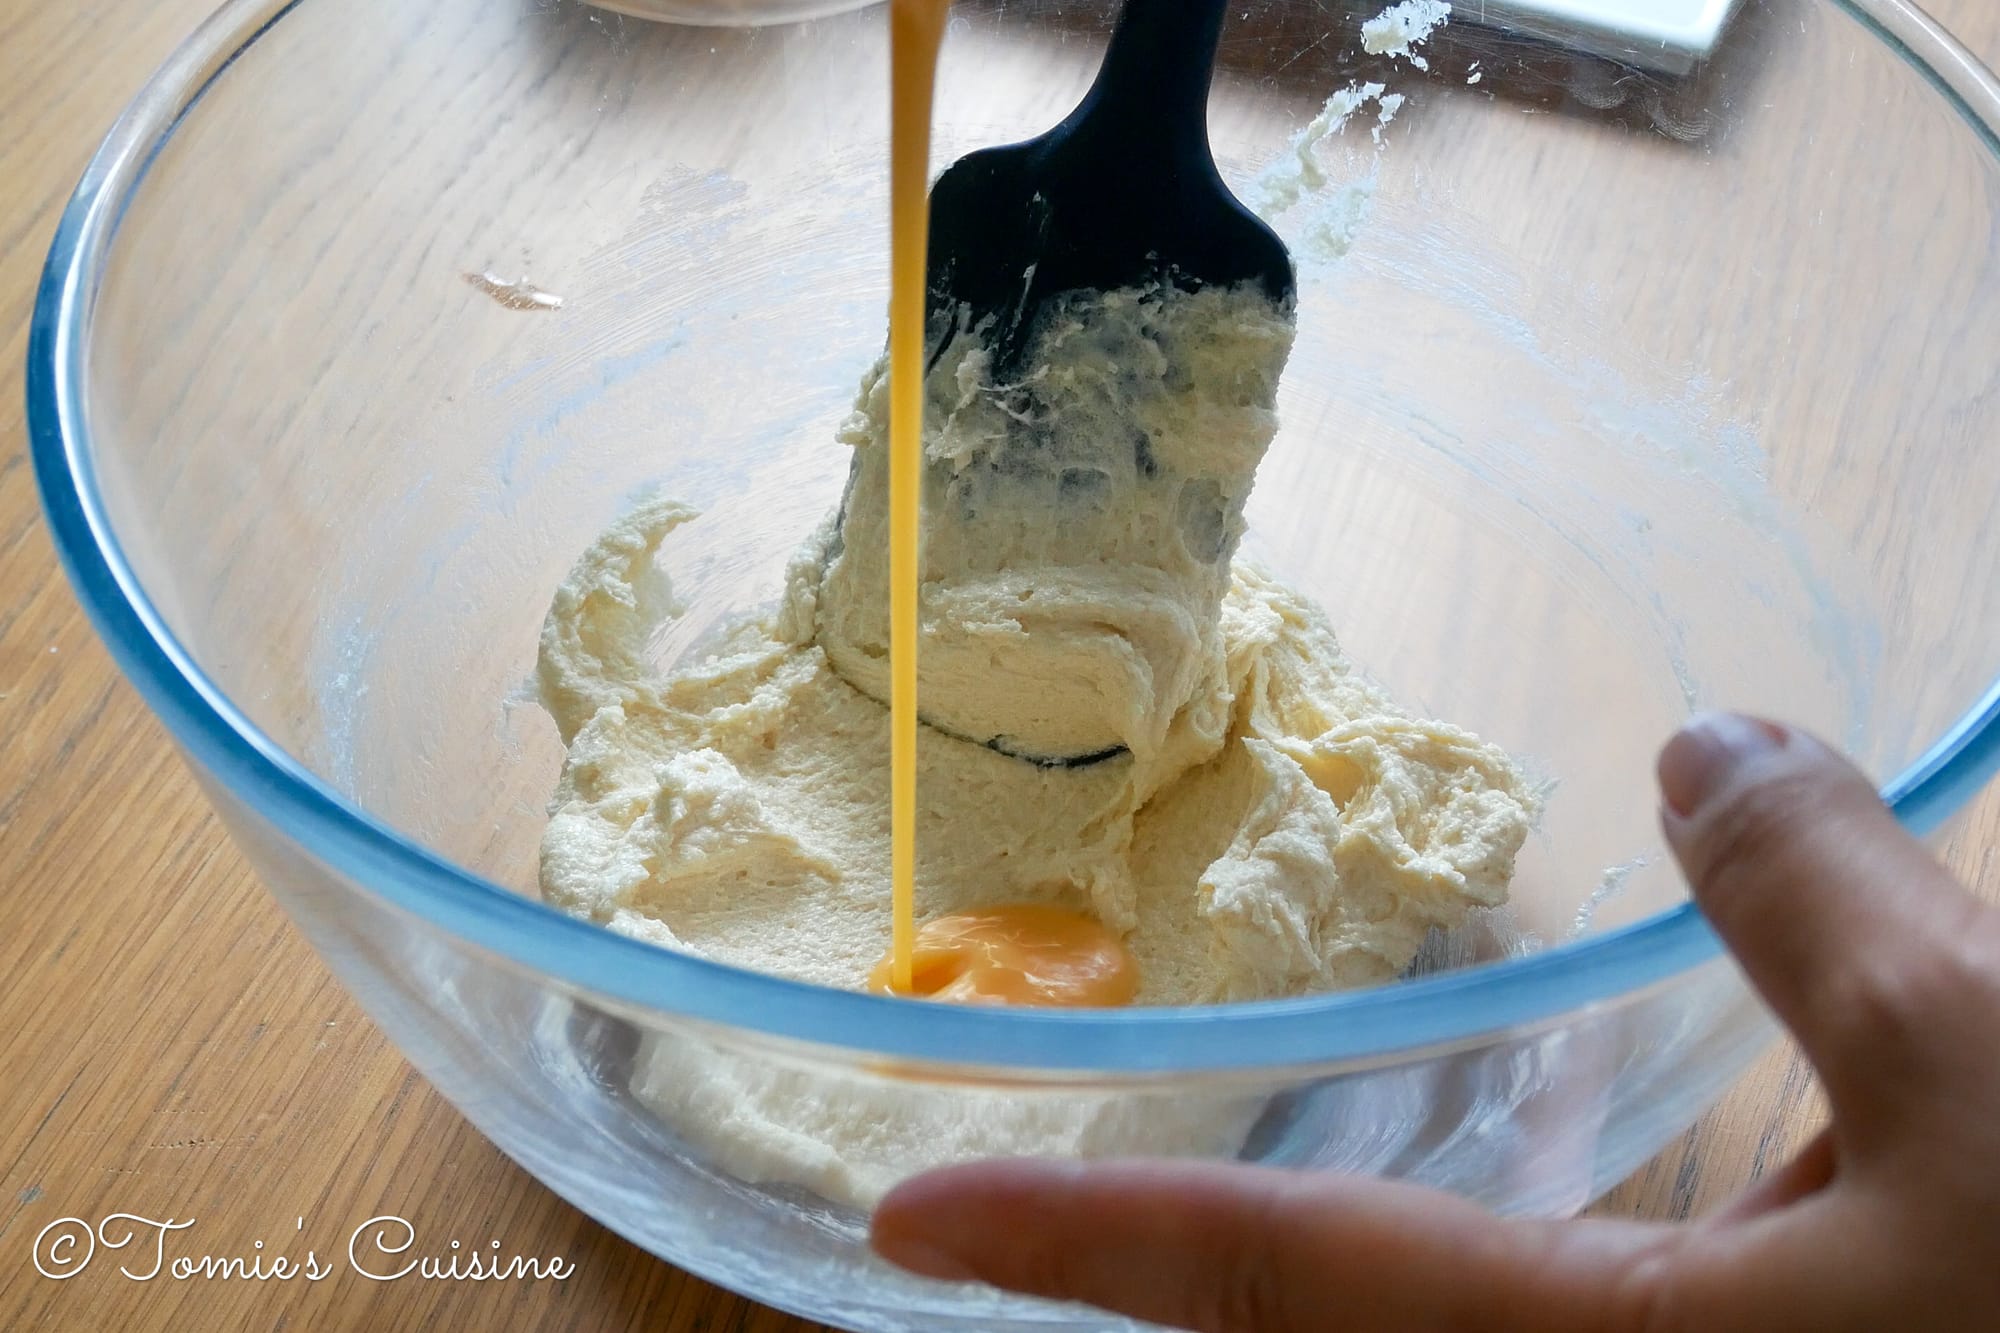
- Add the eggs to the butter and sugar mixture a little at a time. Mix until combined. (Do not add them all at once, since the egg and butter might split.)
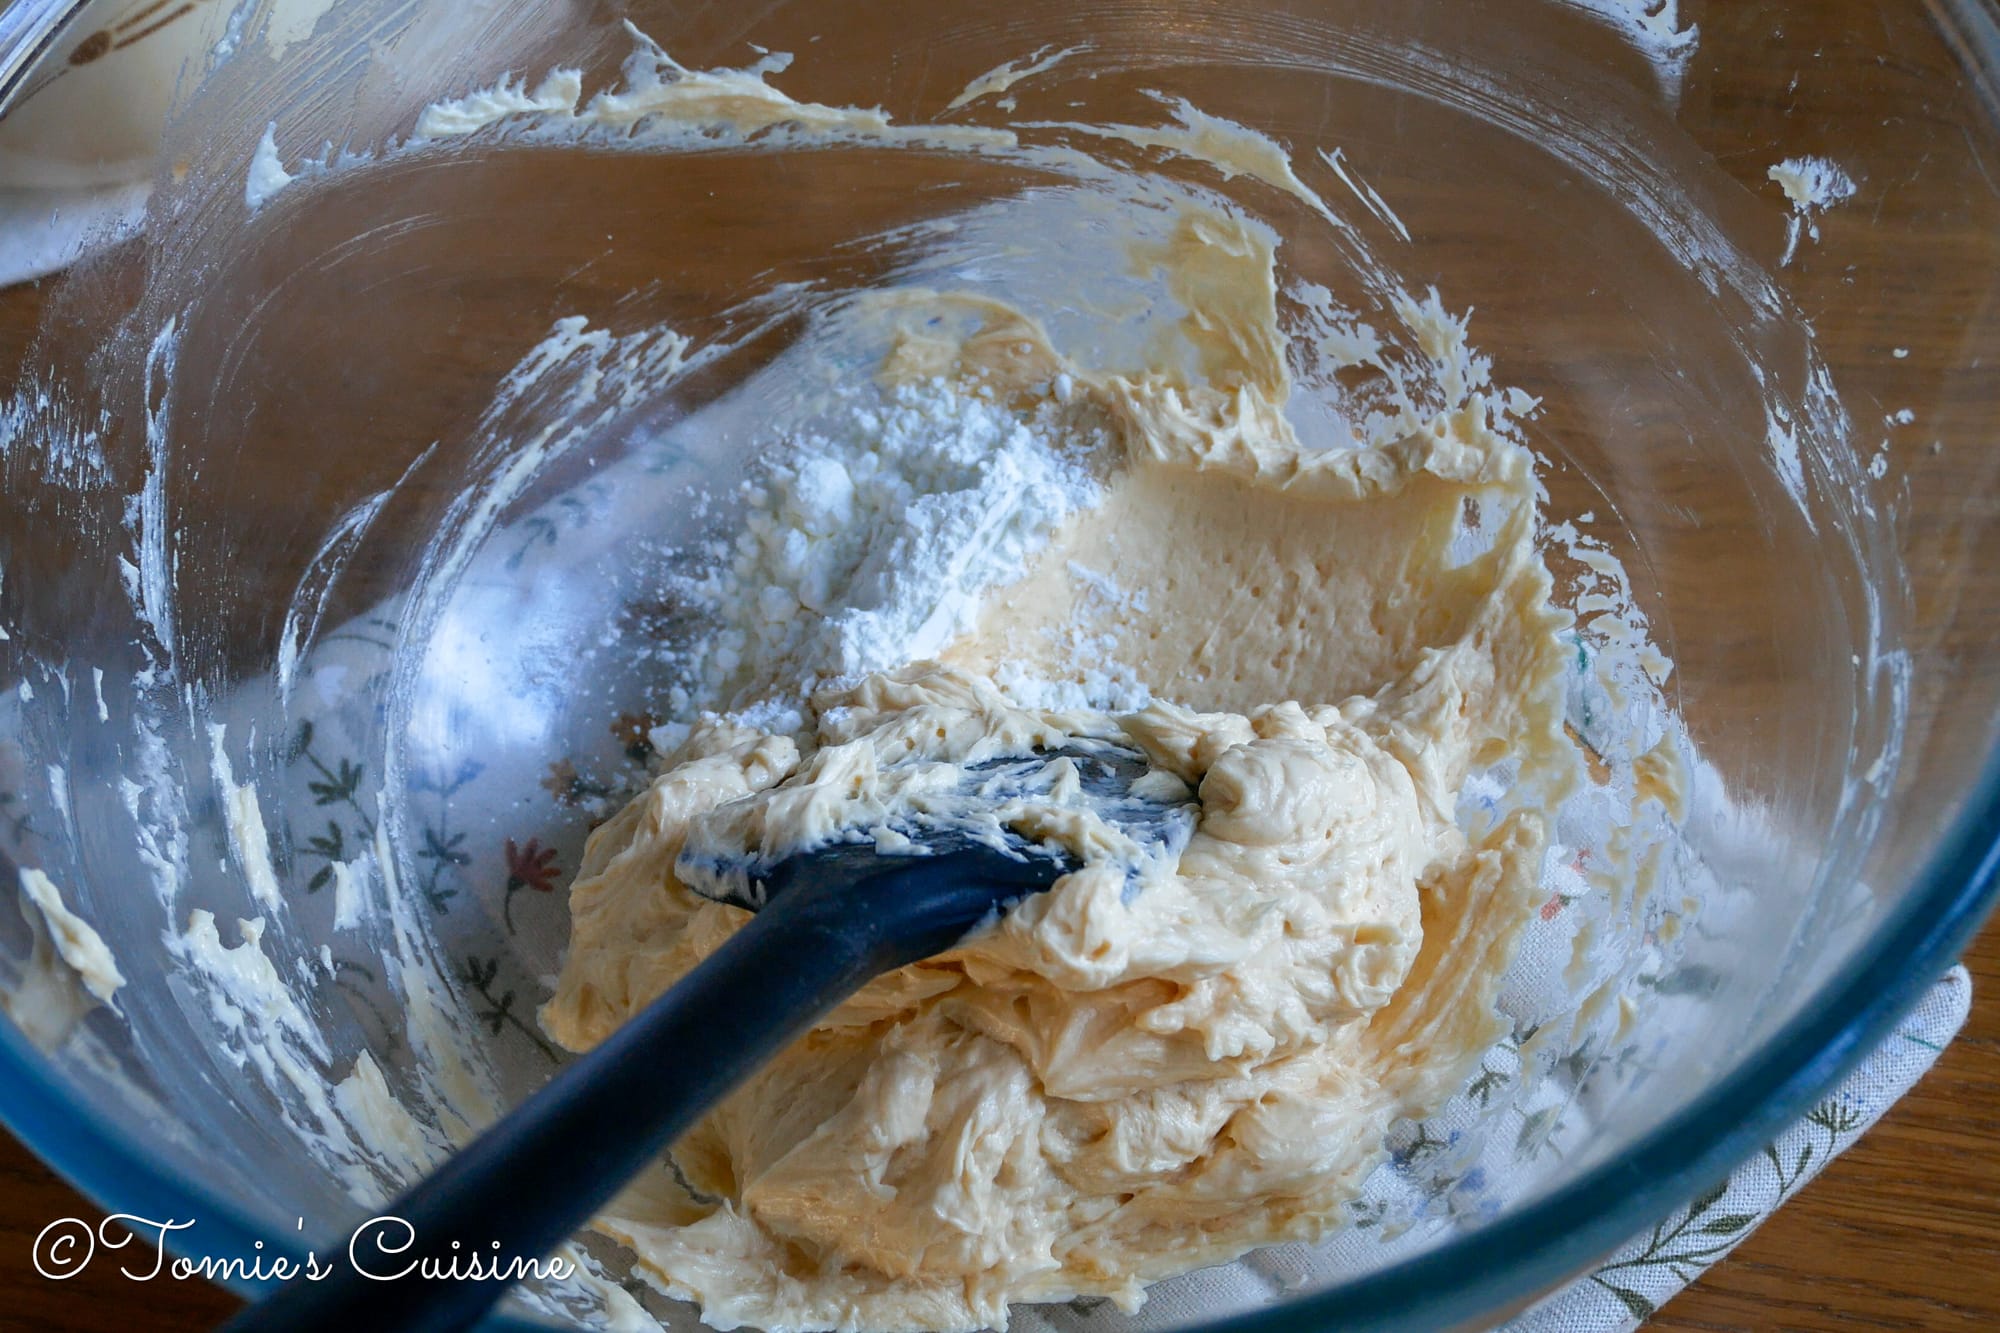
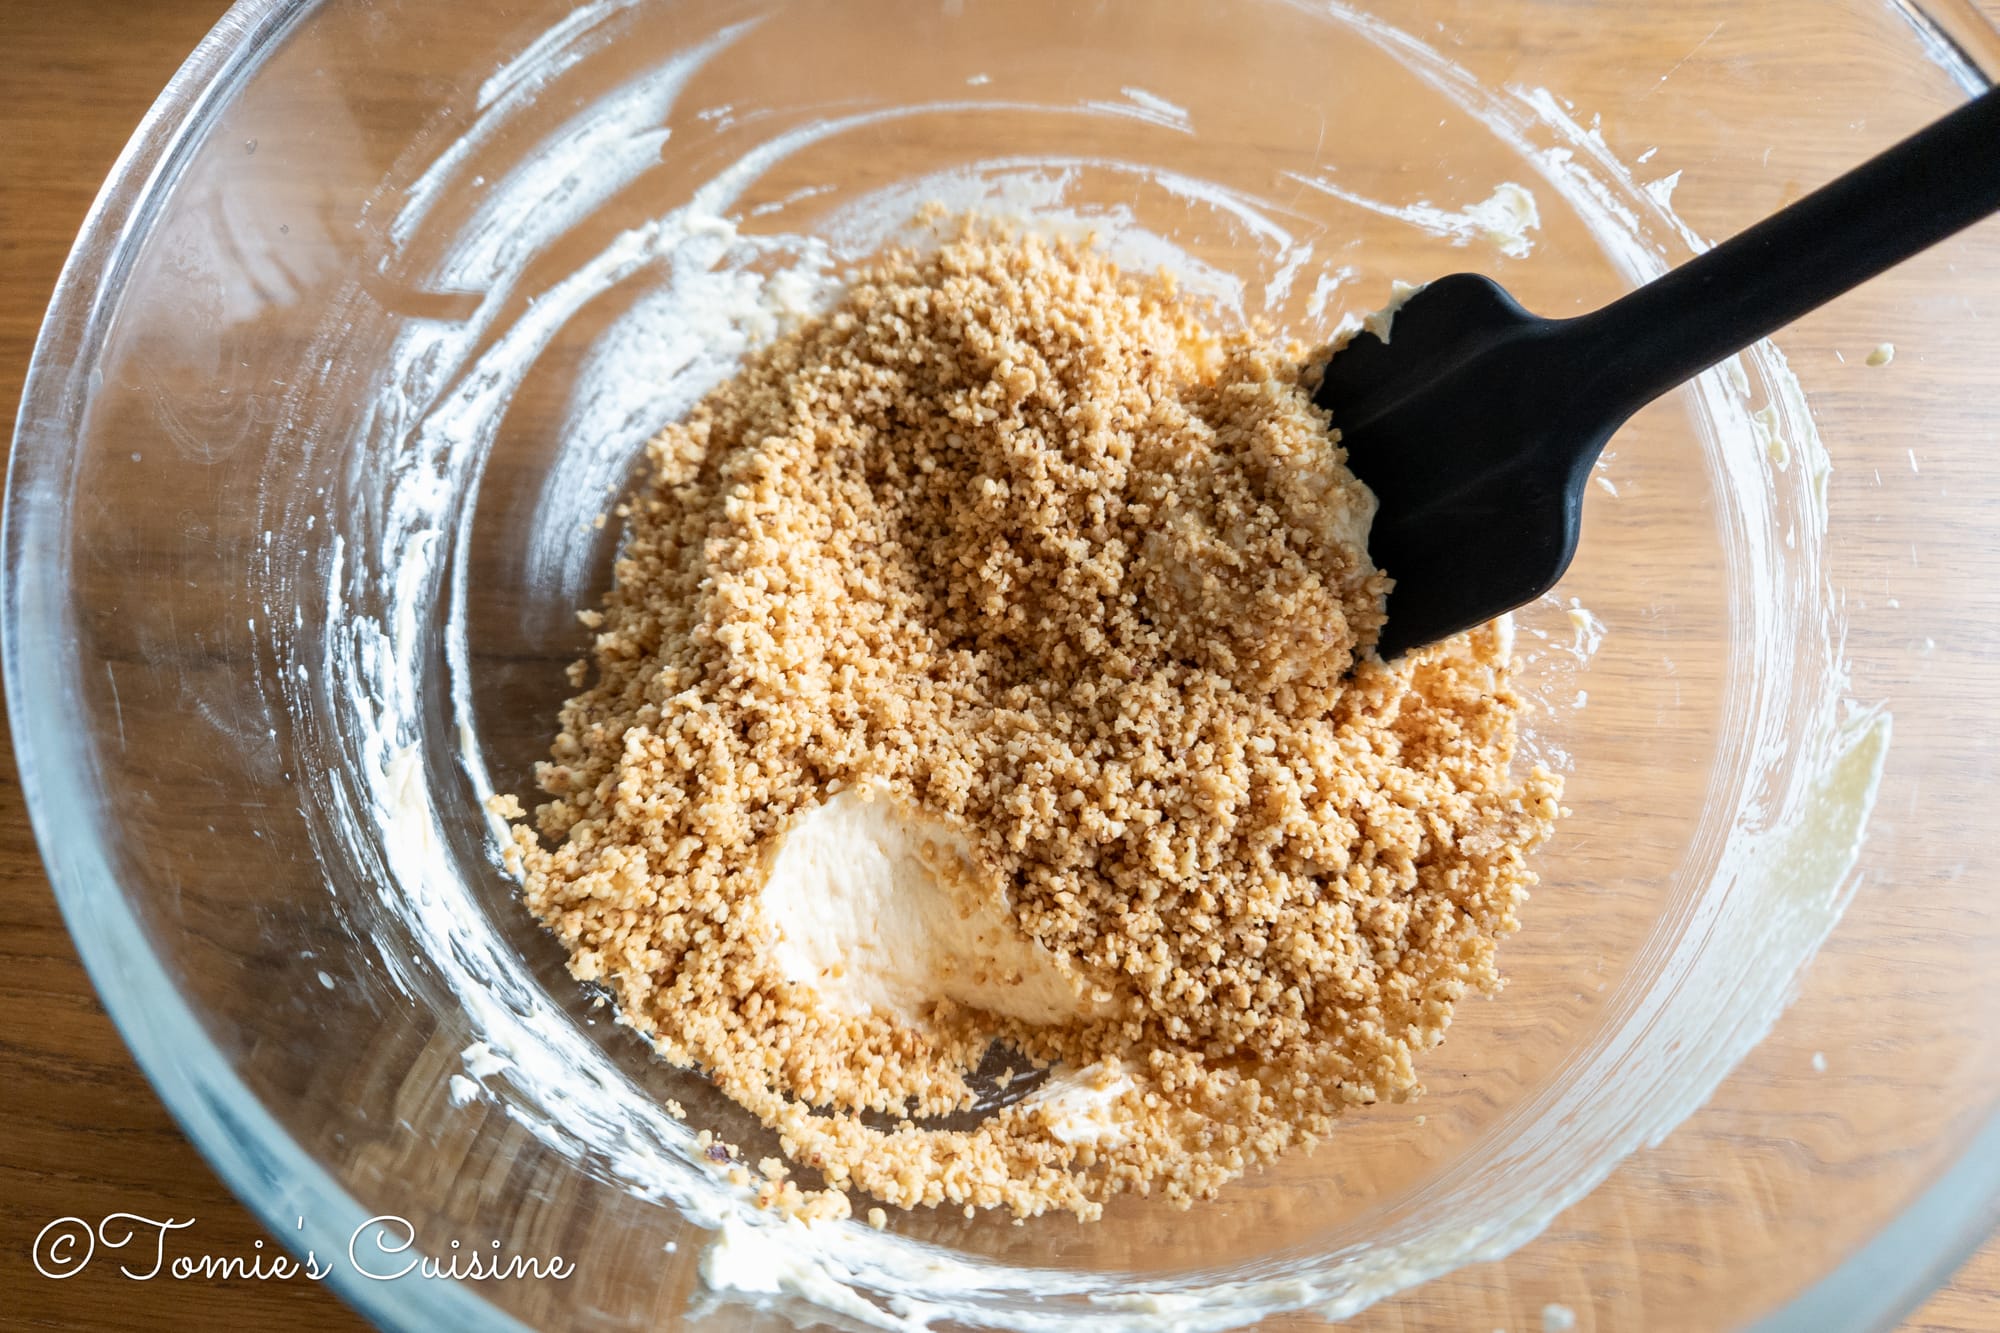
- Add the ground hazelnuts and a teaspoon of cornflour, then gently mix with a spatula until combined.
Most of the time, the egg and butter in the frangipane split because of the temperature difference between them. What worked well for me, and what I found online, was the bain-marie technique: I added hot water to a Pyrex glass bowl, placed the bowl with the egg, butter, and sugar mixture on top of it, and whisked for a couple of minutes. If you leave it for too long, the mixture gets runny.
Another thing I found was that I was whisking too hard when adding the eggs, which made the mixture split. So you don’t need to mix so vigorously that it tires you out. haha.
Assembling the tart!
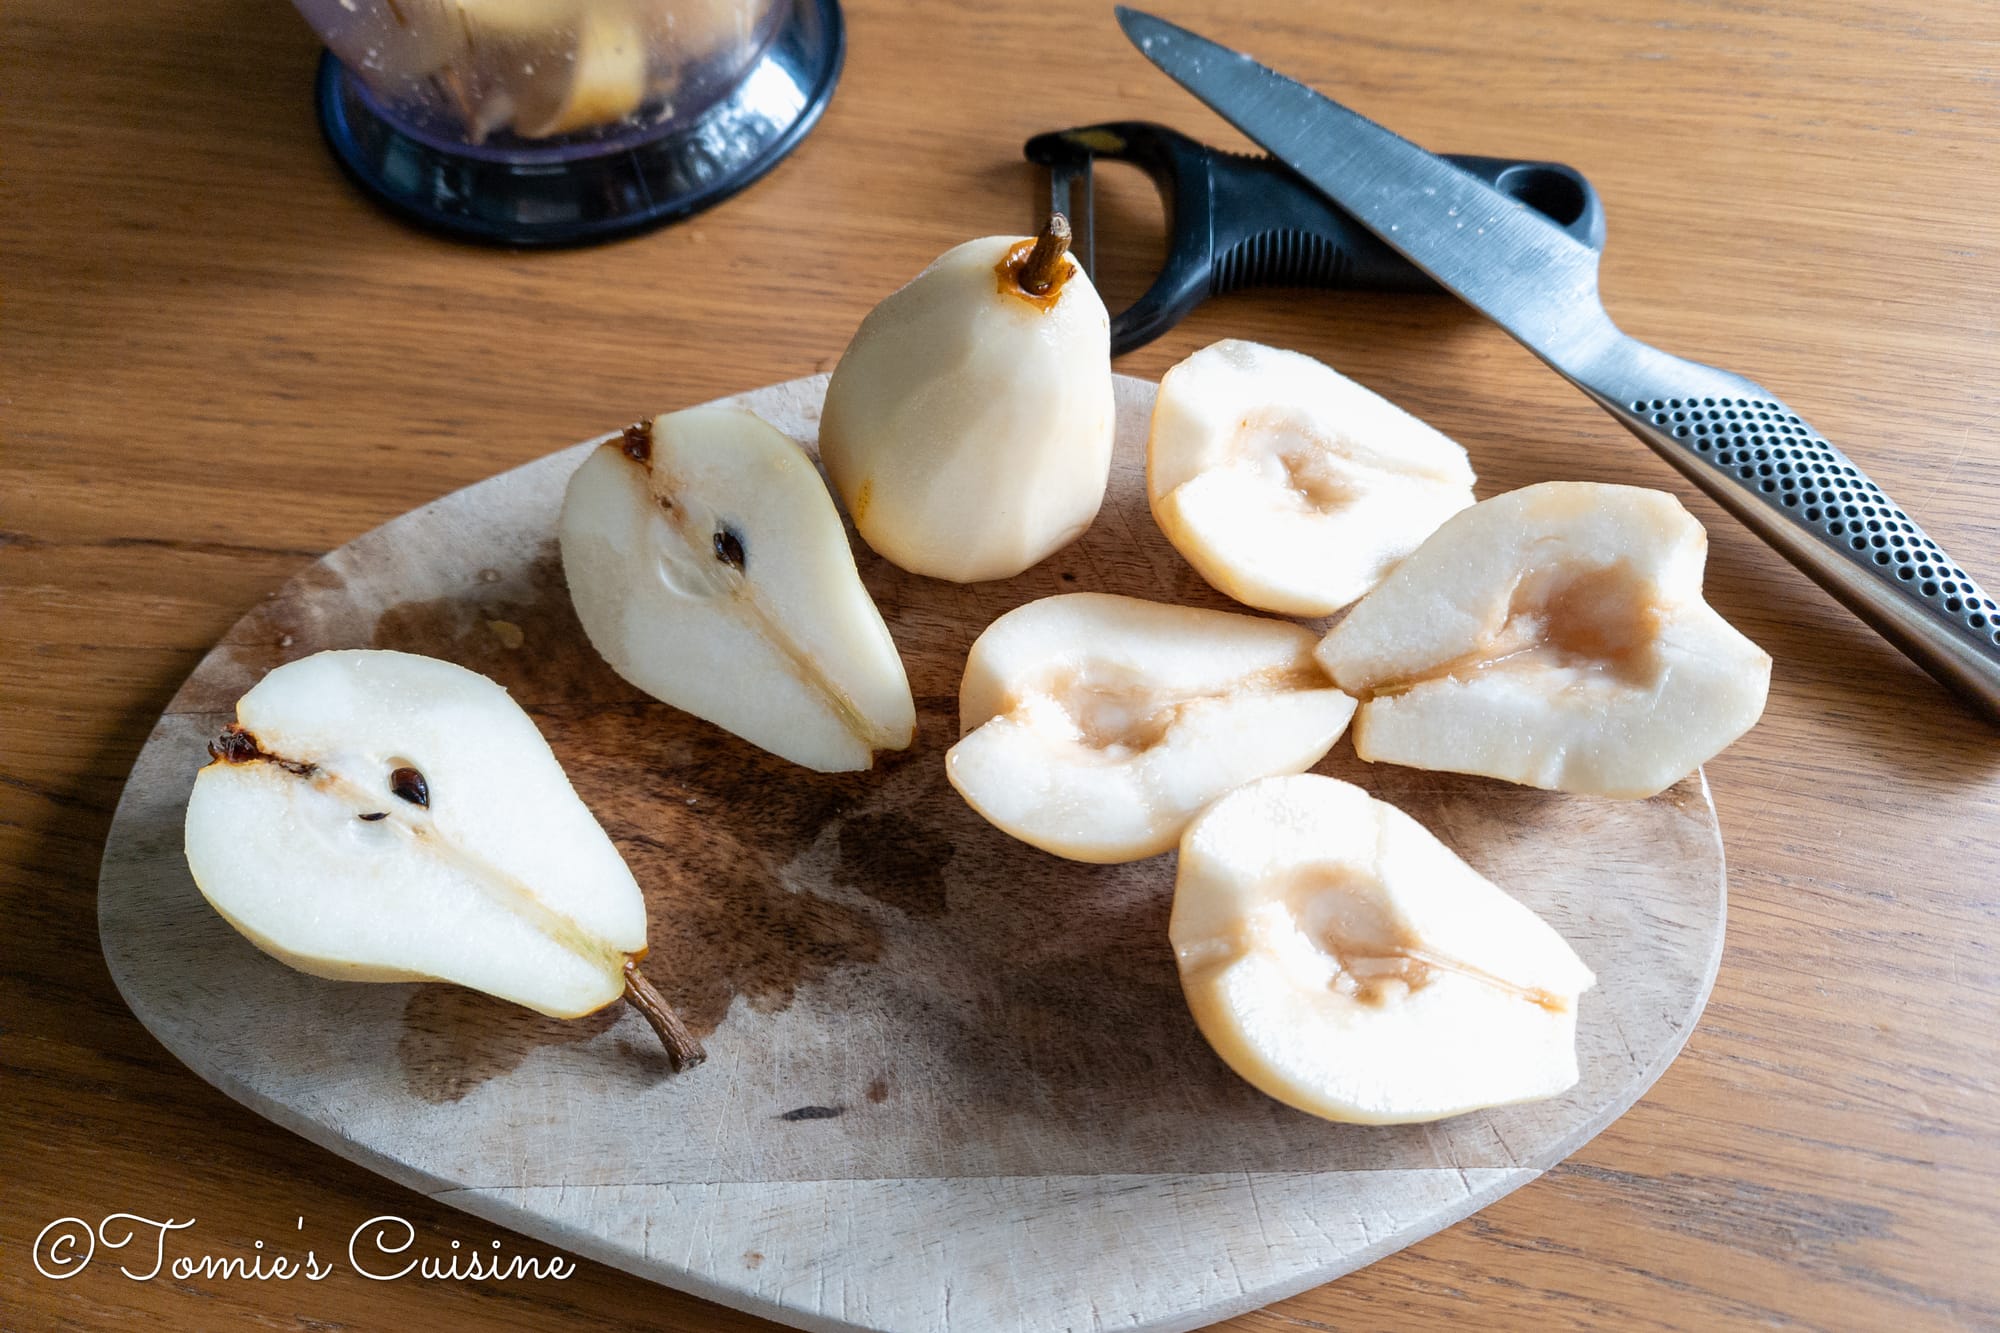
- Peel the pears and cut them in half. Remove the hard core with a teaspoon. (The skin and the core of the pear are going in our food composter in our garden!)
- Spoon the frangipane into the tart case and spread it evenly.
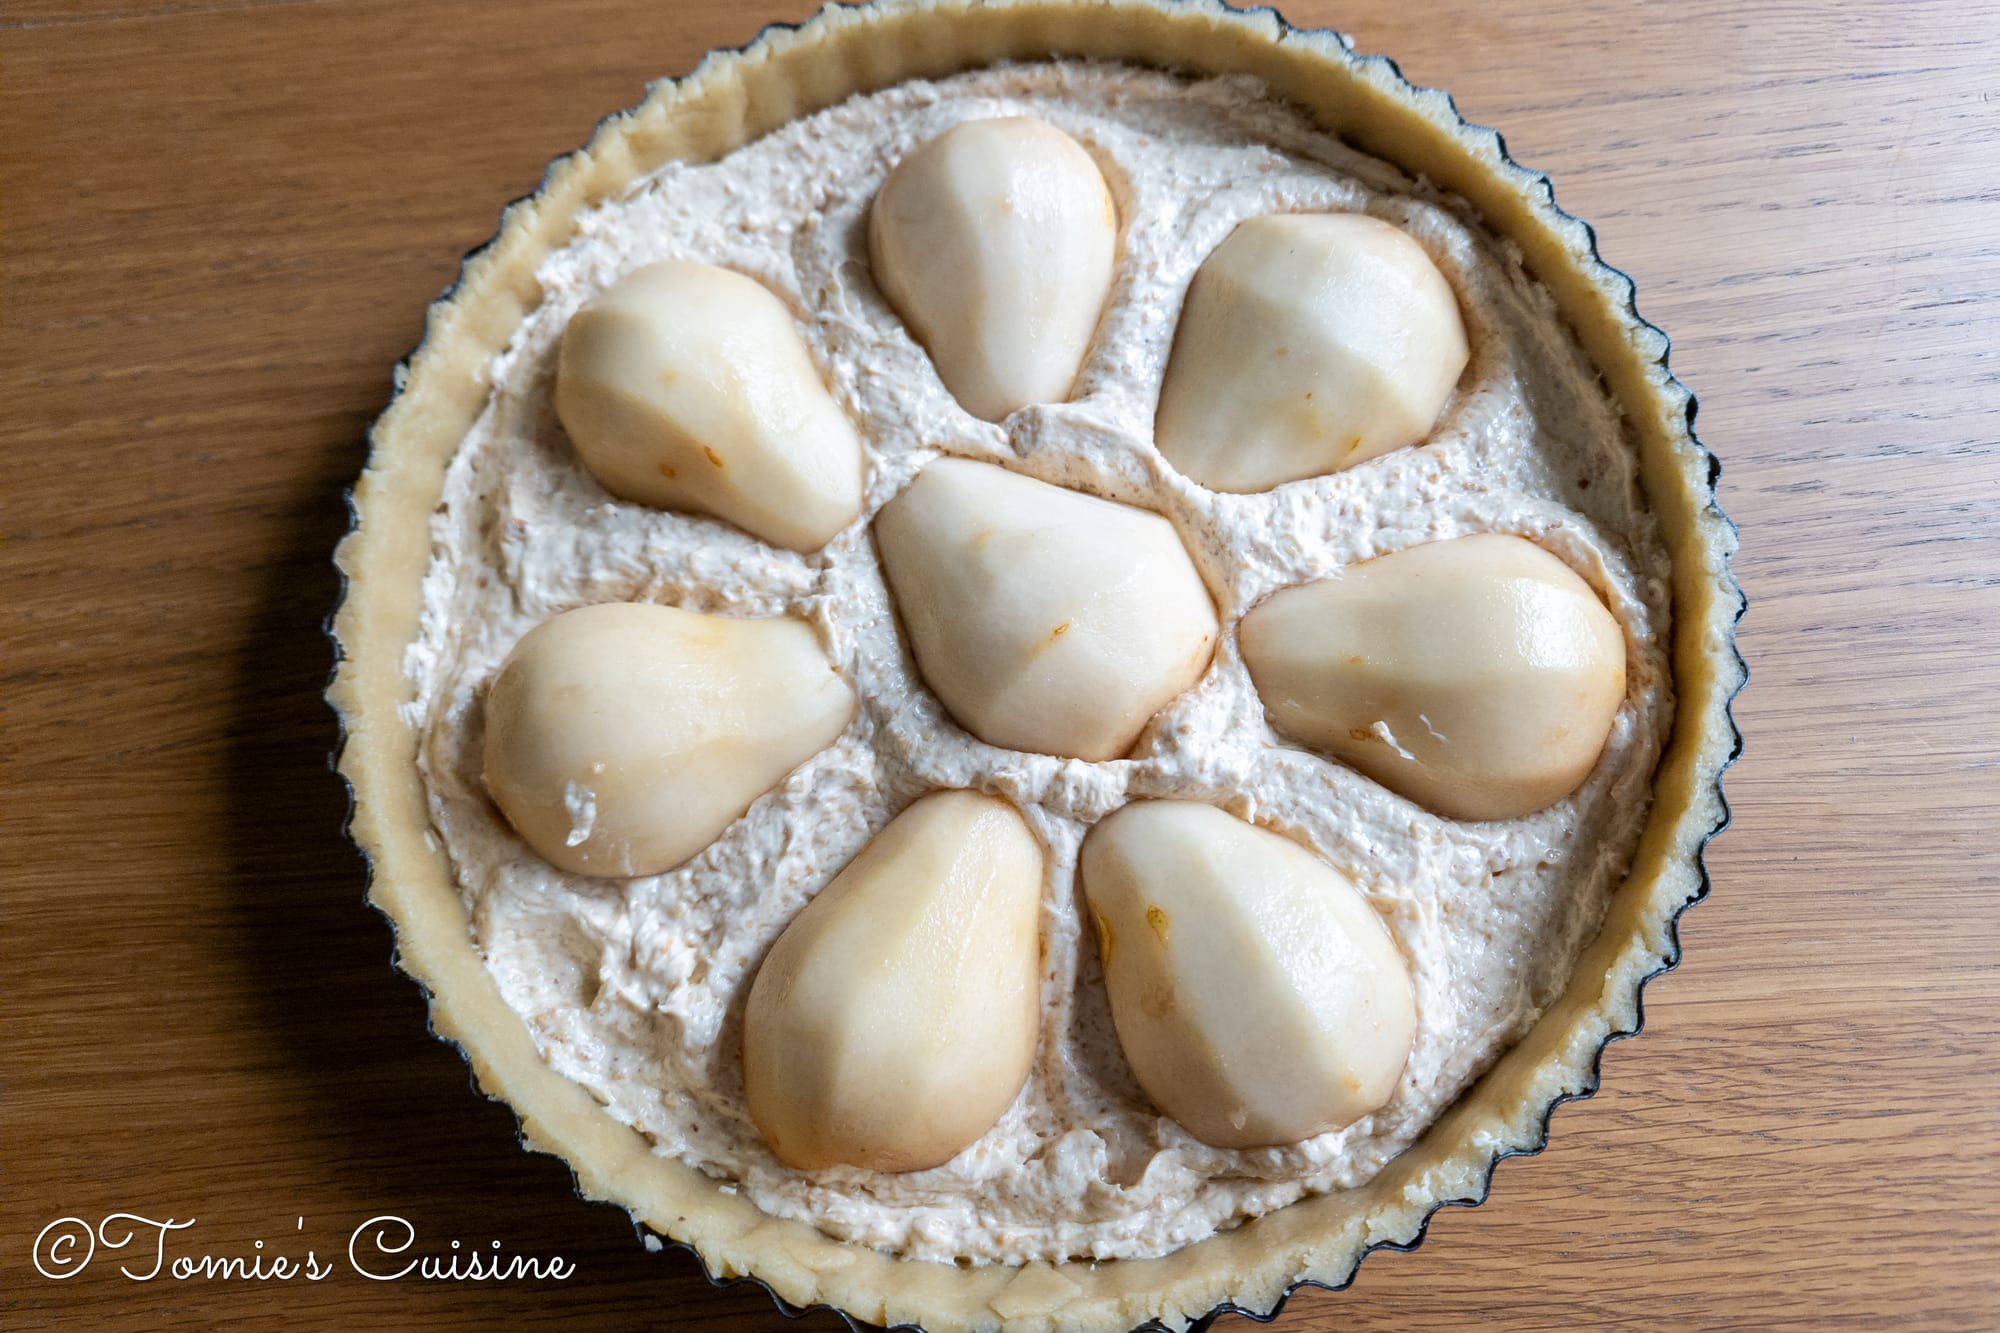
- Place the pears cut side down and gently press in.
Cook the tart!
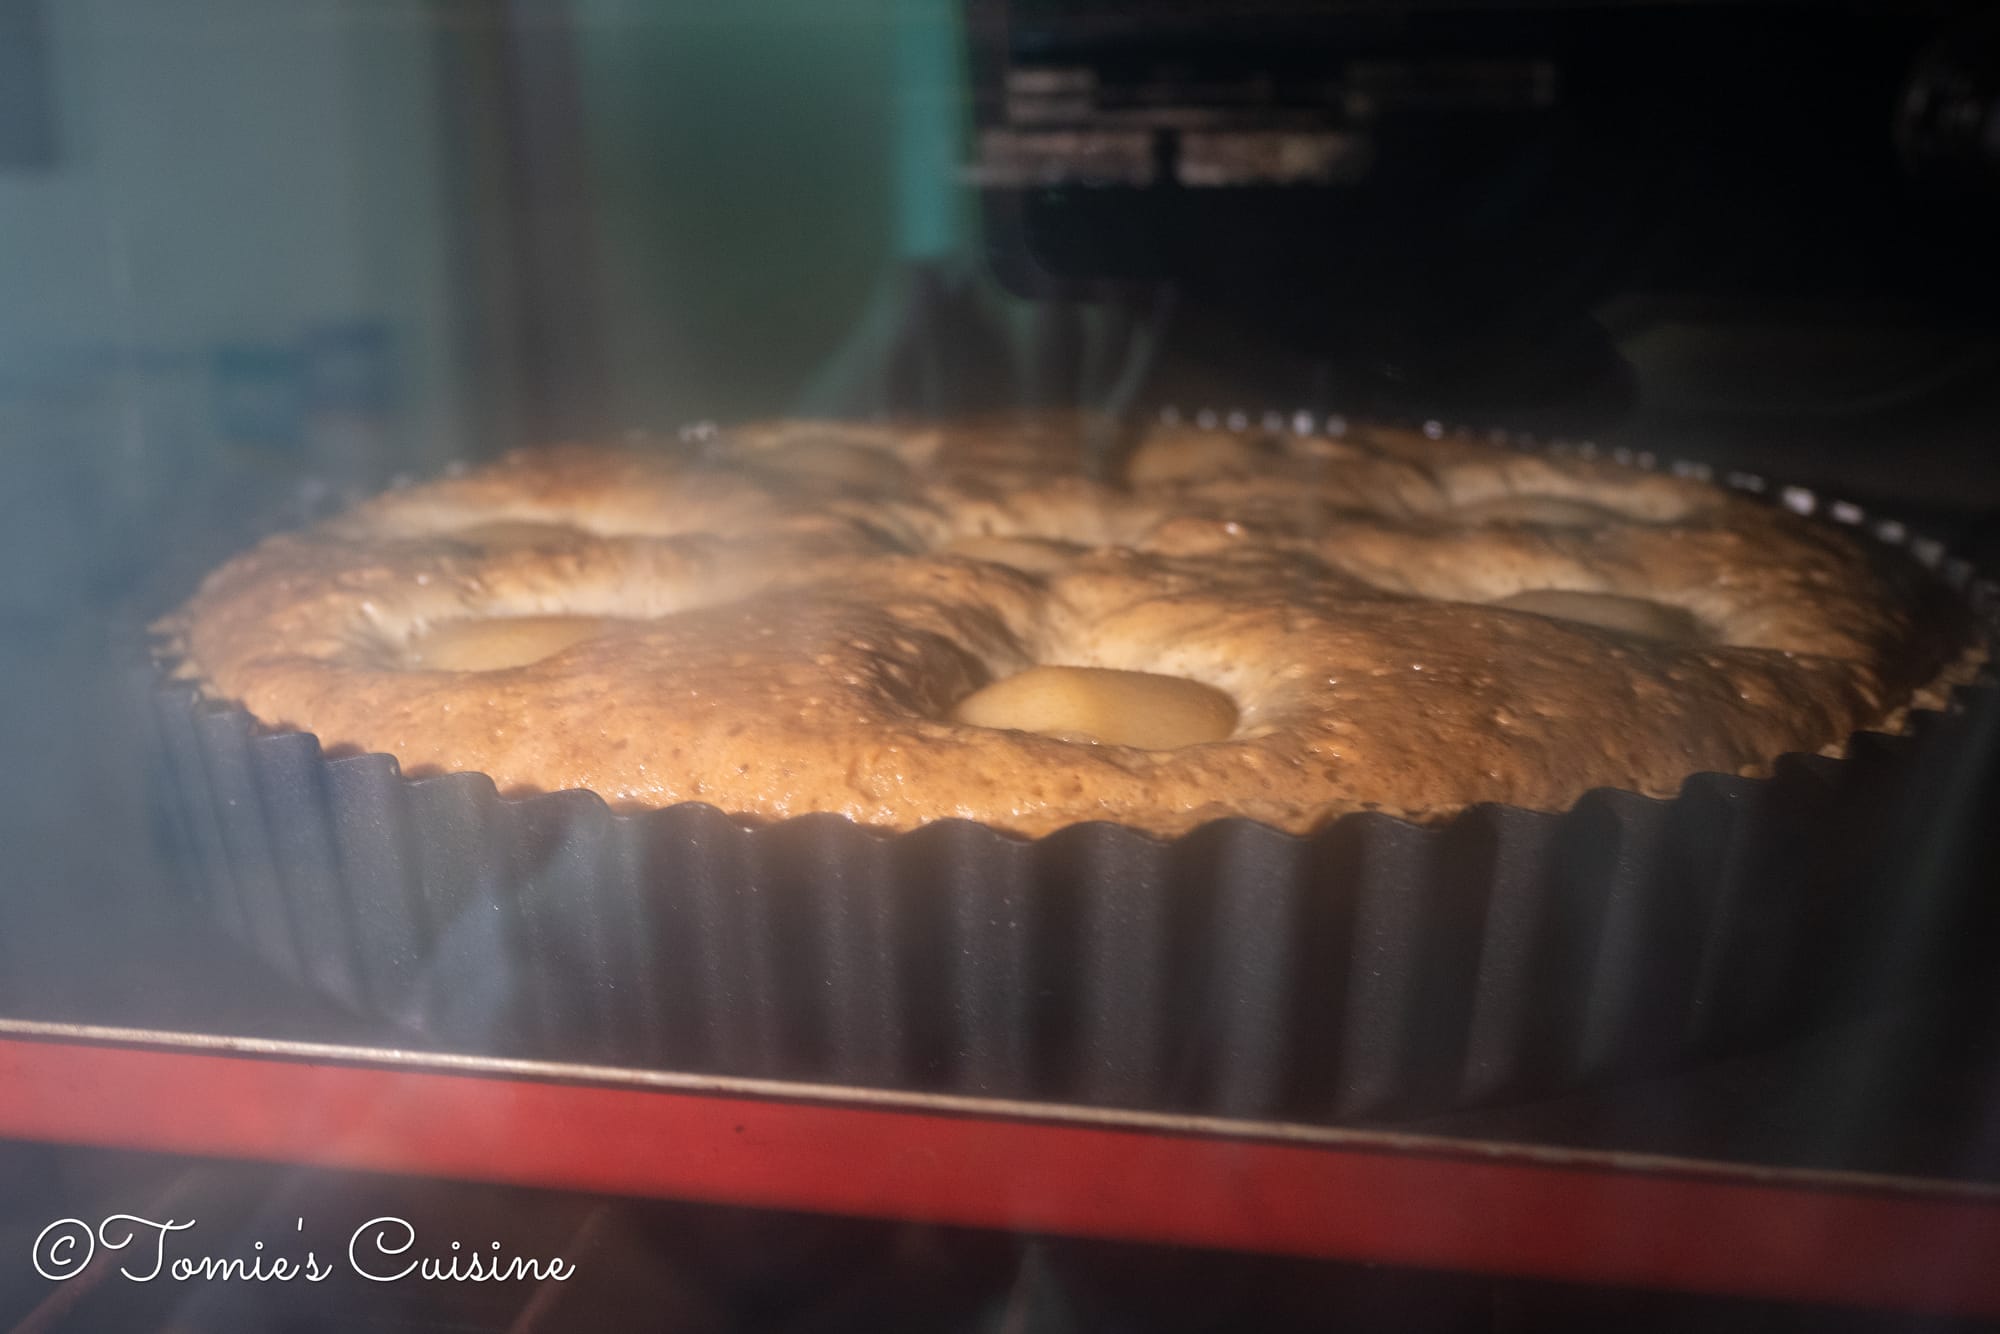
- Place the tart on the baking tray, then put it on the lower rack and bake for about 40 to 45 minutes, until golden brown.
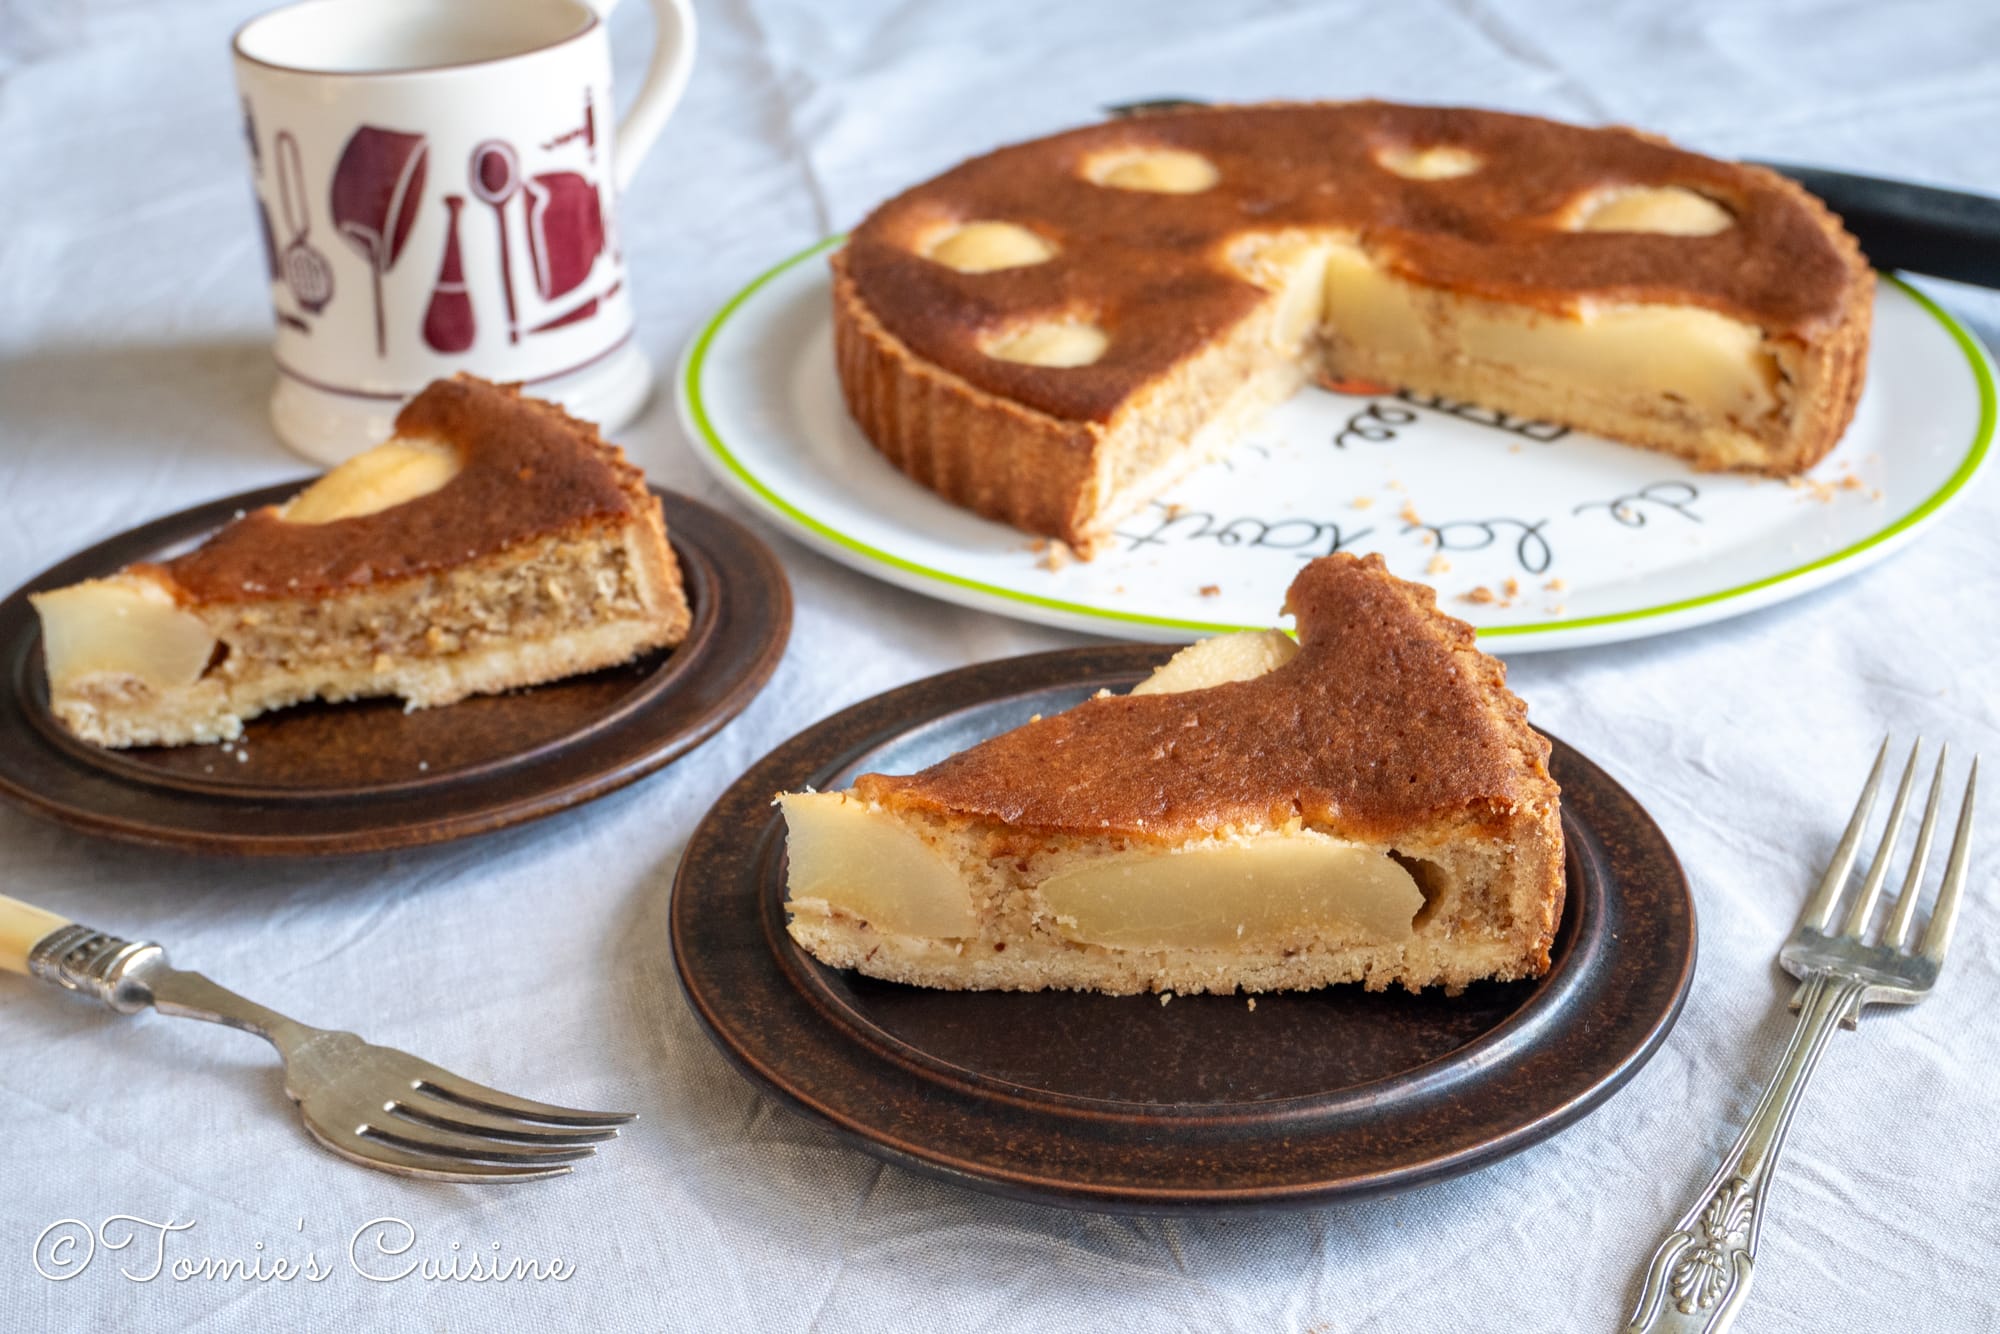
- Once it’s baked, transfer it to the cooling rack and leave to cool. Keep the tart in its tin on the baking tray until it has cooled completely.
Do I need to blind bake the tart case?
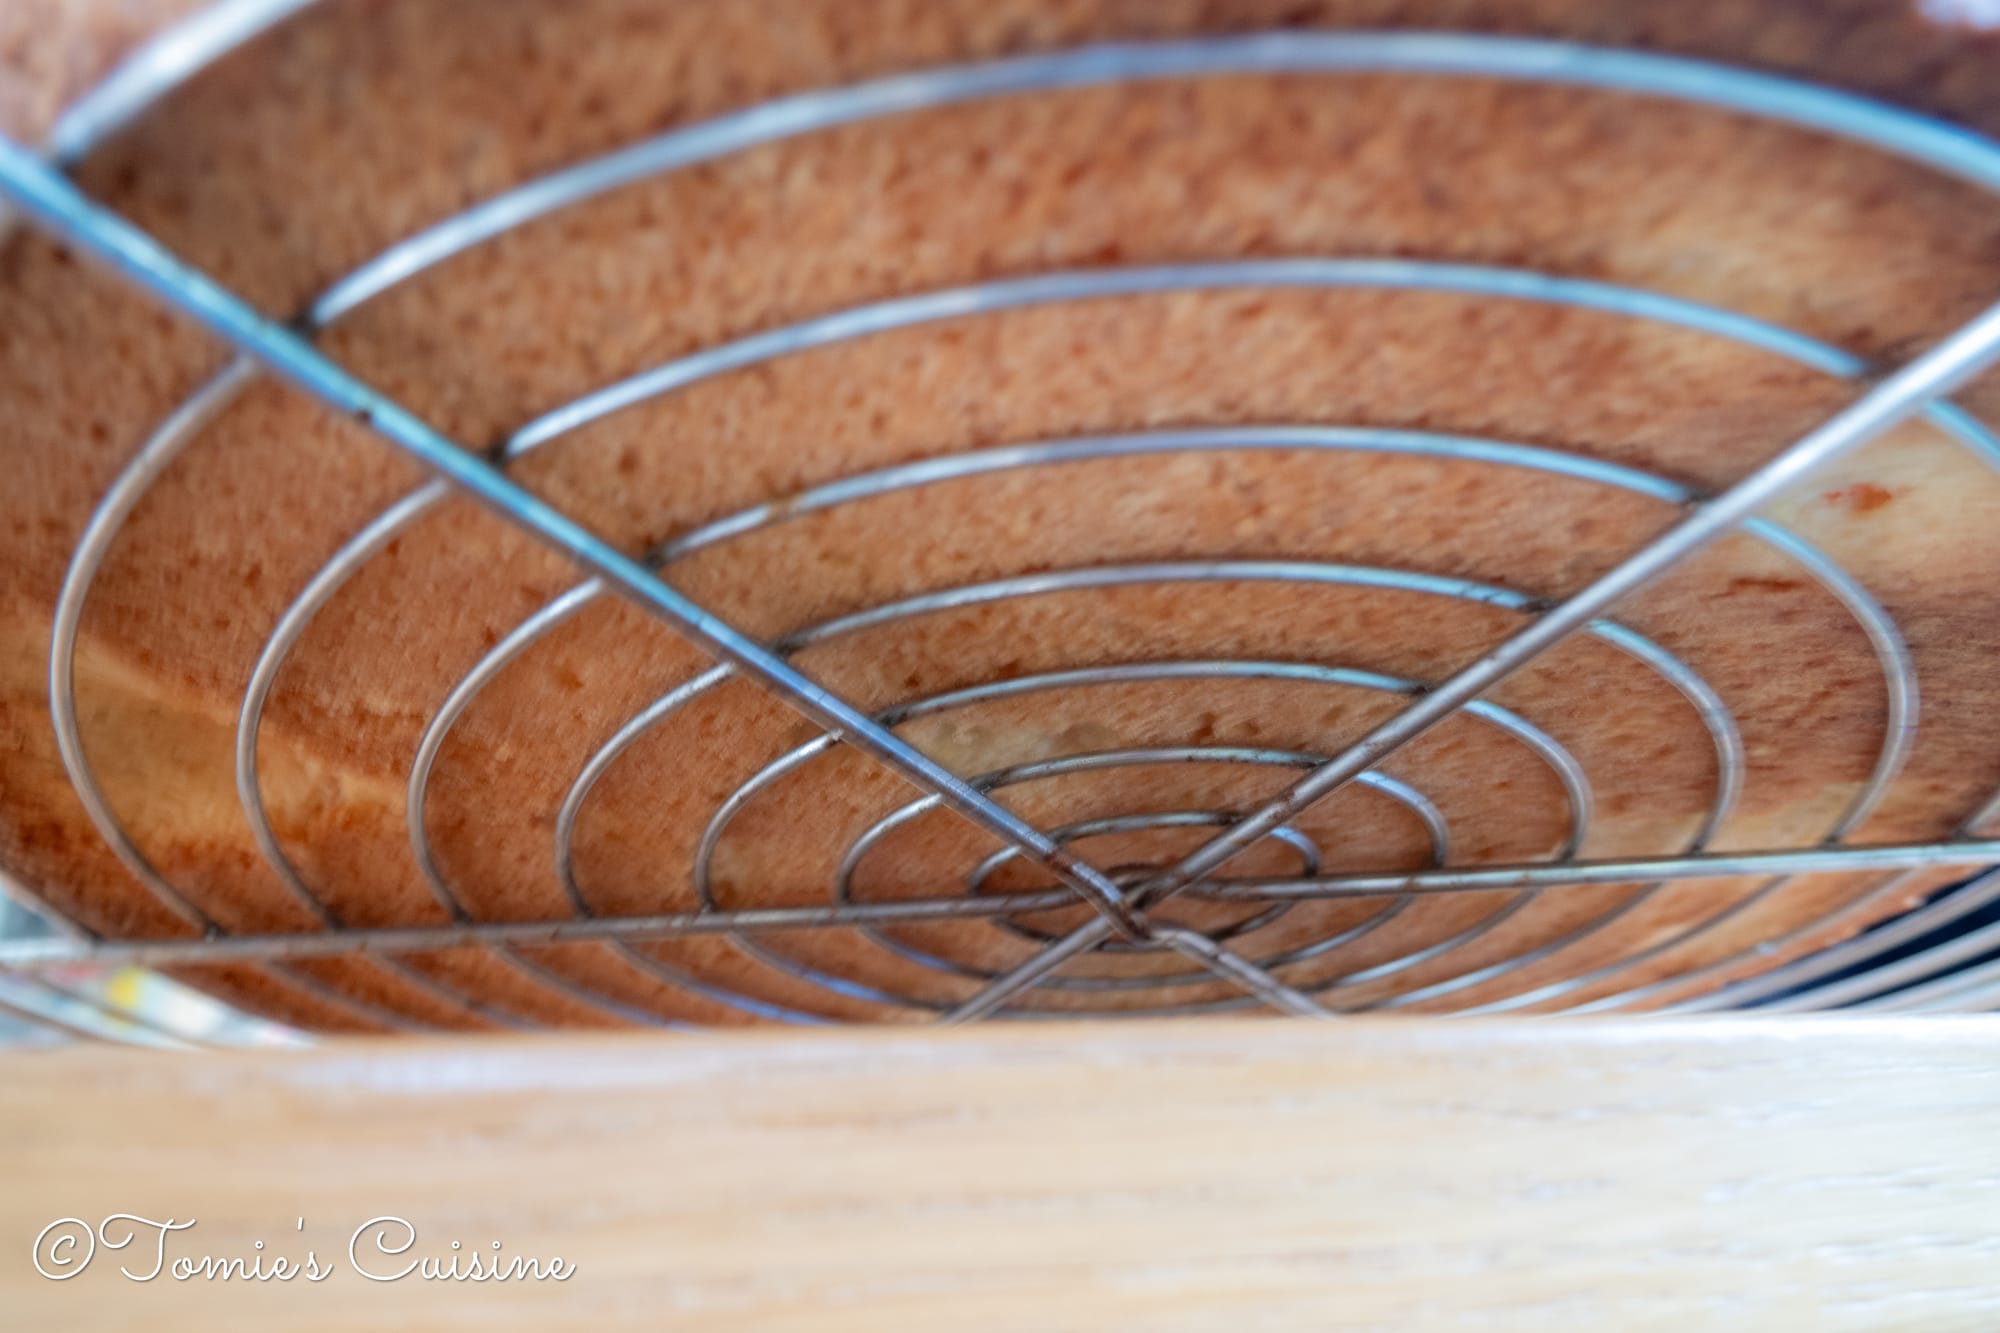
I thought about blind baking, but when I bake the tart at 170ºC on the lower shelf of the oven, it cooks the bottom beautifully. So I wouldn’t bother adding an extra step to this tart.
Storing and freezing
Once the tart is baked, eat it within 2 to 3 days. Keep it covered in a cool, dry place, or in the fridge. The tart also freezes well. We slice it into portions, wrap it in aluminium foil, then put it in a silicone food bag. You can keep it in the freezer for up to a month.
Tart with different fruit
Apple
I have the same method in mind, but with apple. We haven’t tried this yet, but hazelnut and apple definitely go well together! Apples are firmer than ripe pears, so I would slice them thinly and arrange them like flower petals. I would try cooking the apple and serve it with vanilla ice cream or clotted cream… yum!
Fig
Last year, I made the tart with figs from our garden and an almond and pistachio frangipane; it was great, and we served it with whipped mascarpone cream.
Closing words
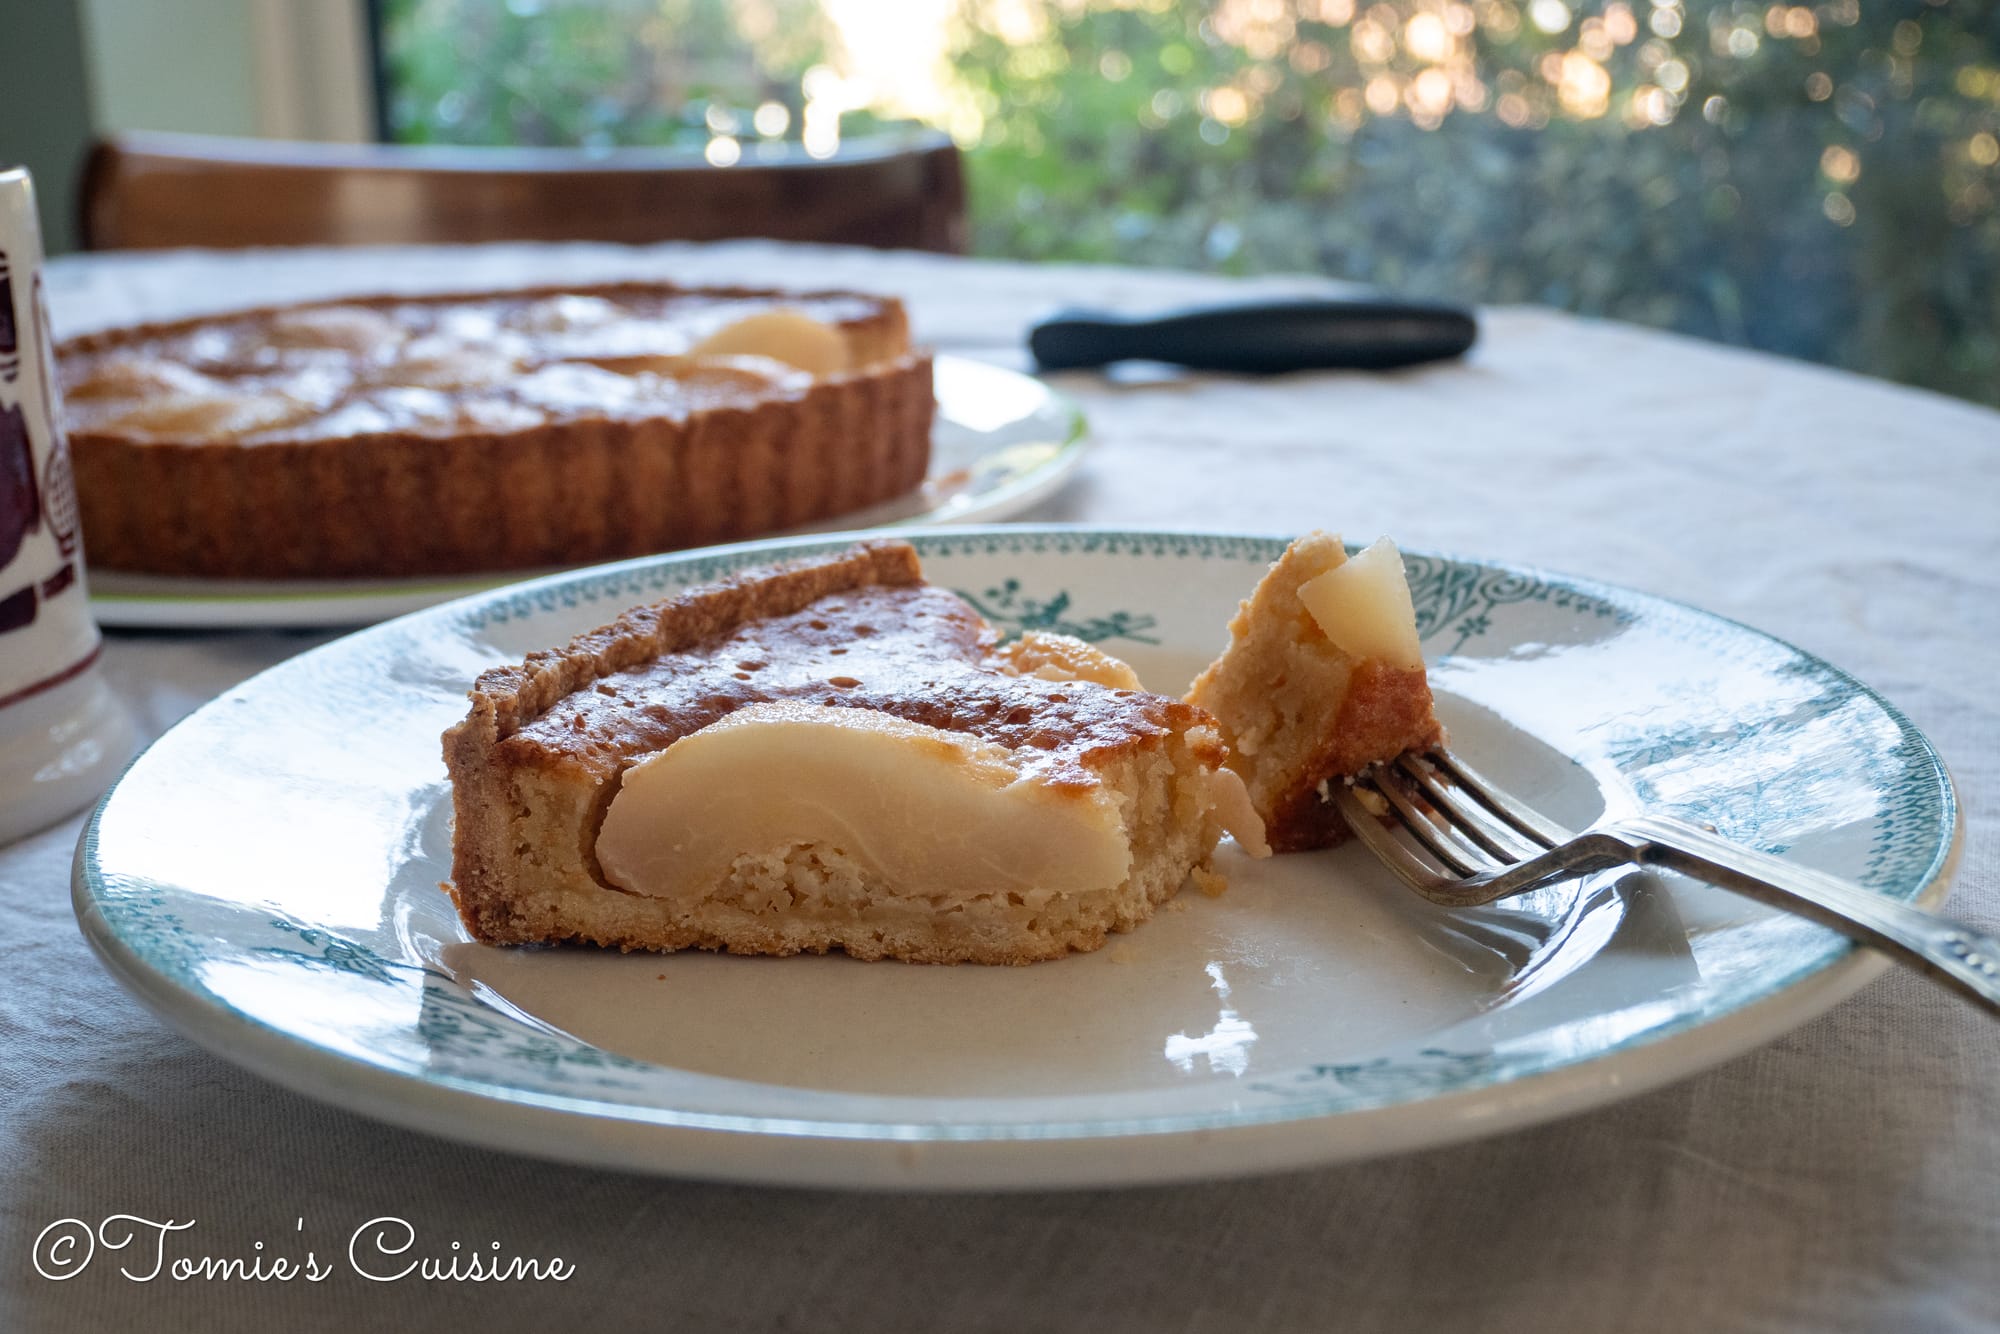
I hope this recipe gives you a reason to bake with what's in season. If you grow your own fruit or nuts, what do you like to make with your harvest? I'm always looking for new ideas (and new ways to stay one step ahead of the squirrels)!
We are active on Instagram, Pinterest, and Facebook.
Don't forget to subscribe to our newsletter so you don't miss our future blog posts.